Metro Exodus walkthrough - Novosibirsk | Mystery Institute
And so, you are in the final part of the game. Your journey is almost over, only a little remains: save your wife and get out of here alive.
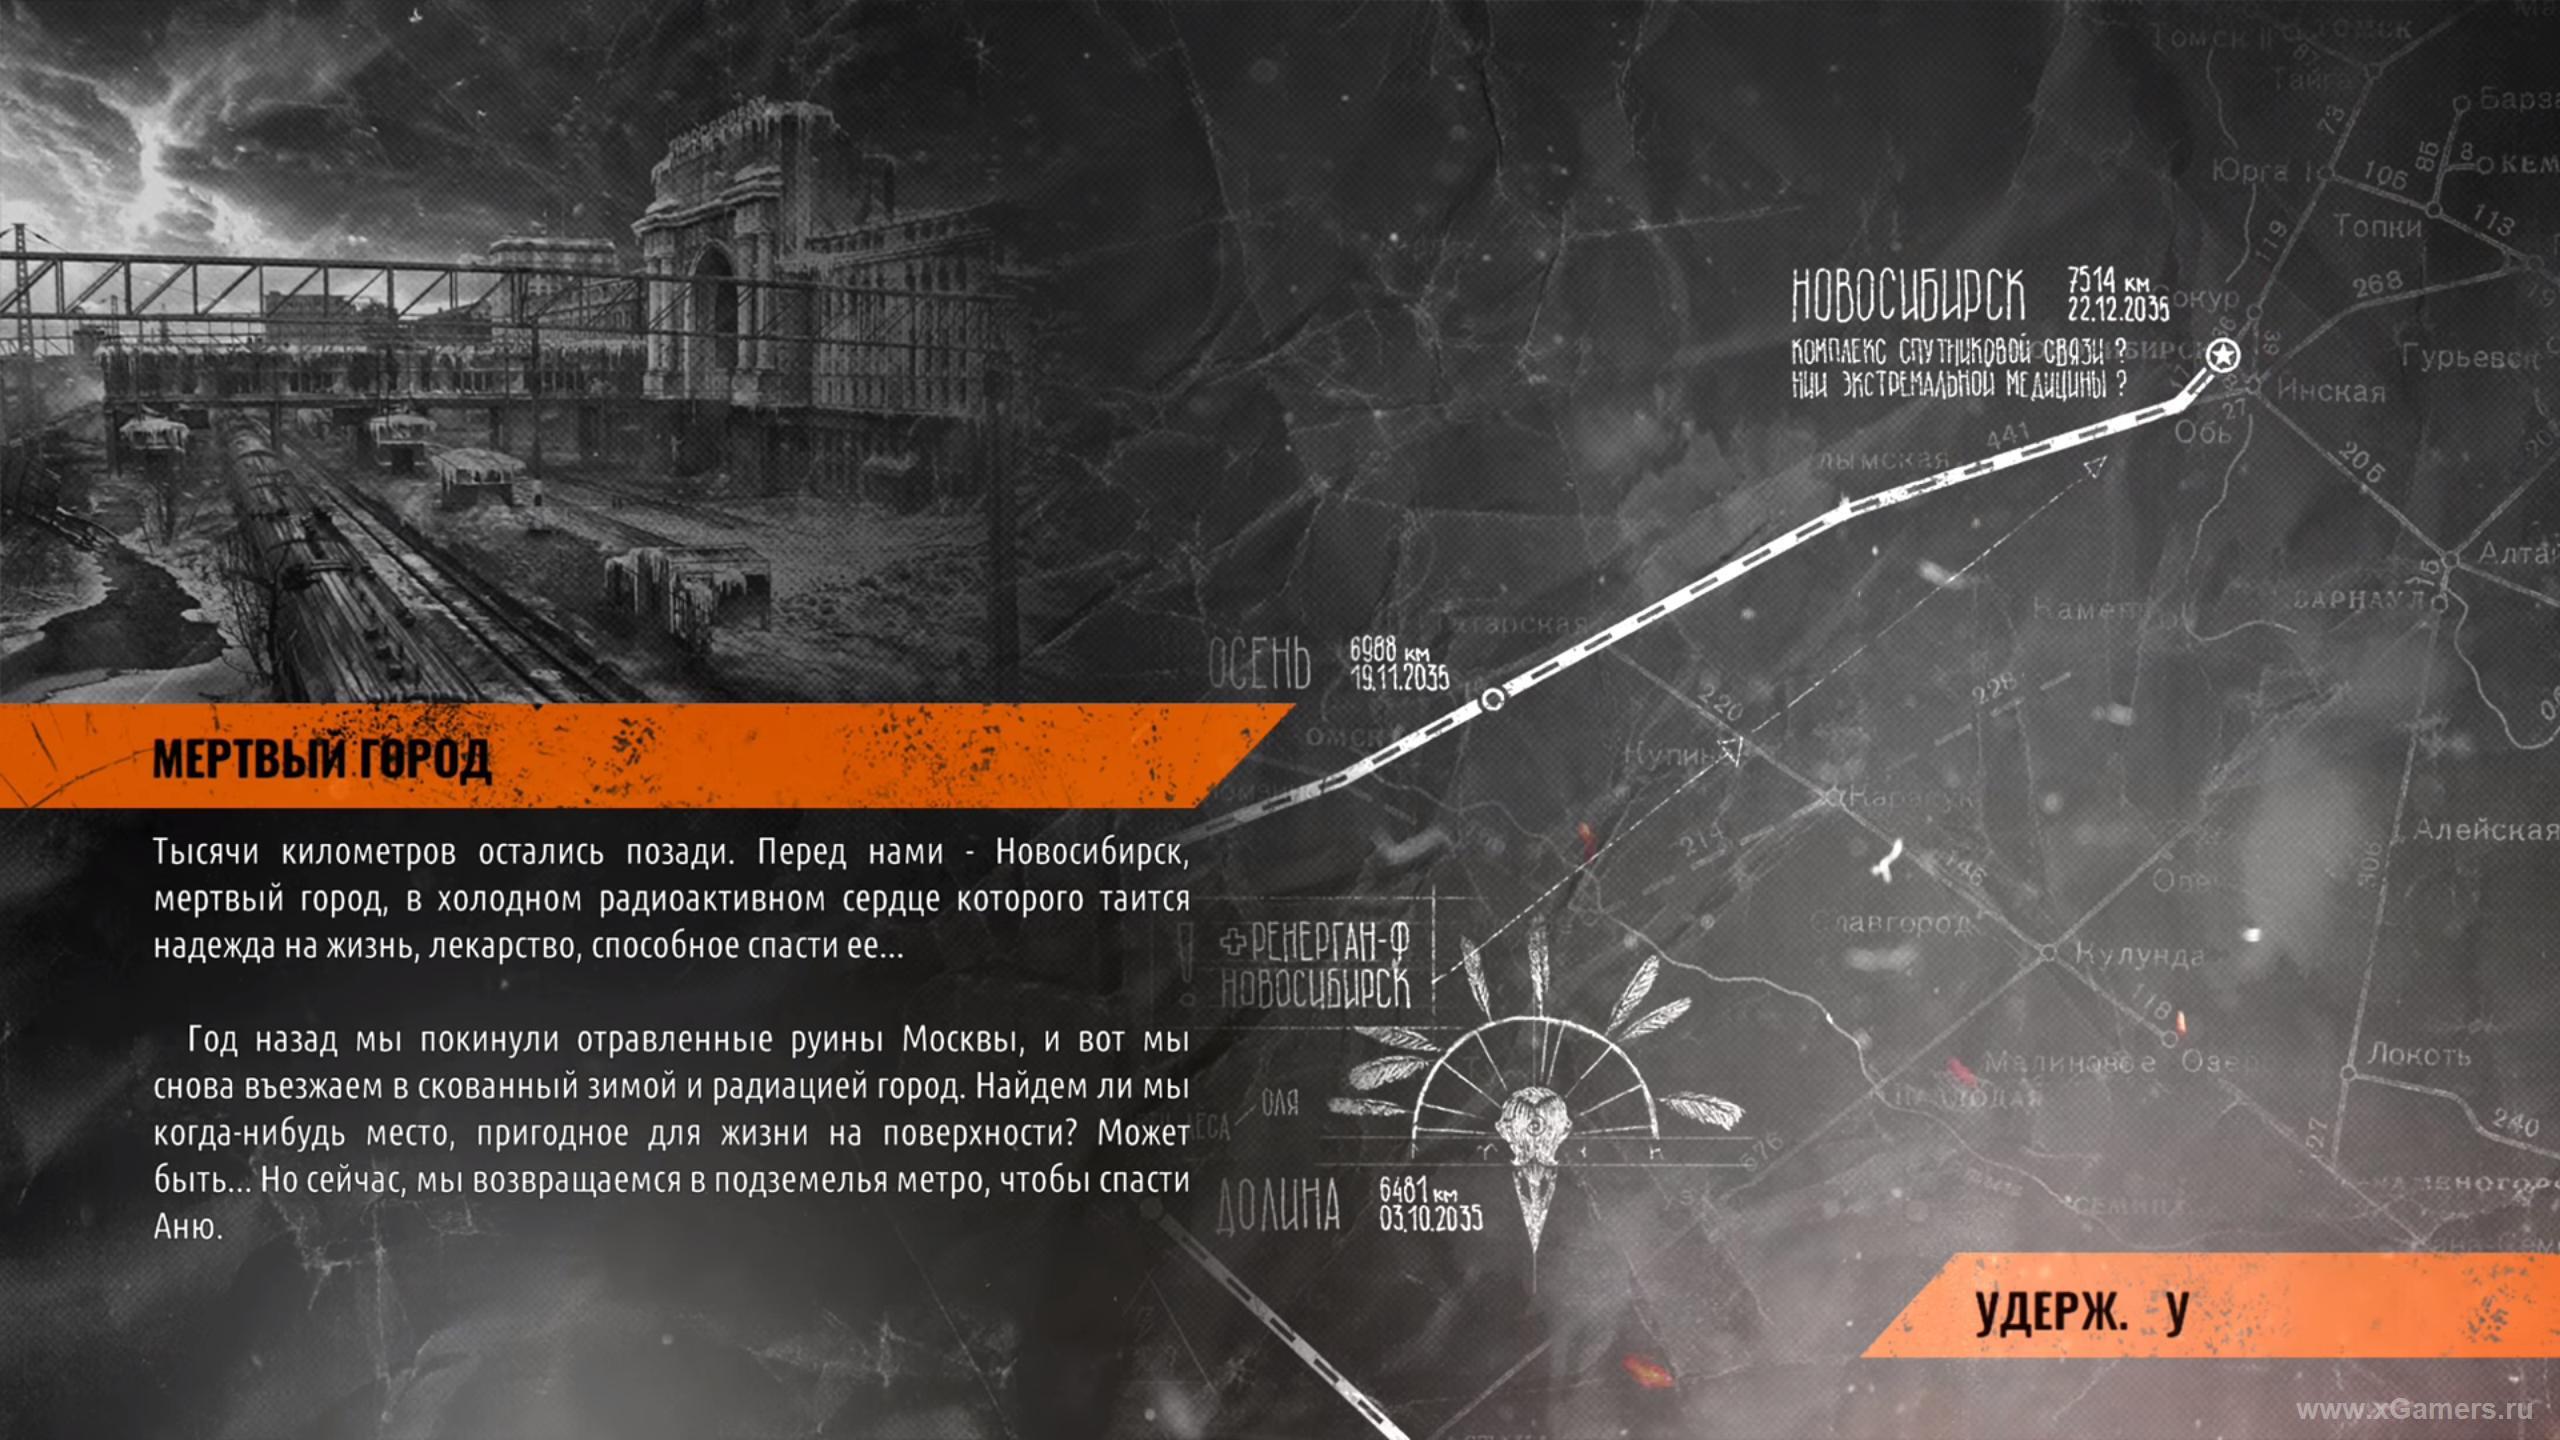
Novosibirsk, or when hell freezes ...
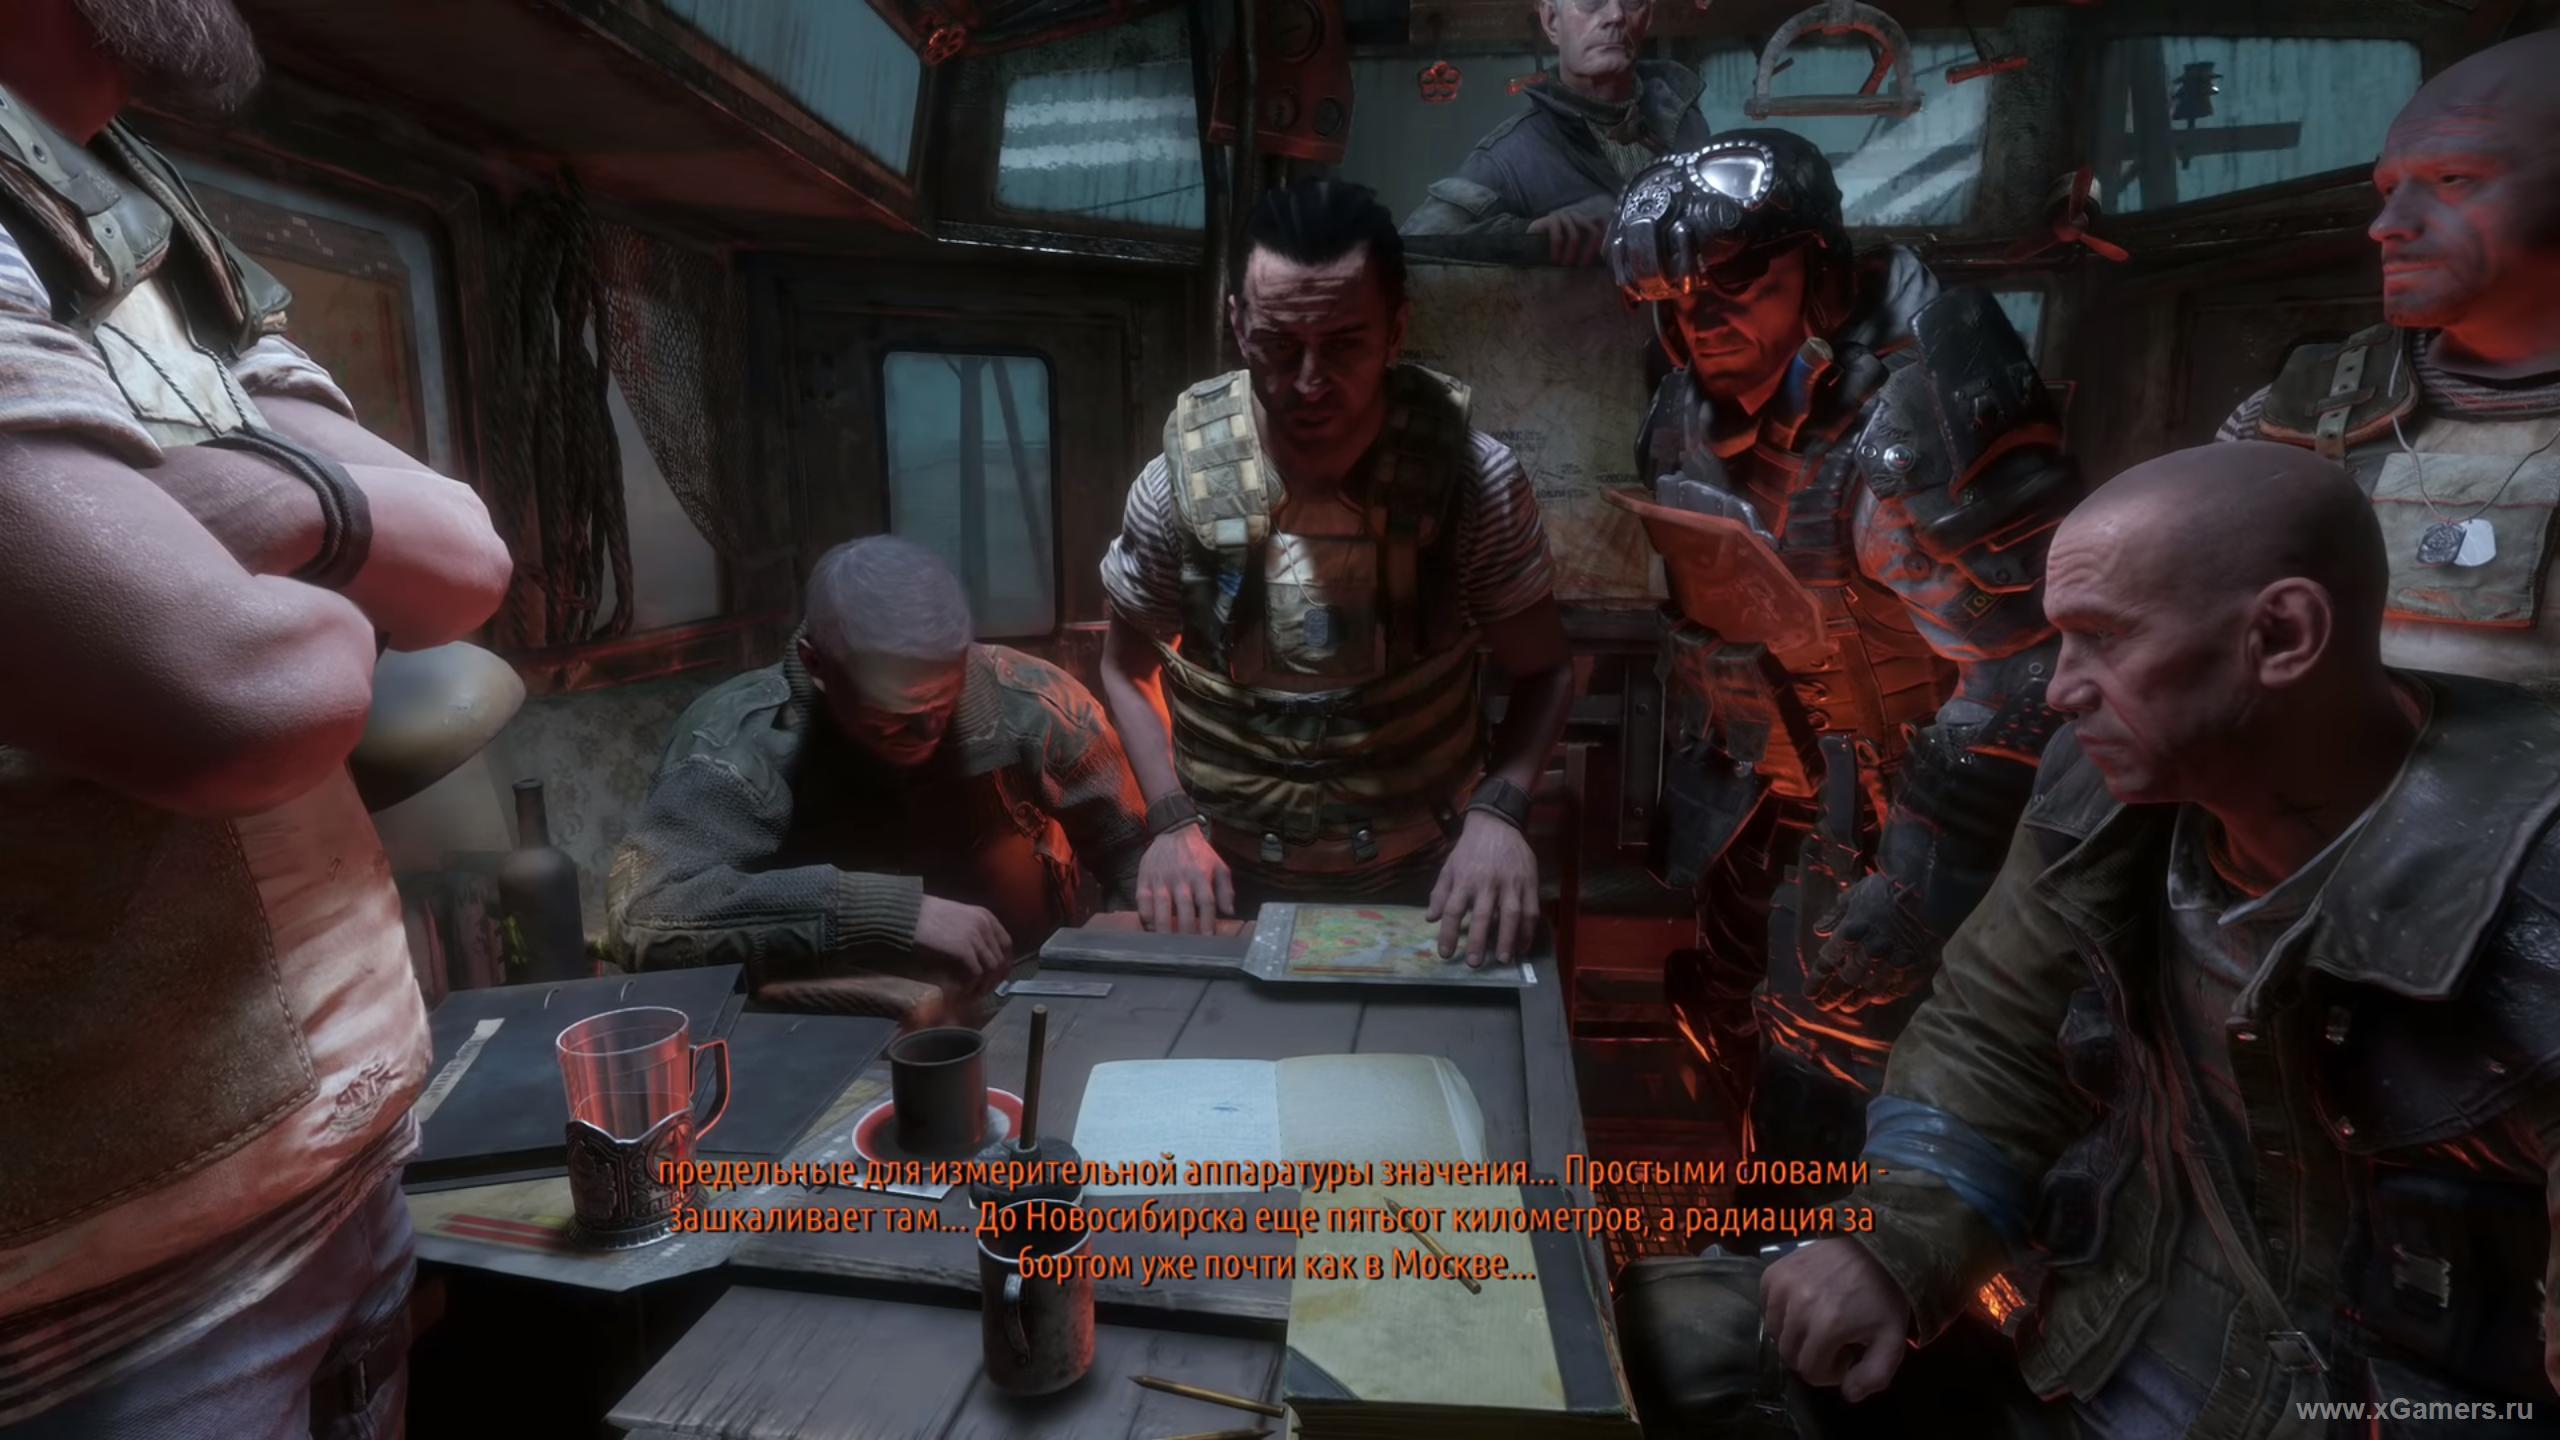
As you could already understand from the cutscenes and dialogues, radiation in Novosibirsk is not an empty phrase. Be extremely careful and if possible do not remove the gas mask!
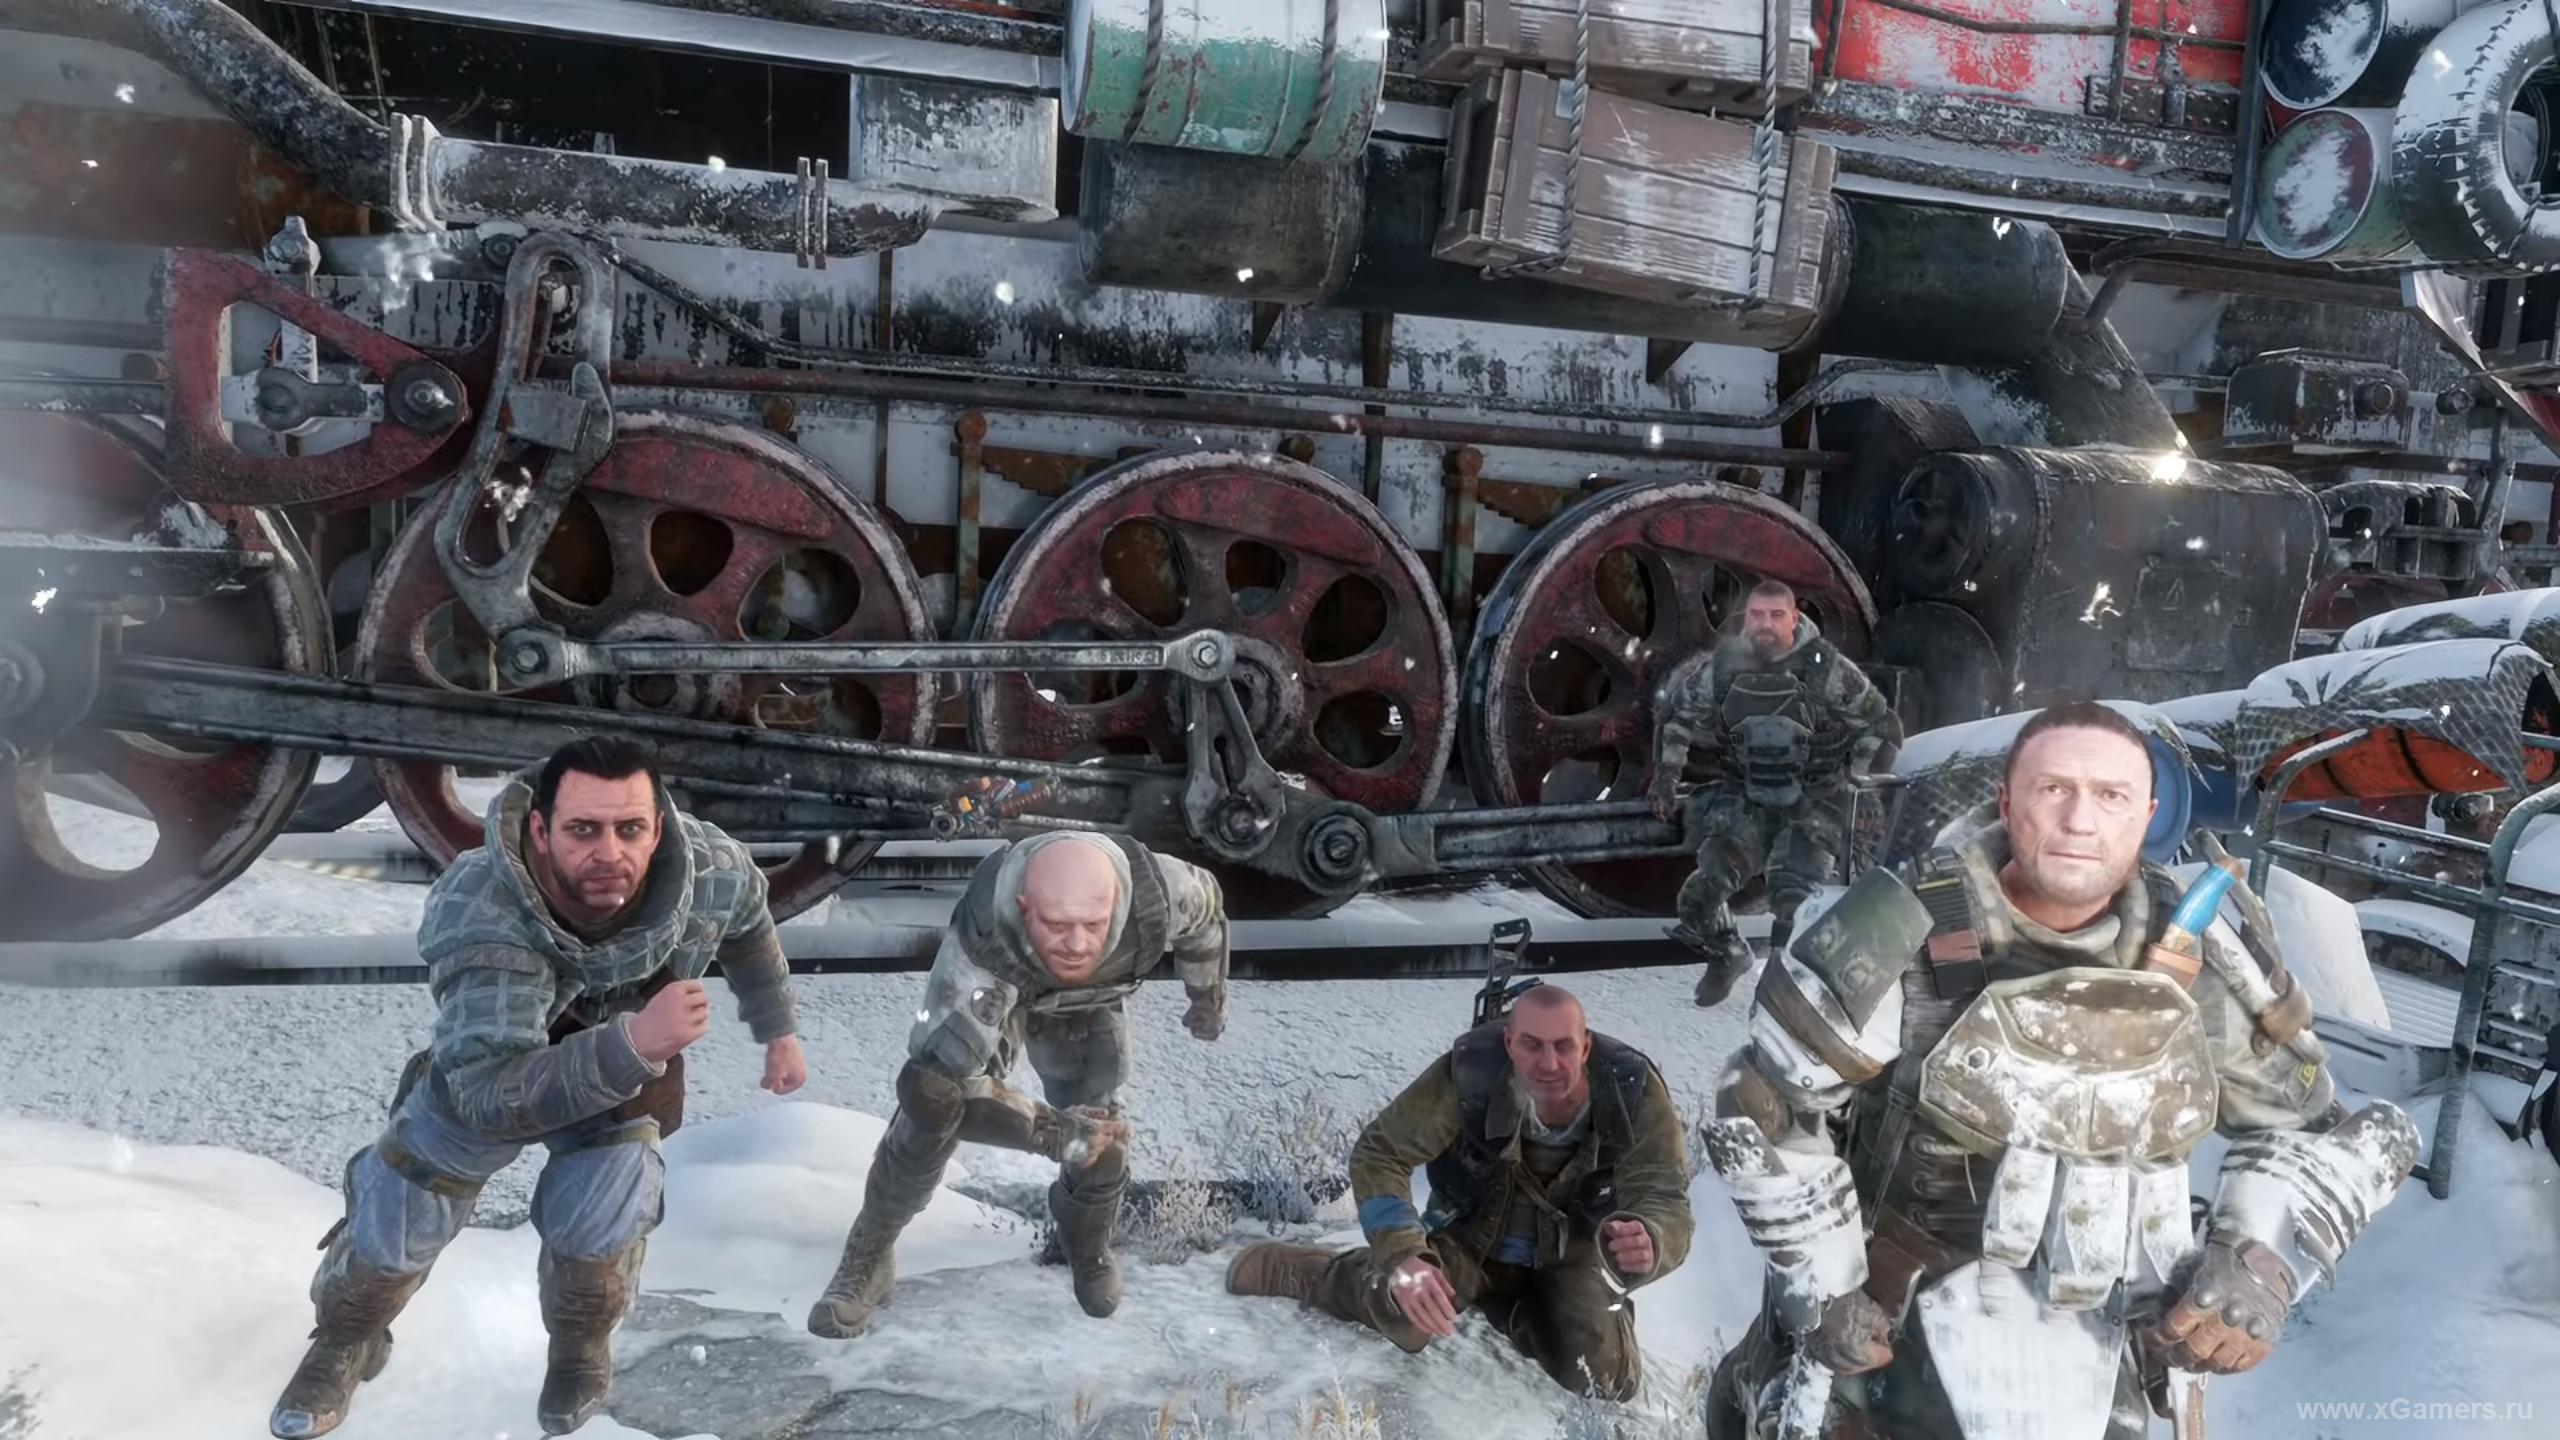
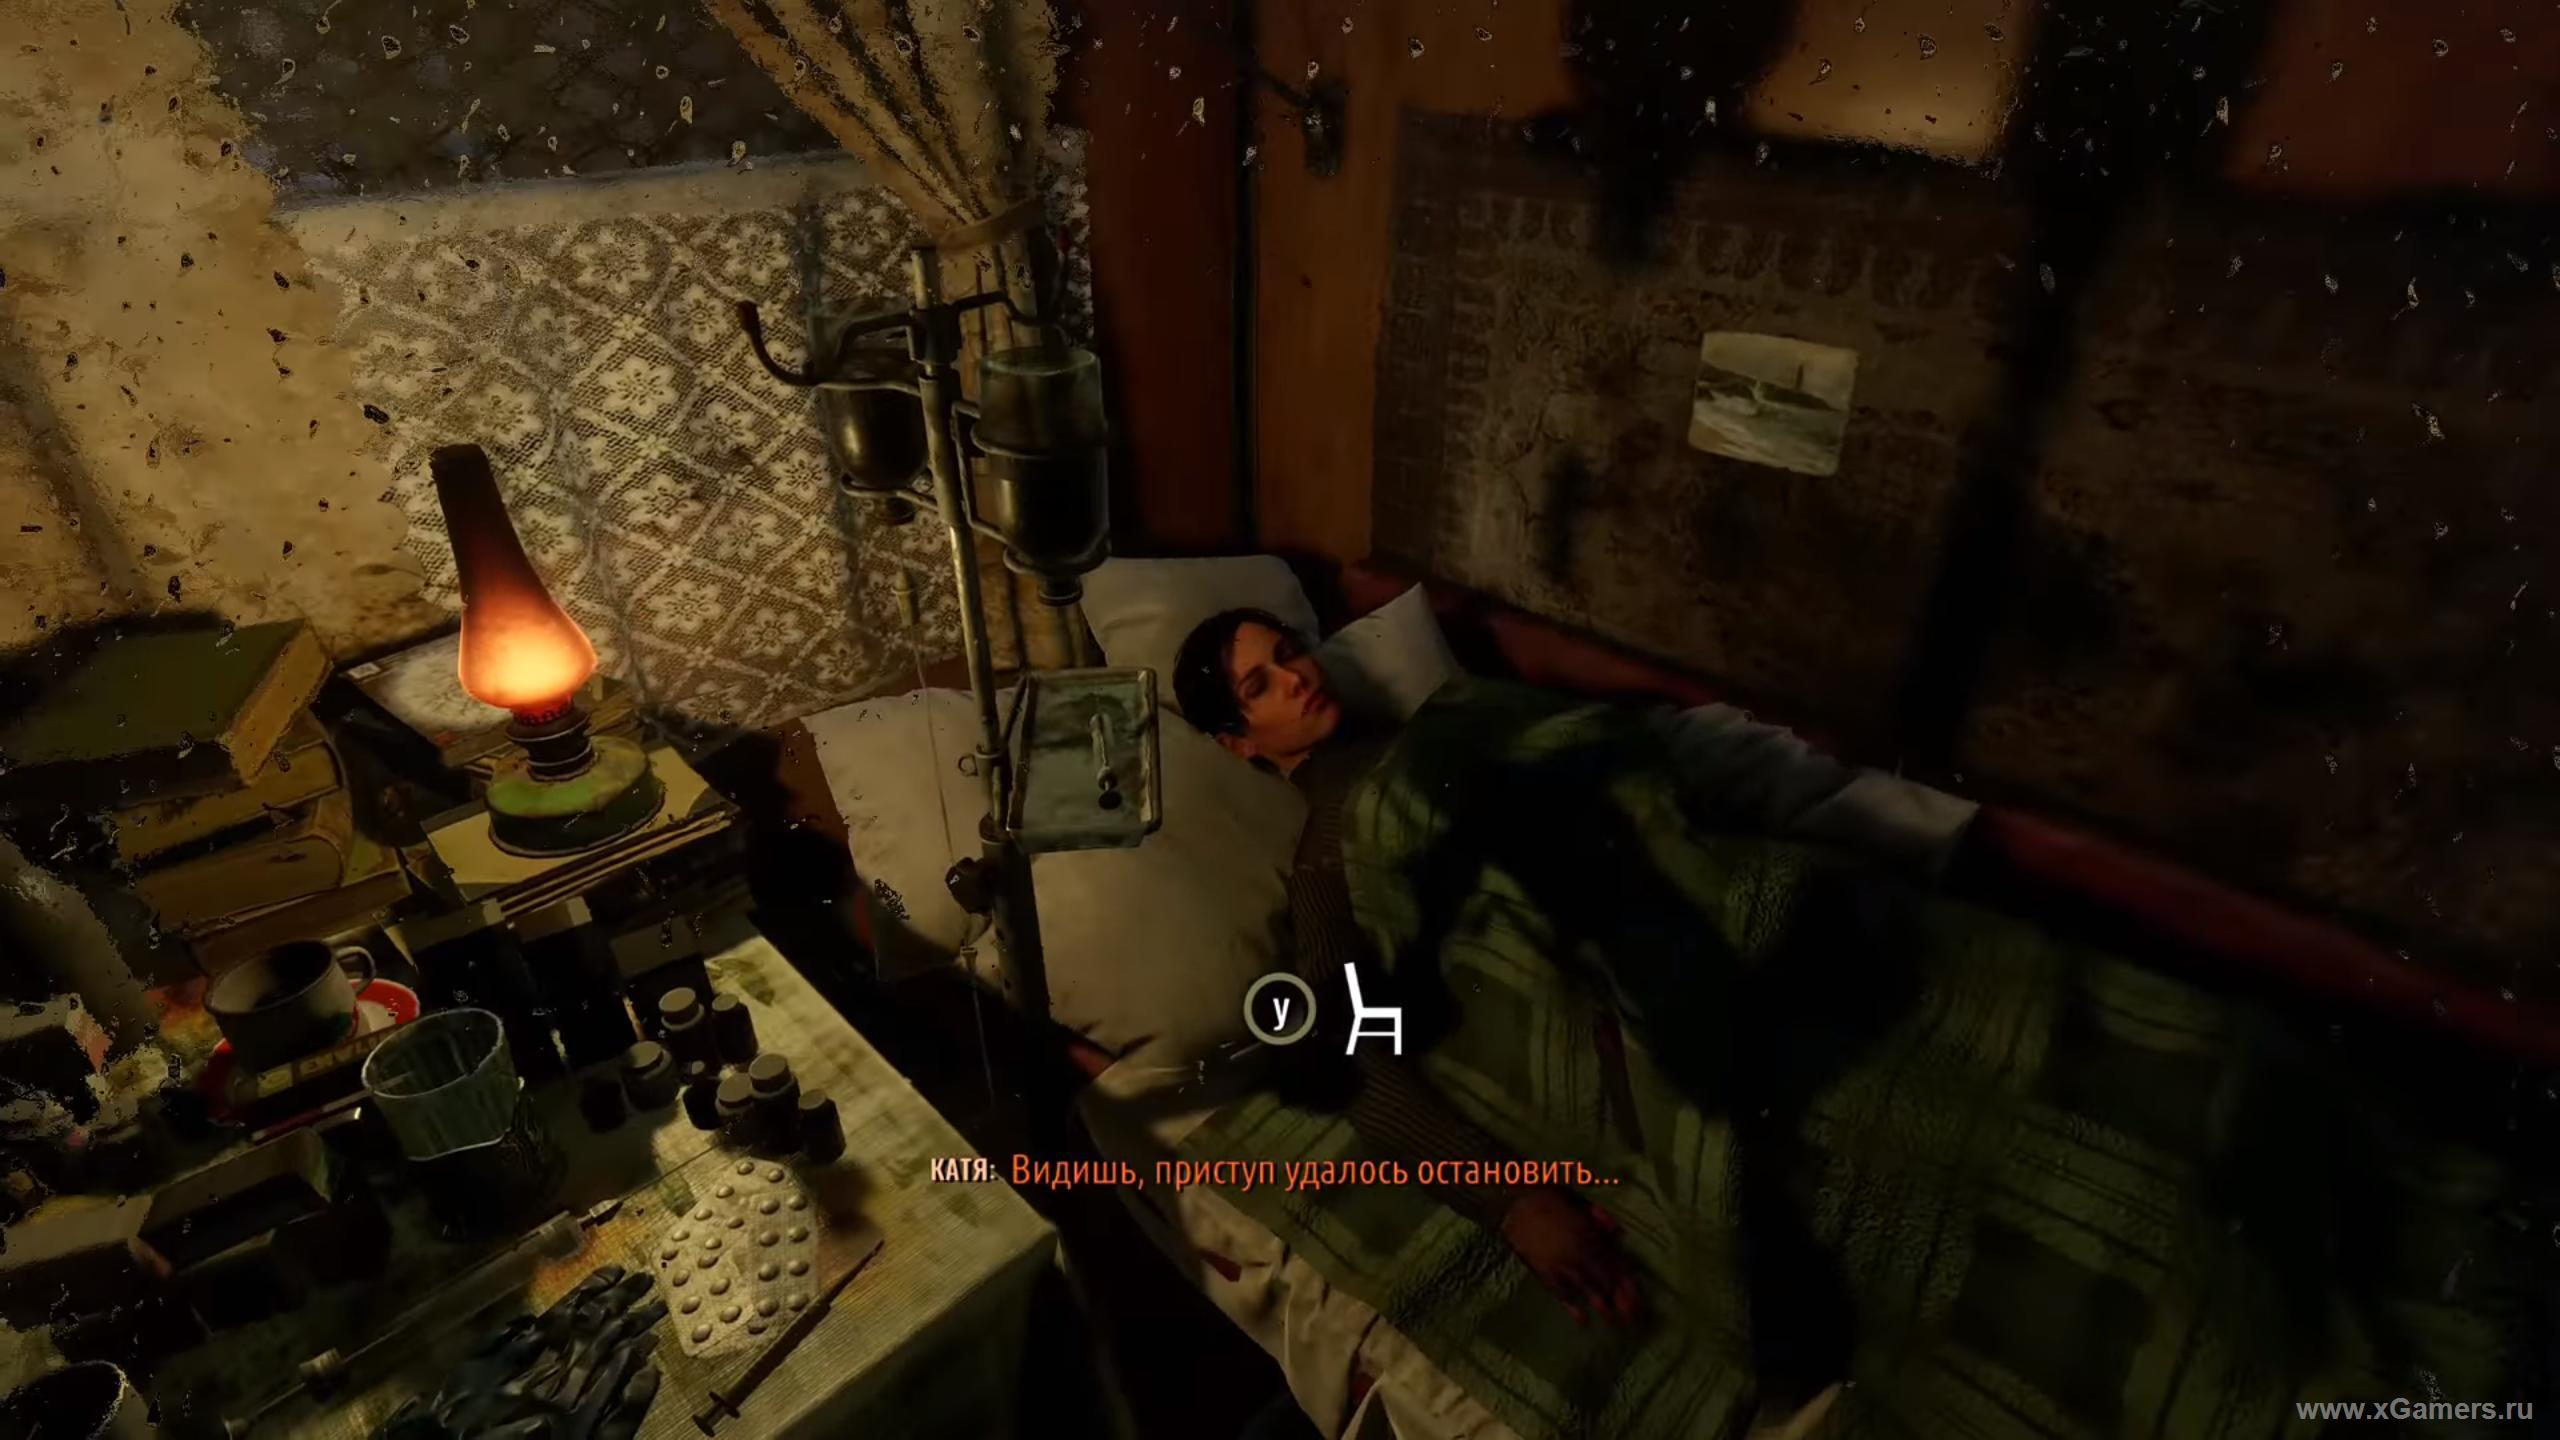
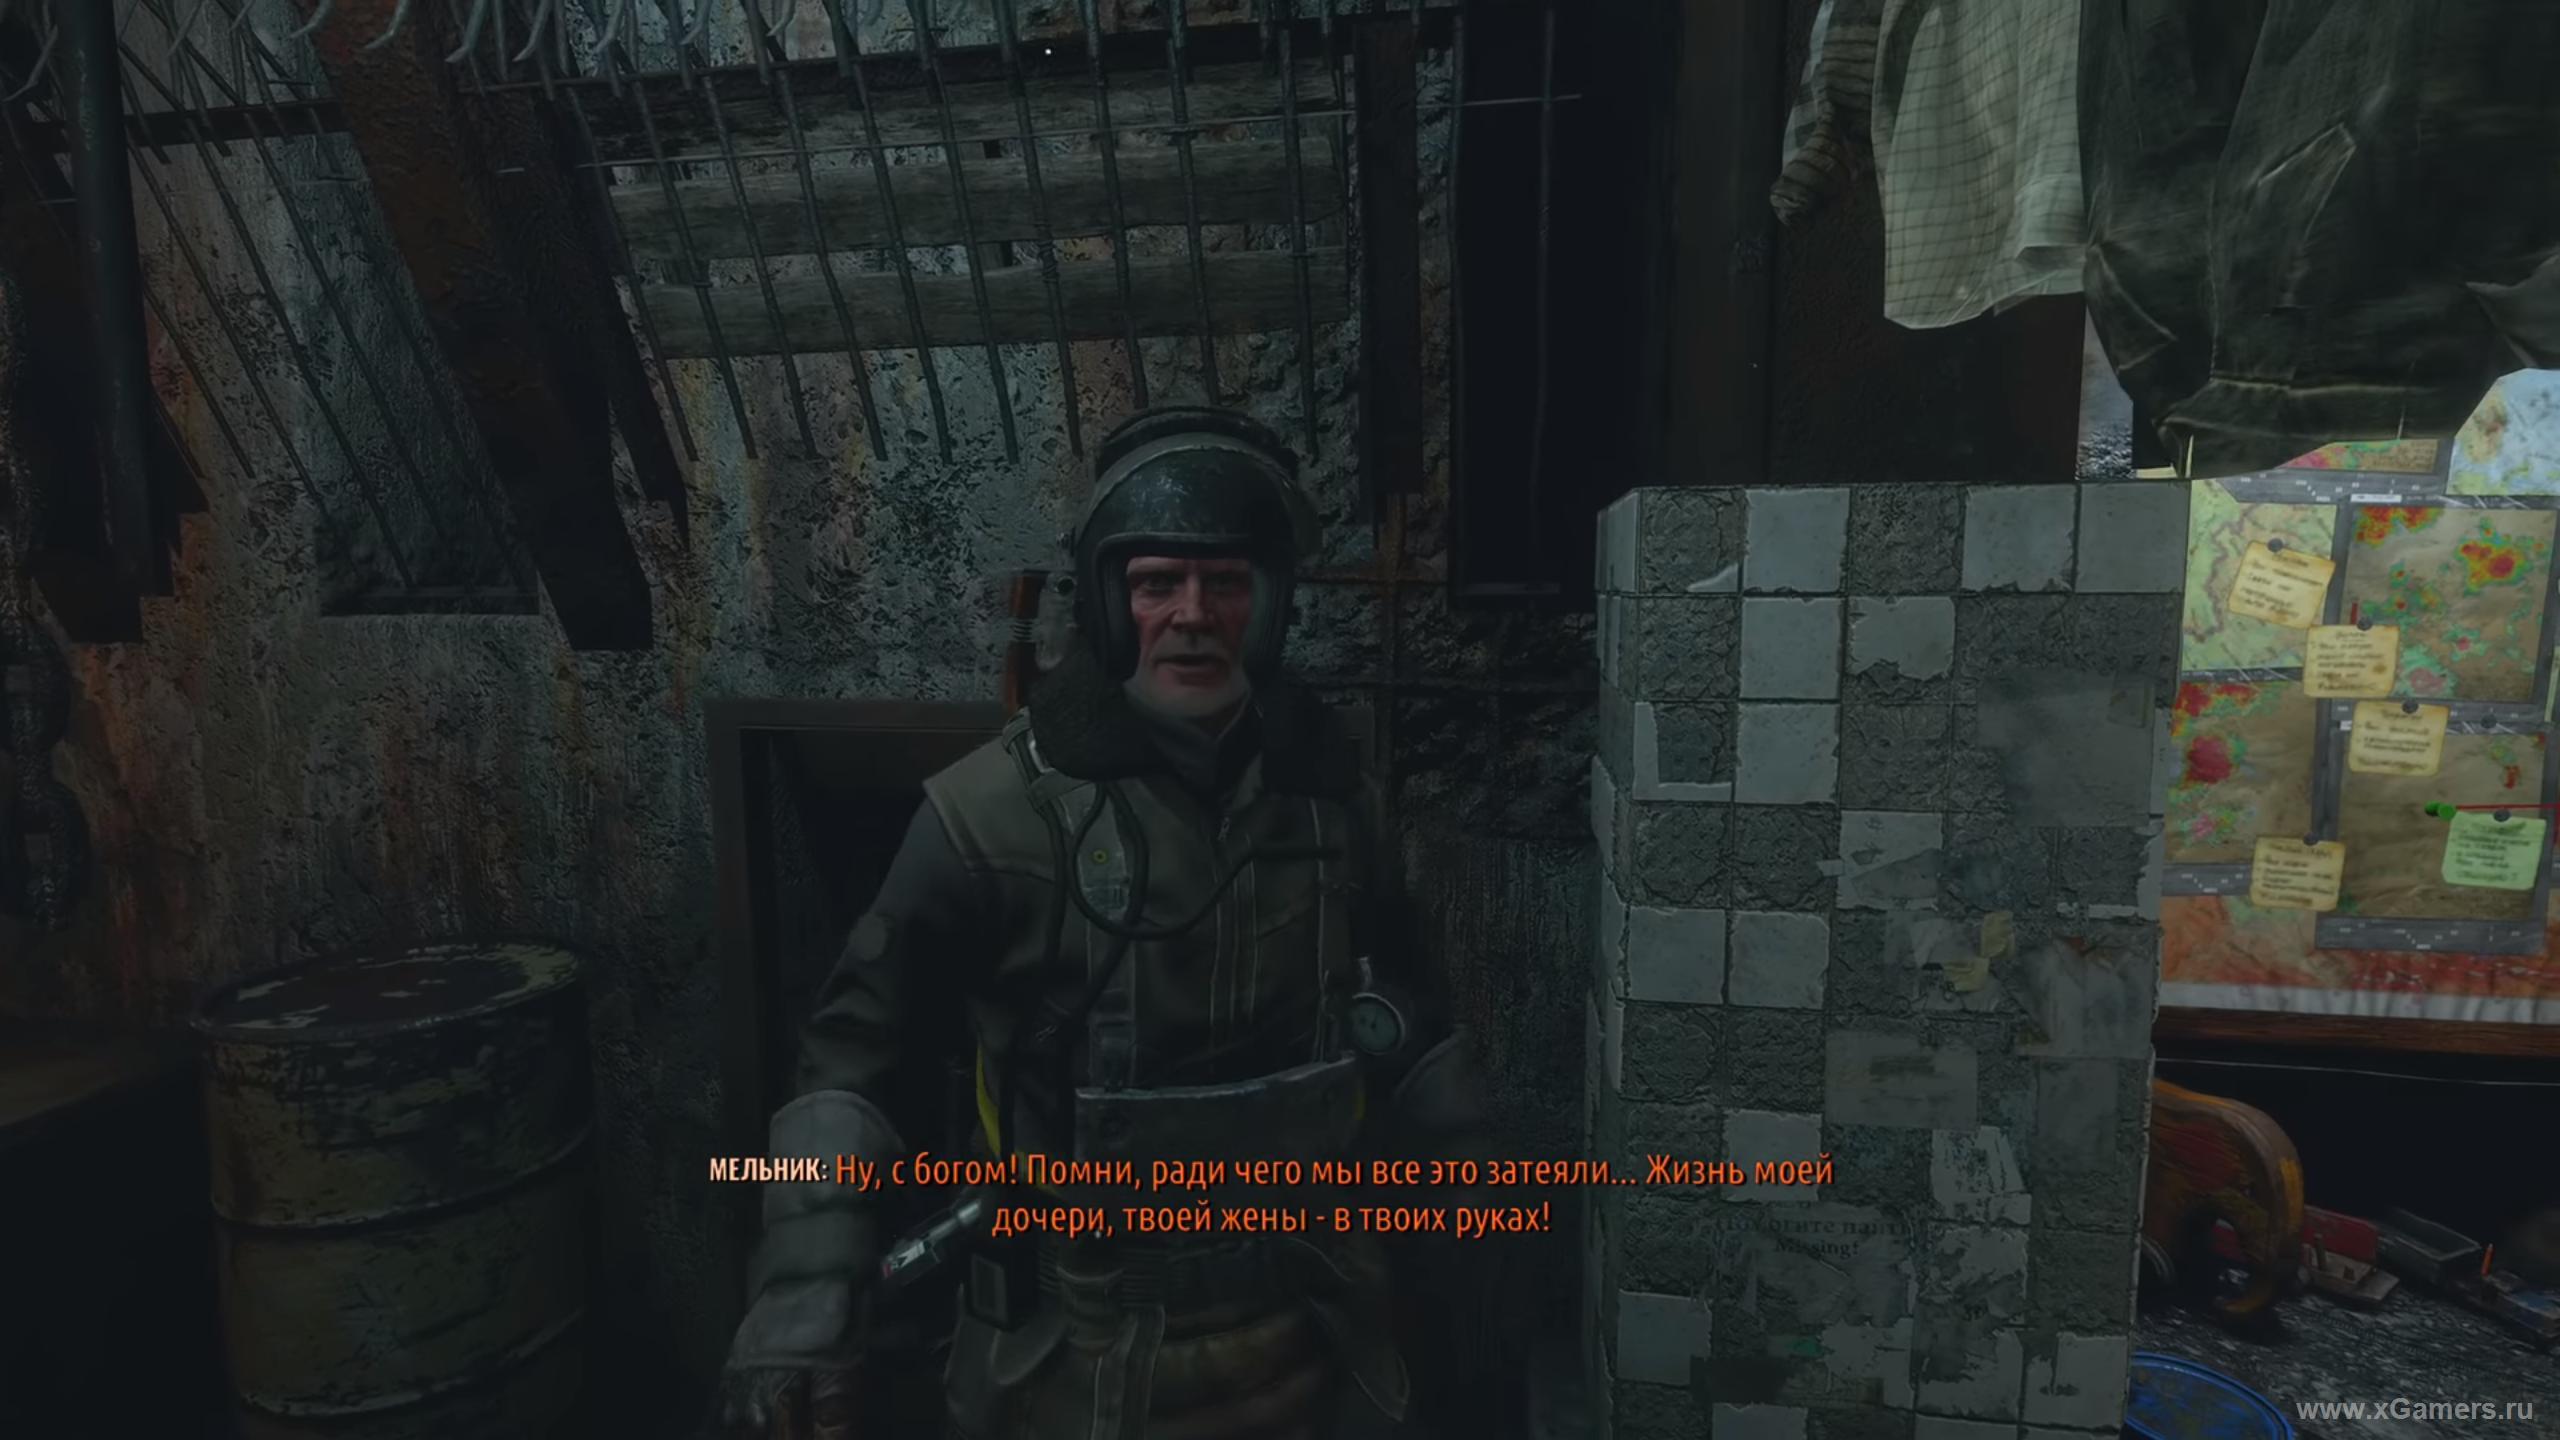
After a short briefing, you and Melnik go to the institute for medicine for Anna.
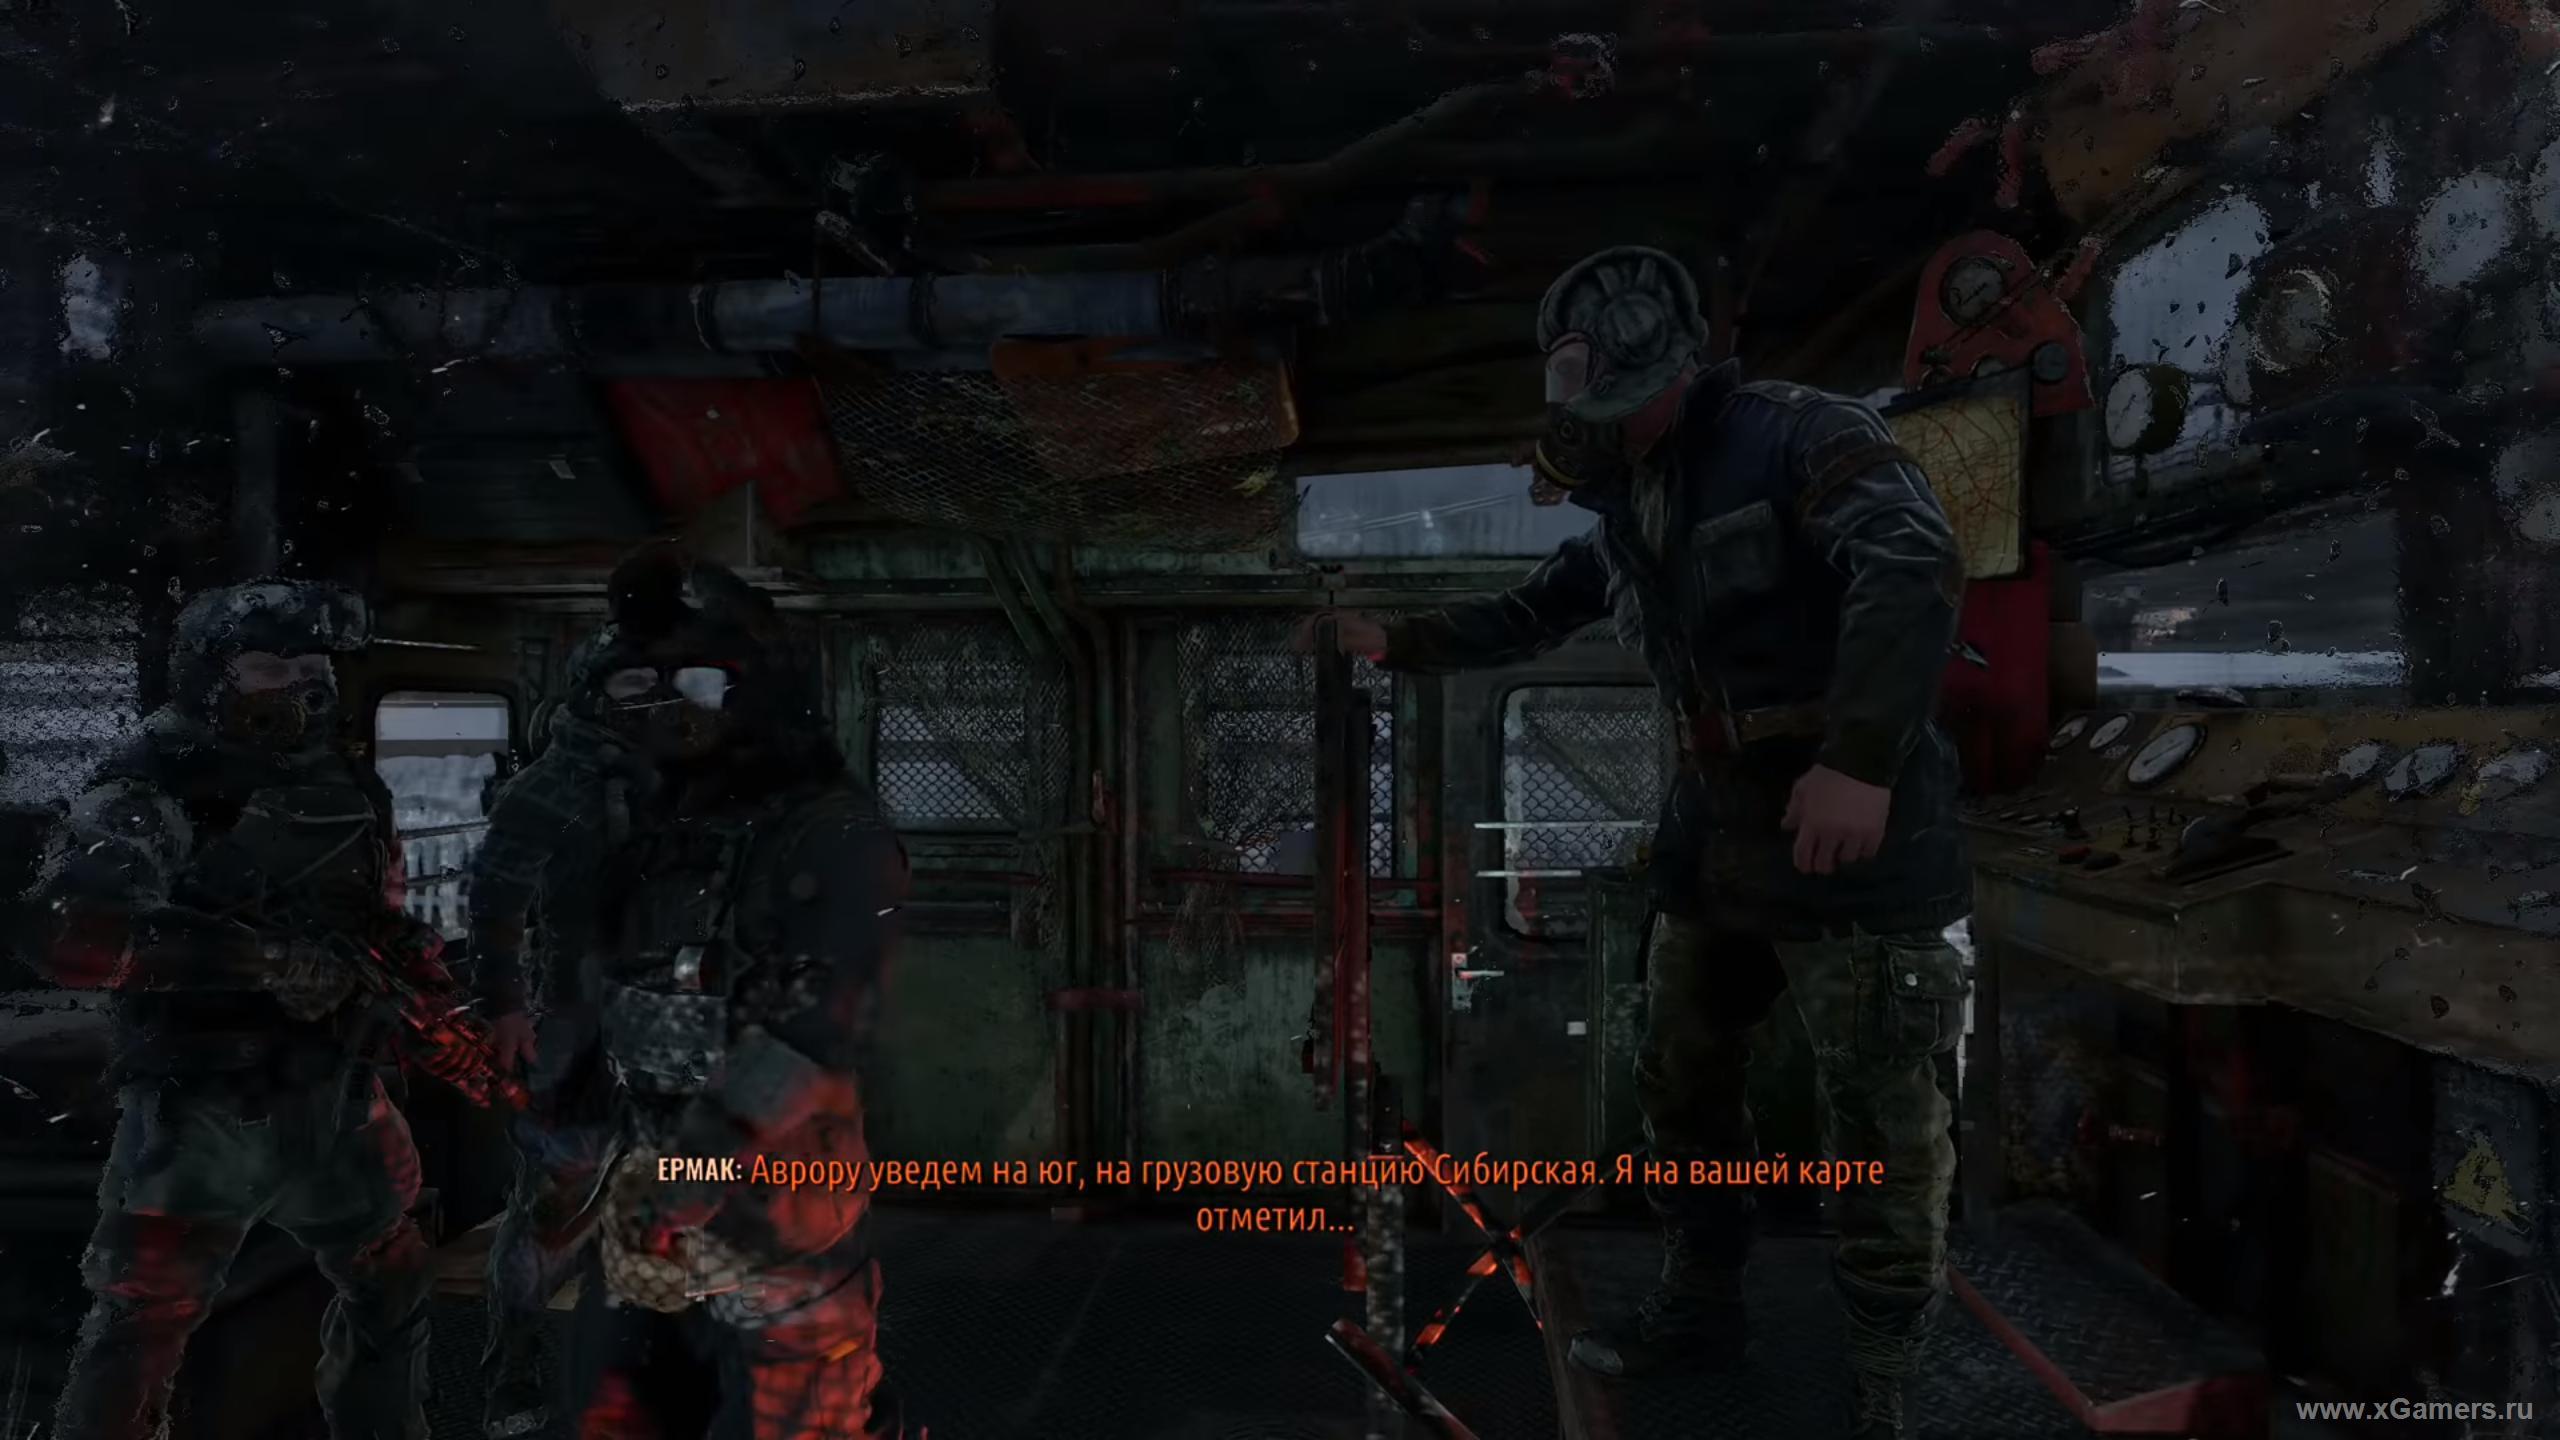
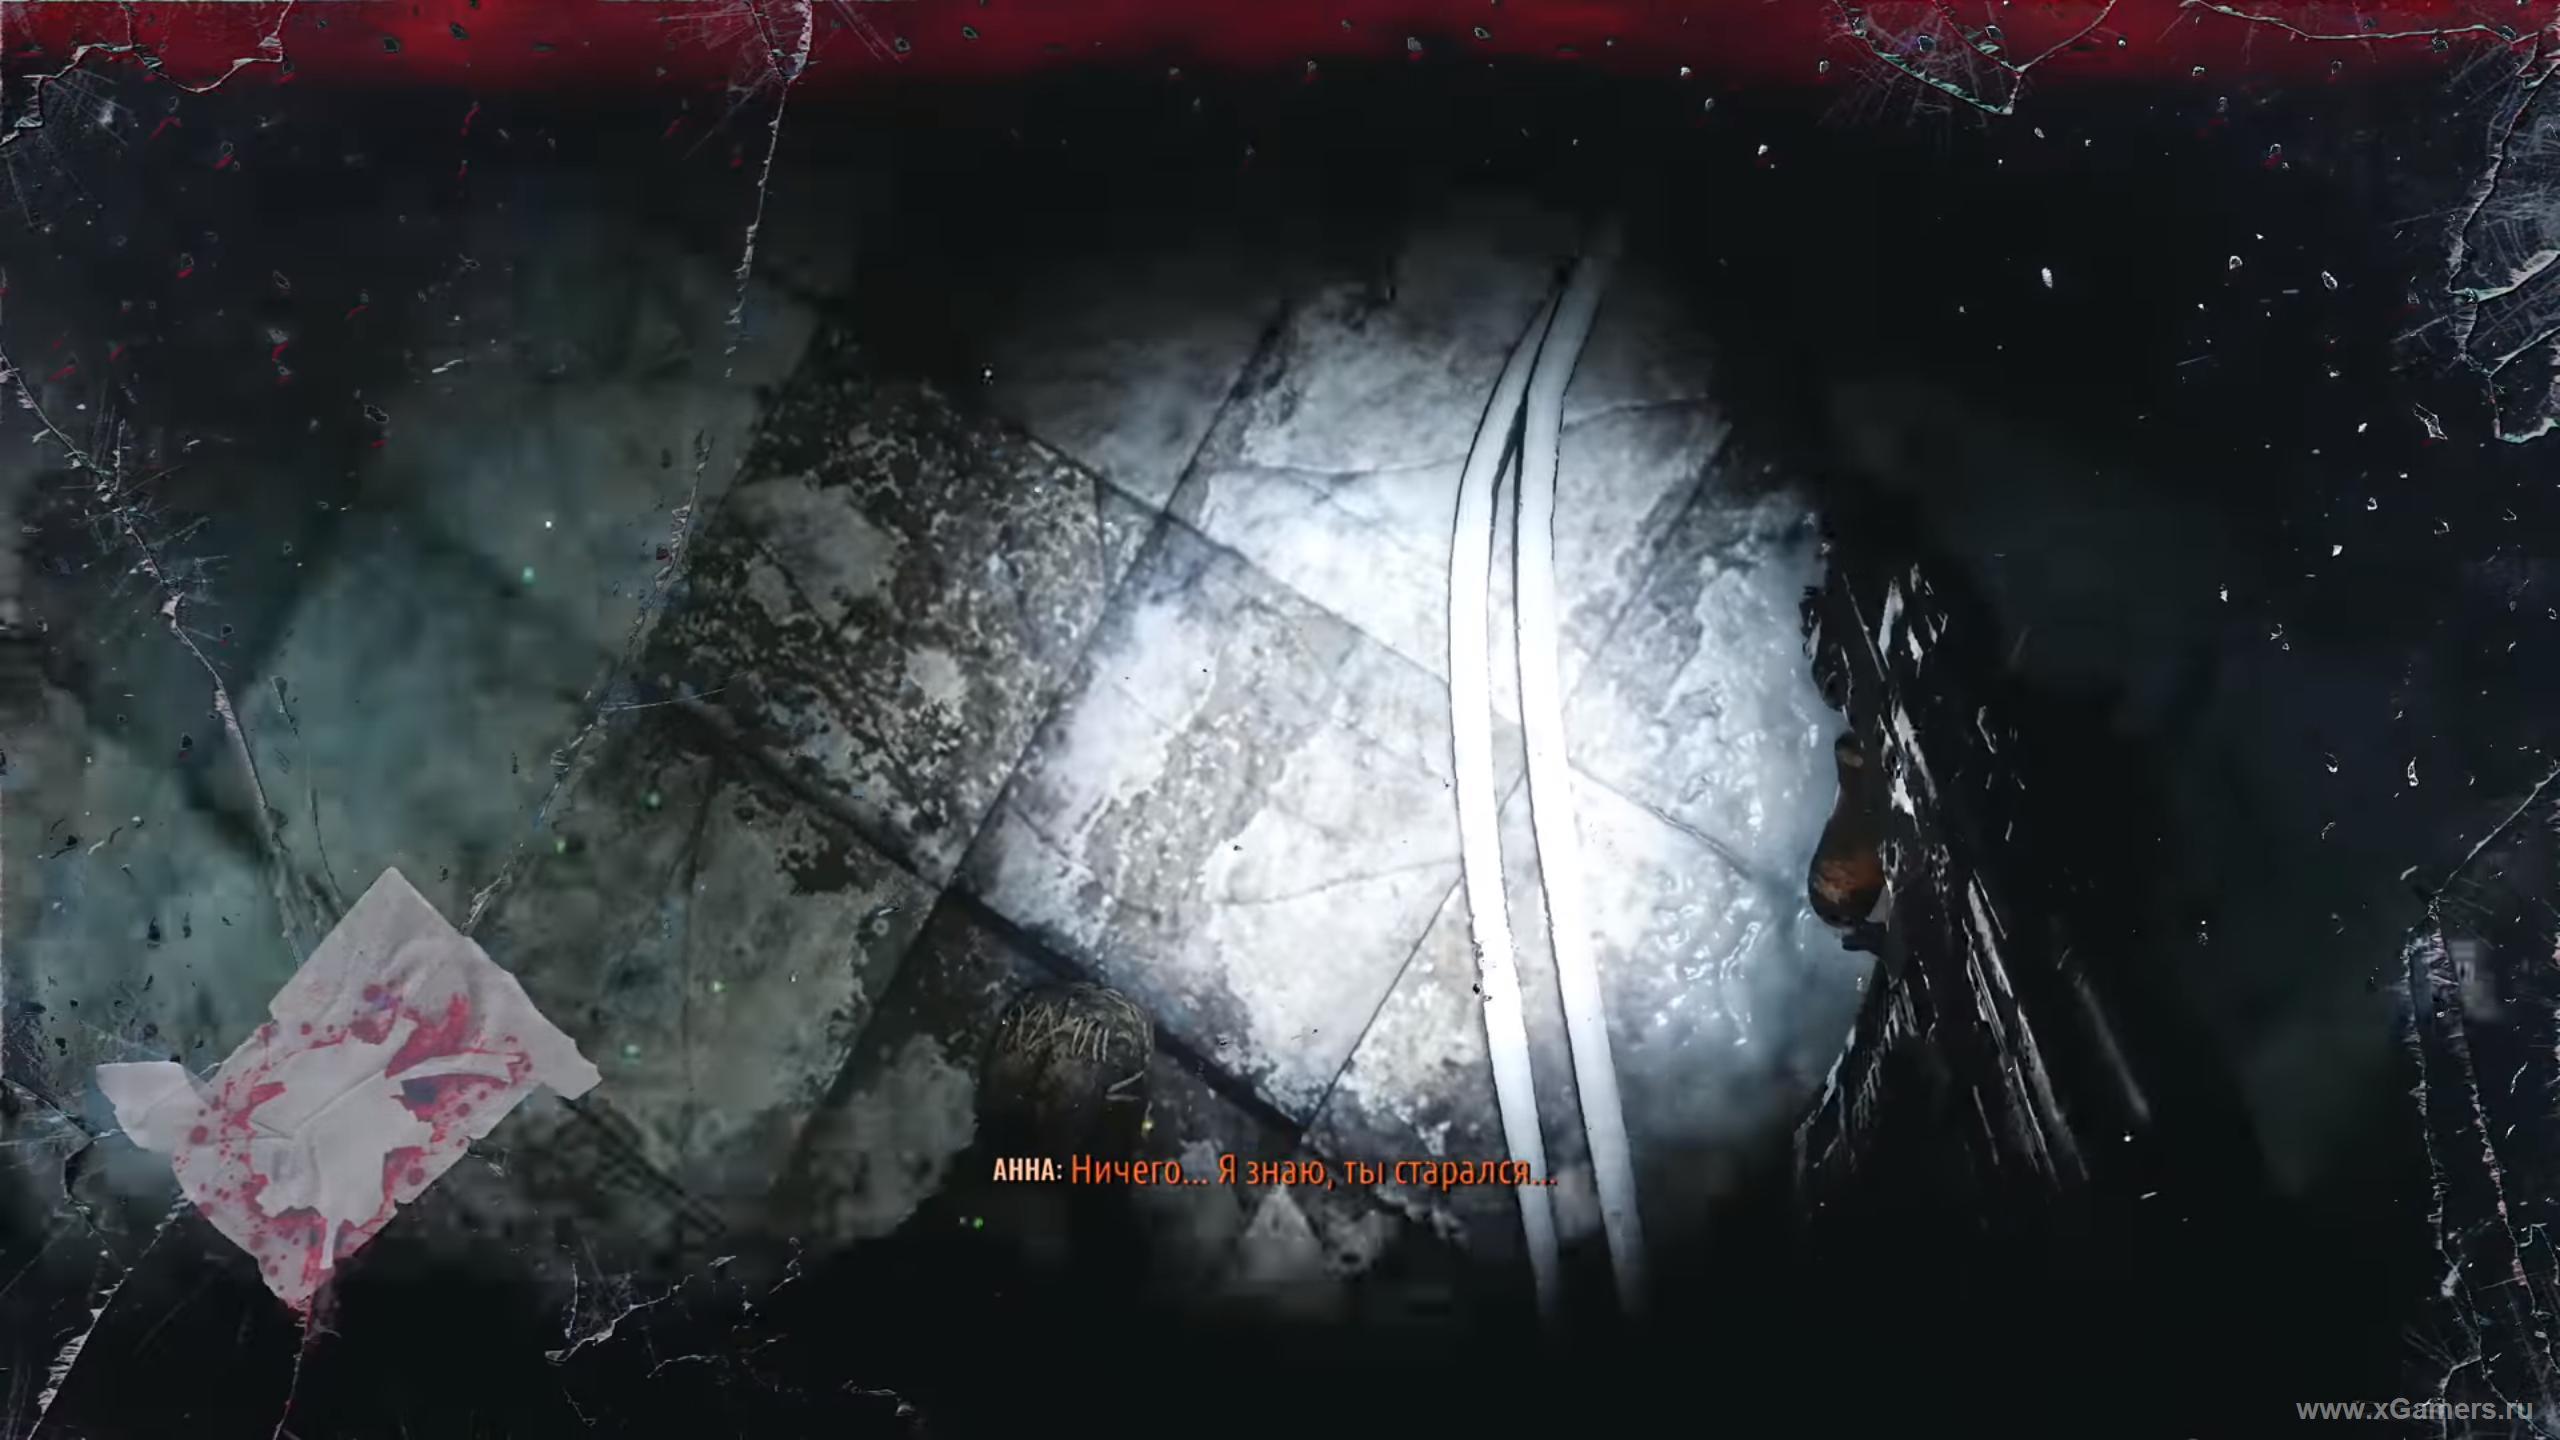
If you want a little plot, before leaving, take a look at Anna. Do not forget to carefully make up any workbench - there will be few such opportunities at this level.
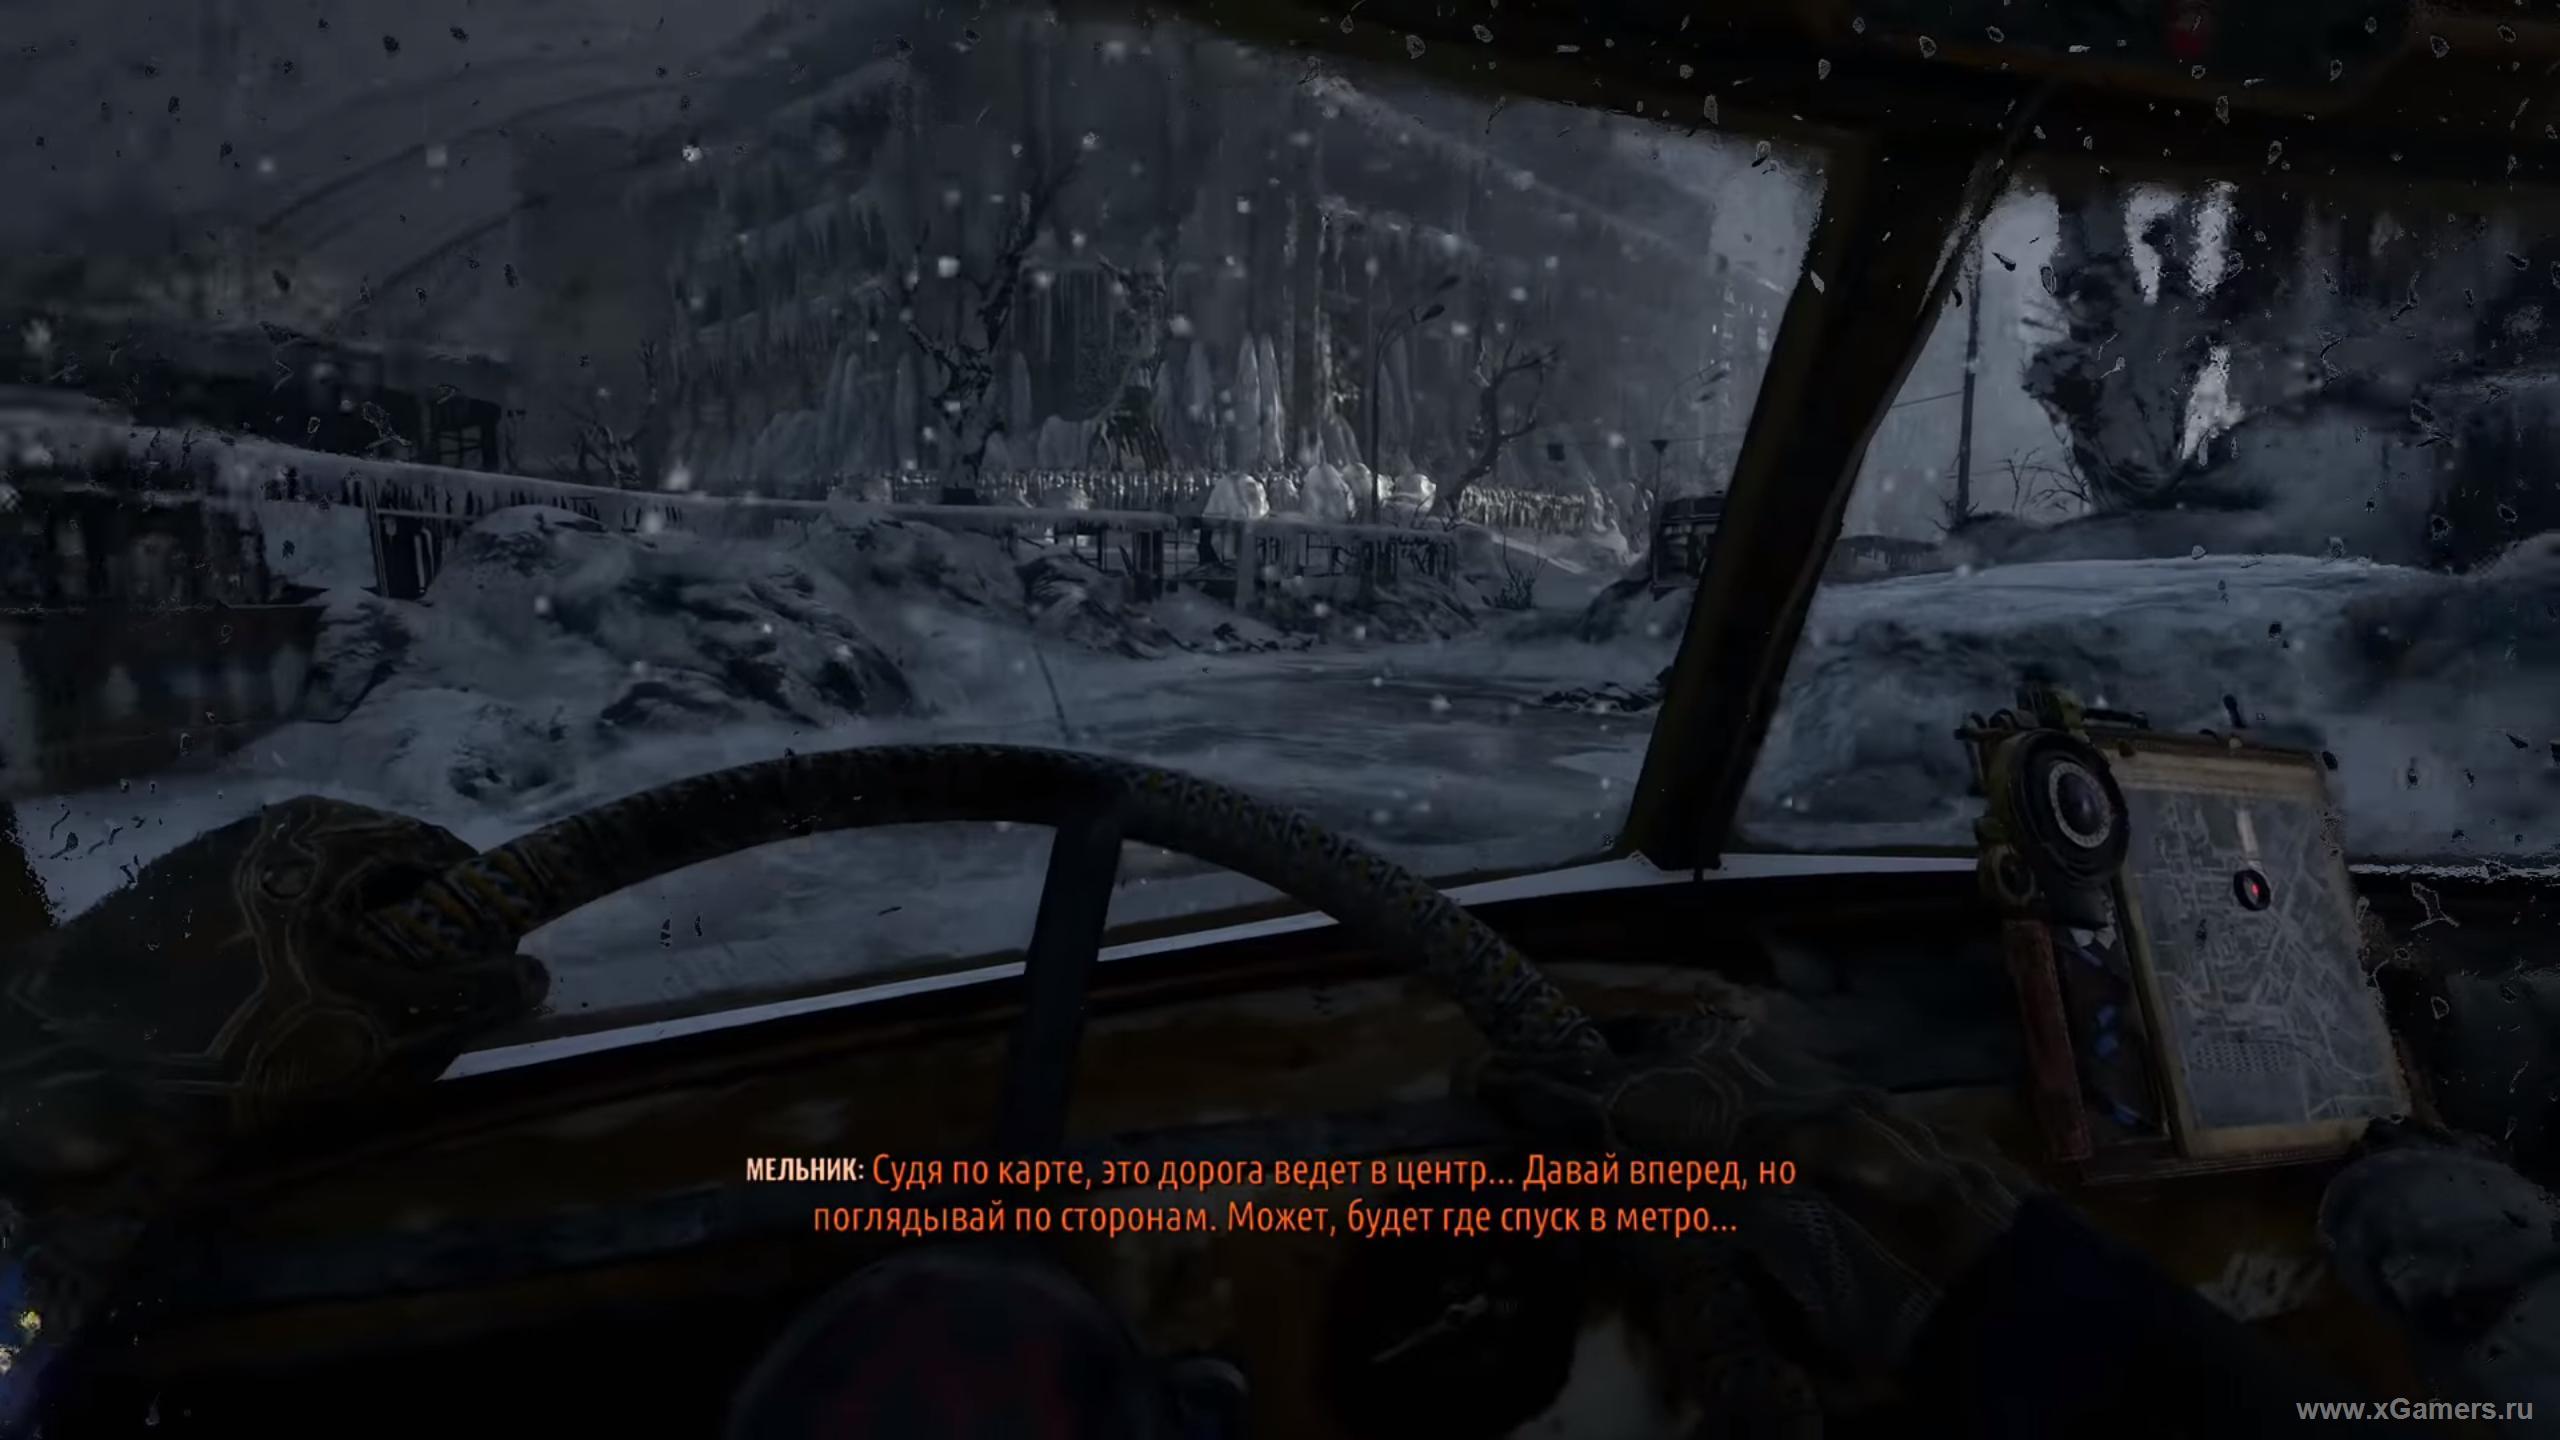
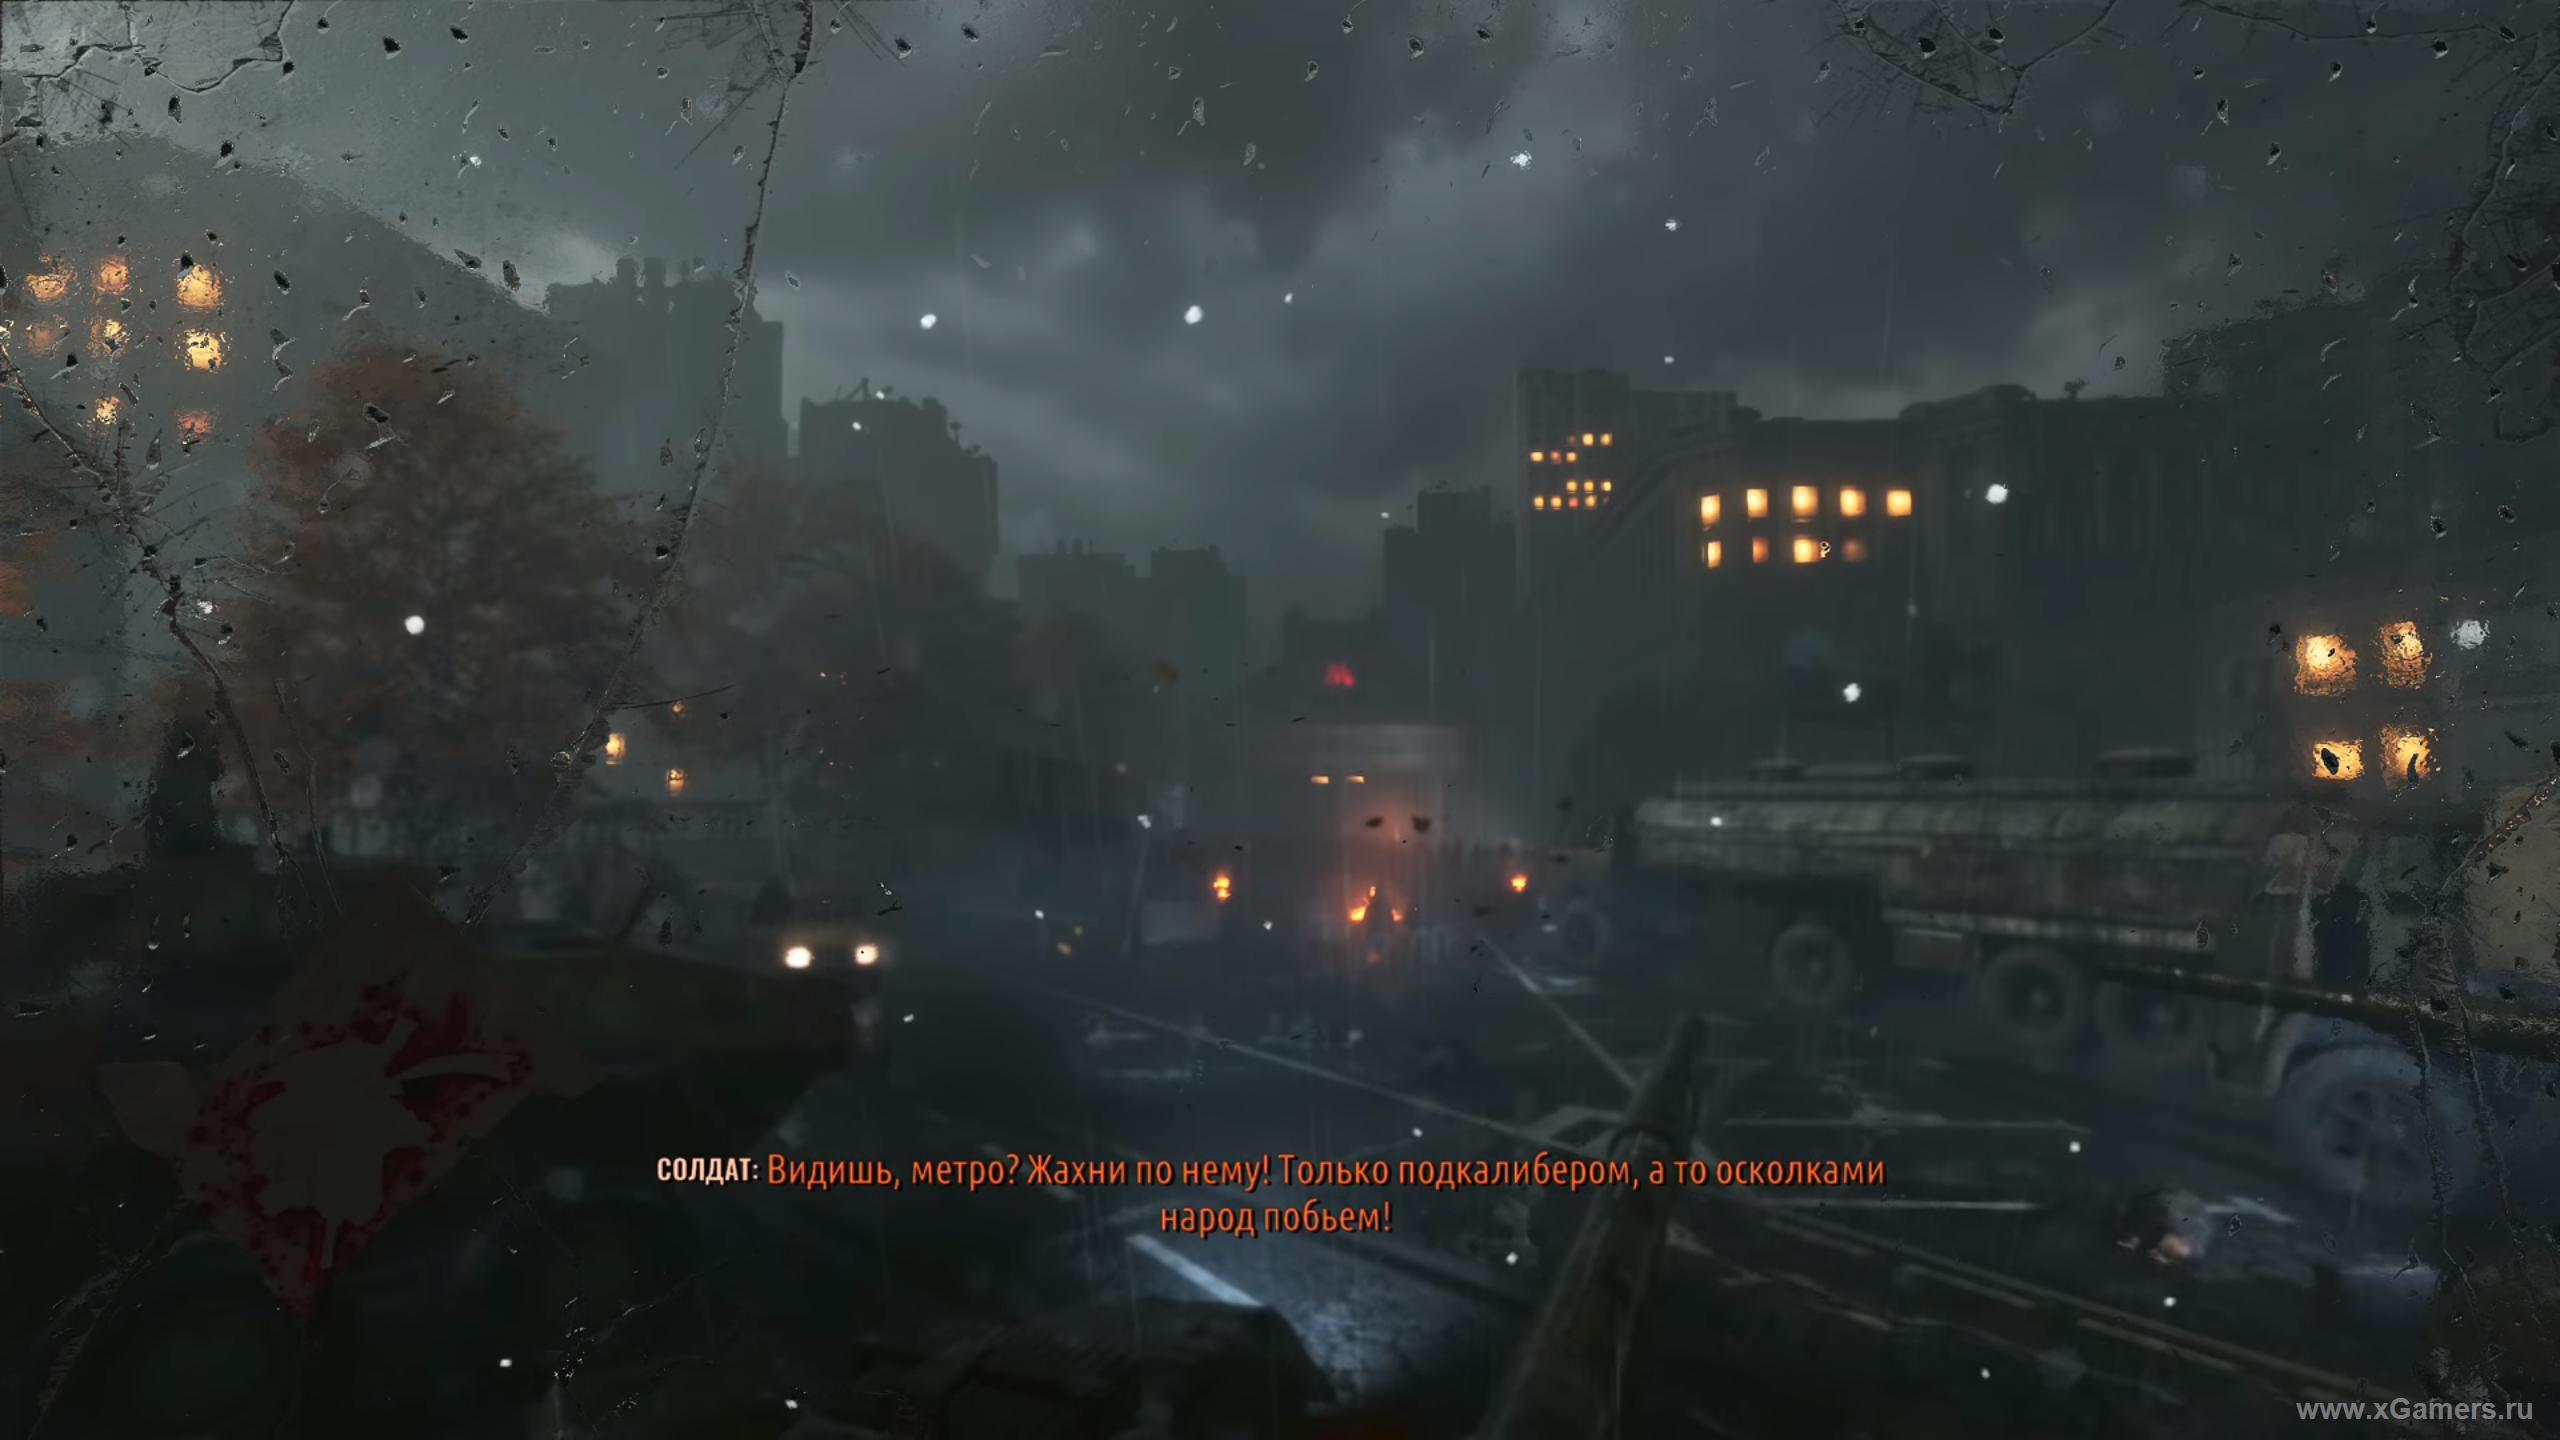
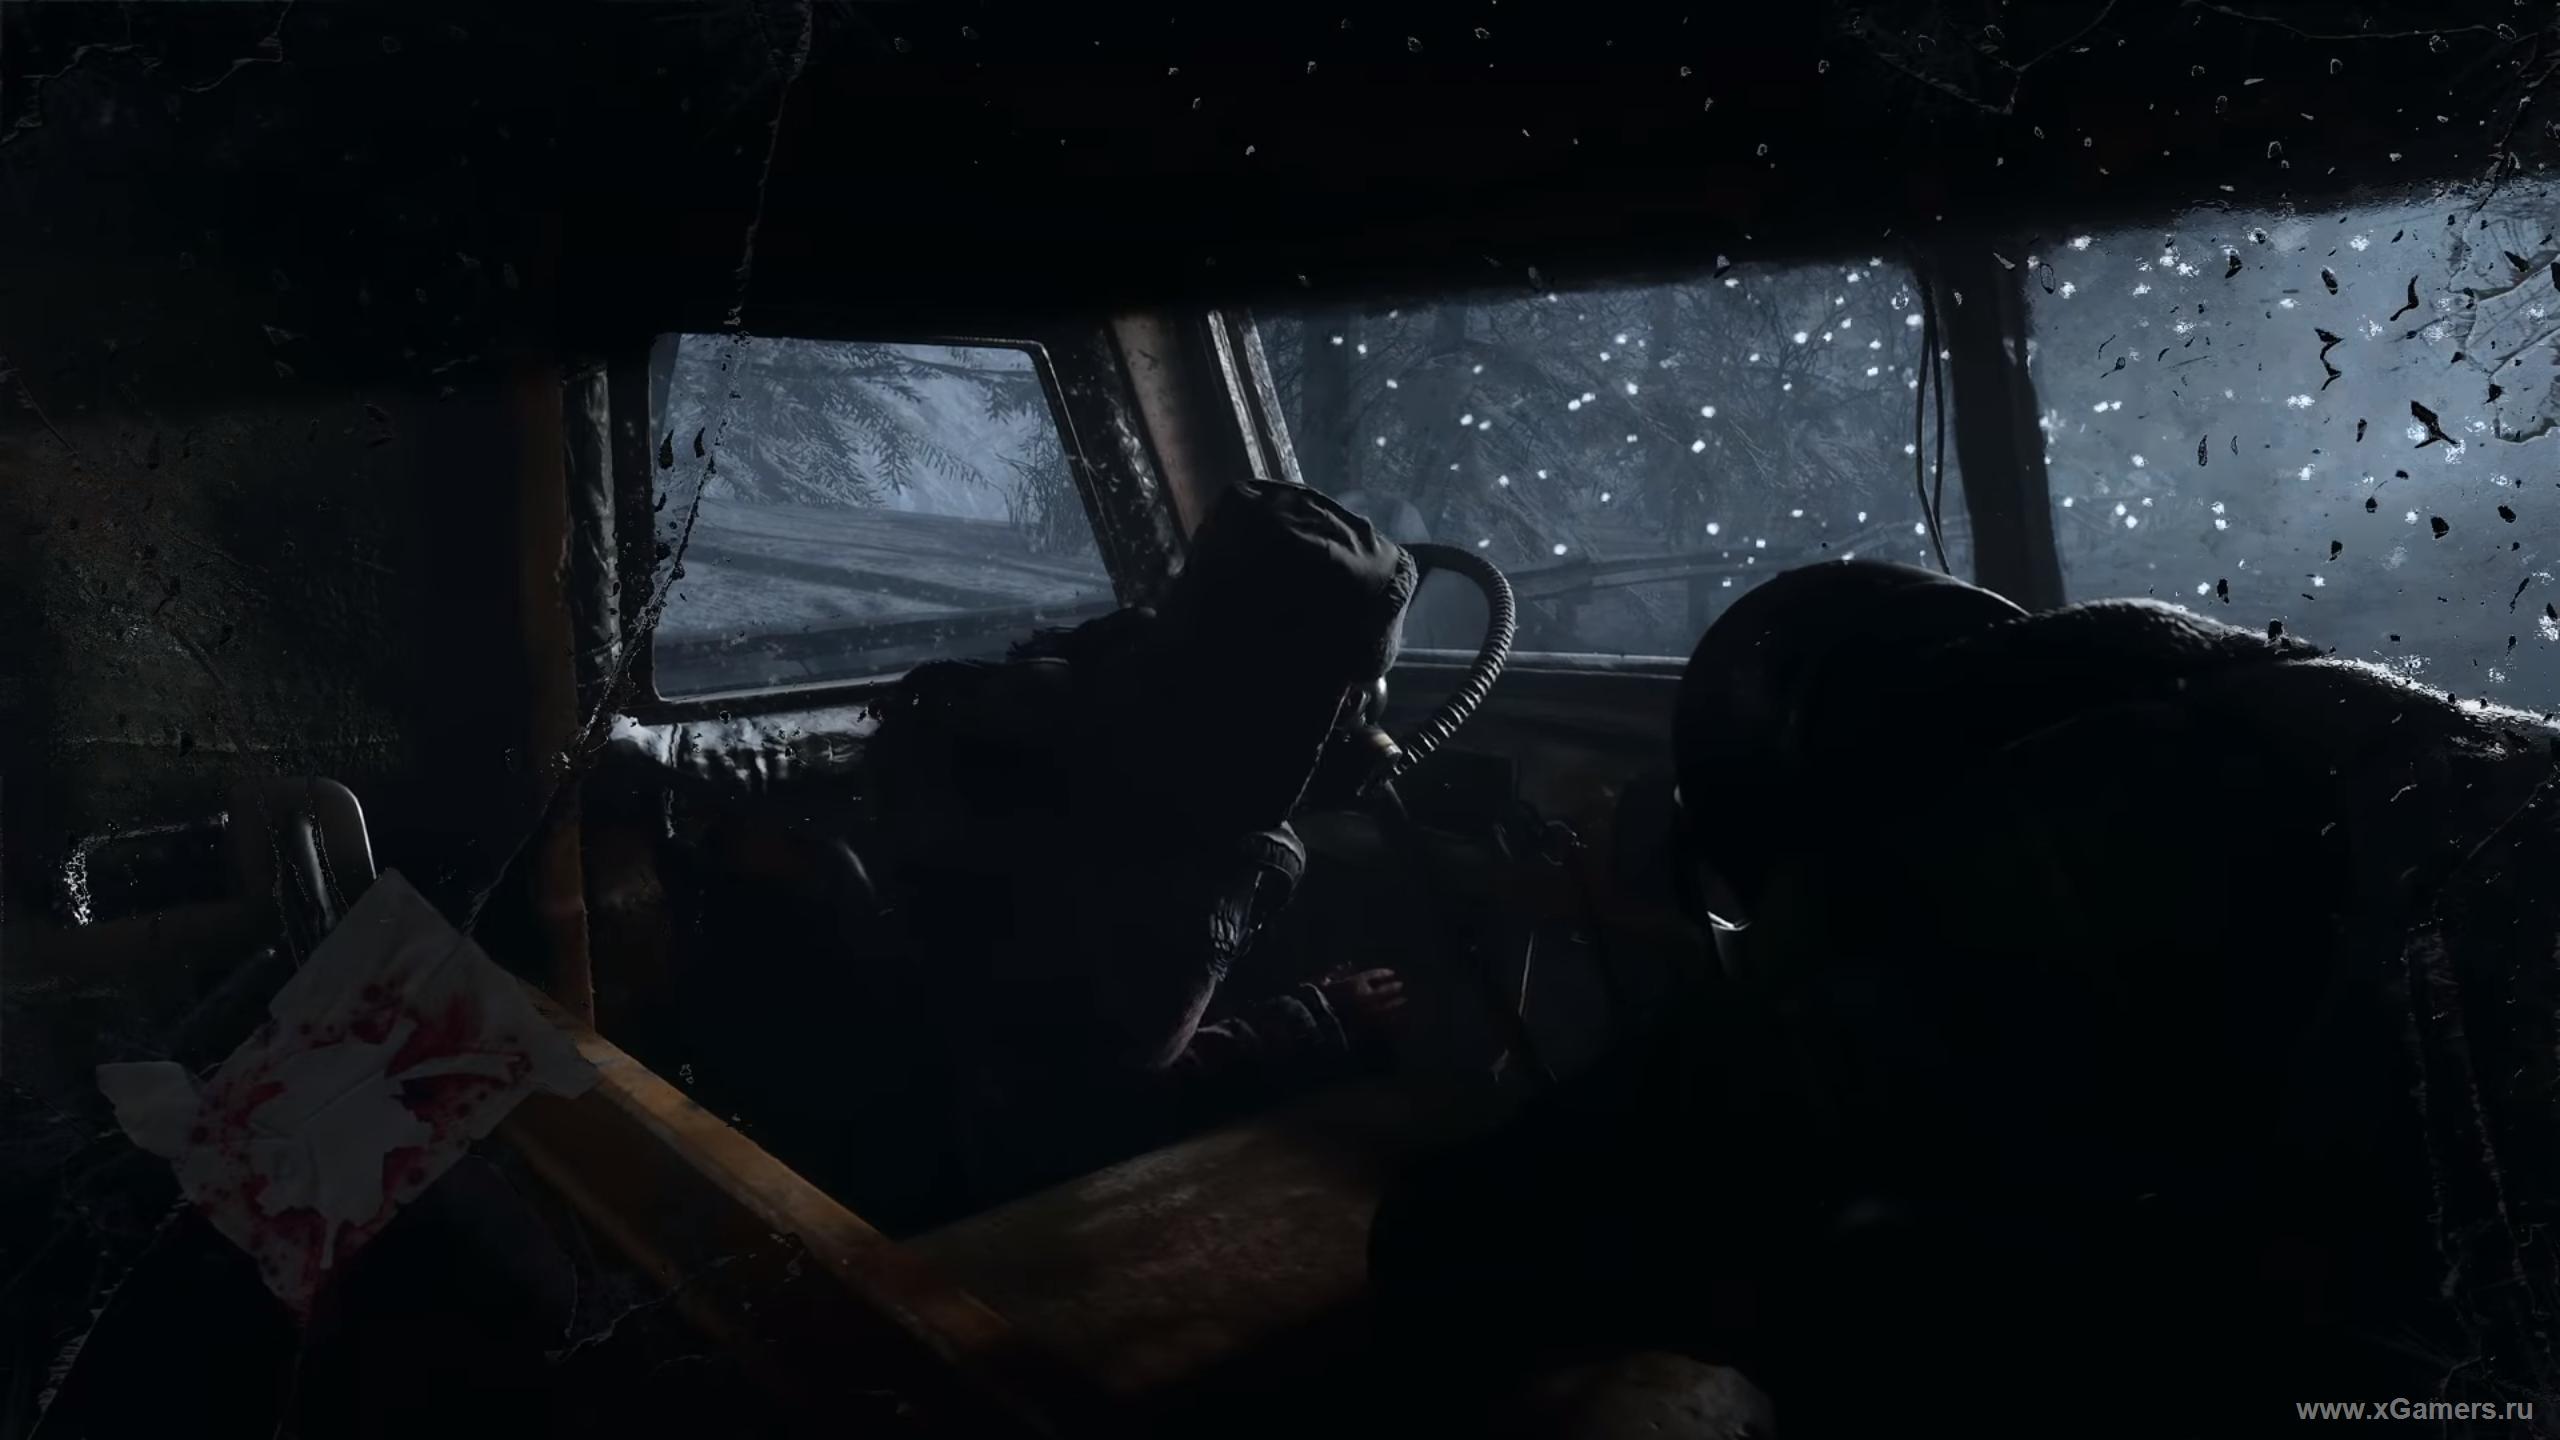
As soon as you get into the car, the long cutscene will begin. In order to get to the institute, you need to find ... the subway! So to say, back to basics. Well, that is what you will do.

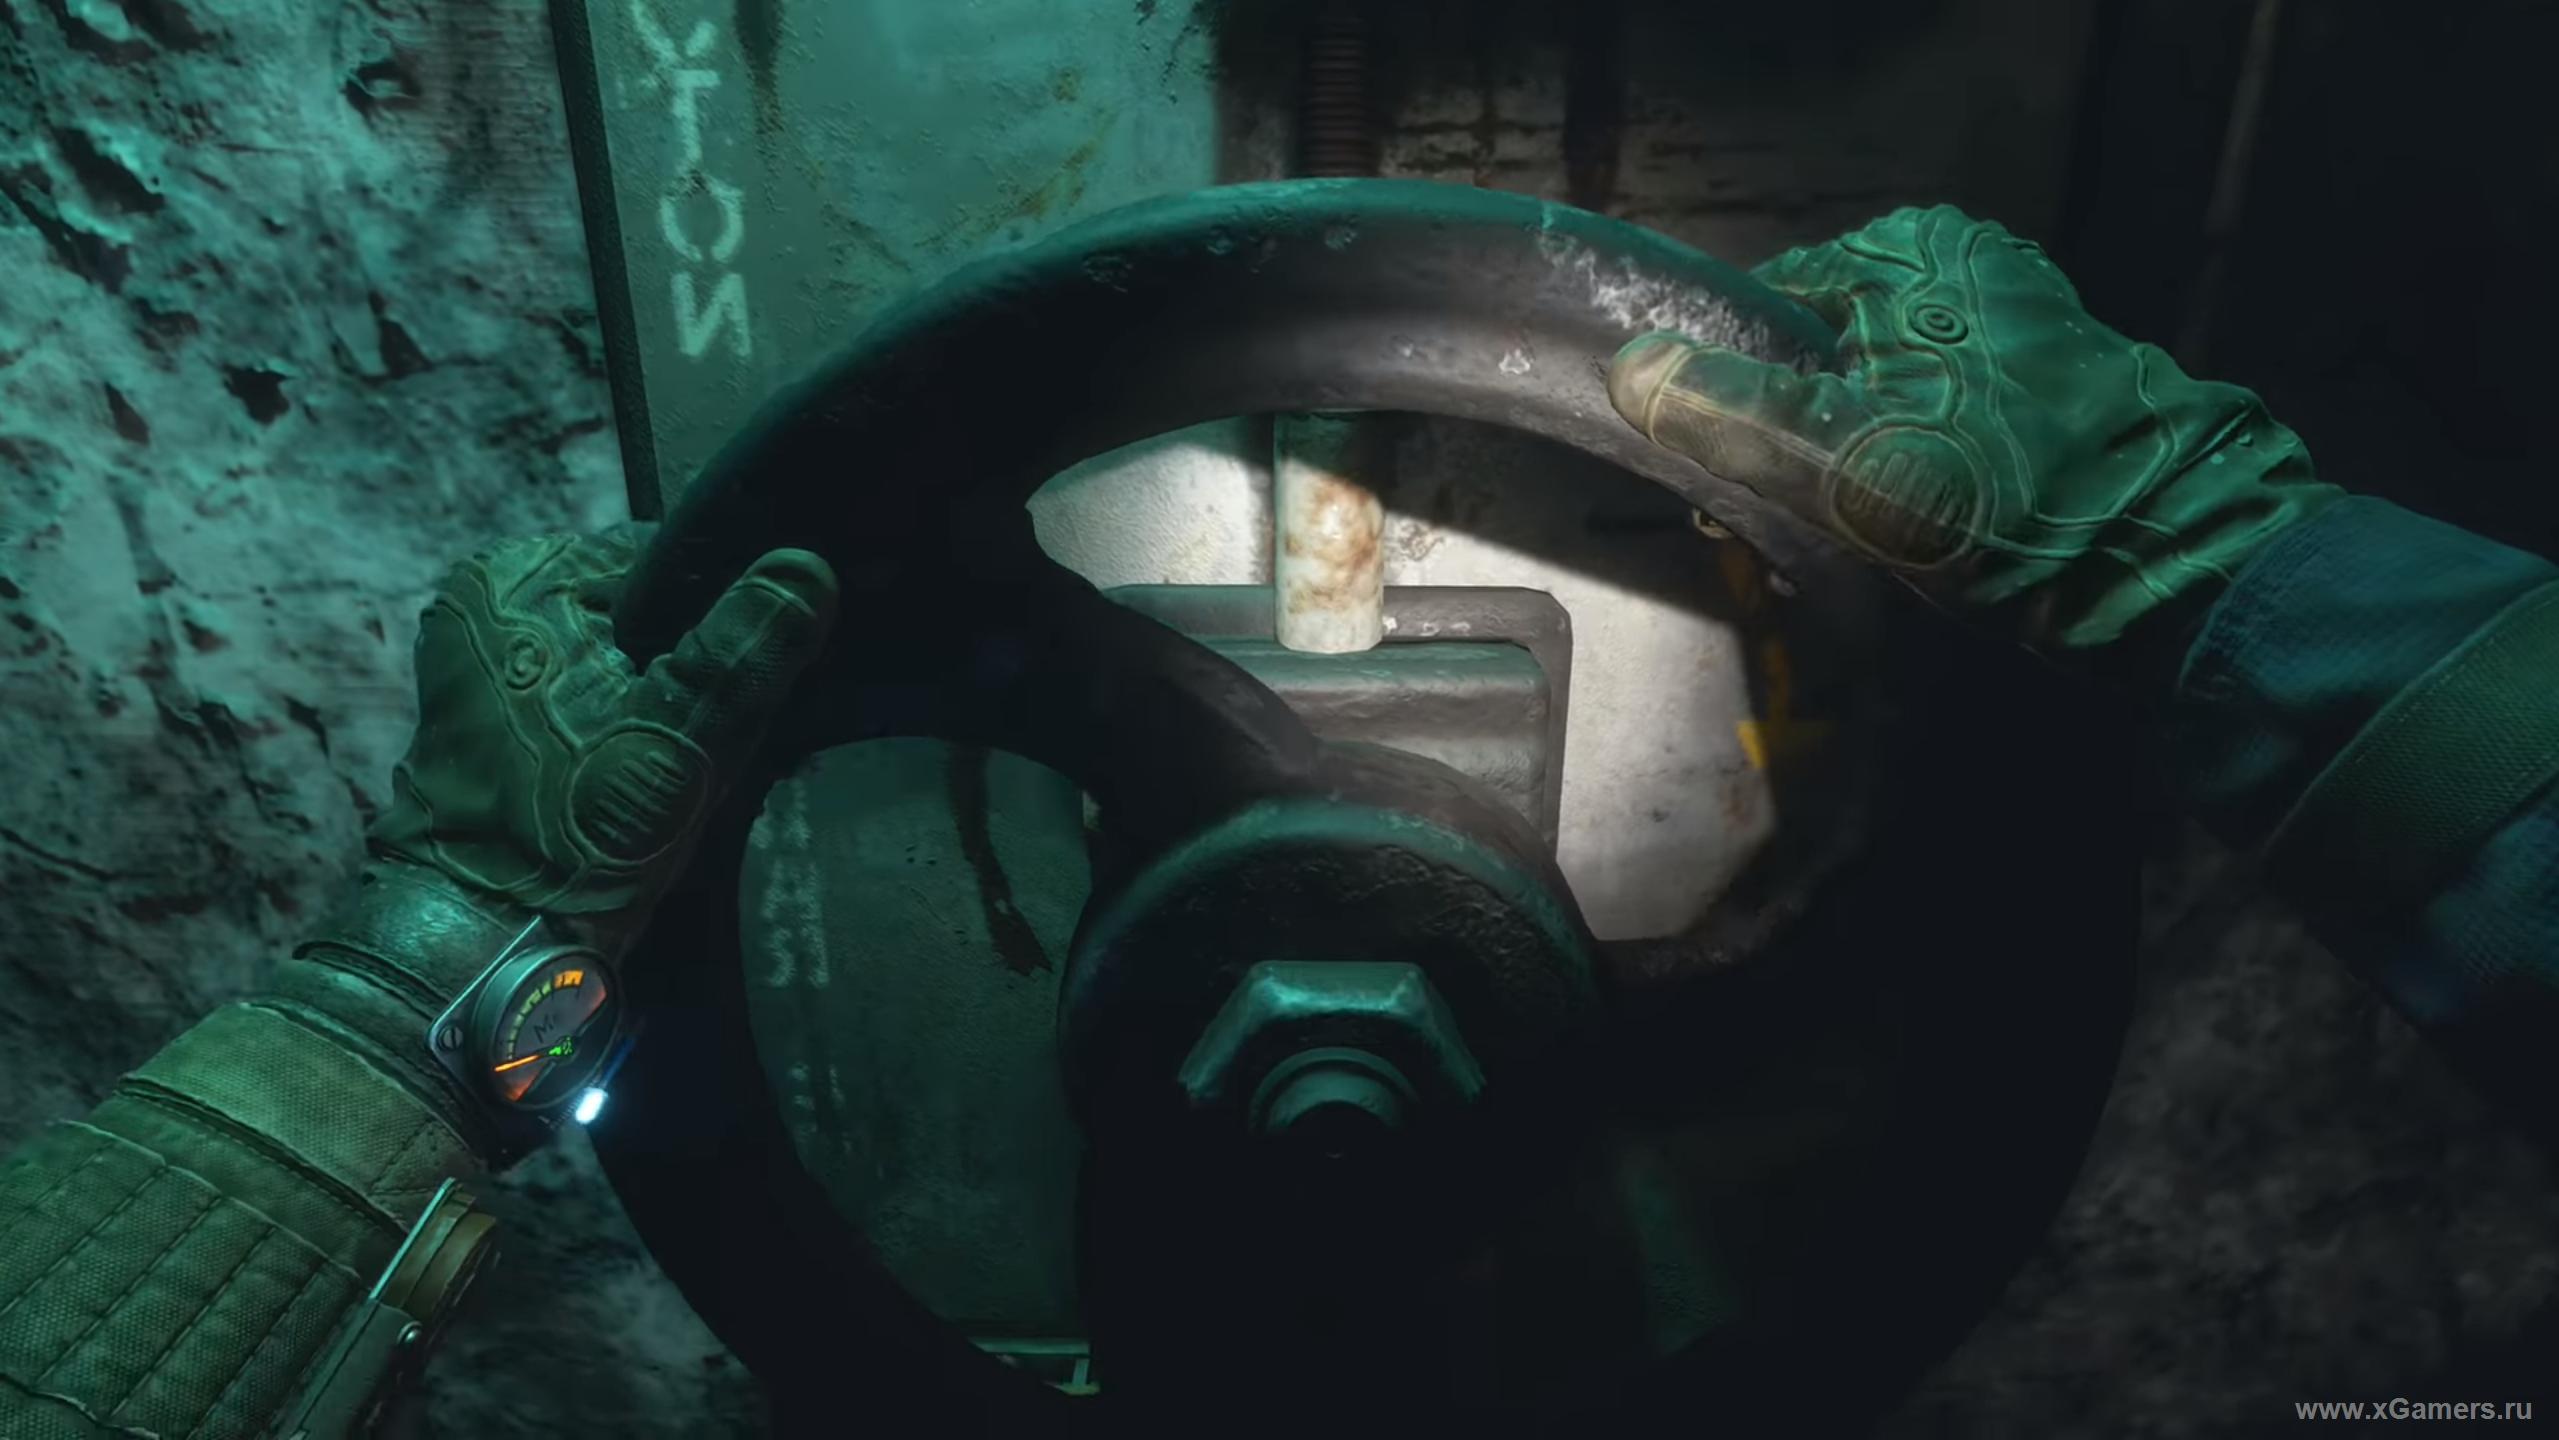
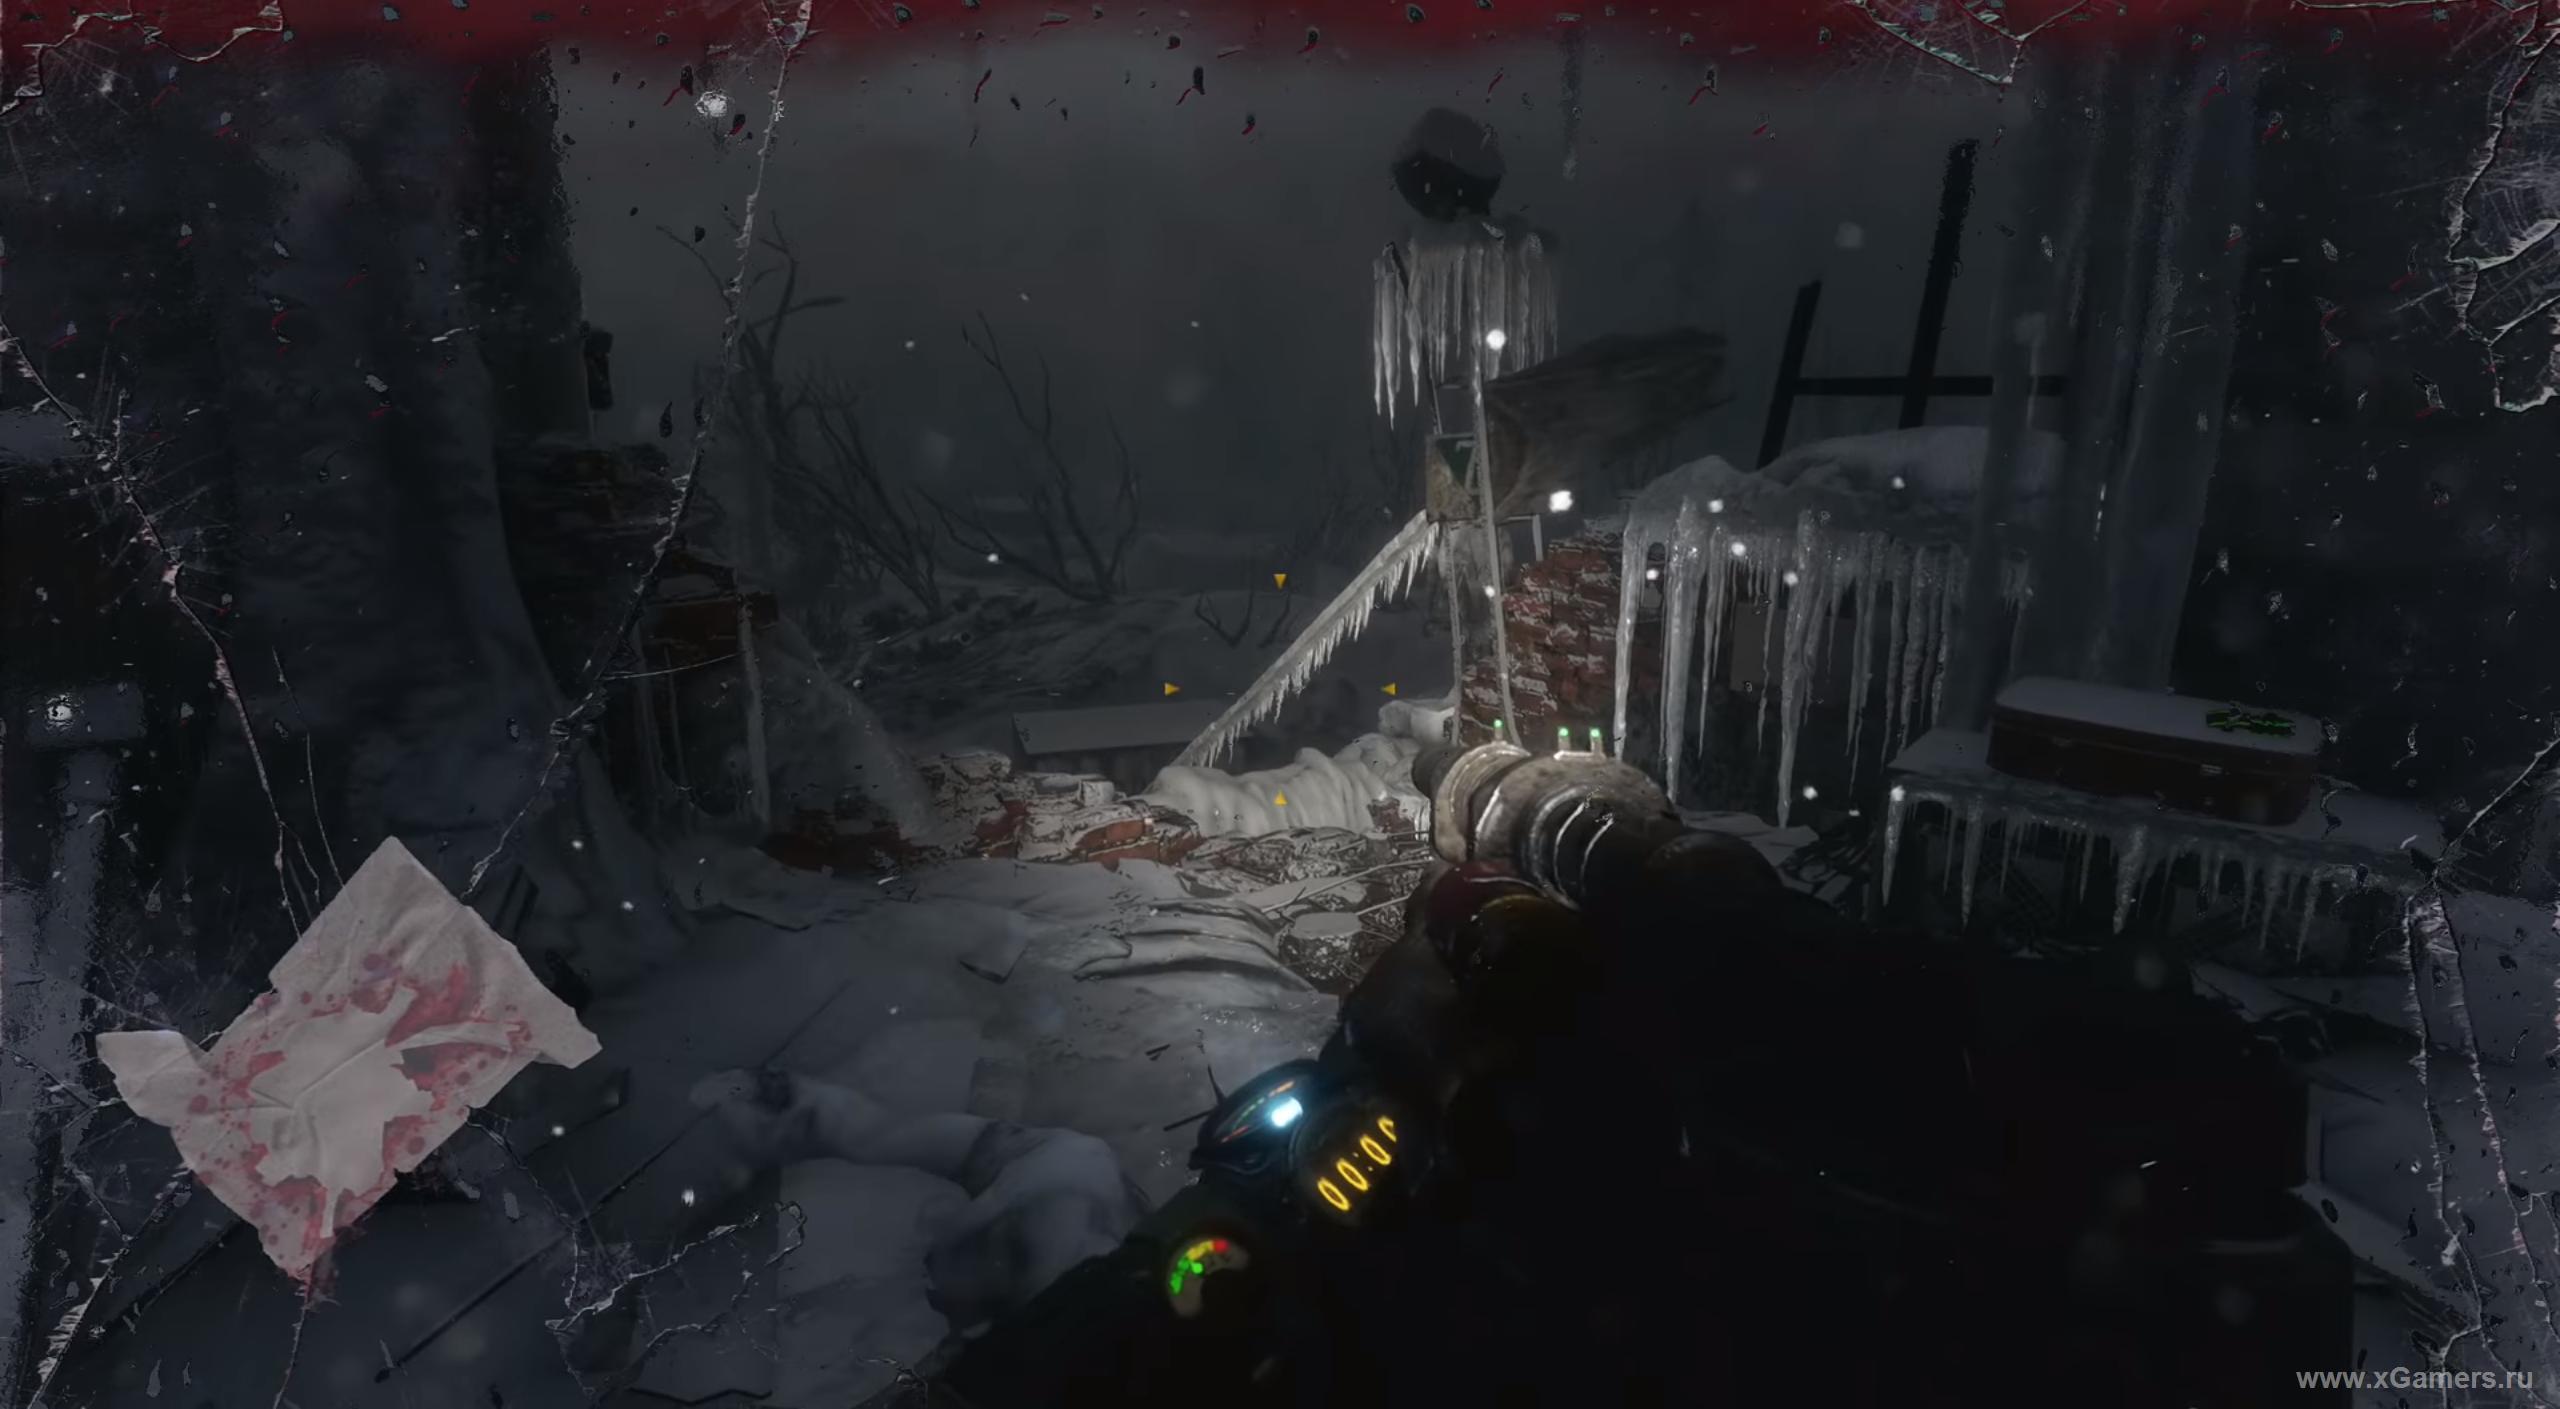
When you get to the lowered descent in, in fact, the metro, driving will give you. There is nothing difficult here - there is simply nowhere to roll the wrong way.
When you reach a dead end and get out of the car, wiggle in the direction of a large crater. Come inside the bus and go through it to the cherished goal.
Under the ground again. Almost like home!

Open the car door on the right side of the point from which we came here. When you find yourself in the subway, you can safely remove the gas mask - as in Moscow, here in the subway air is clean. Follow Miller.
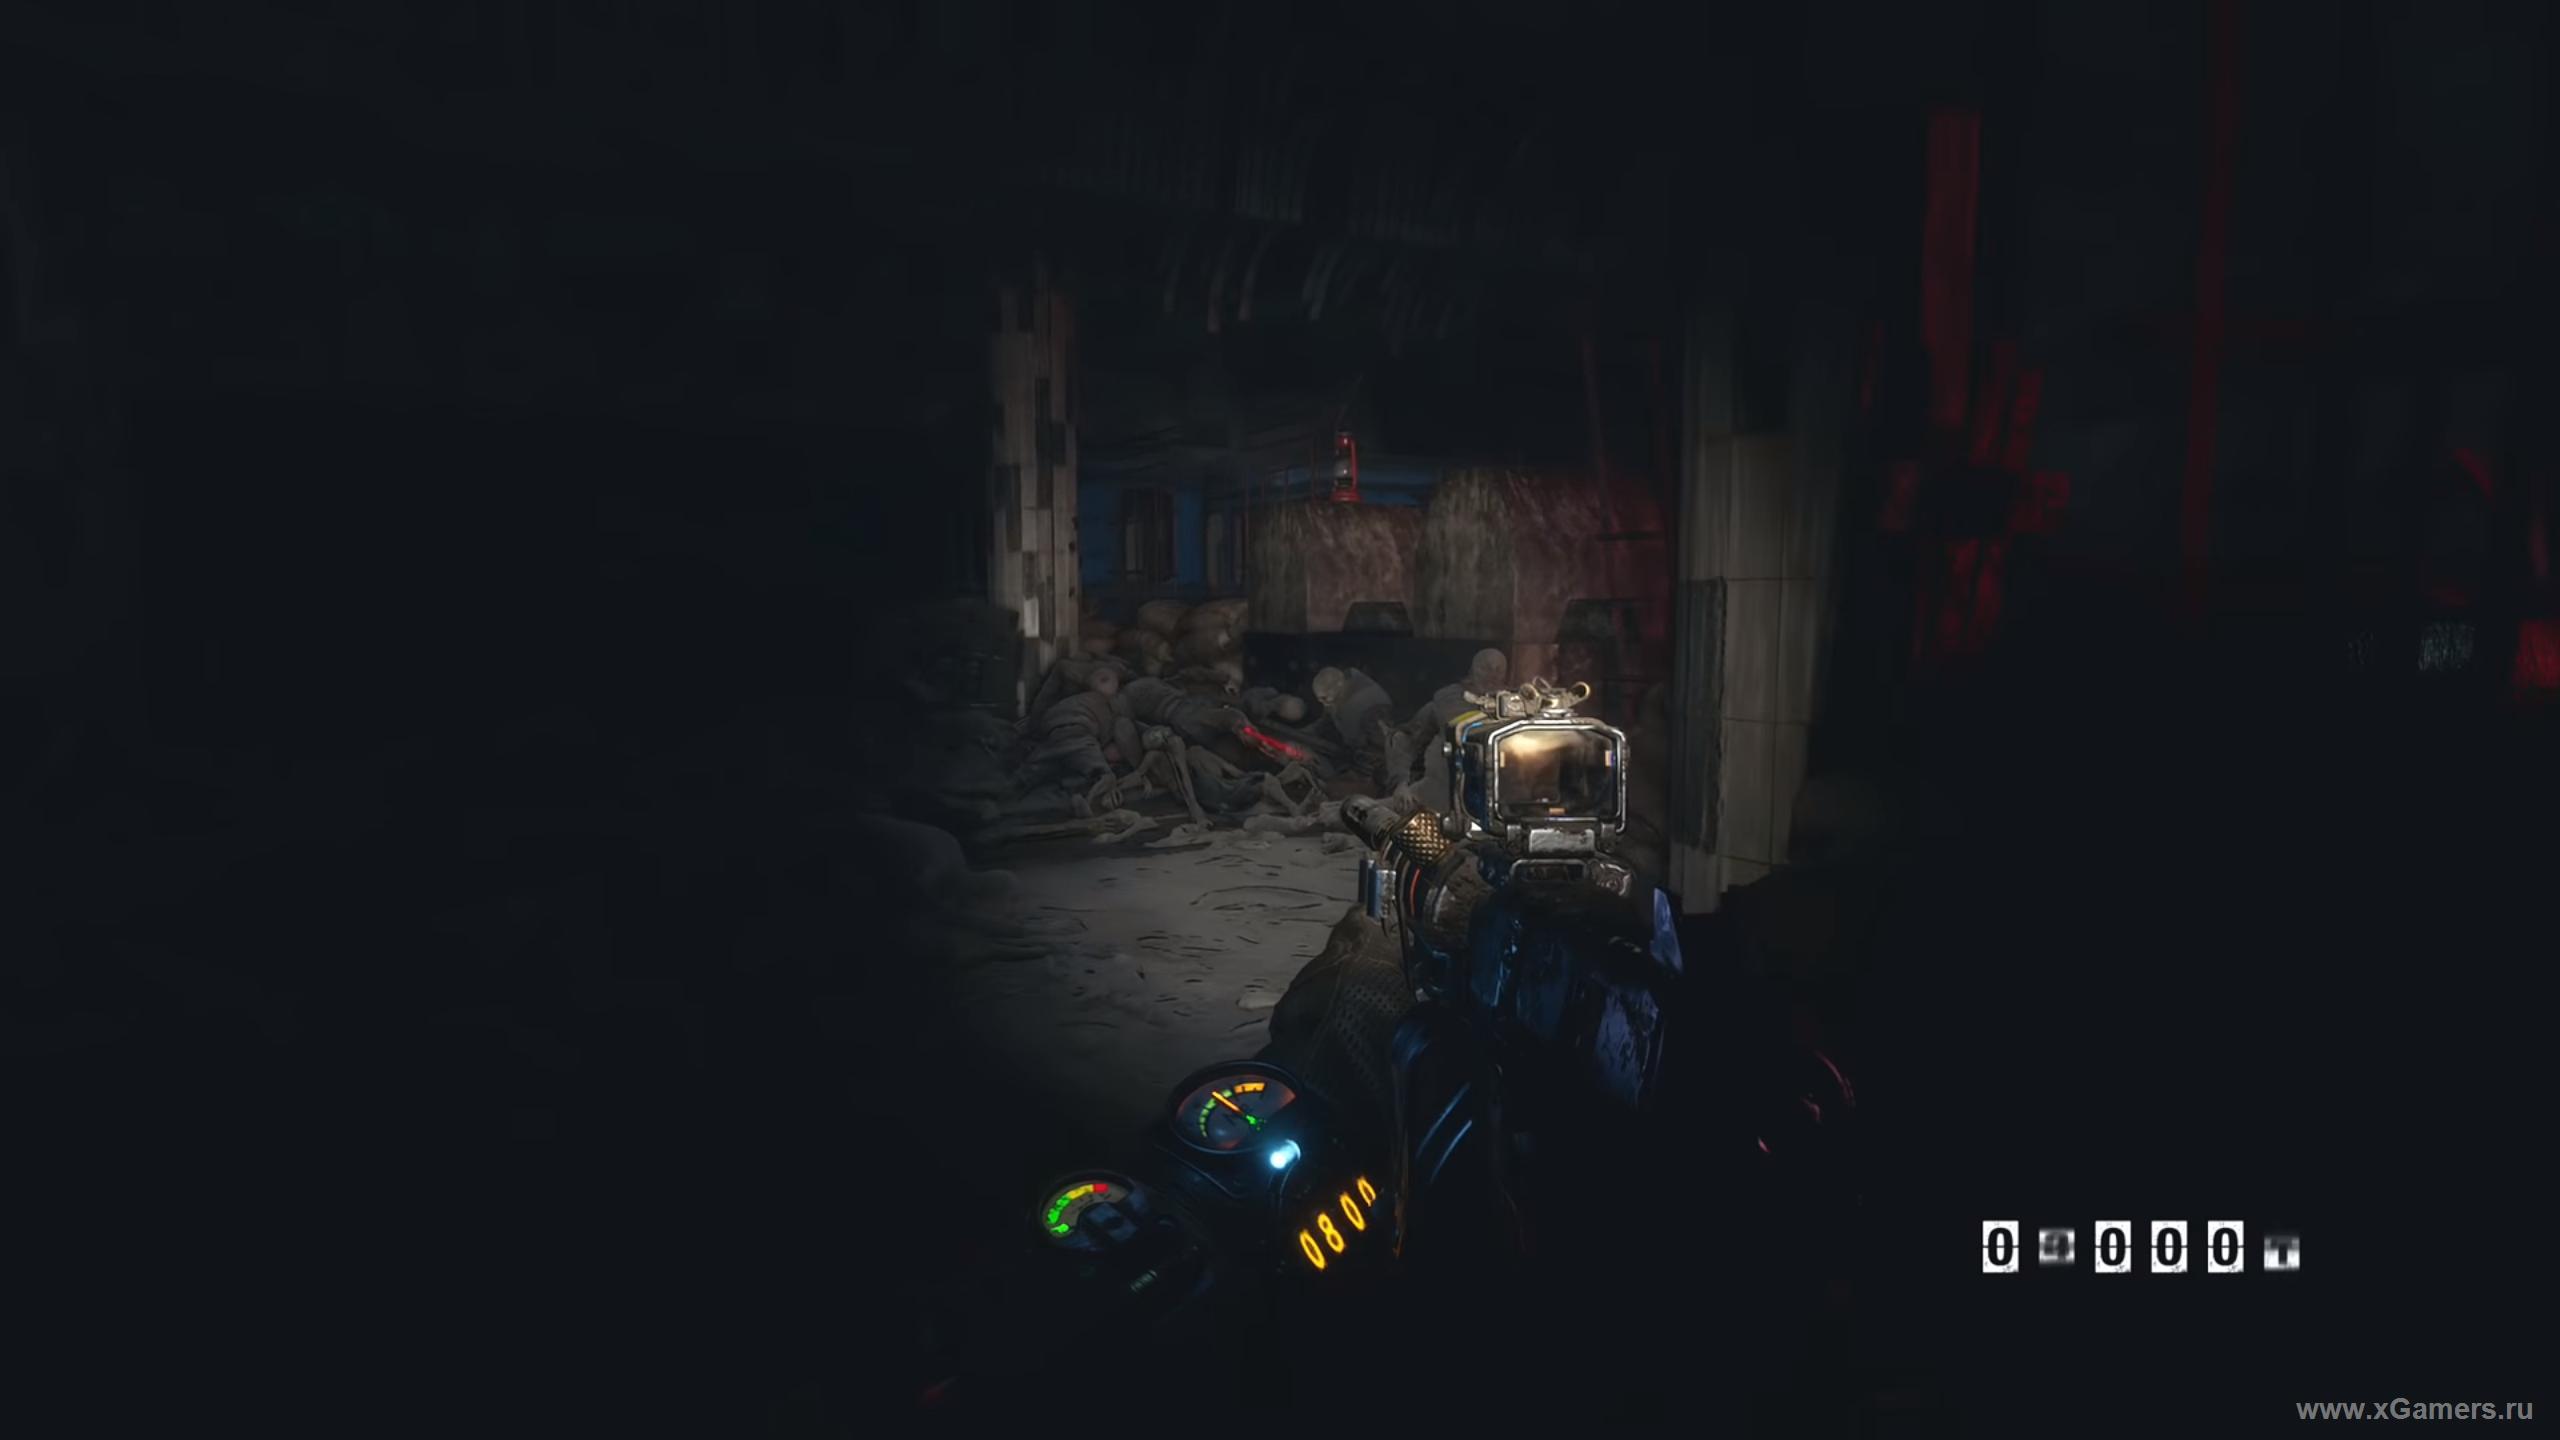
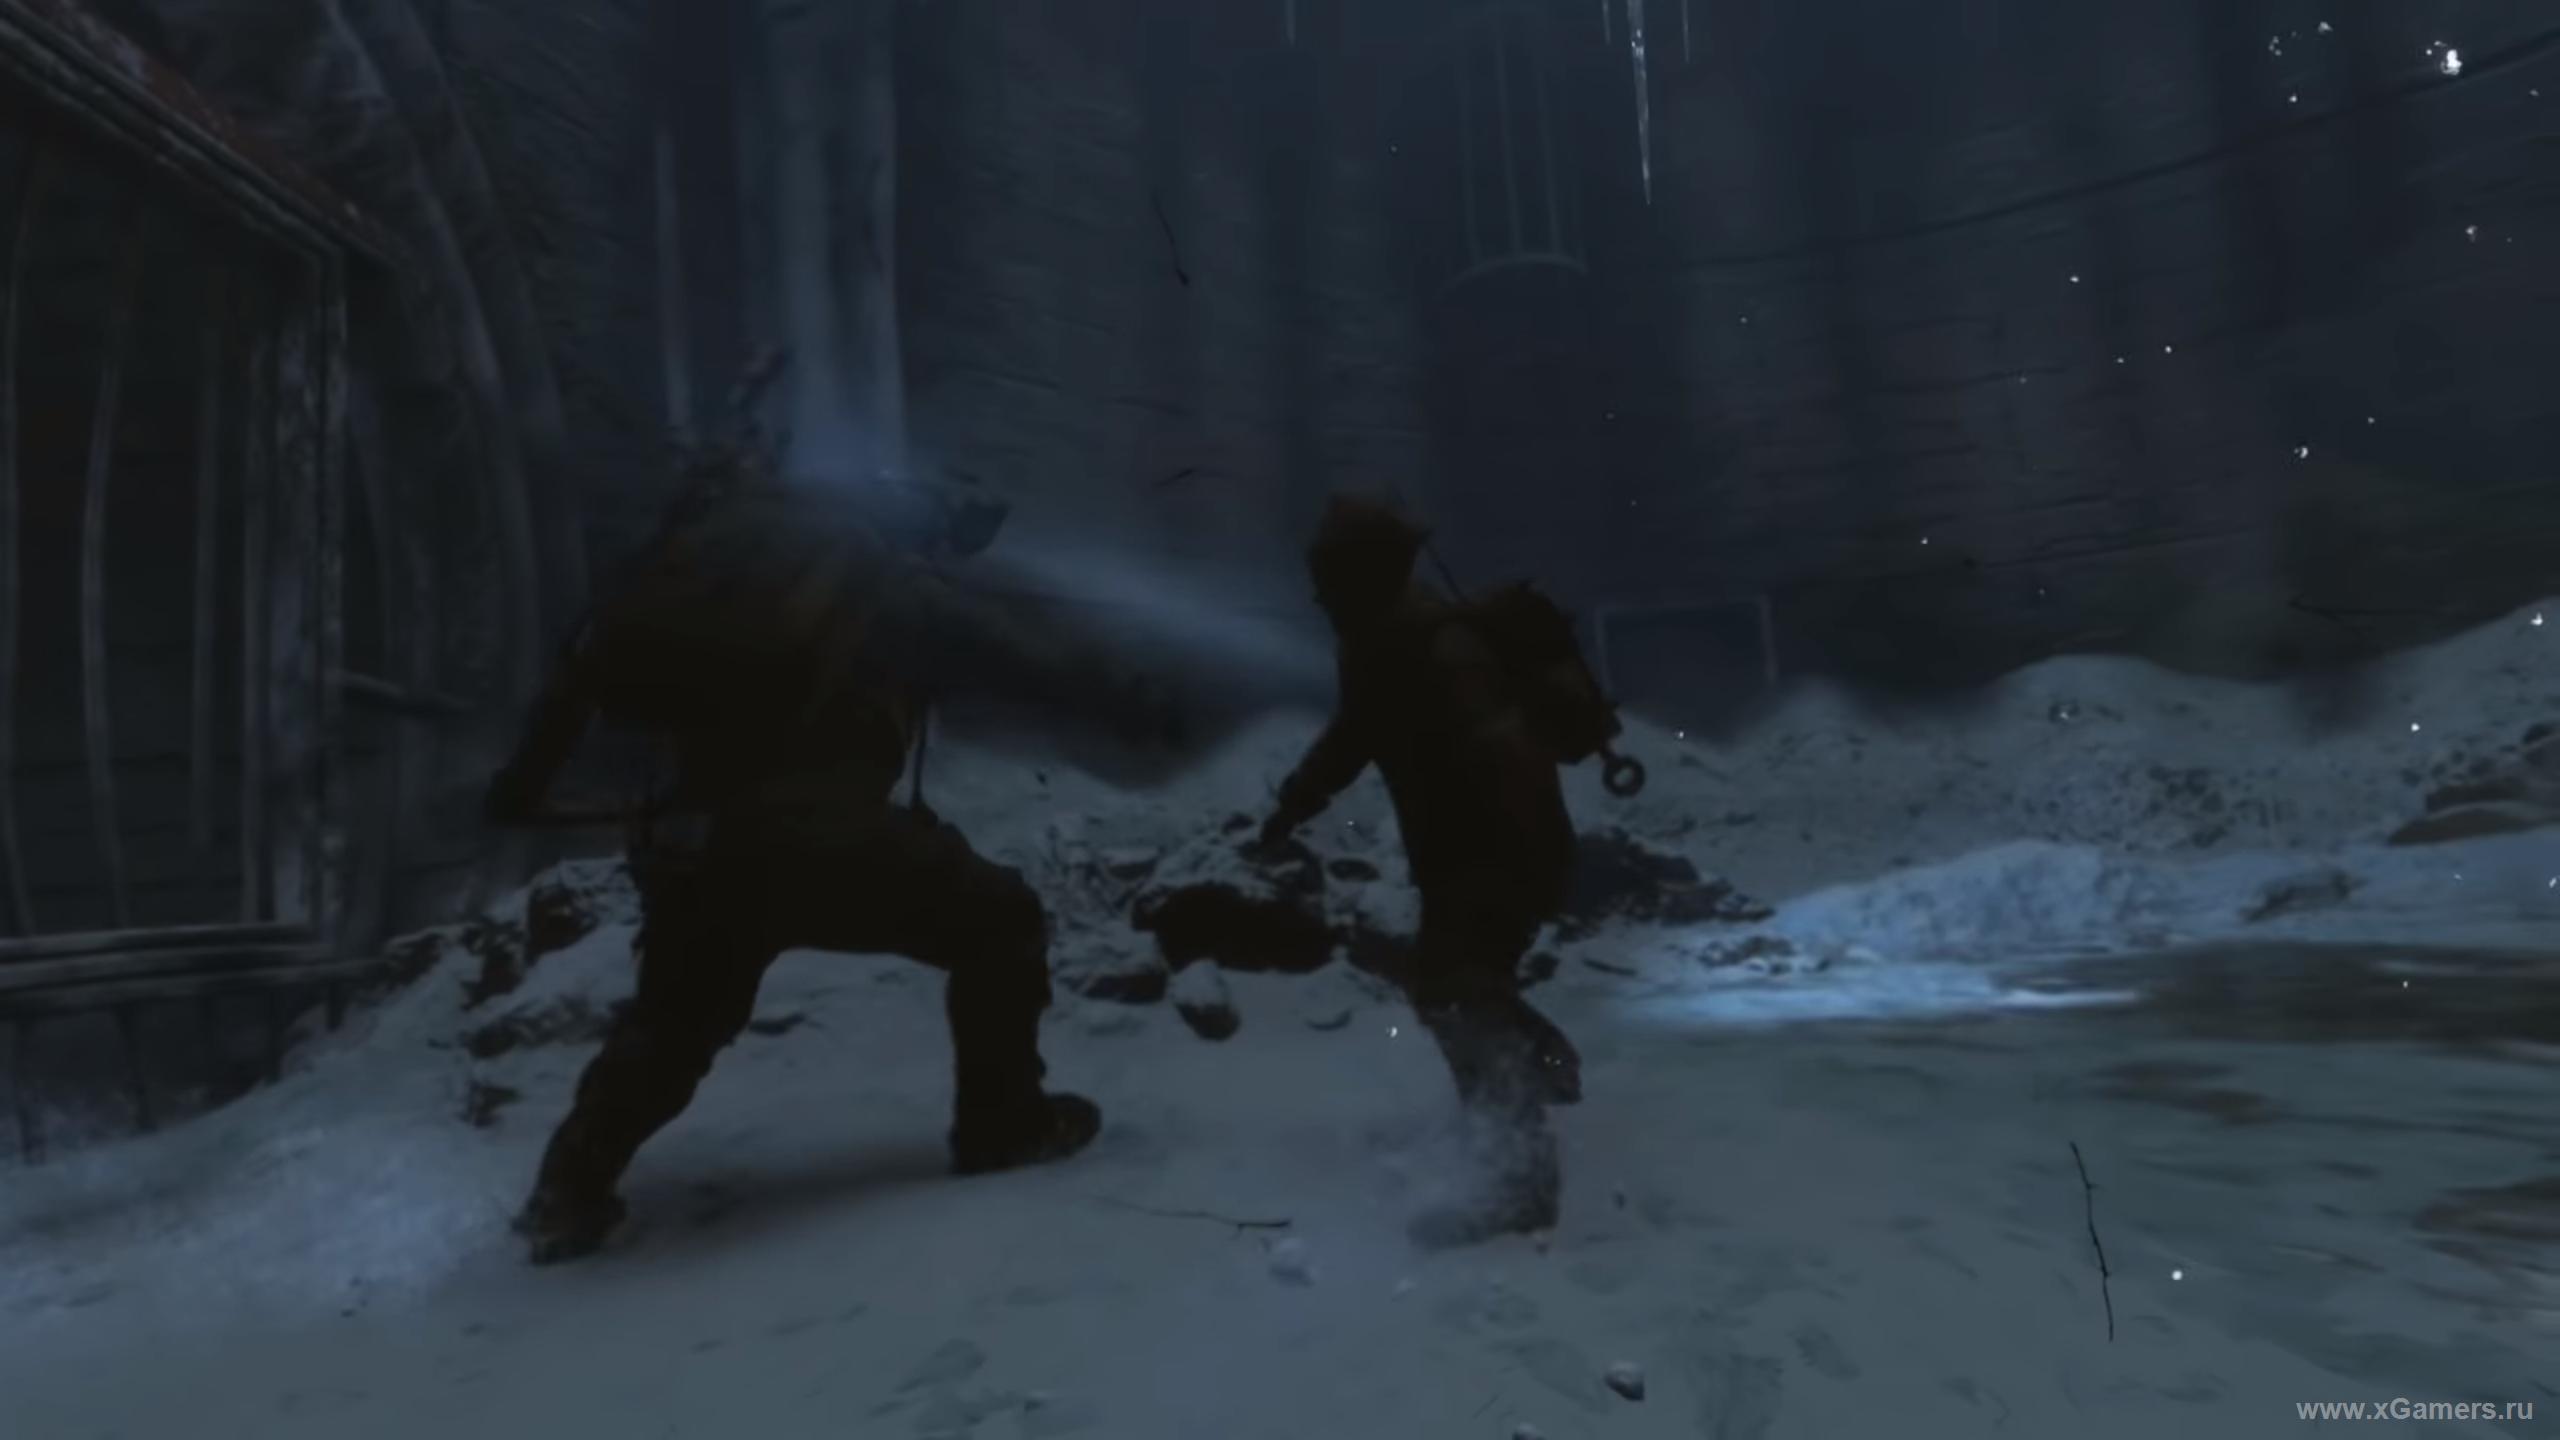
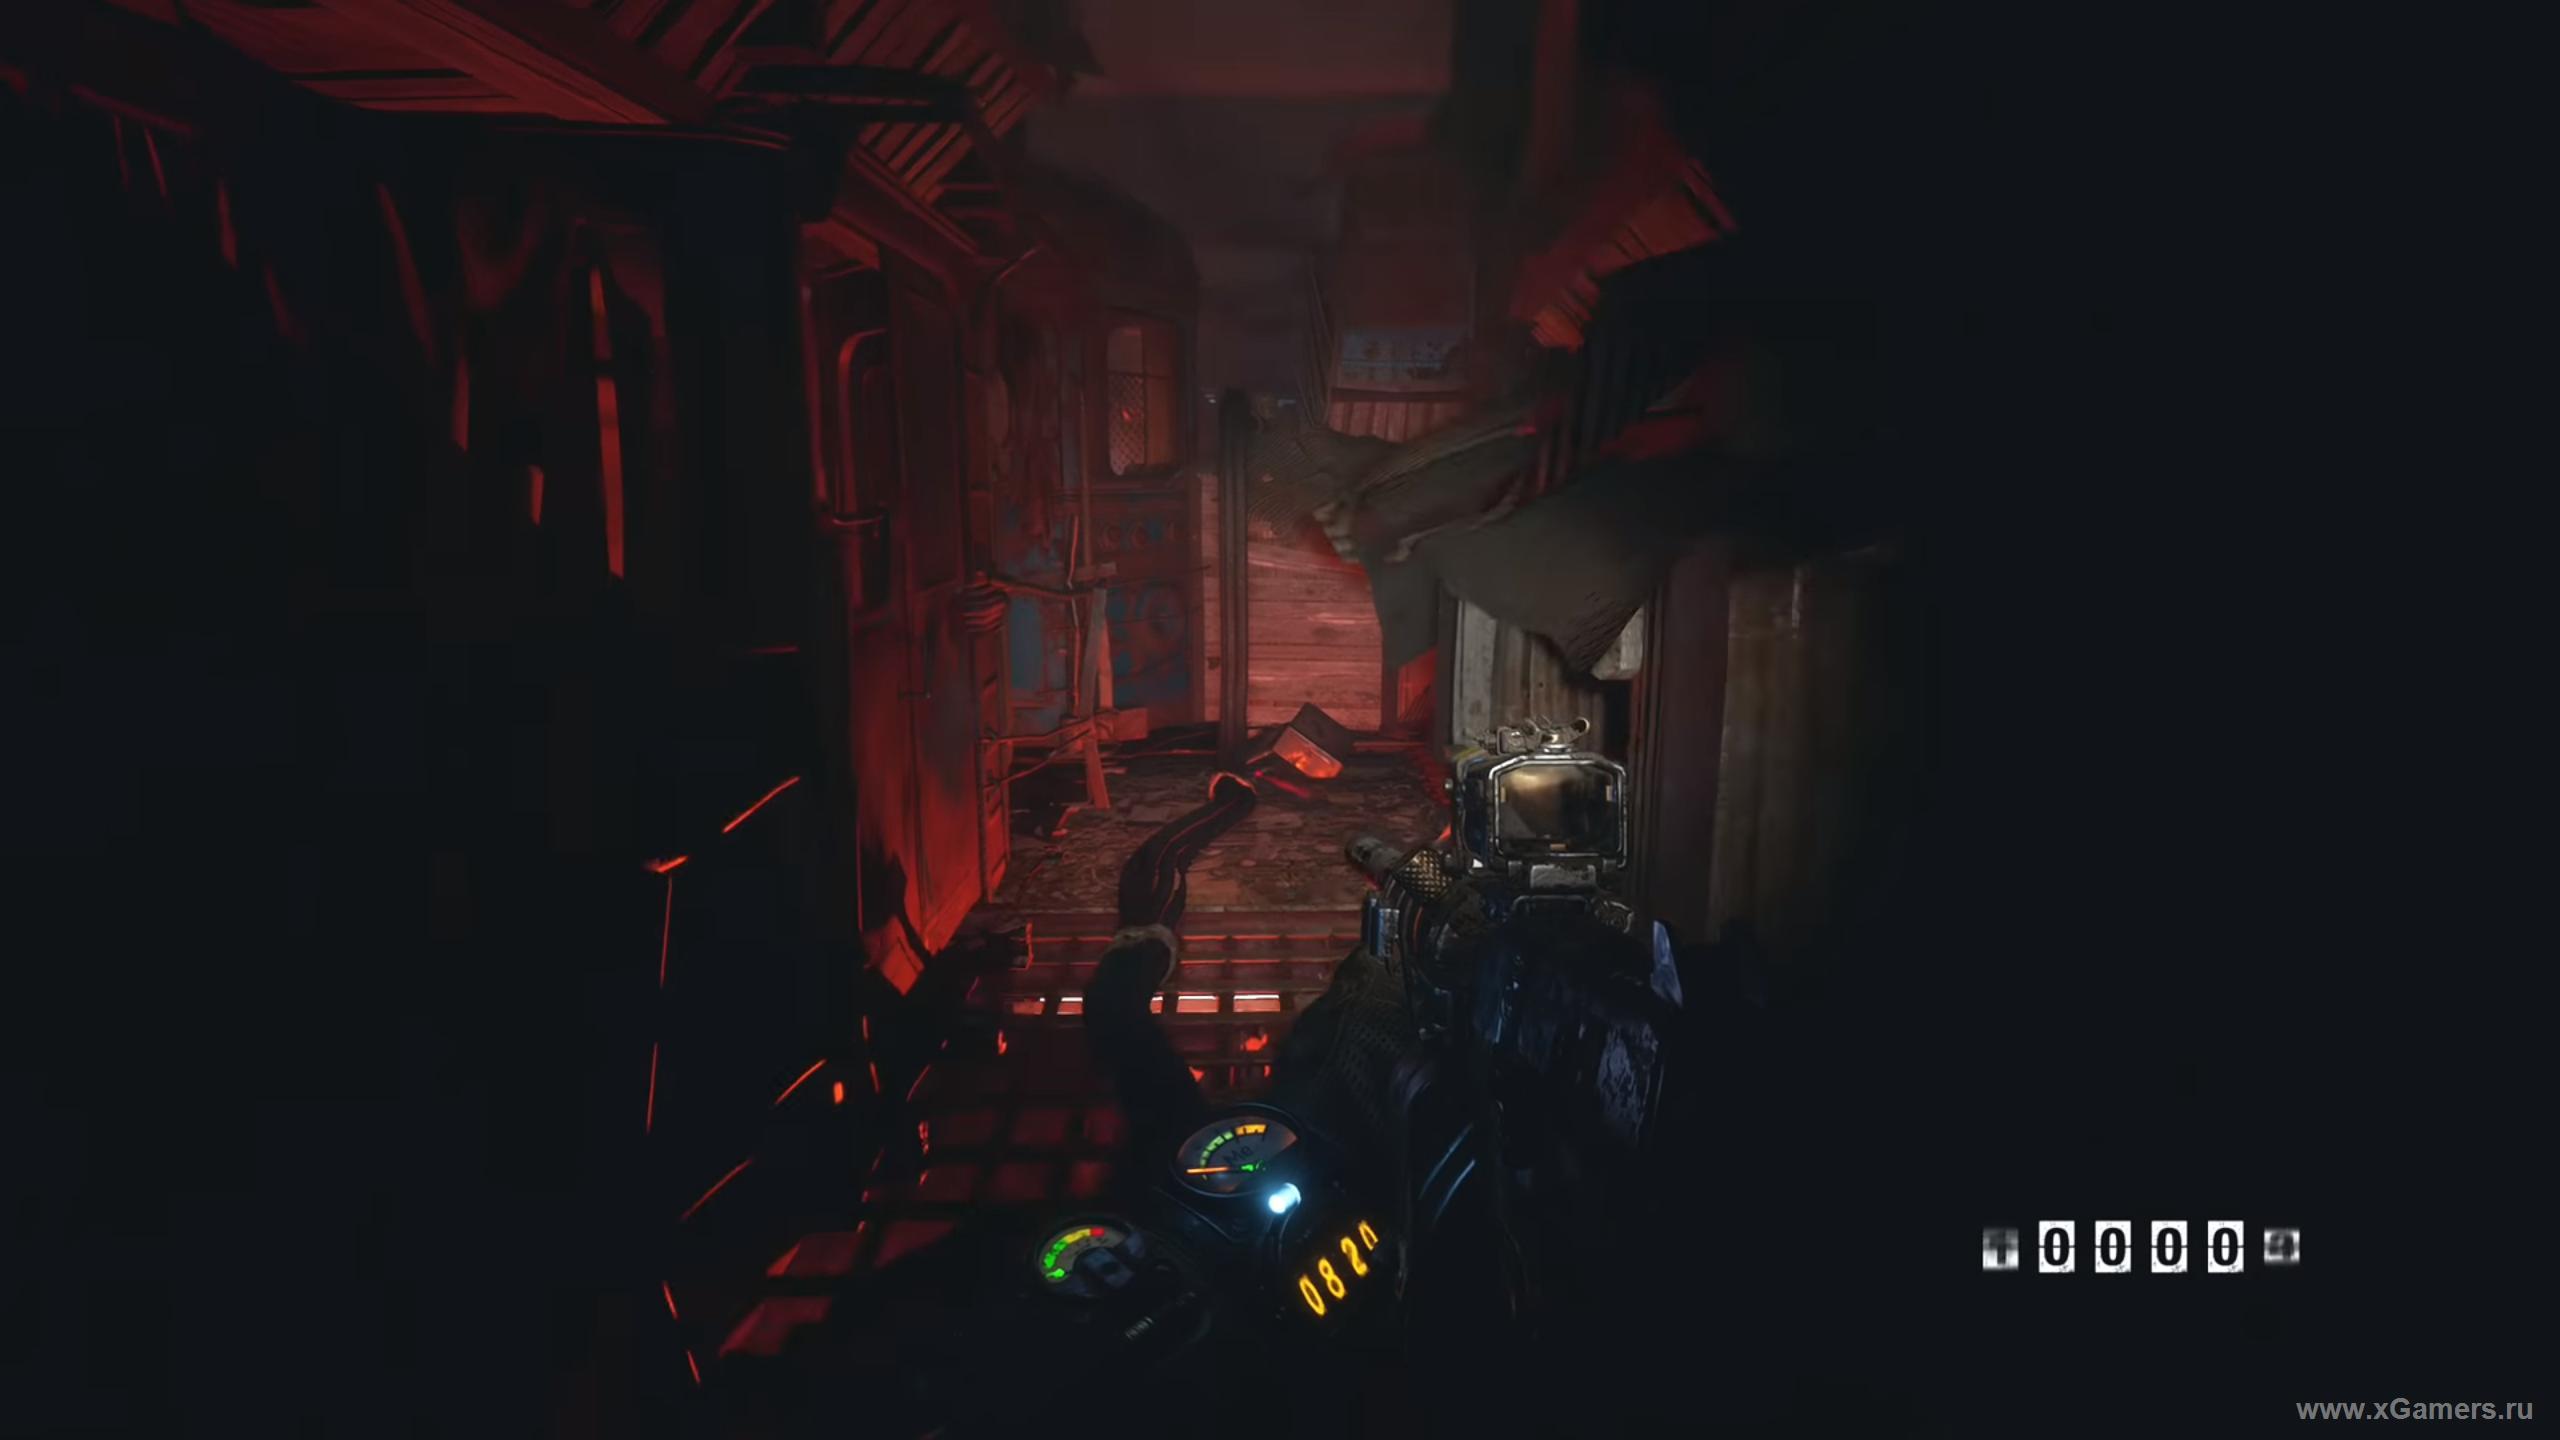
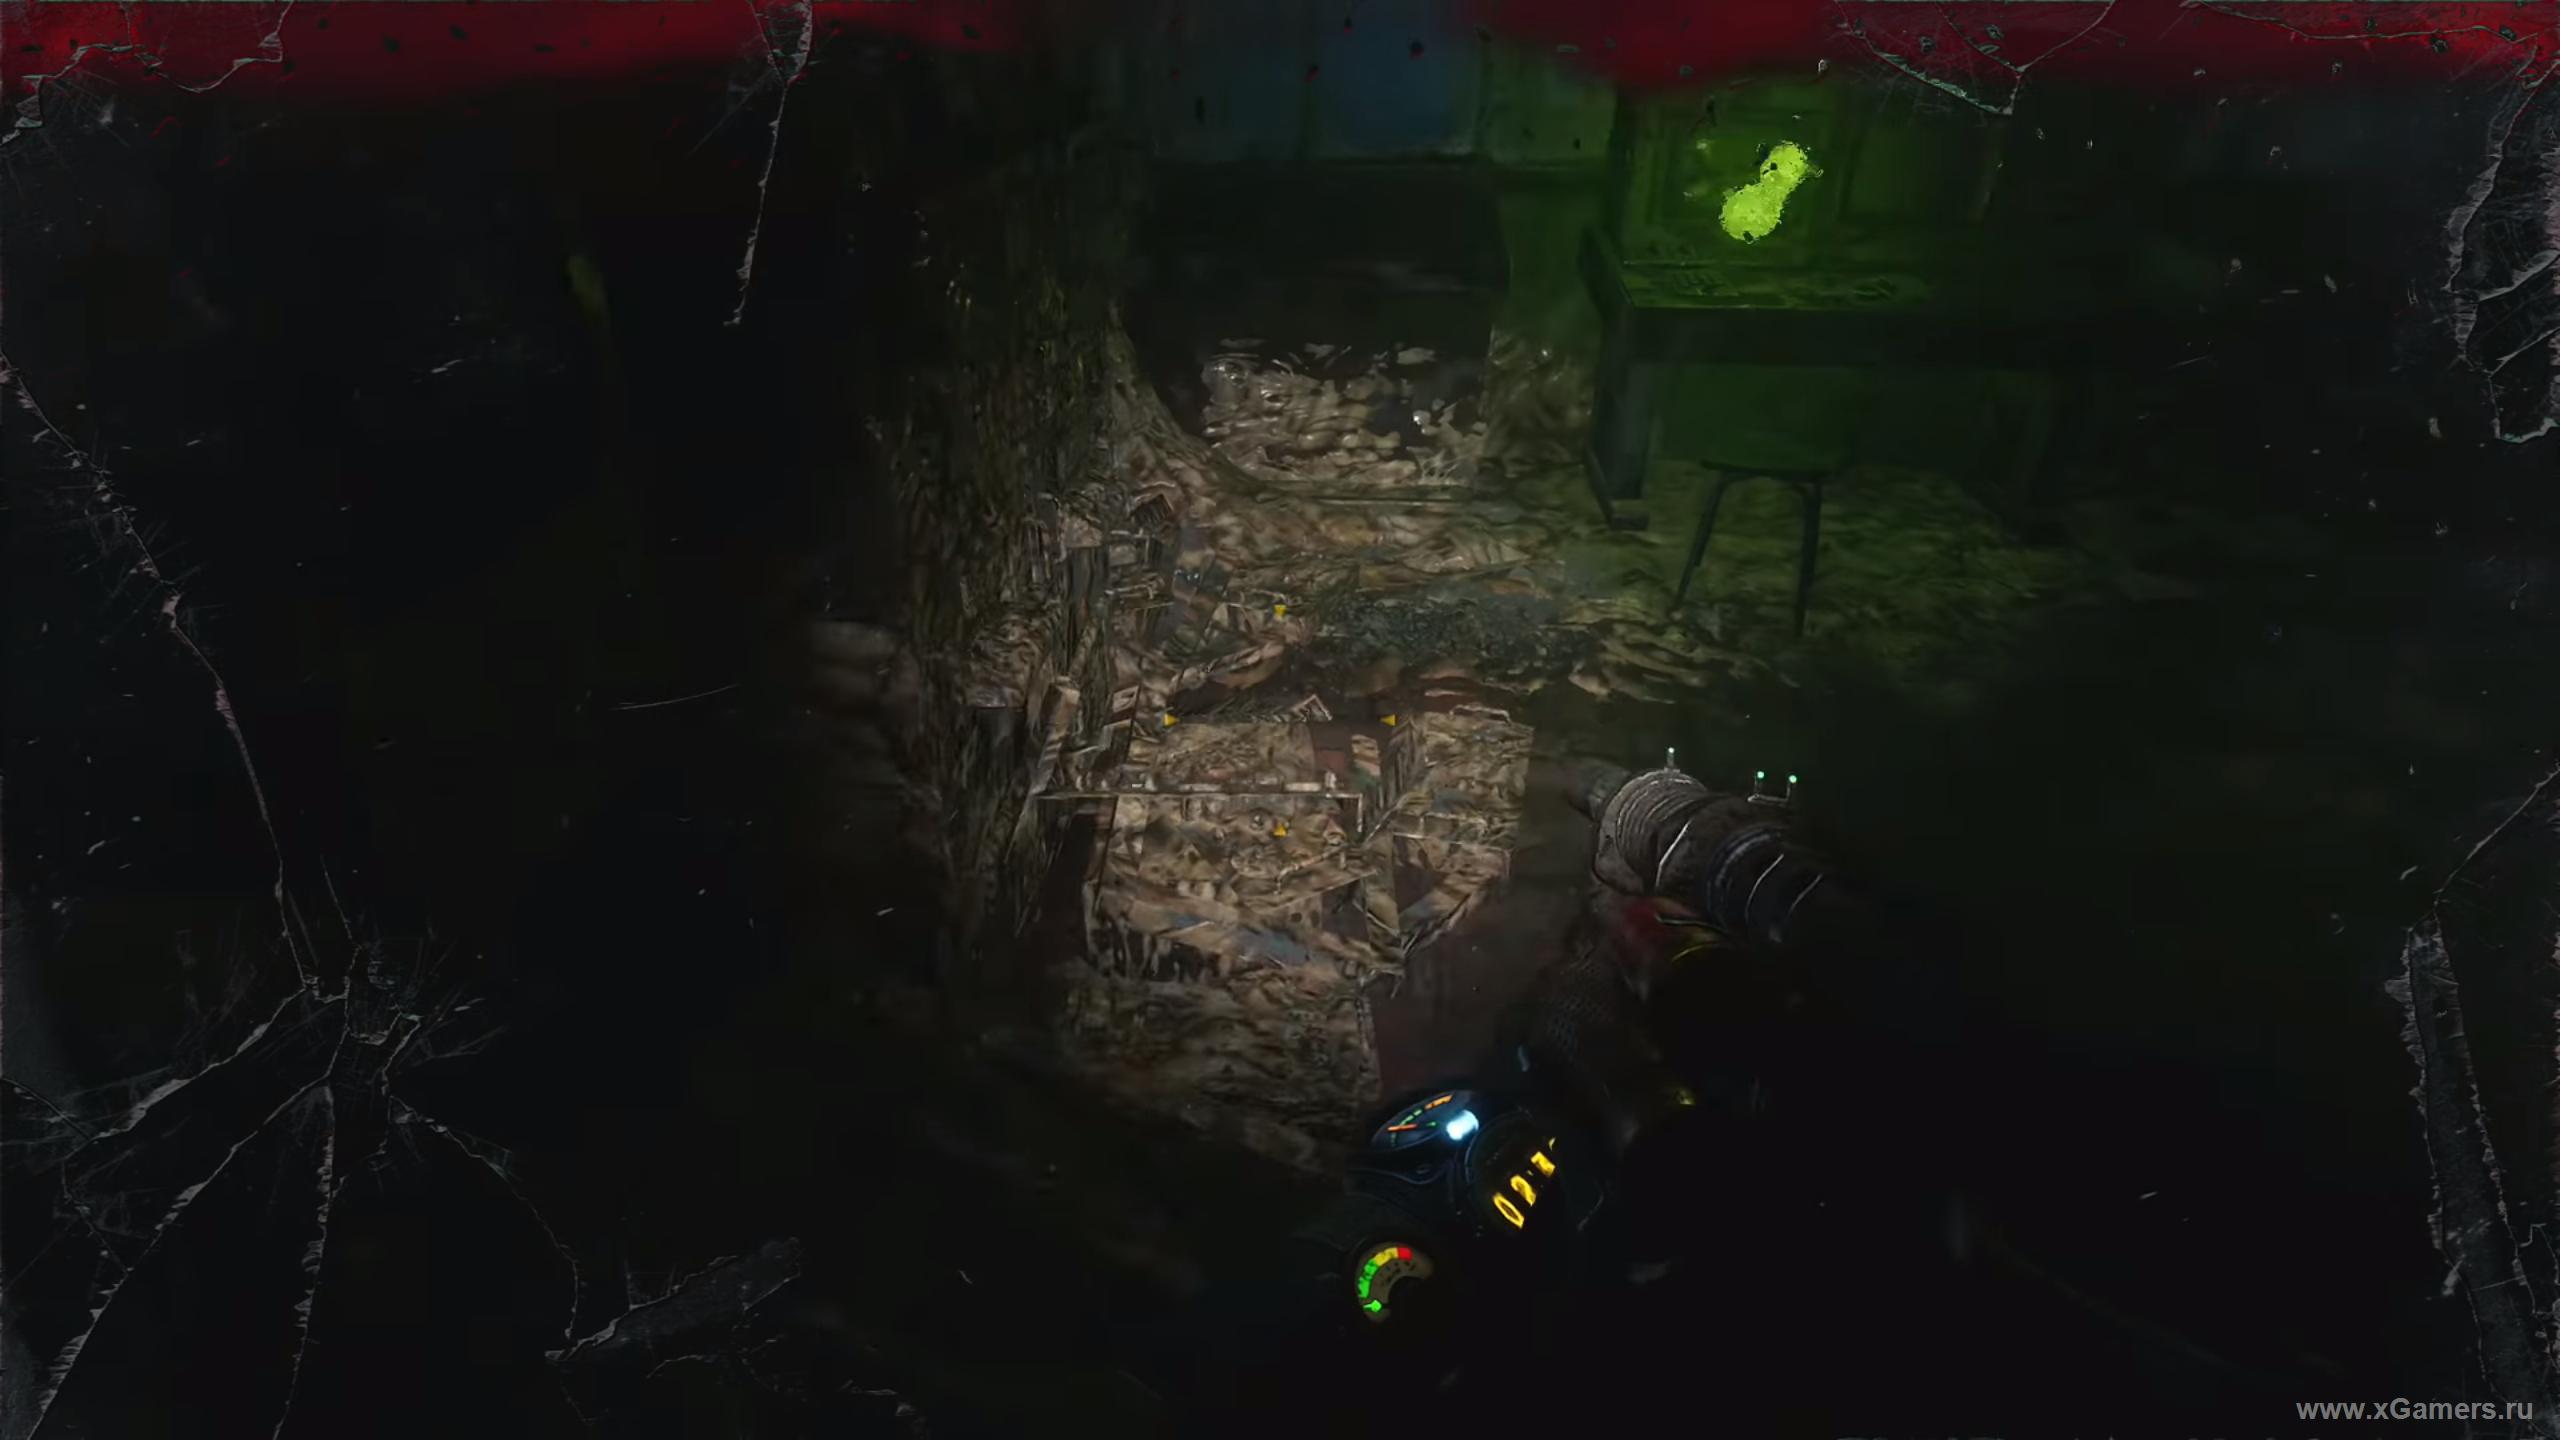
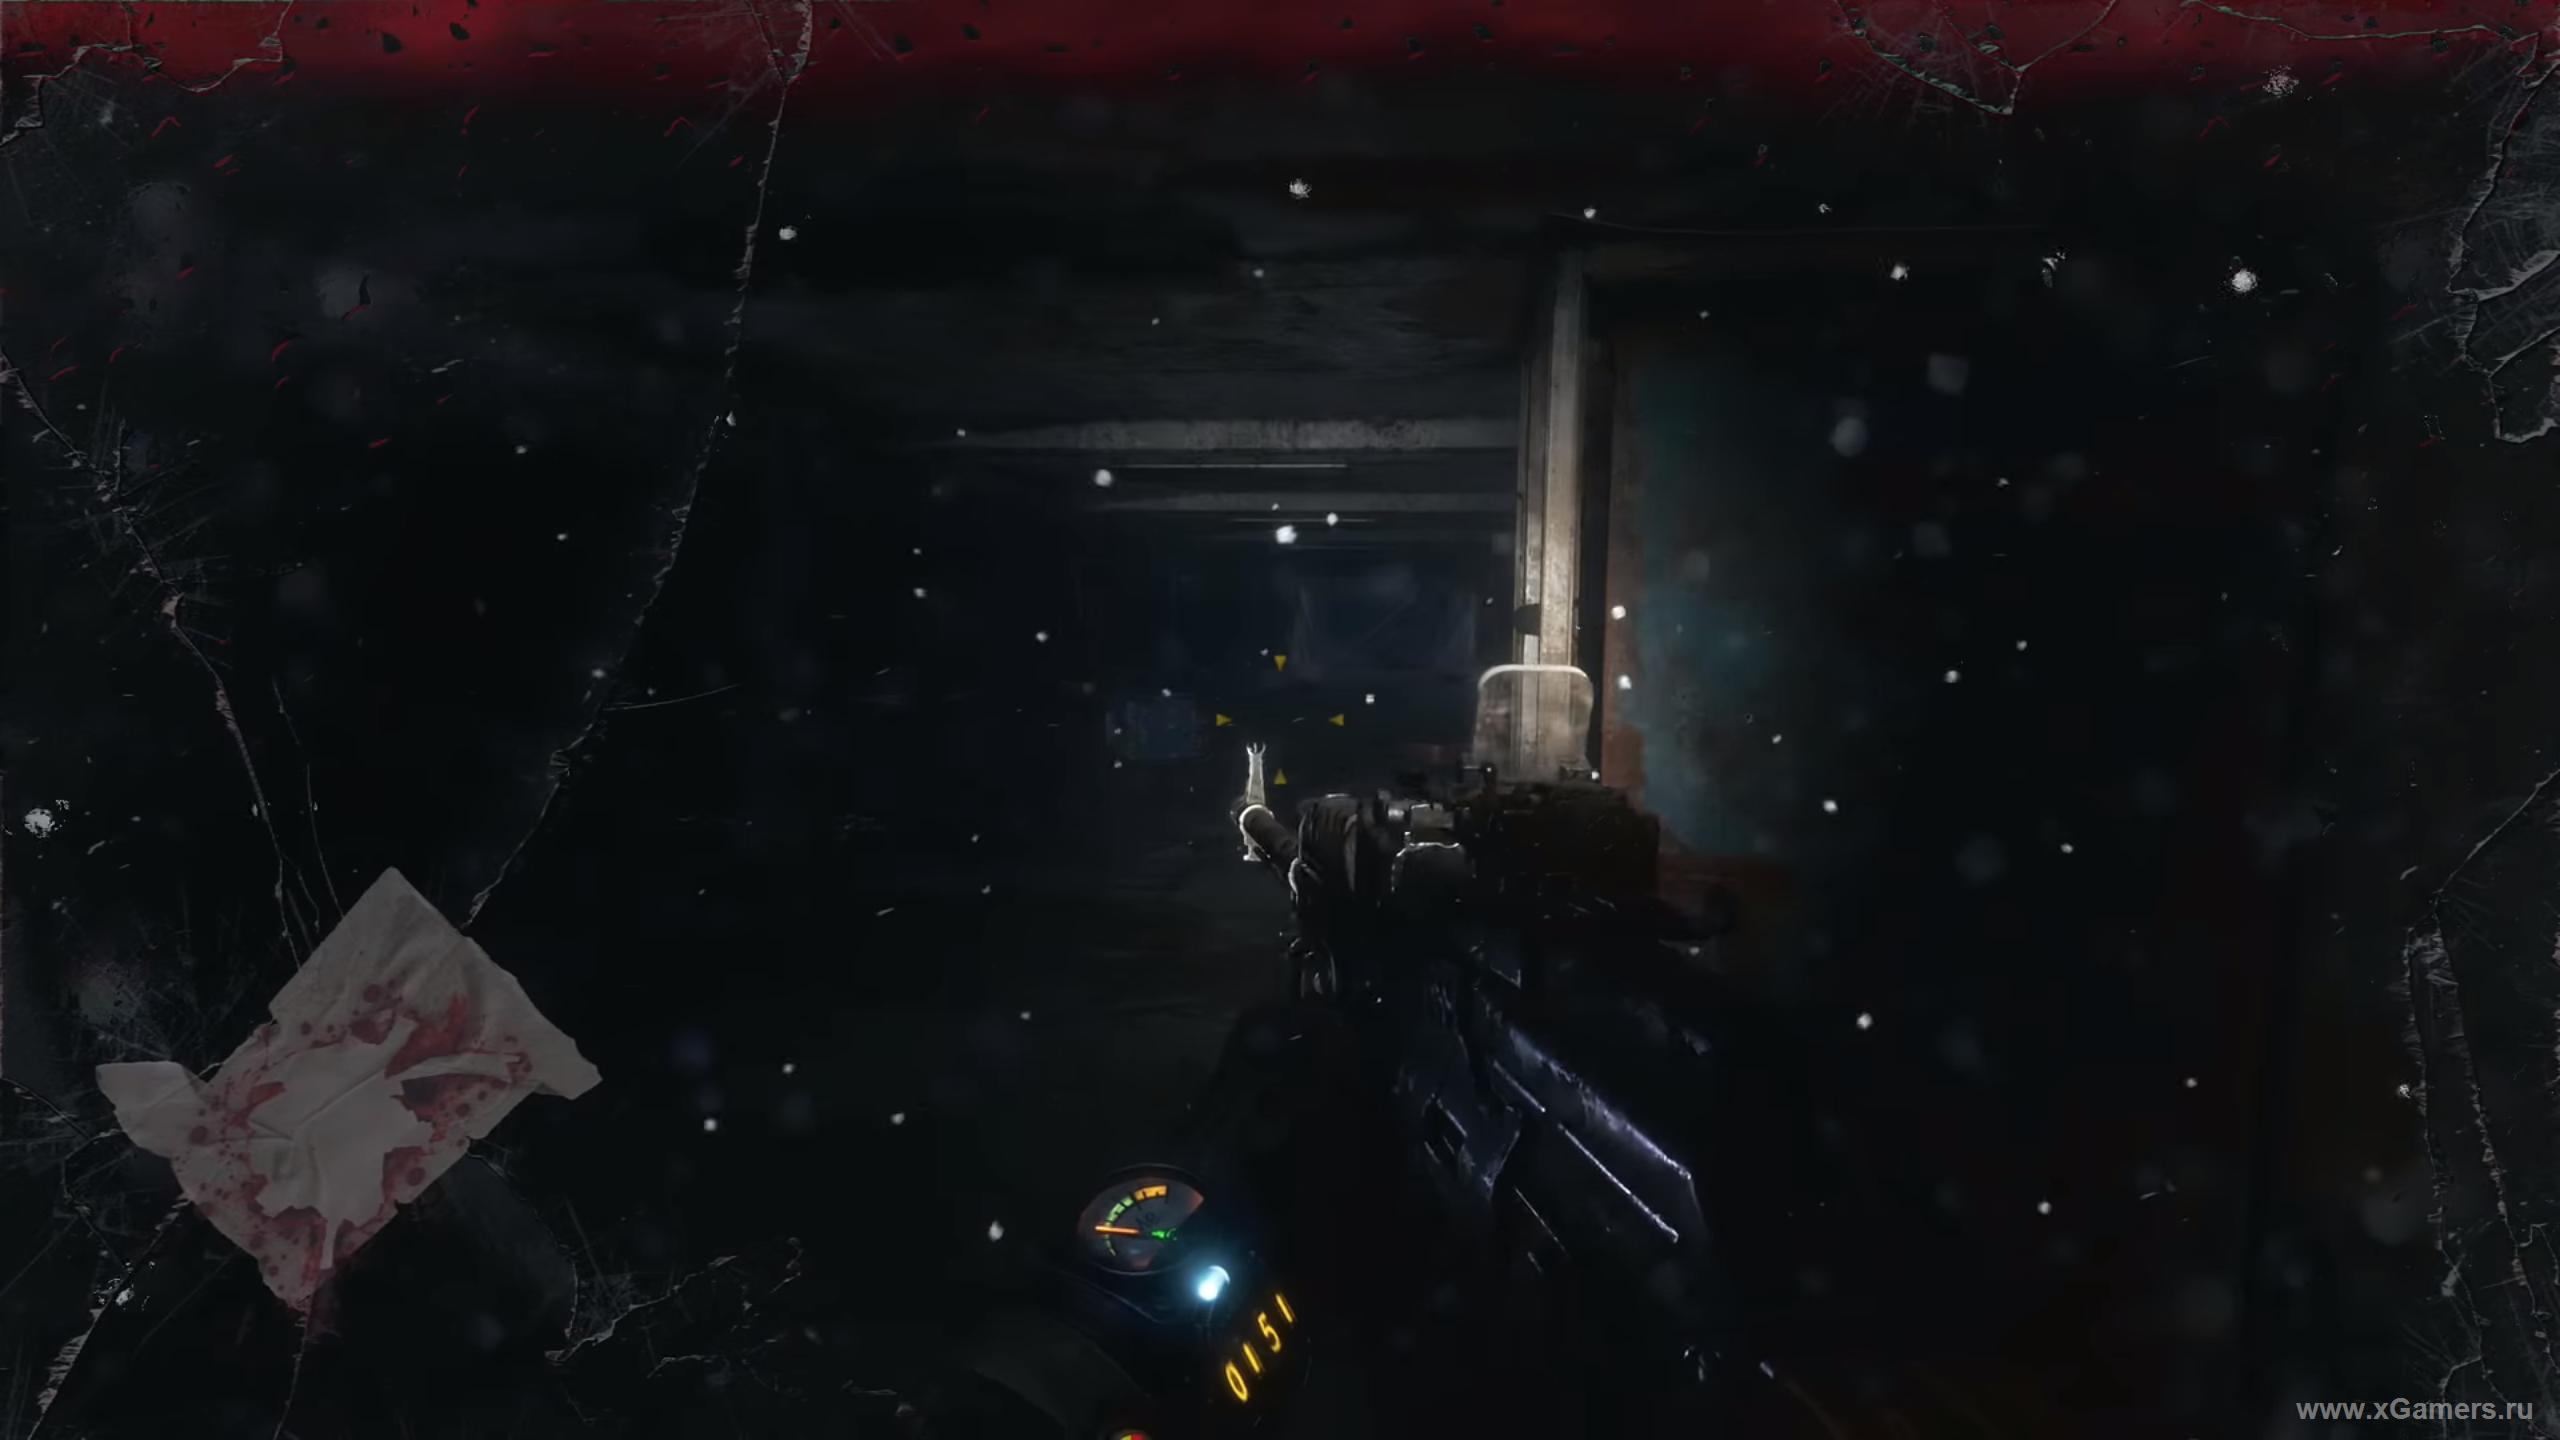
As always, you will hit a dead end and you will have to find a side turn. The passage to the parallel tunnel is on the side of you. Neatly! As soon as you find yourself there, giant moles will attack you.
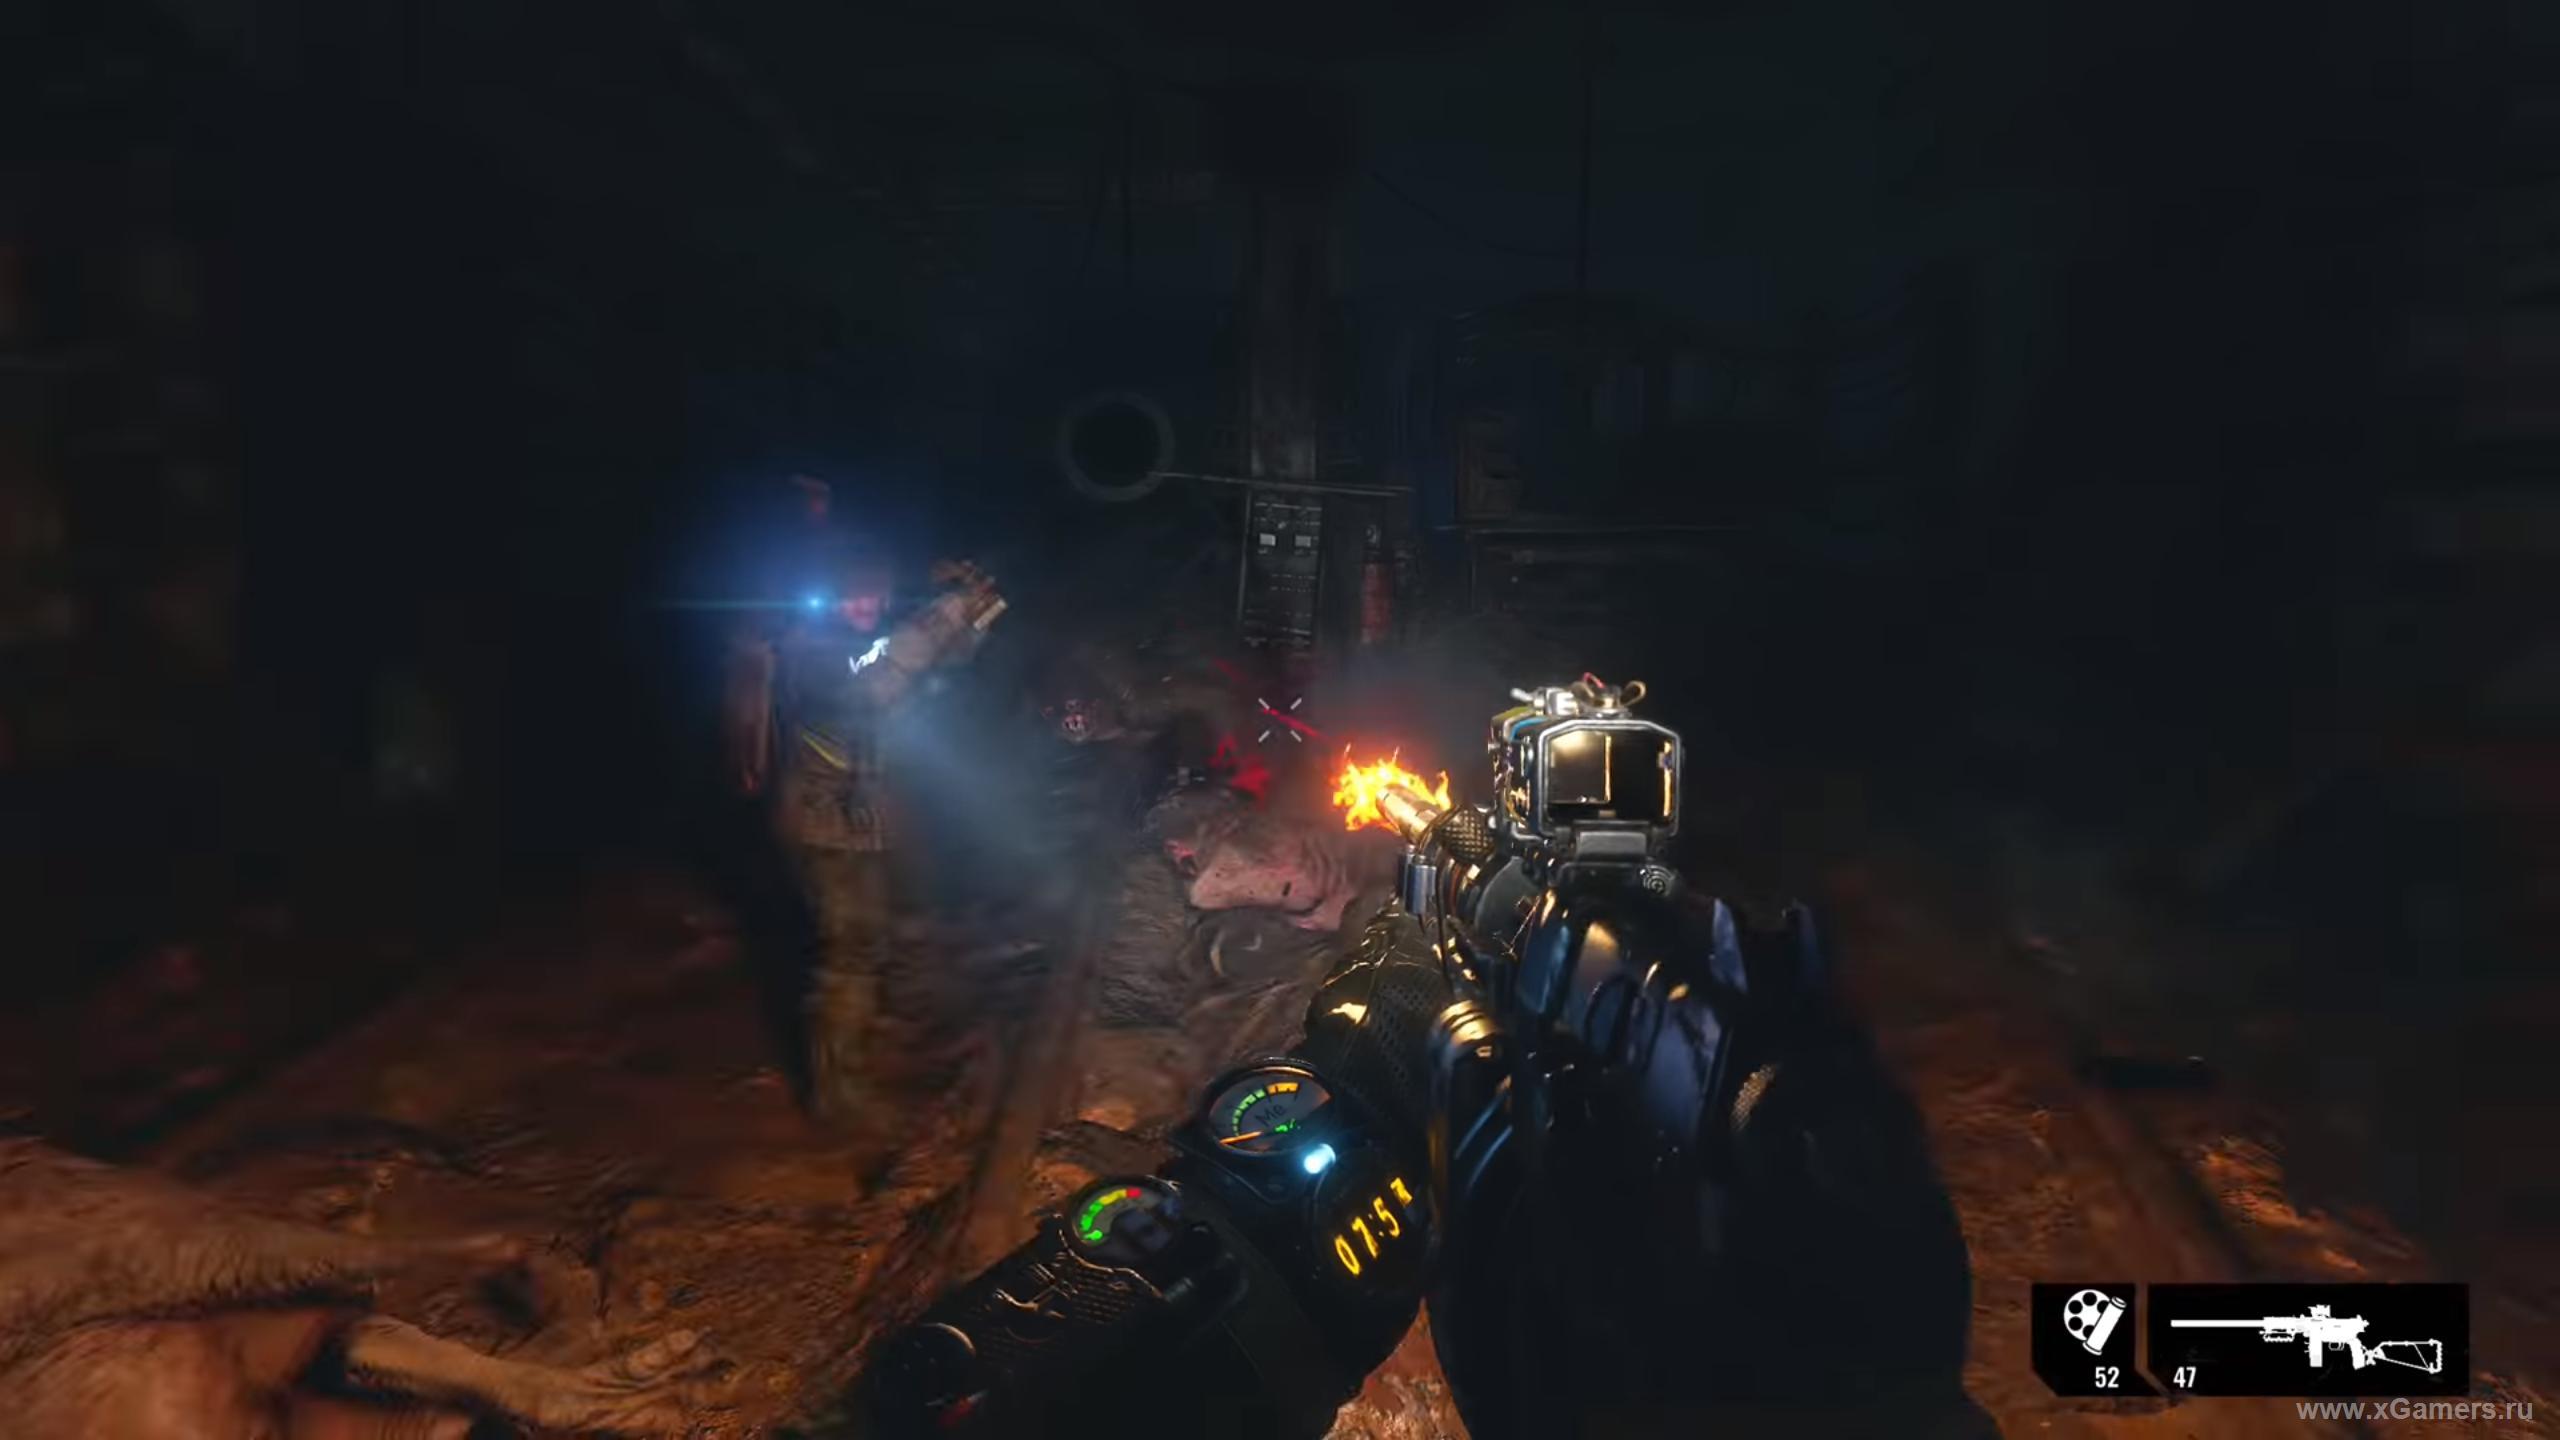
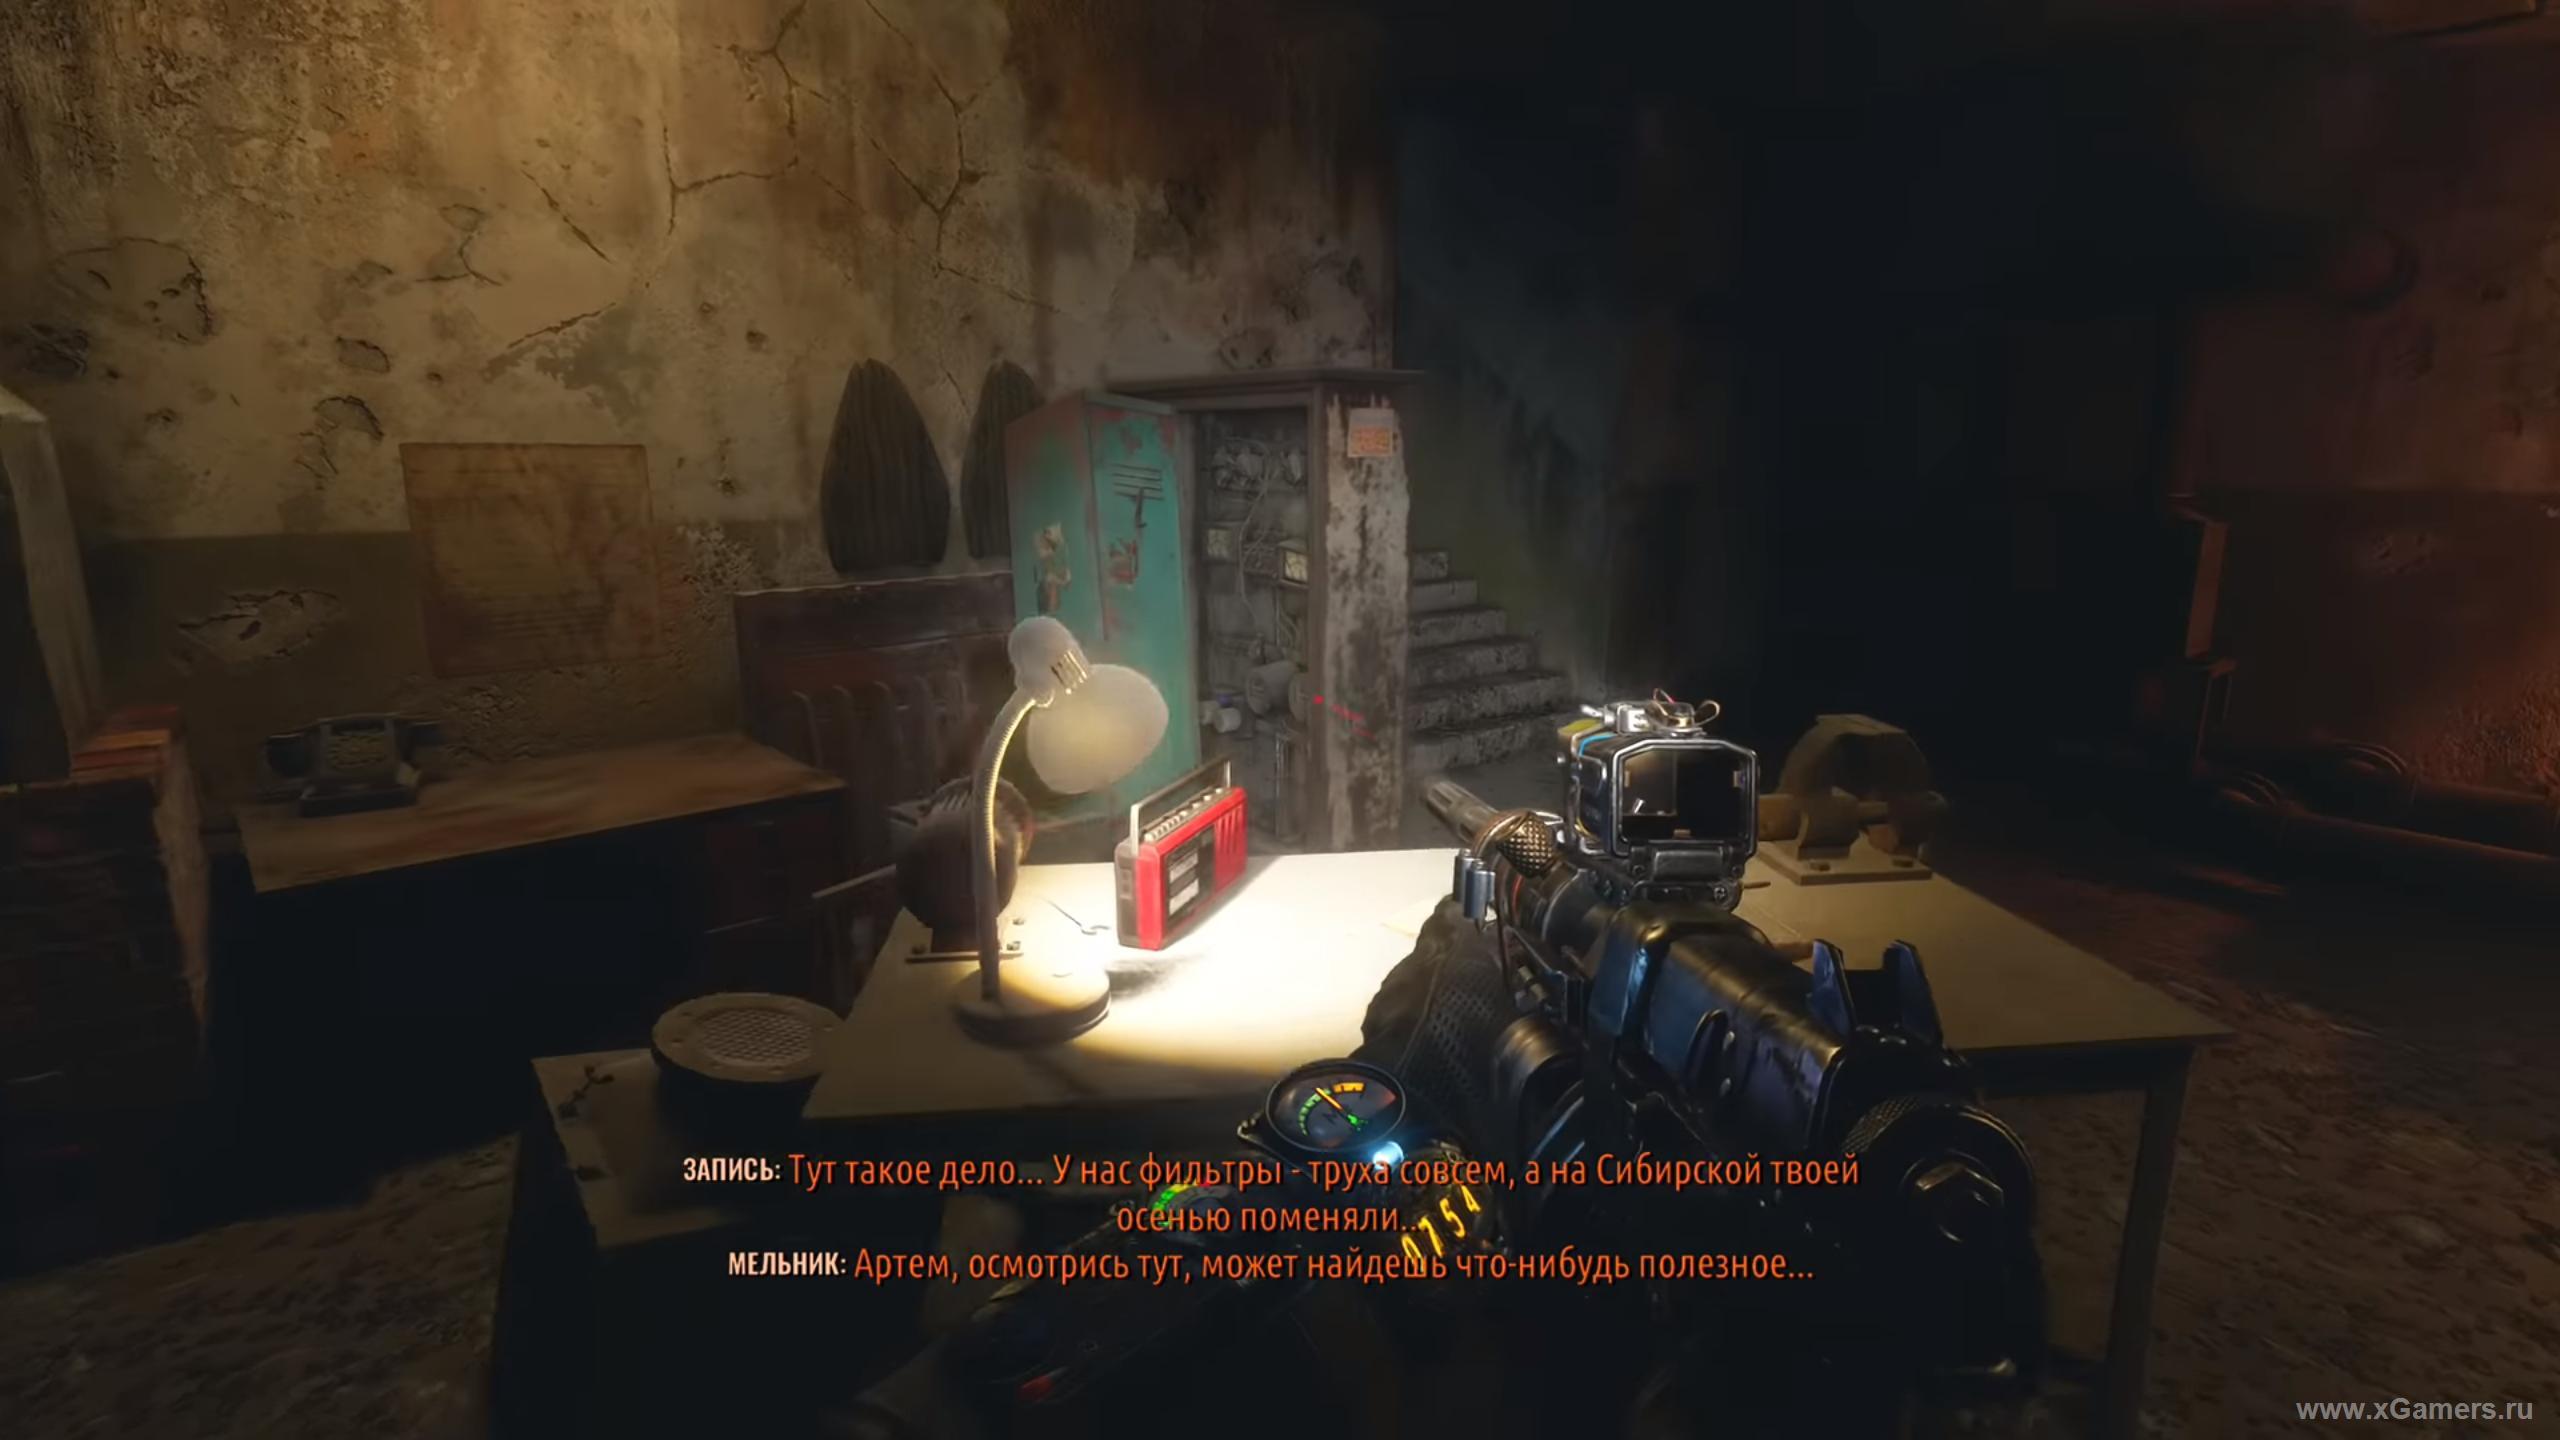
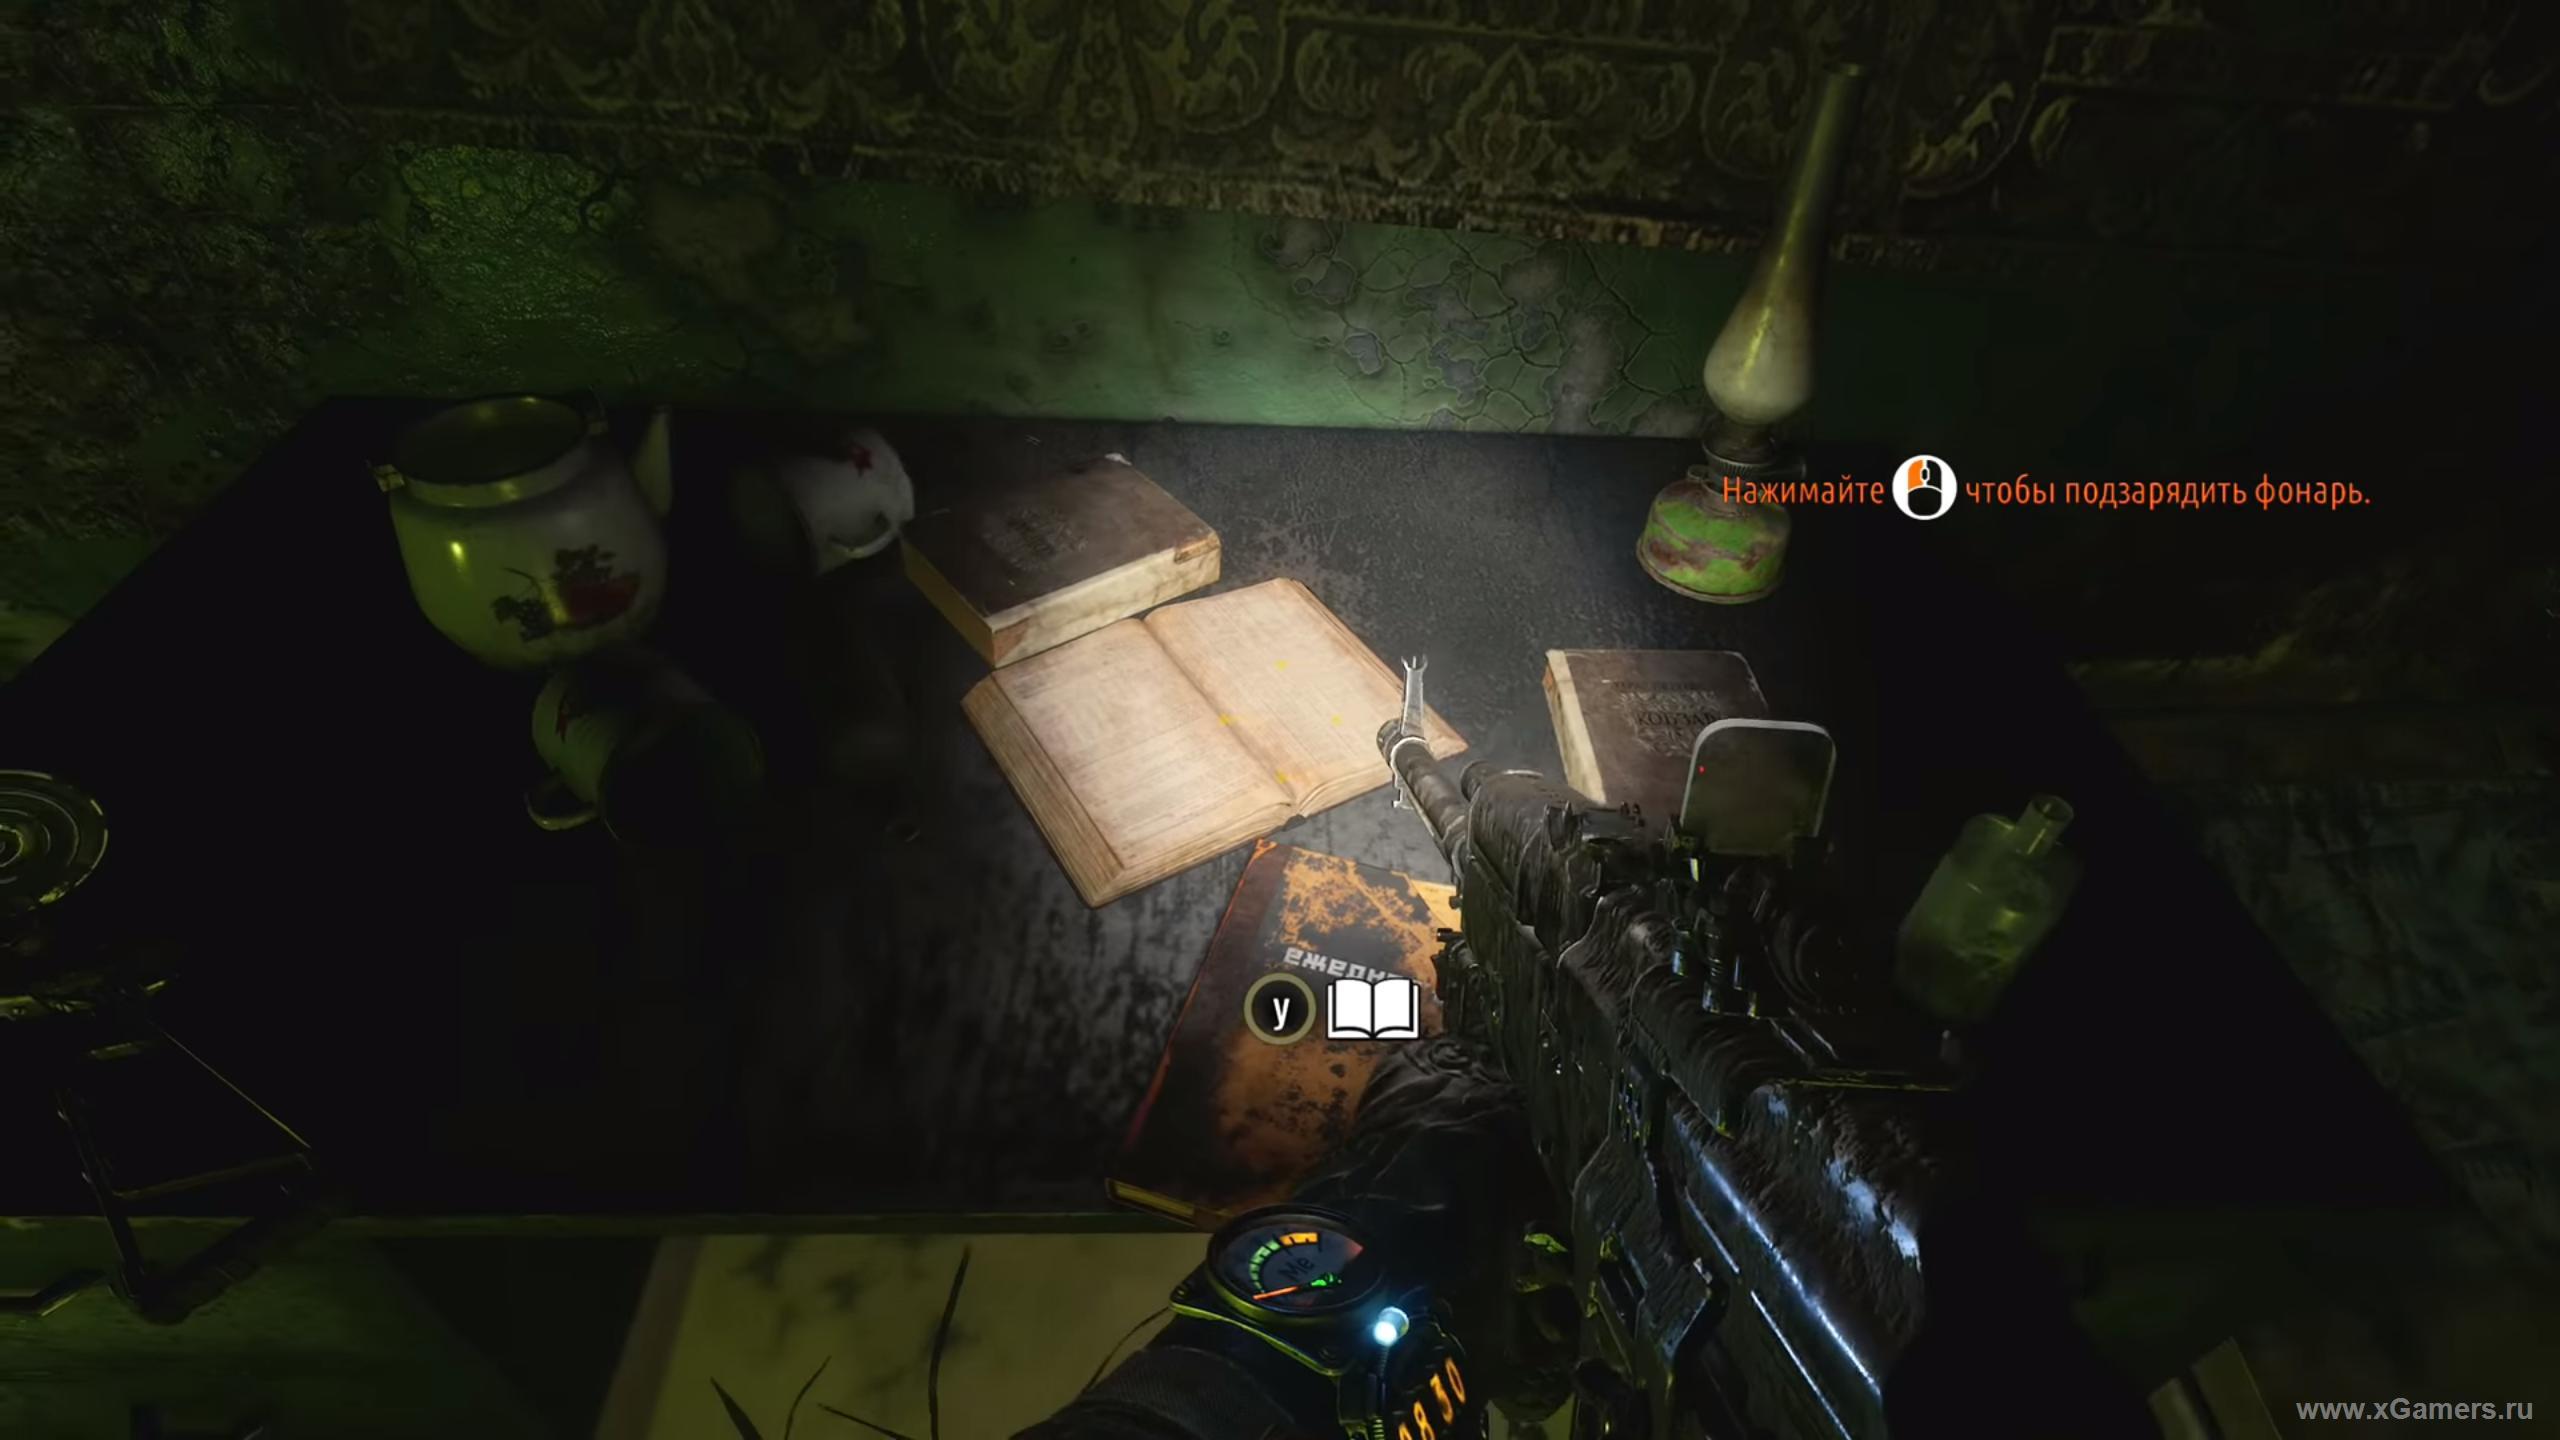
Will attack in waves. The easiest way to shoot them from AK, do not let them close. As soon as you get rid of them, go on behind Melnik. In the room, use the switch on the wall to turn on the light. Next to the lockers is a postcard! There is also a curious audio recording. How to finish with this, go to the next tunnel.
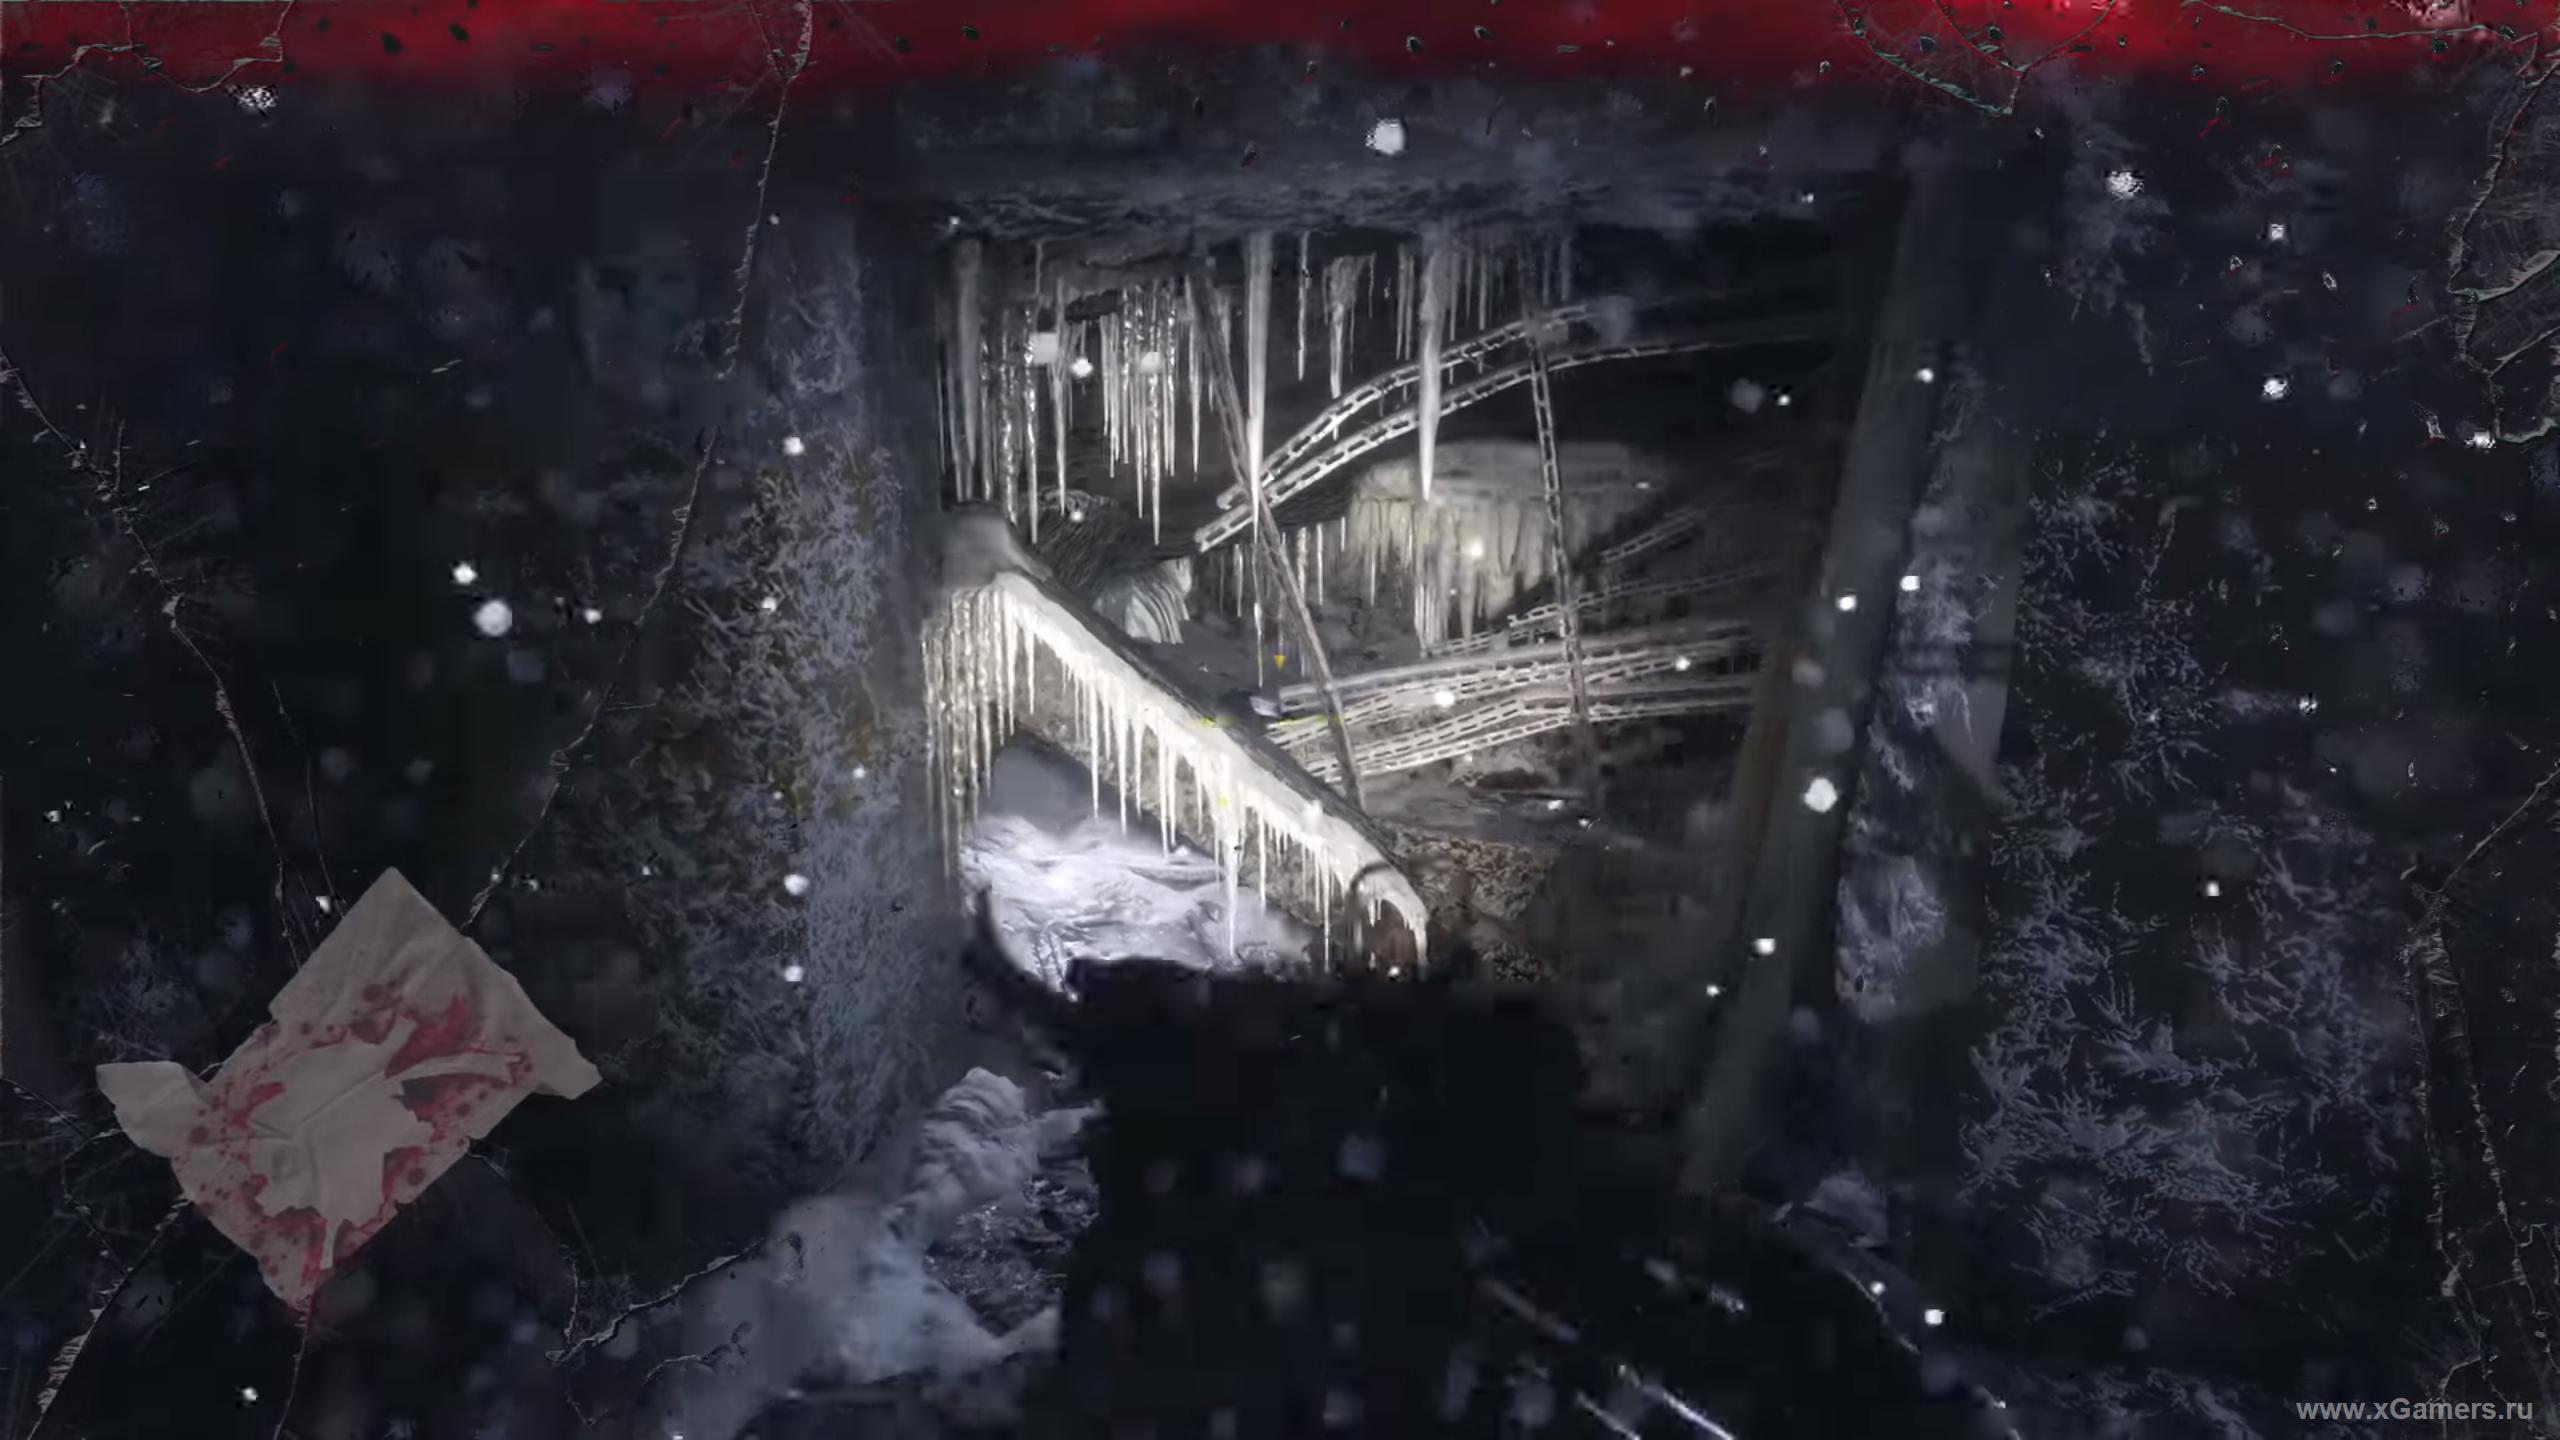
Another dead end, so go around in the water. Do not worry - nobody will attack you here.

How to get to the pit for the shootings, climb up and turn right. On the table to the right pick up the text of the radiogram. Then go further after the colonel.
Look at your feet - do not step on the bars! Or fail.
Keep going ahead and listen to the stories of the test. Again, there are no enemies here - there is nothing to be afraid of, we plunge into the atmosphere, so to speak.

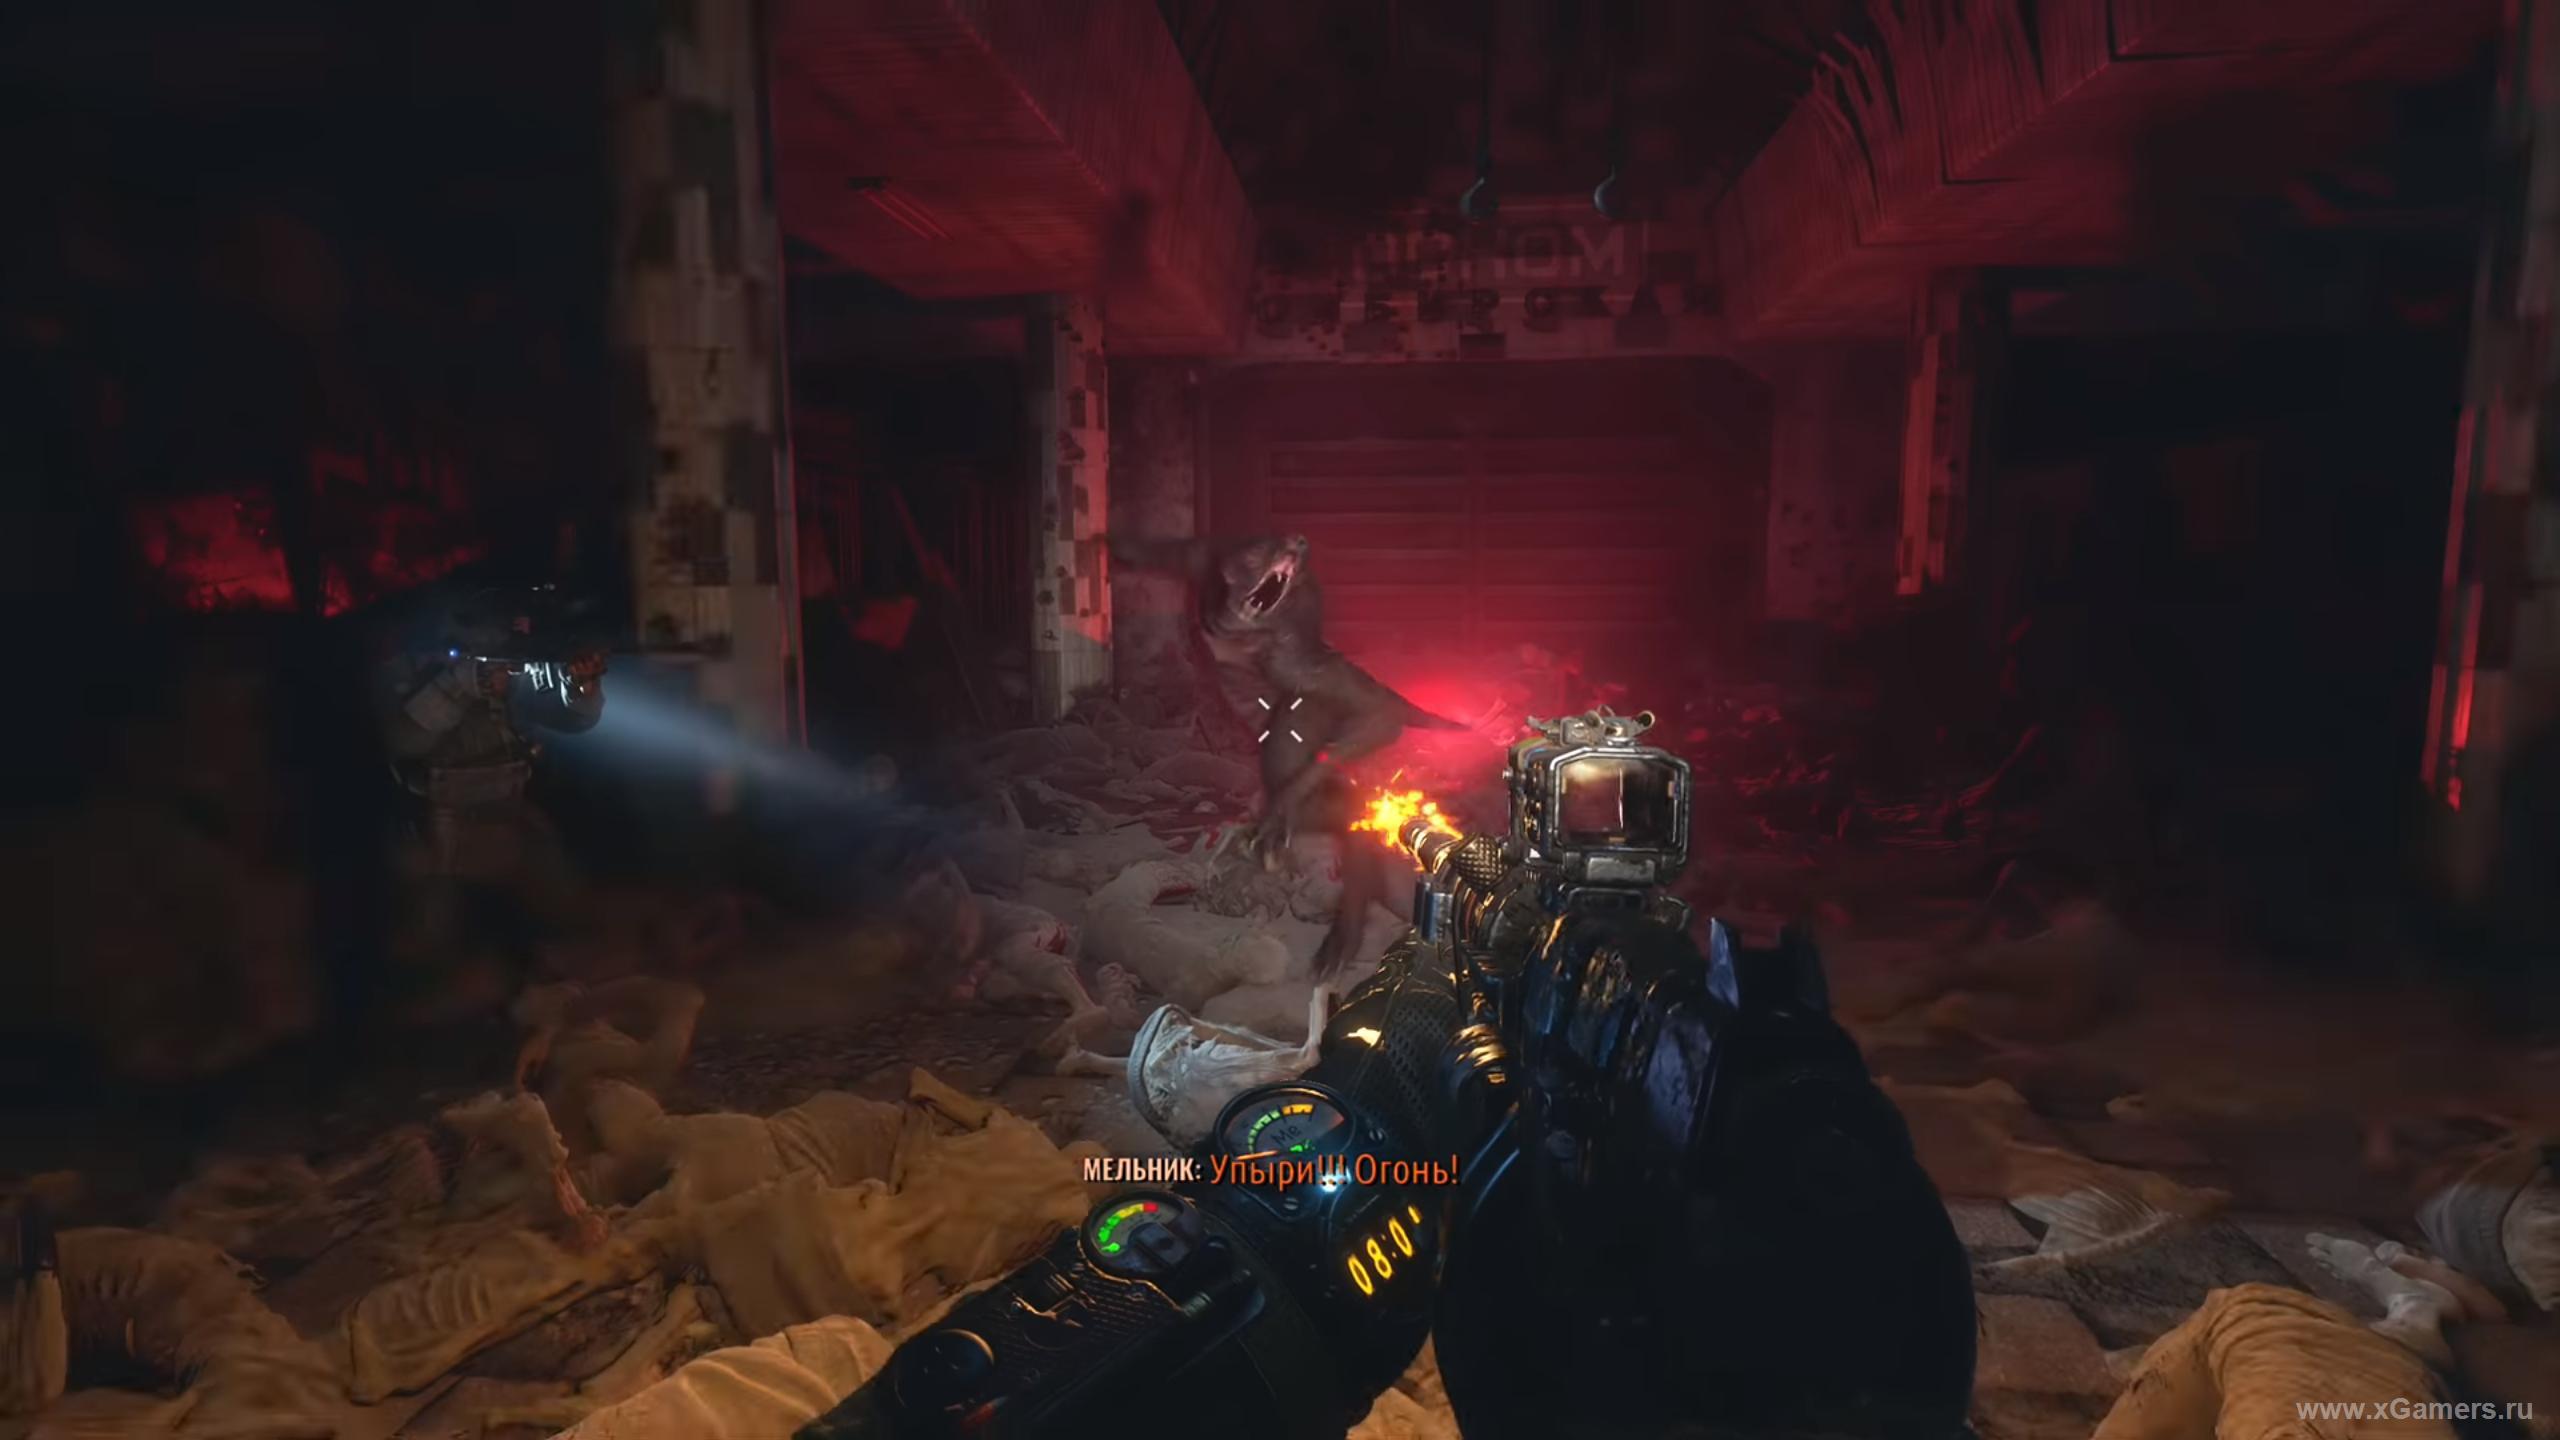
As you leave the train and you find yourself at the pressurized, pay attention to the pile of corpses. From there, the mutants will attack you again, so be prepared.
After that, squeeze yourself to the hermetic turns and be on the alert - several waves of opponents will follow again.
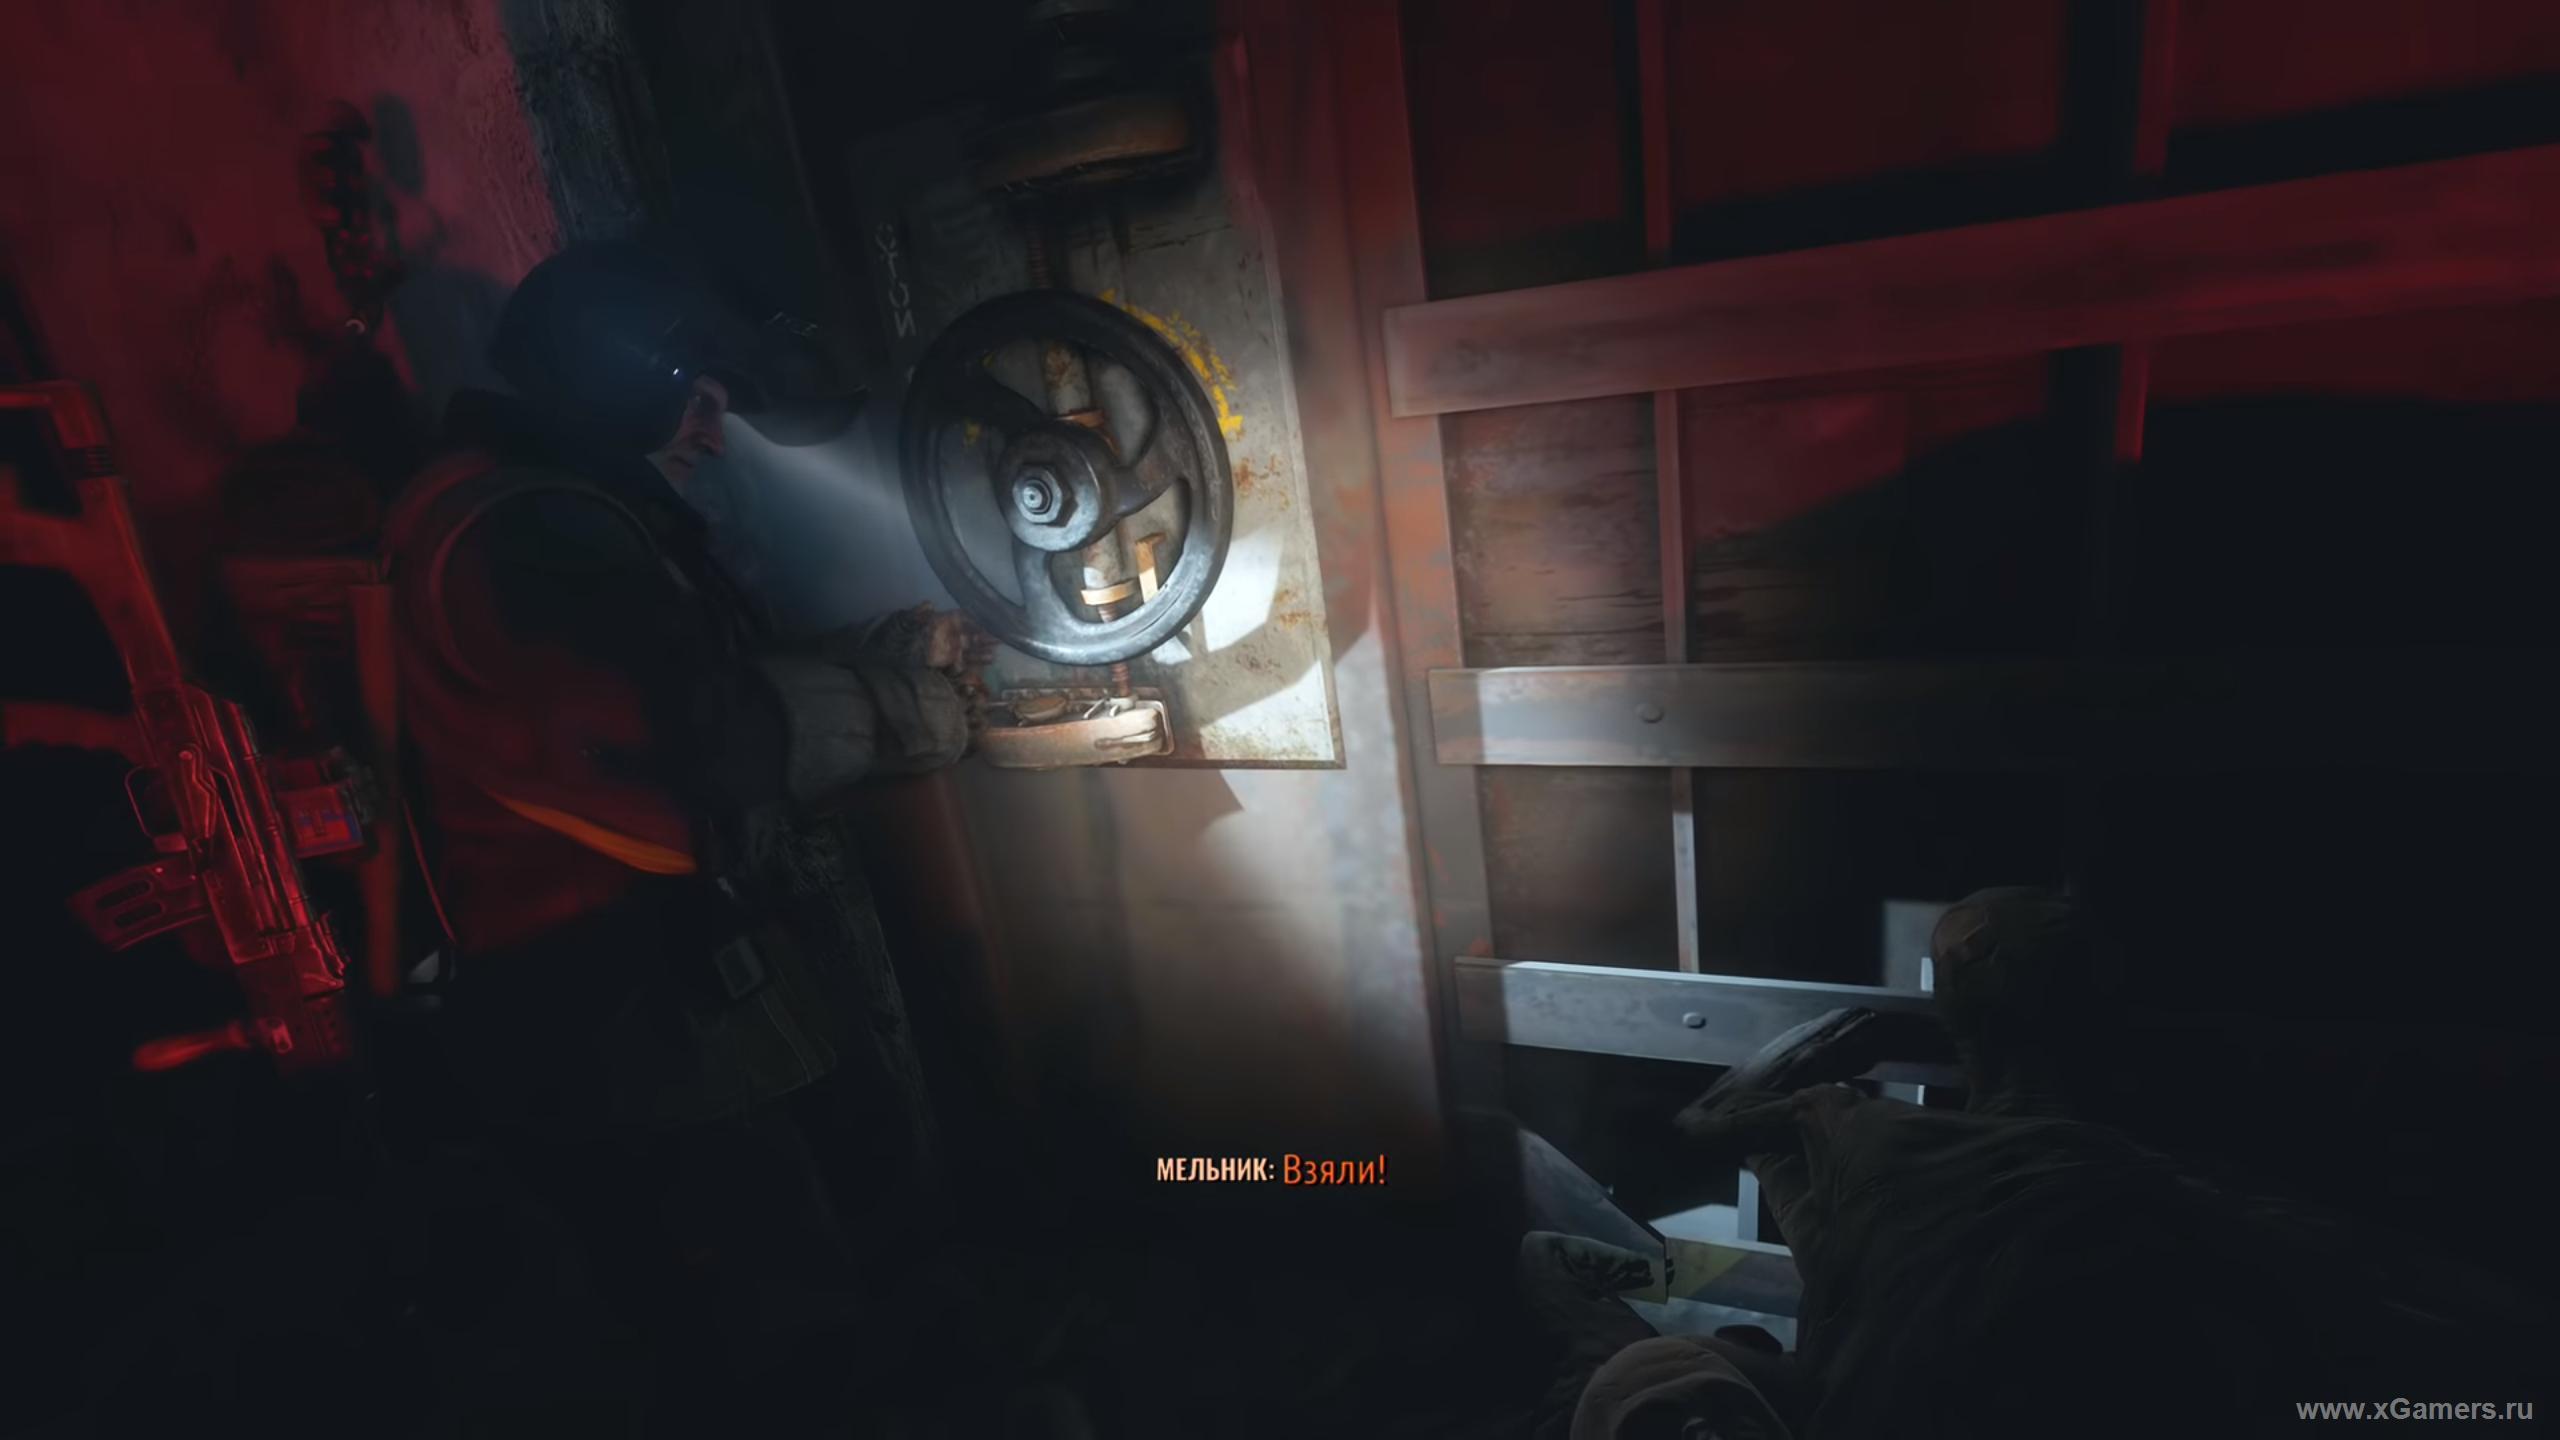
Having dealt with monsters and opening the gate, rise with Melnik upstairs to the entrance to the station. You cannot go outside from here, so as soon as you go up the escalator, go left and carry the door out - you go there.
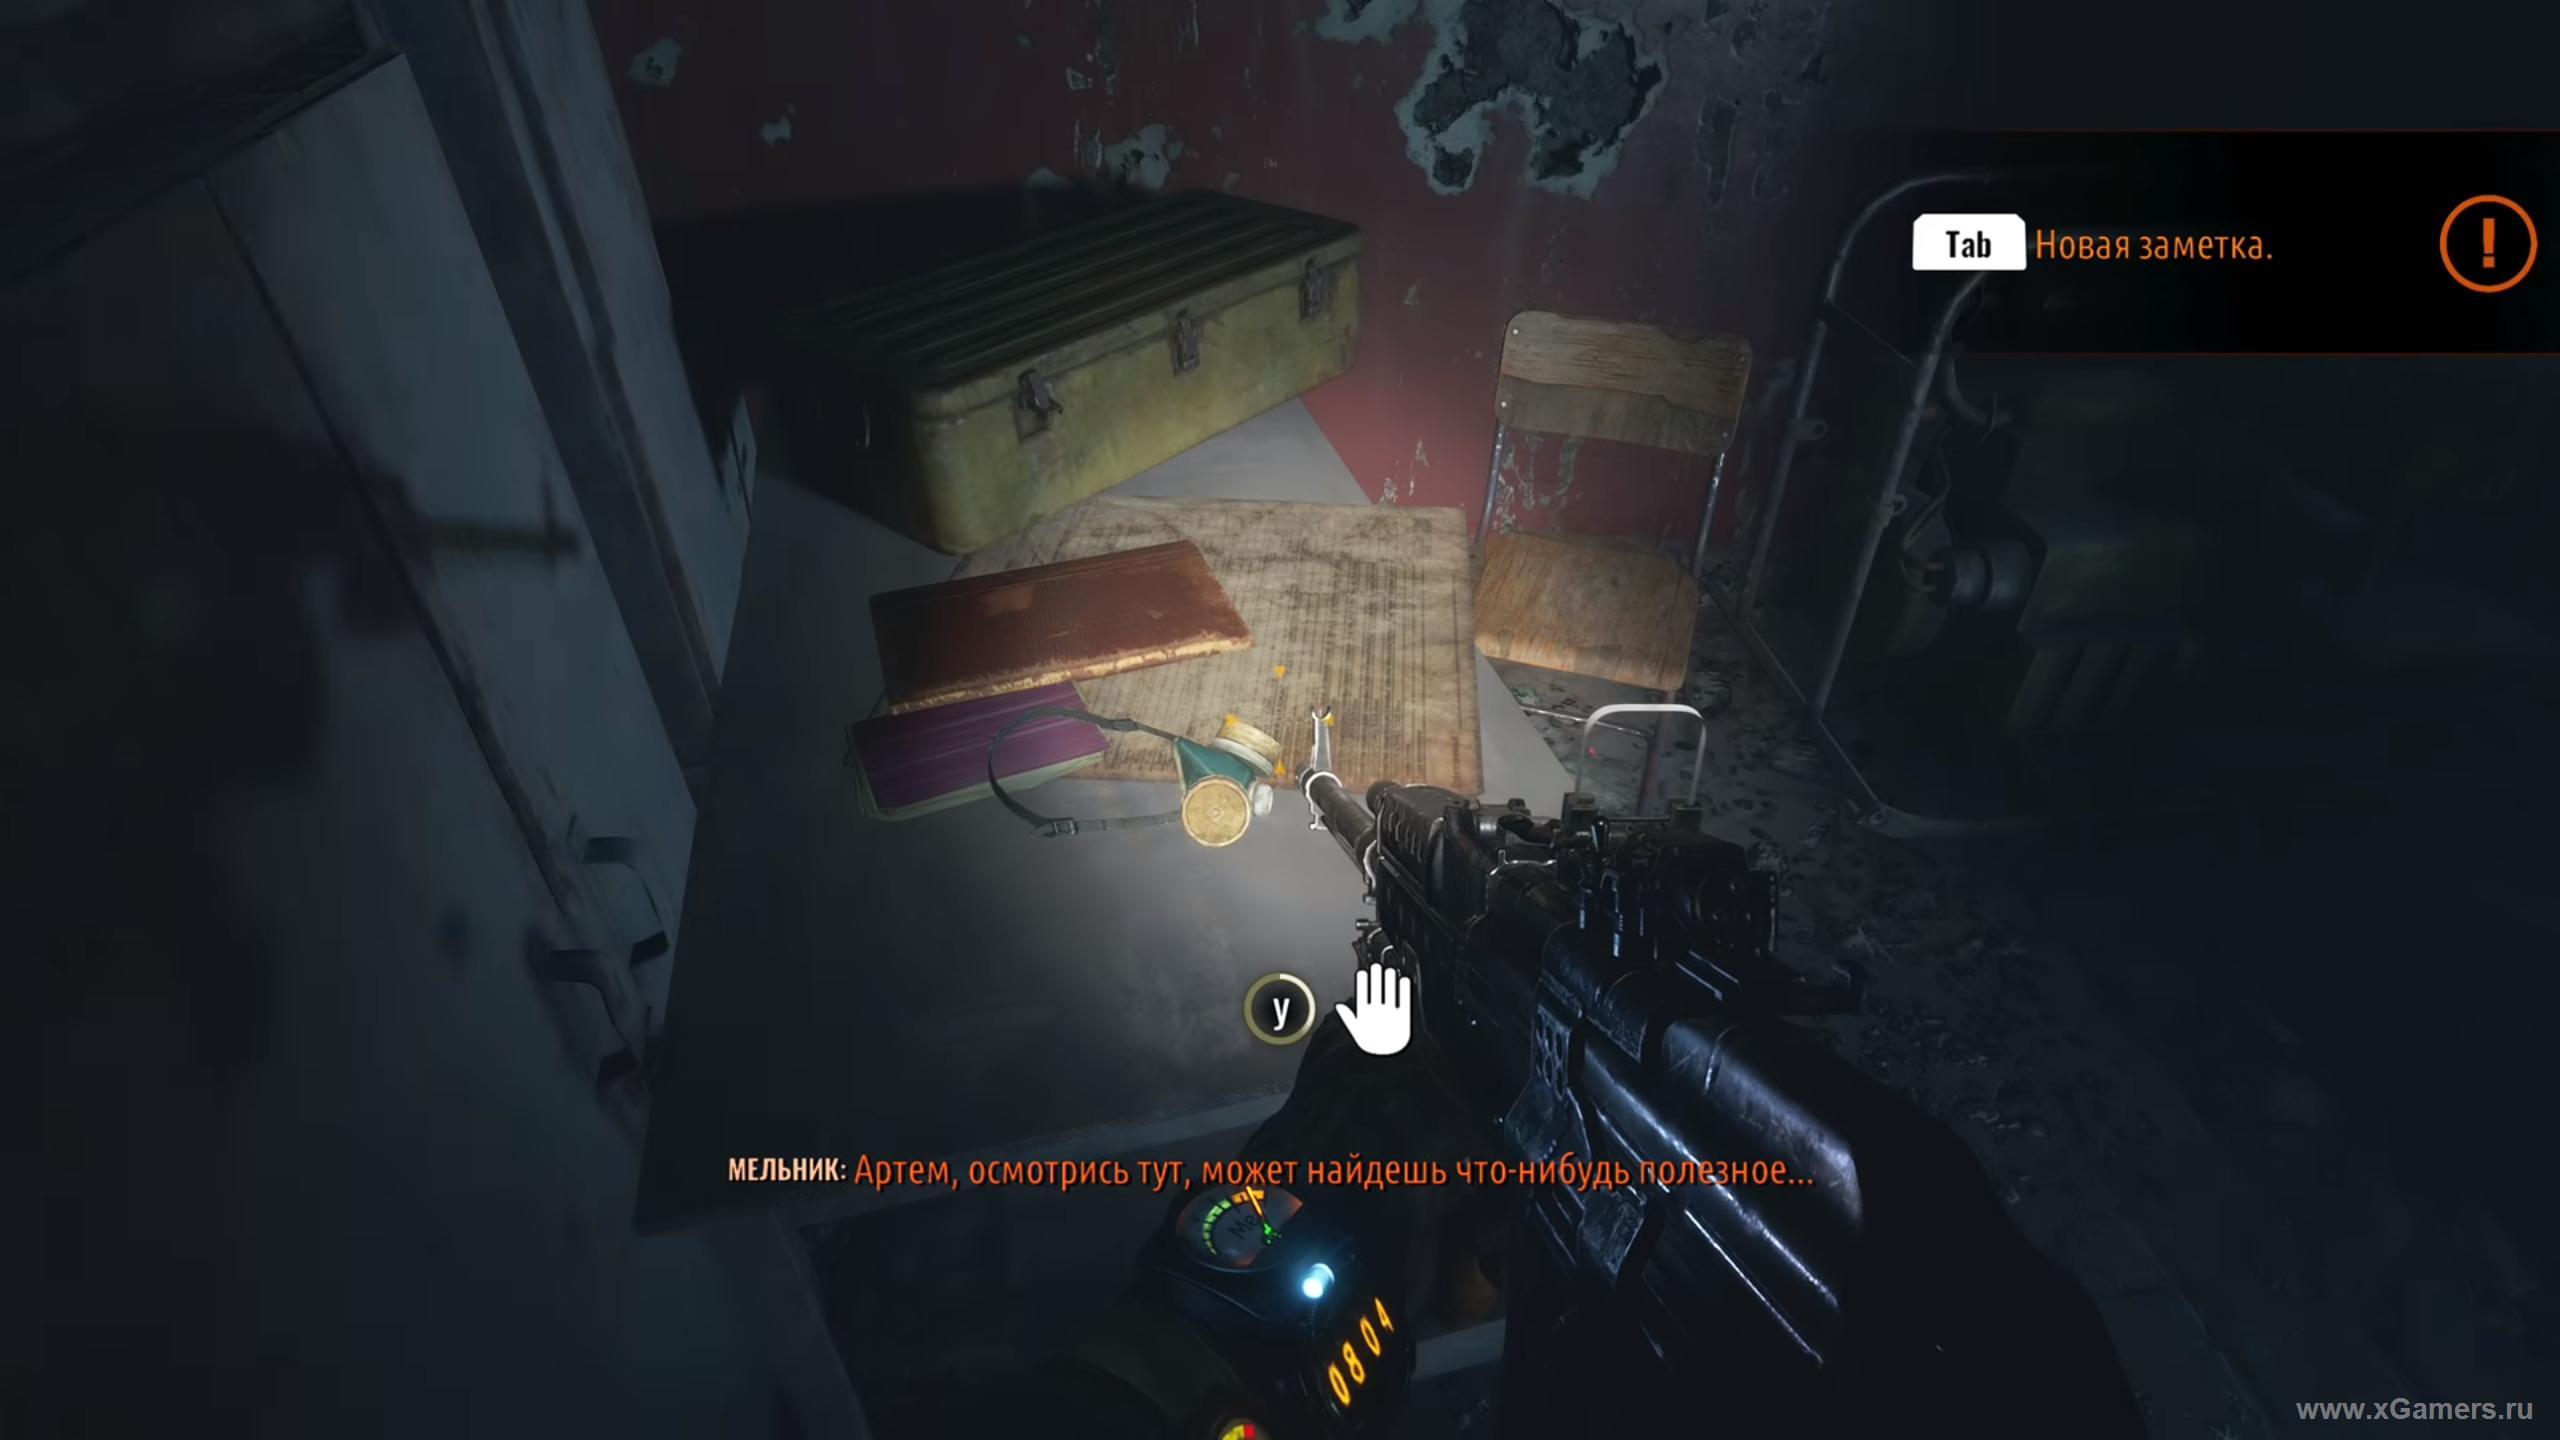
There are a few patrons and little things, and, among other things, in one of the rooms you can pick up a battered report from the table. As you collect all that interests you, go for the colonel and get down down.
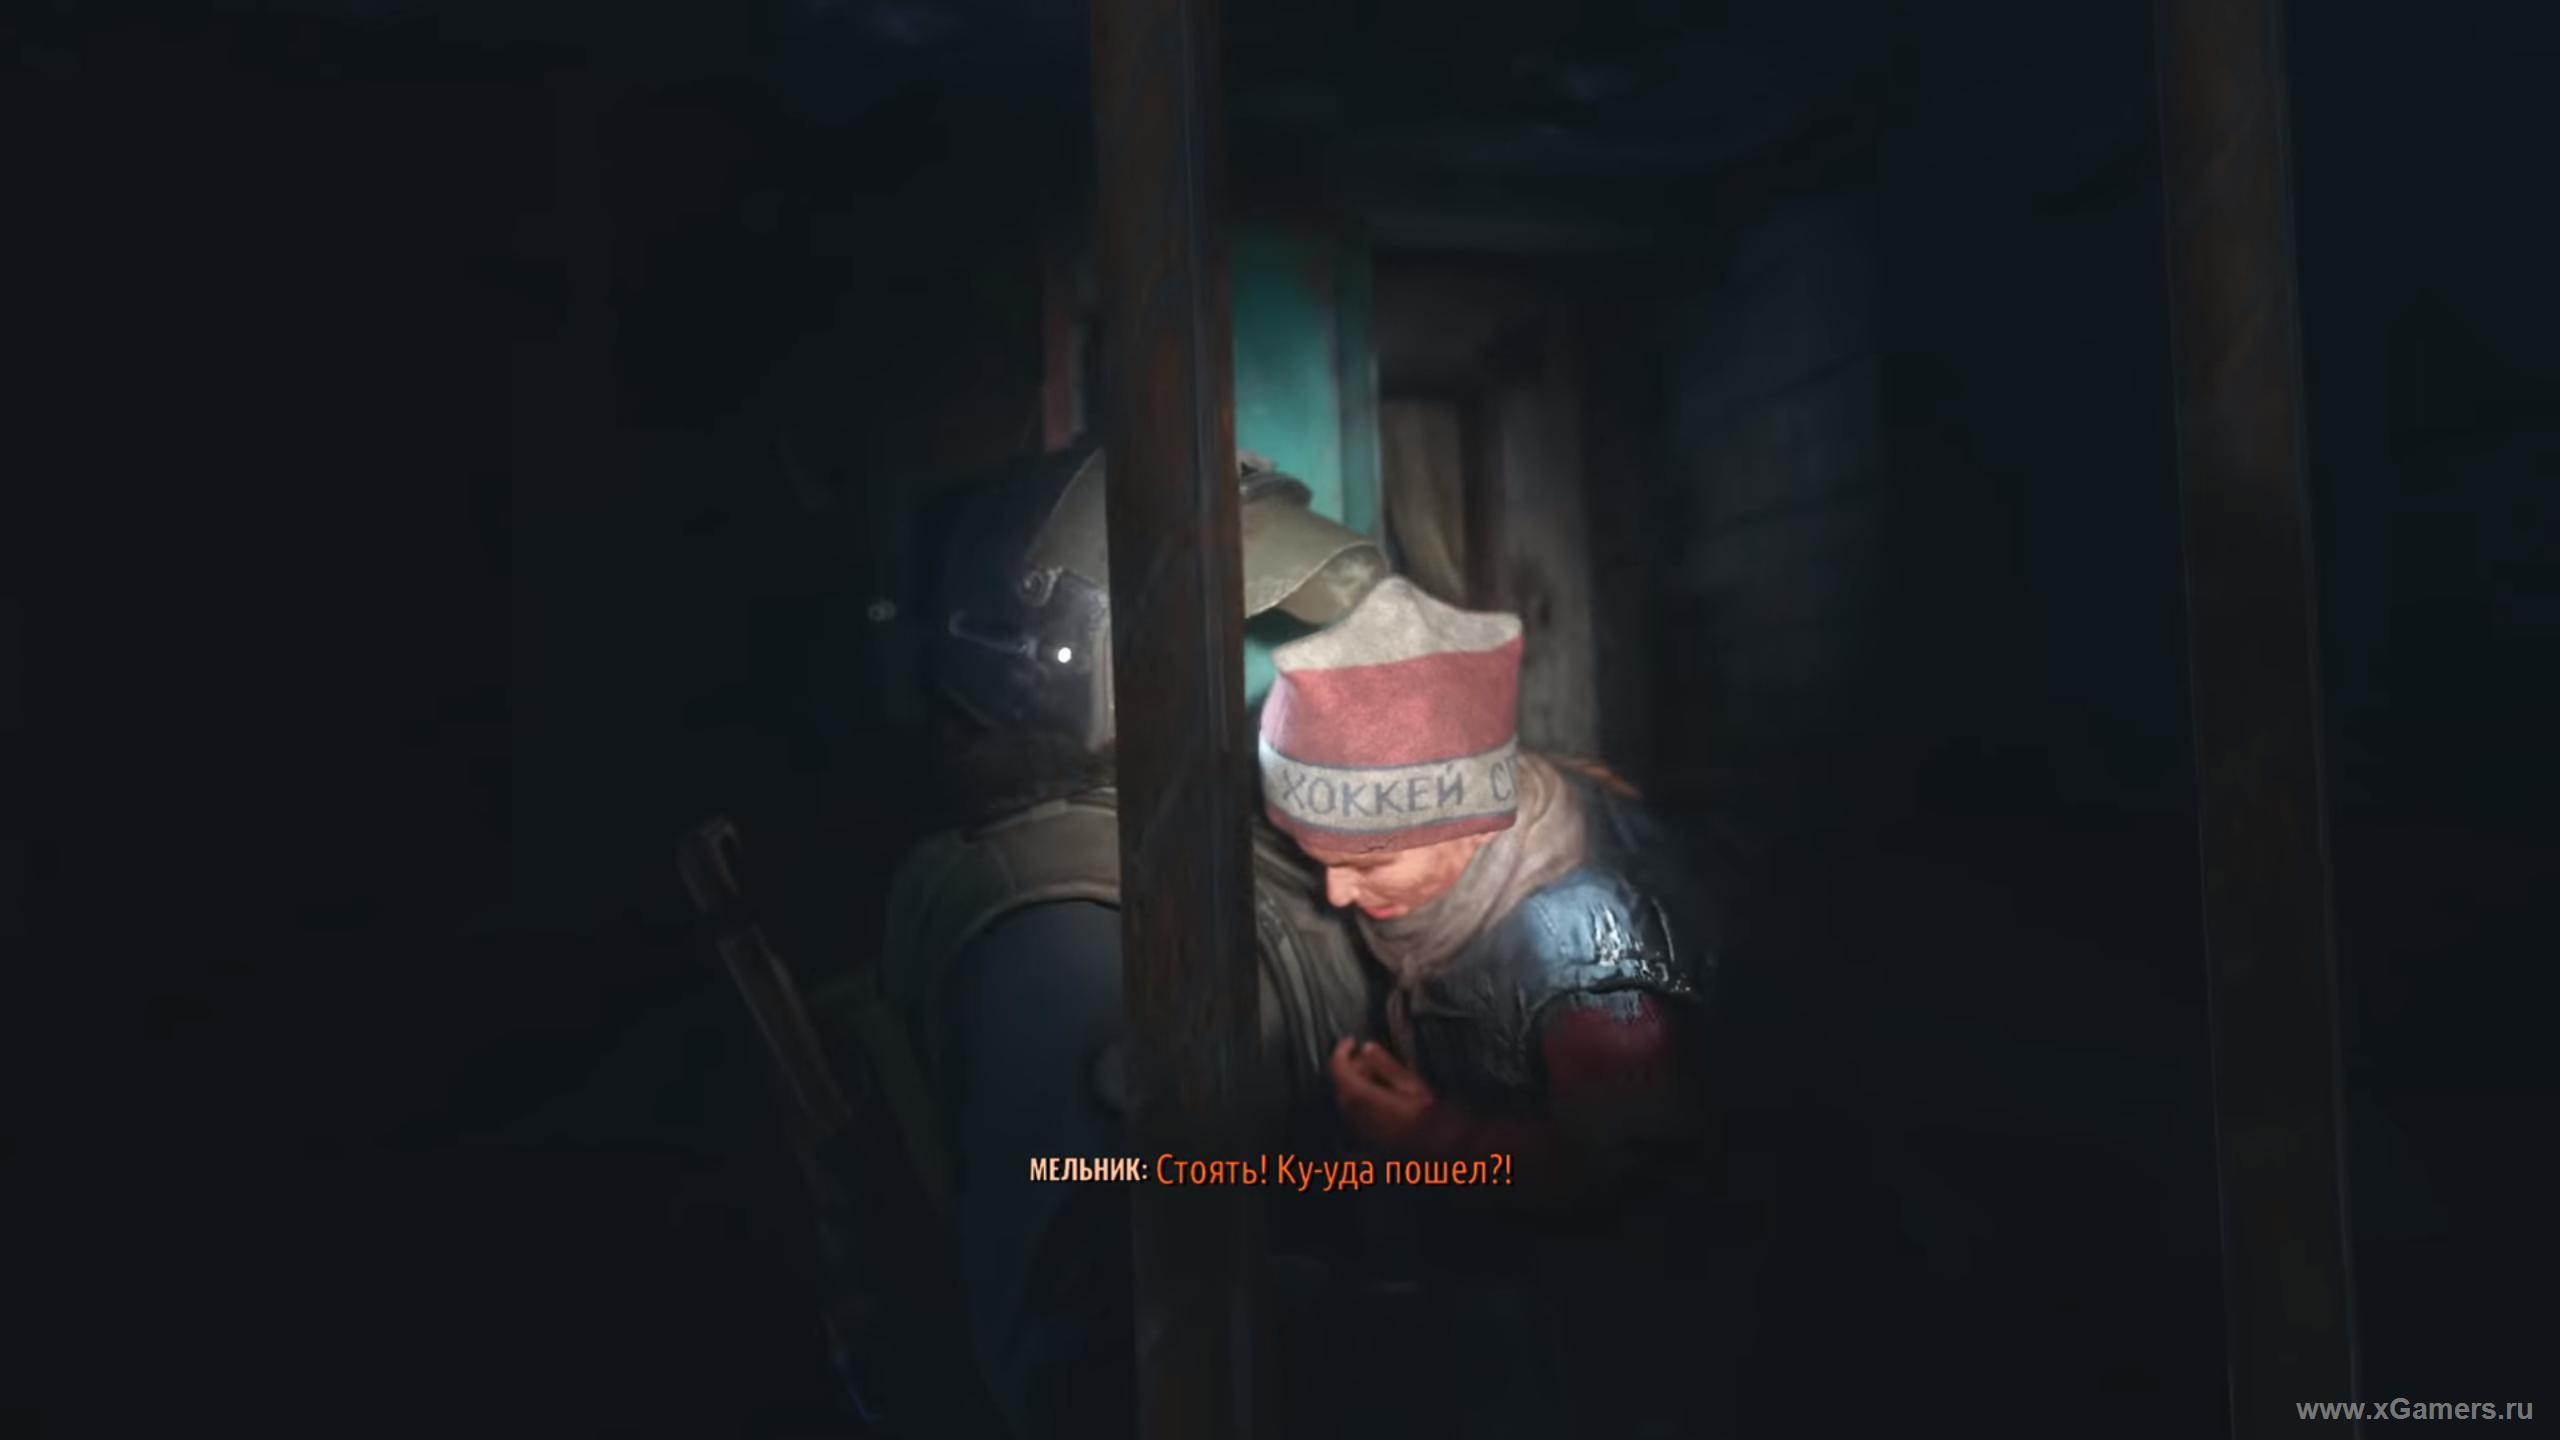
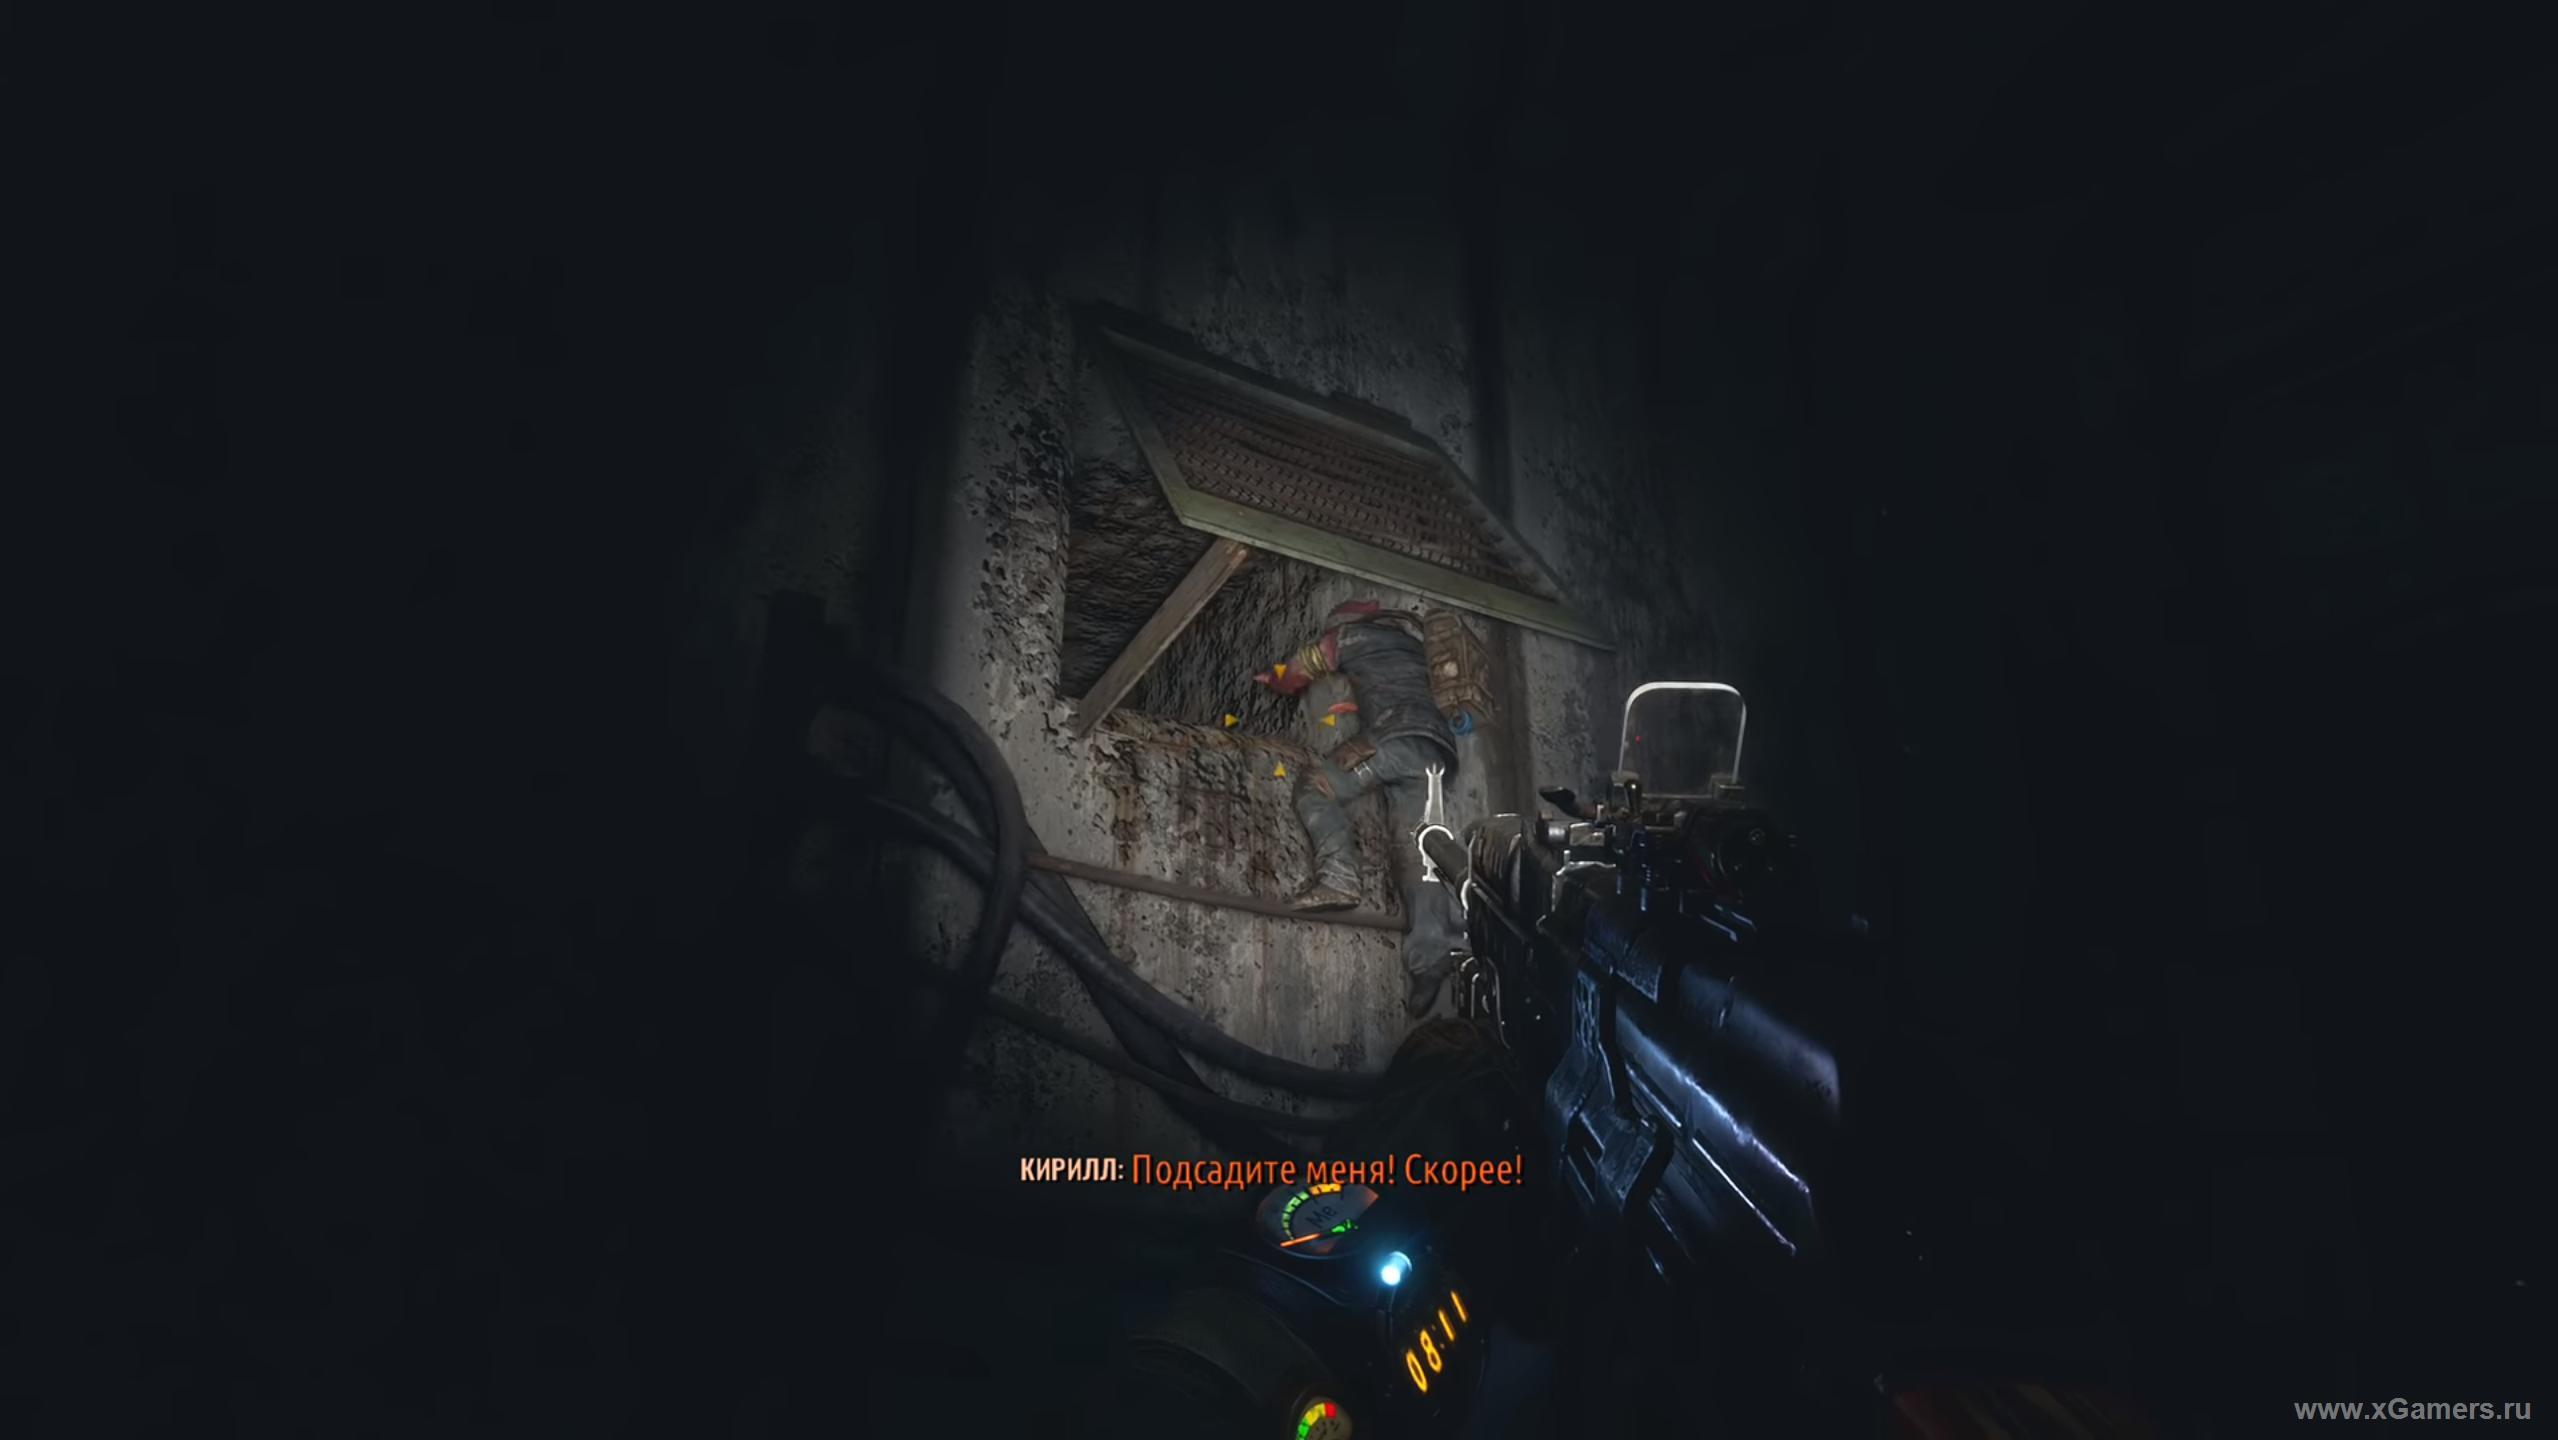
Hearing strange sounds, slide the hatch cover. Wow, why, the whole little boy hid here! We"ll have to play catch-up, but make-believe - the “race” is scripted and he won"t run away from you anywhere.
As a result, you and Melnik find yourself in the same room, separated from each other. However, you still catch the boy - he is hiding under a trash can.
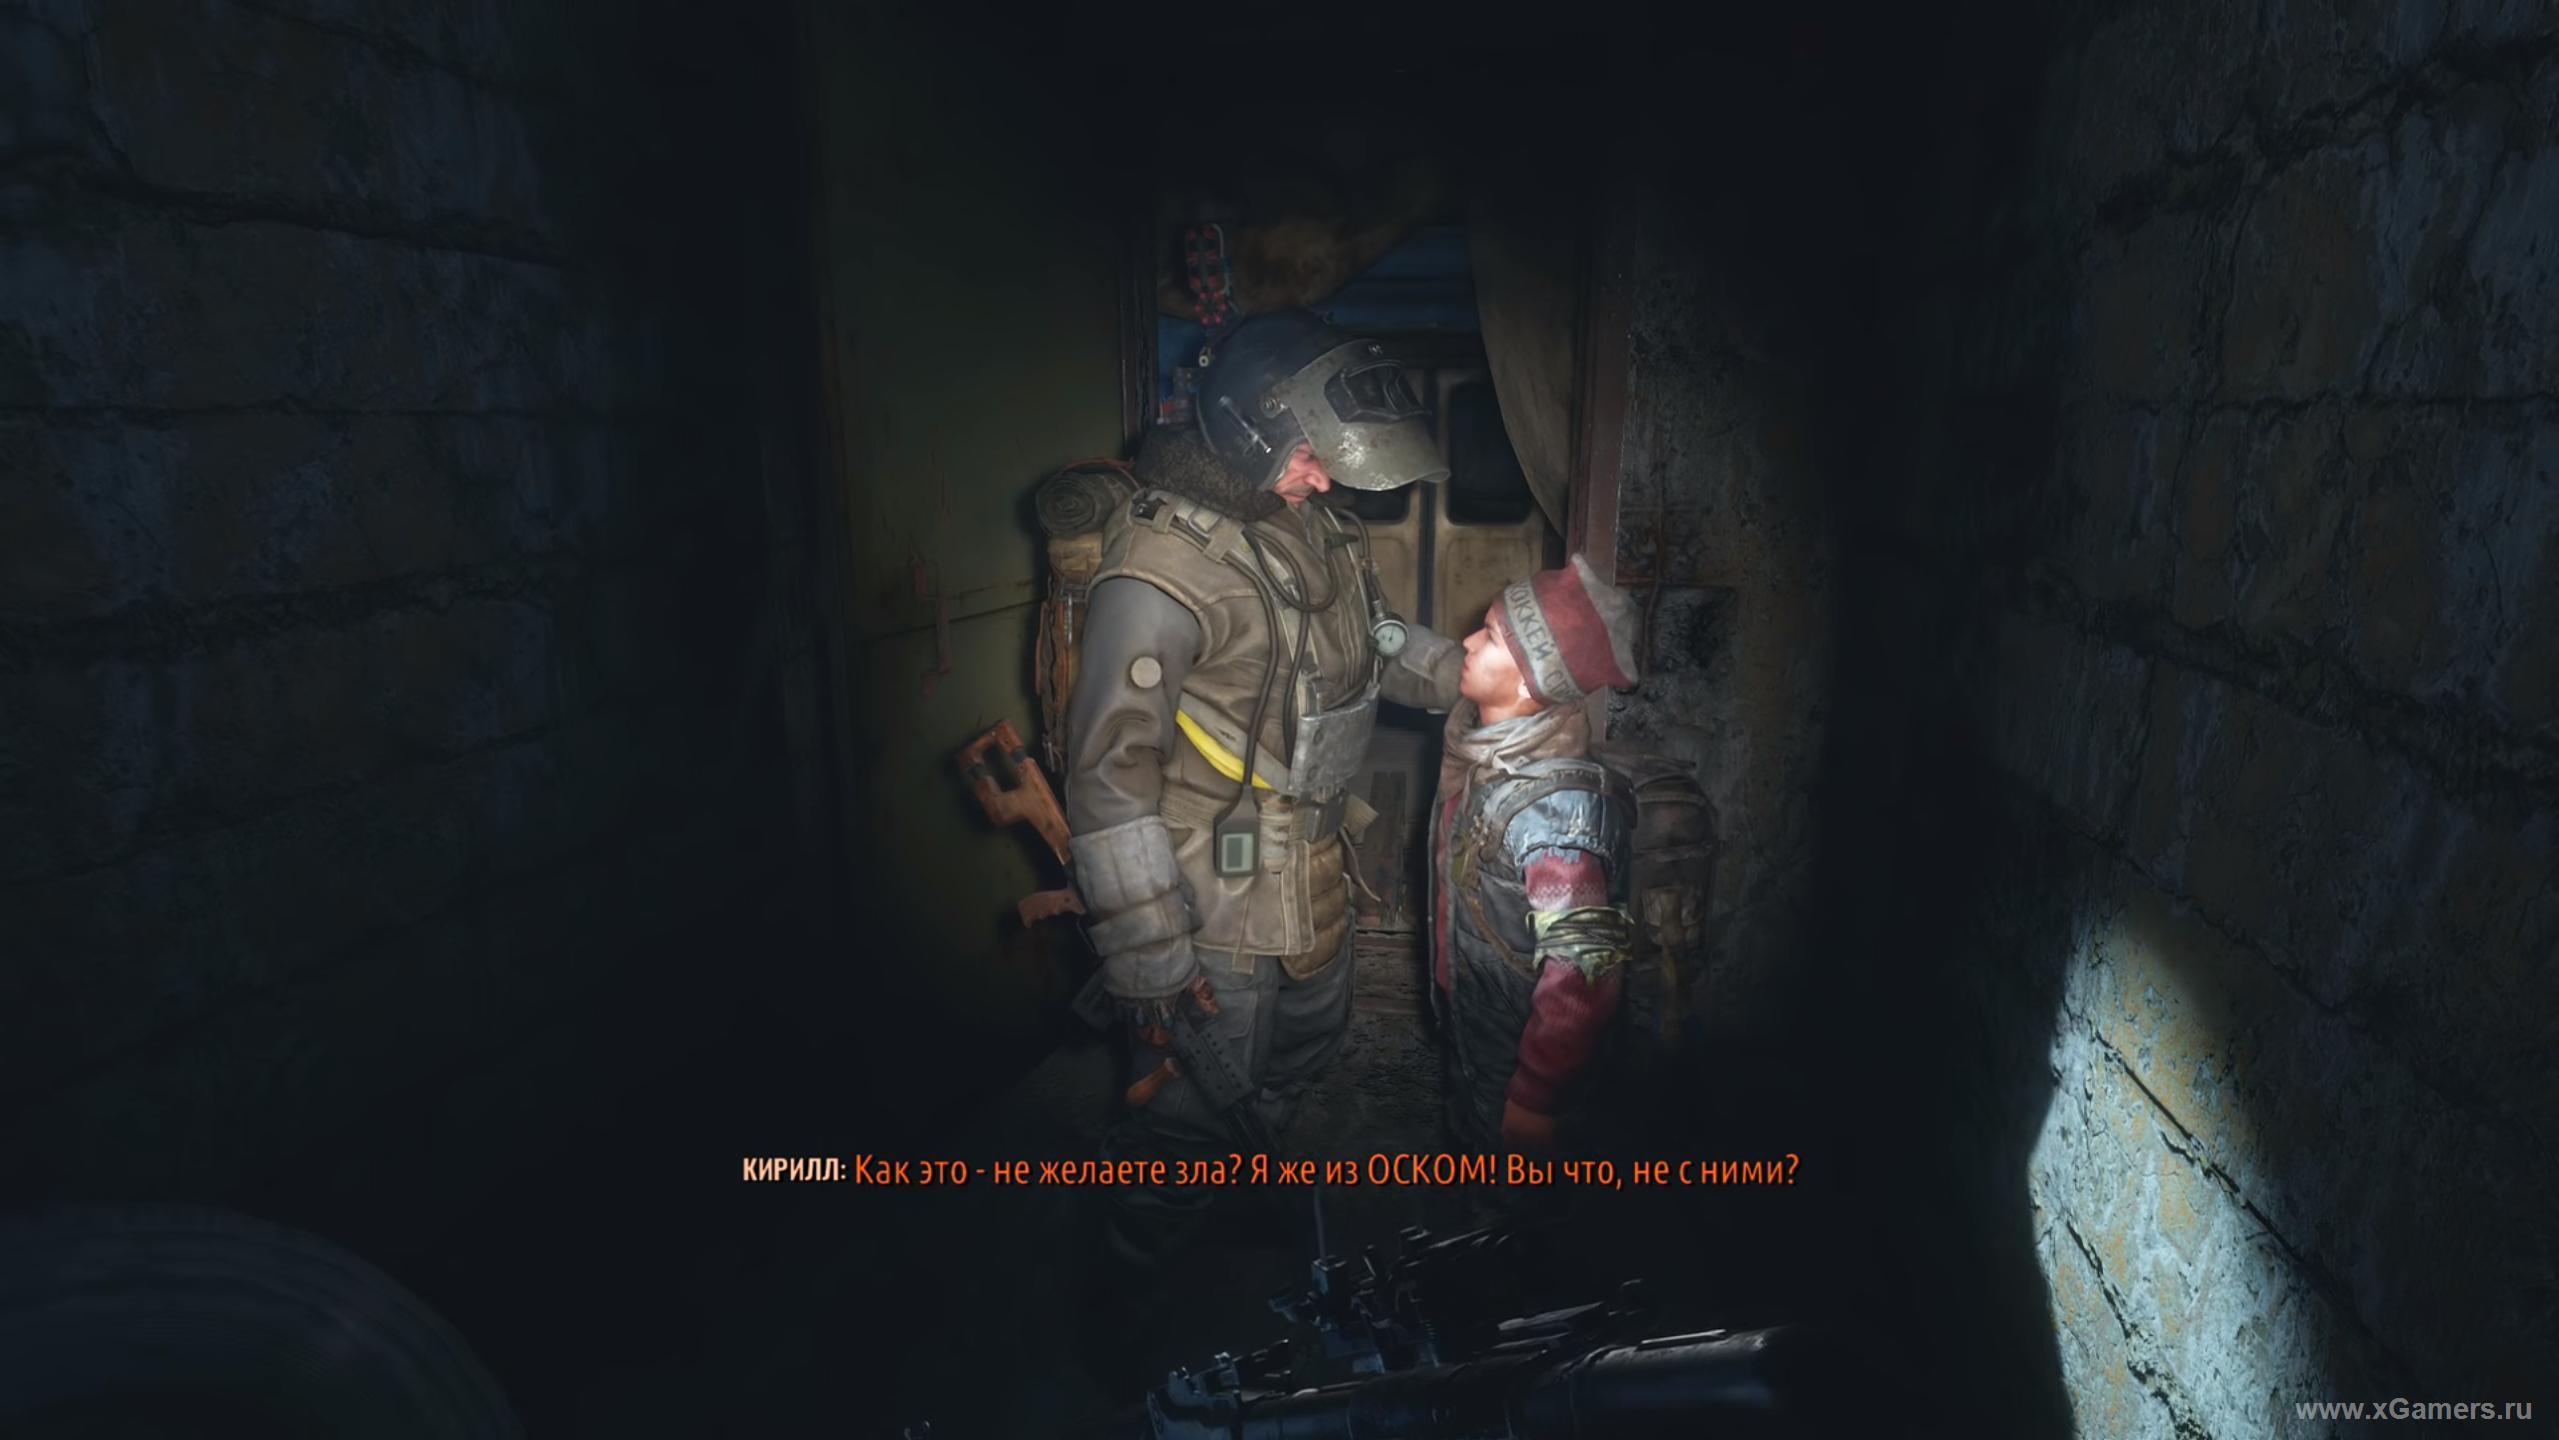
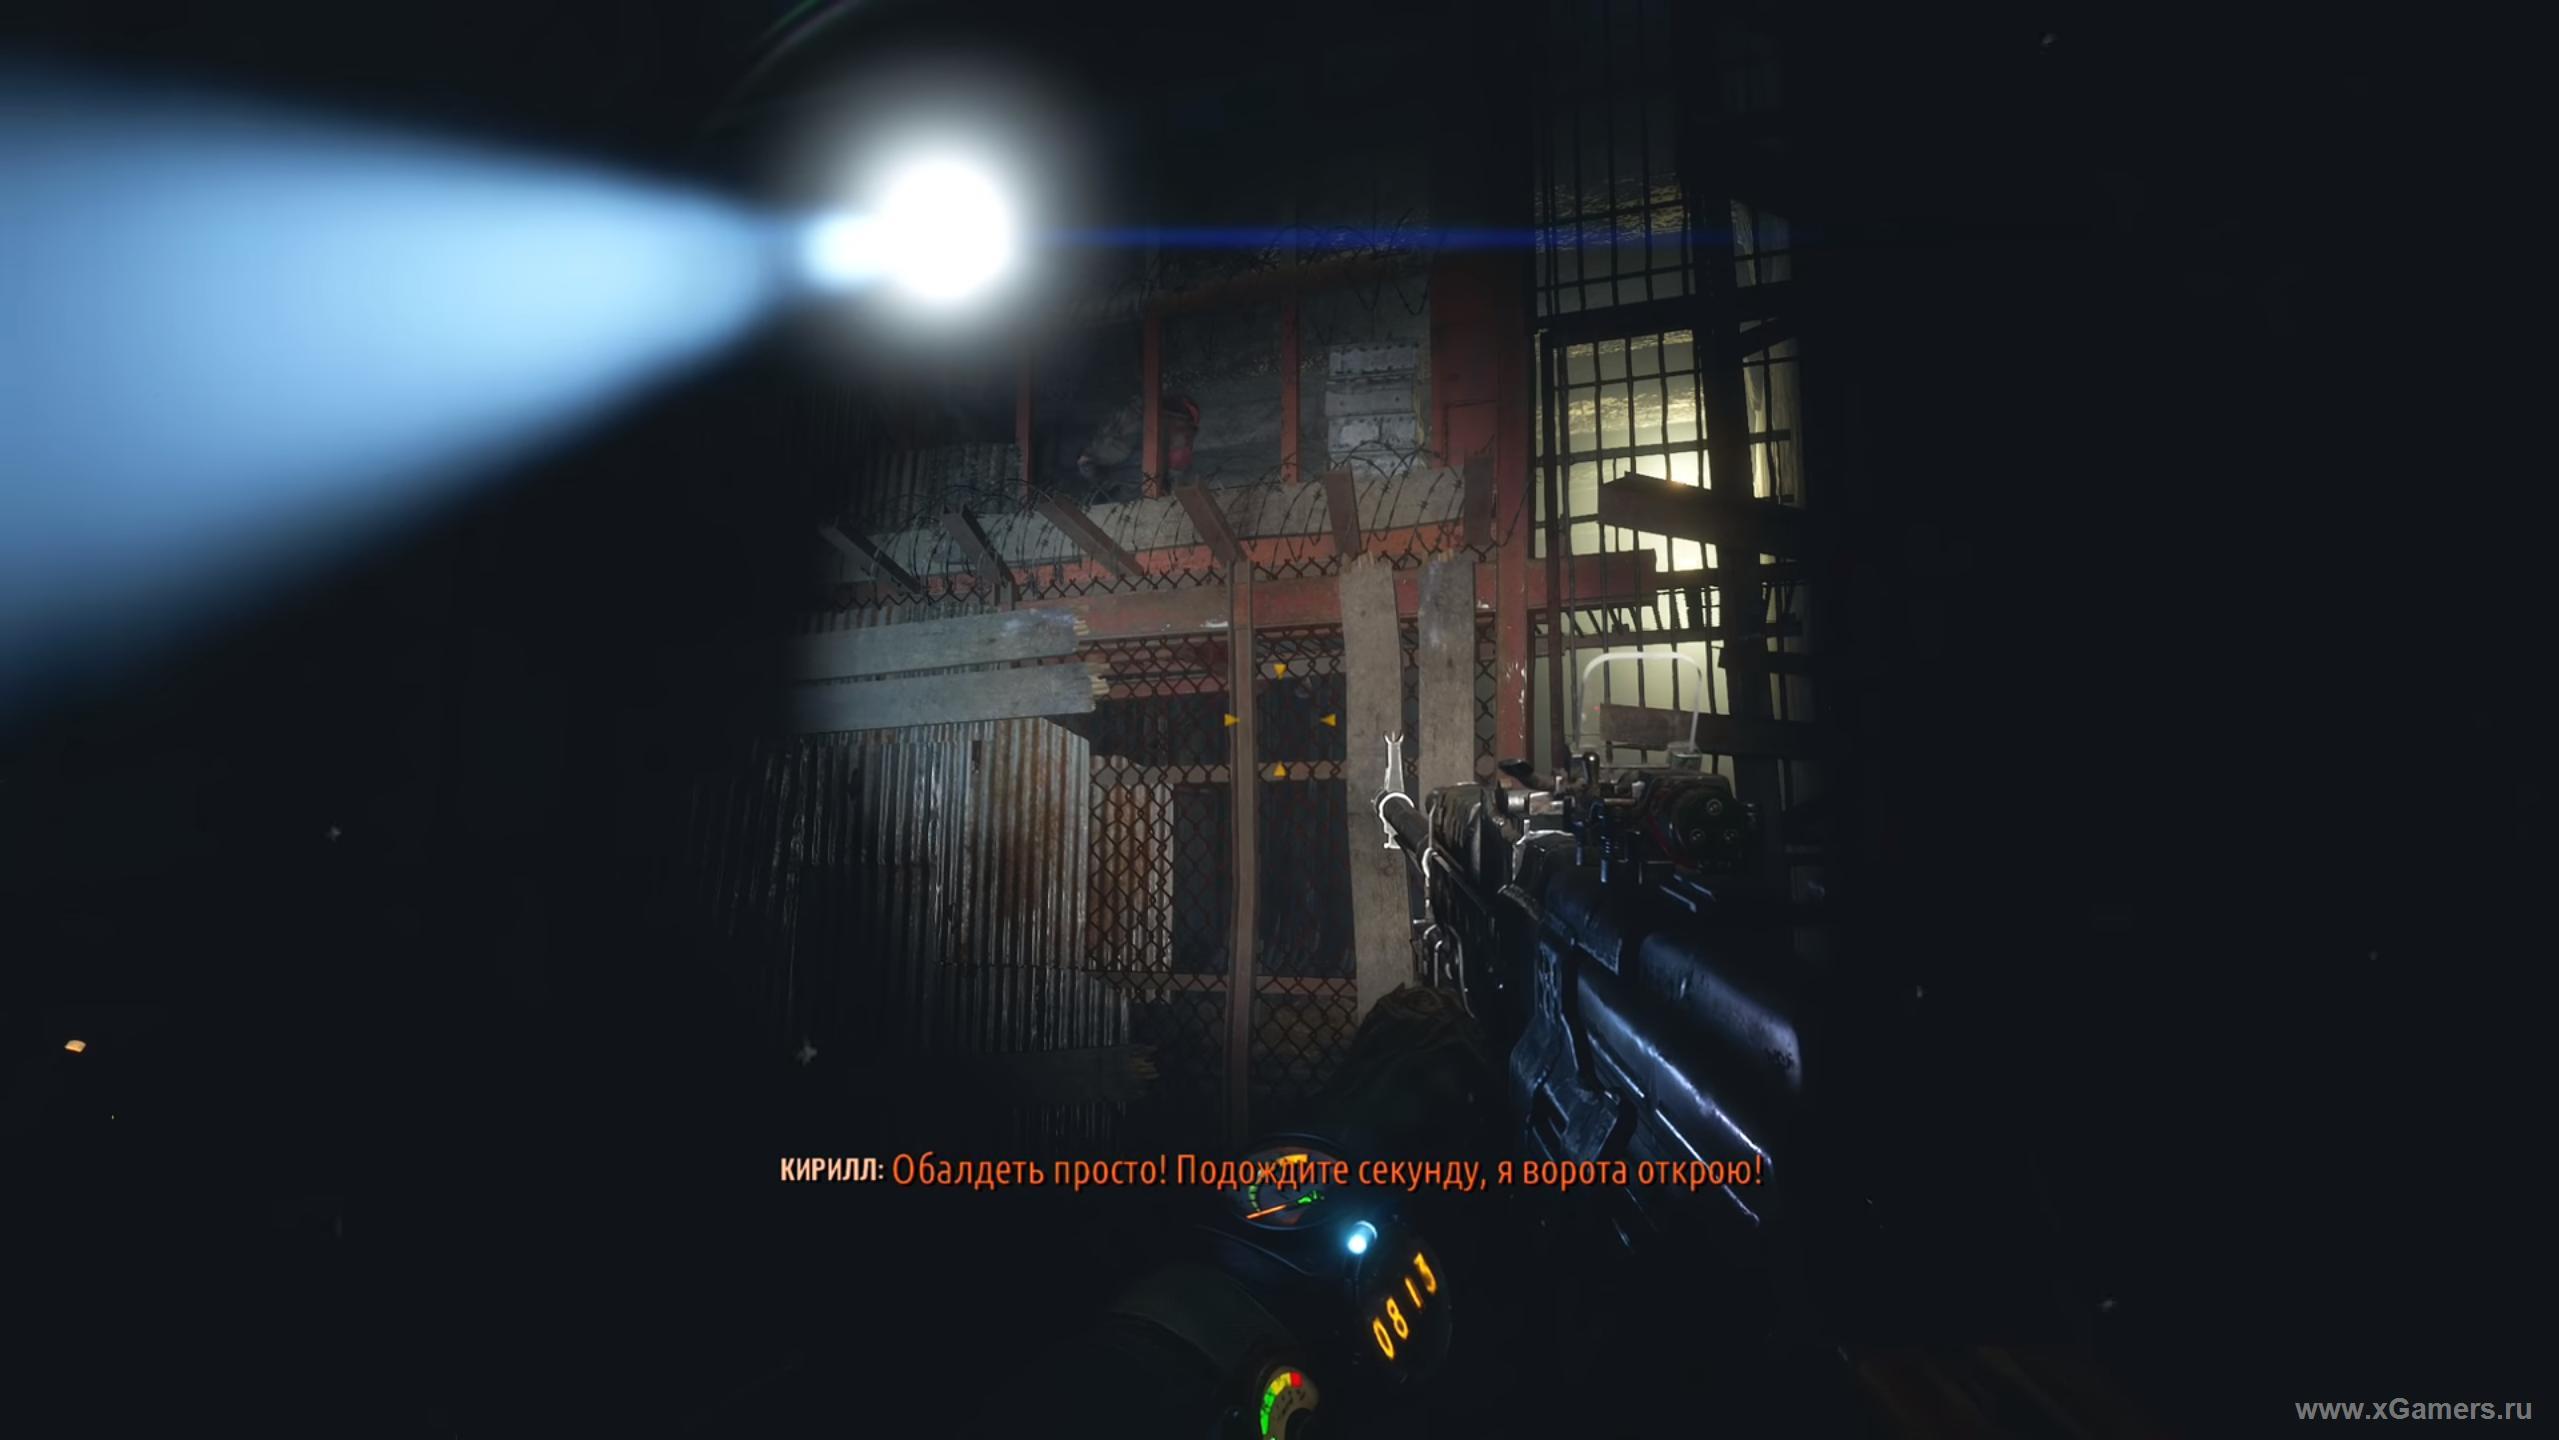
Talk to Cyril and listen to his story. After Melnik"s explanations, he will agree to help you and take you to the other inhabitants of the metro.
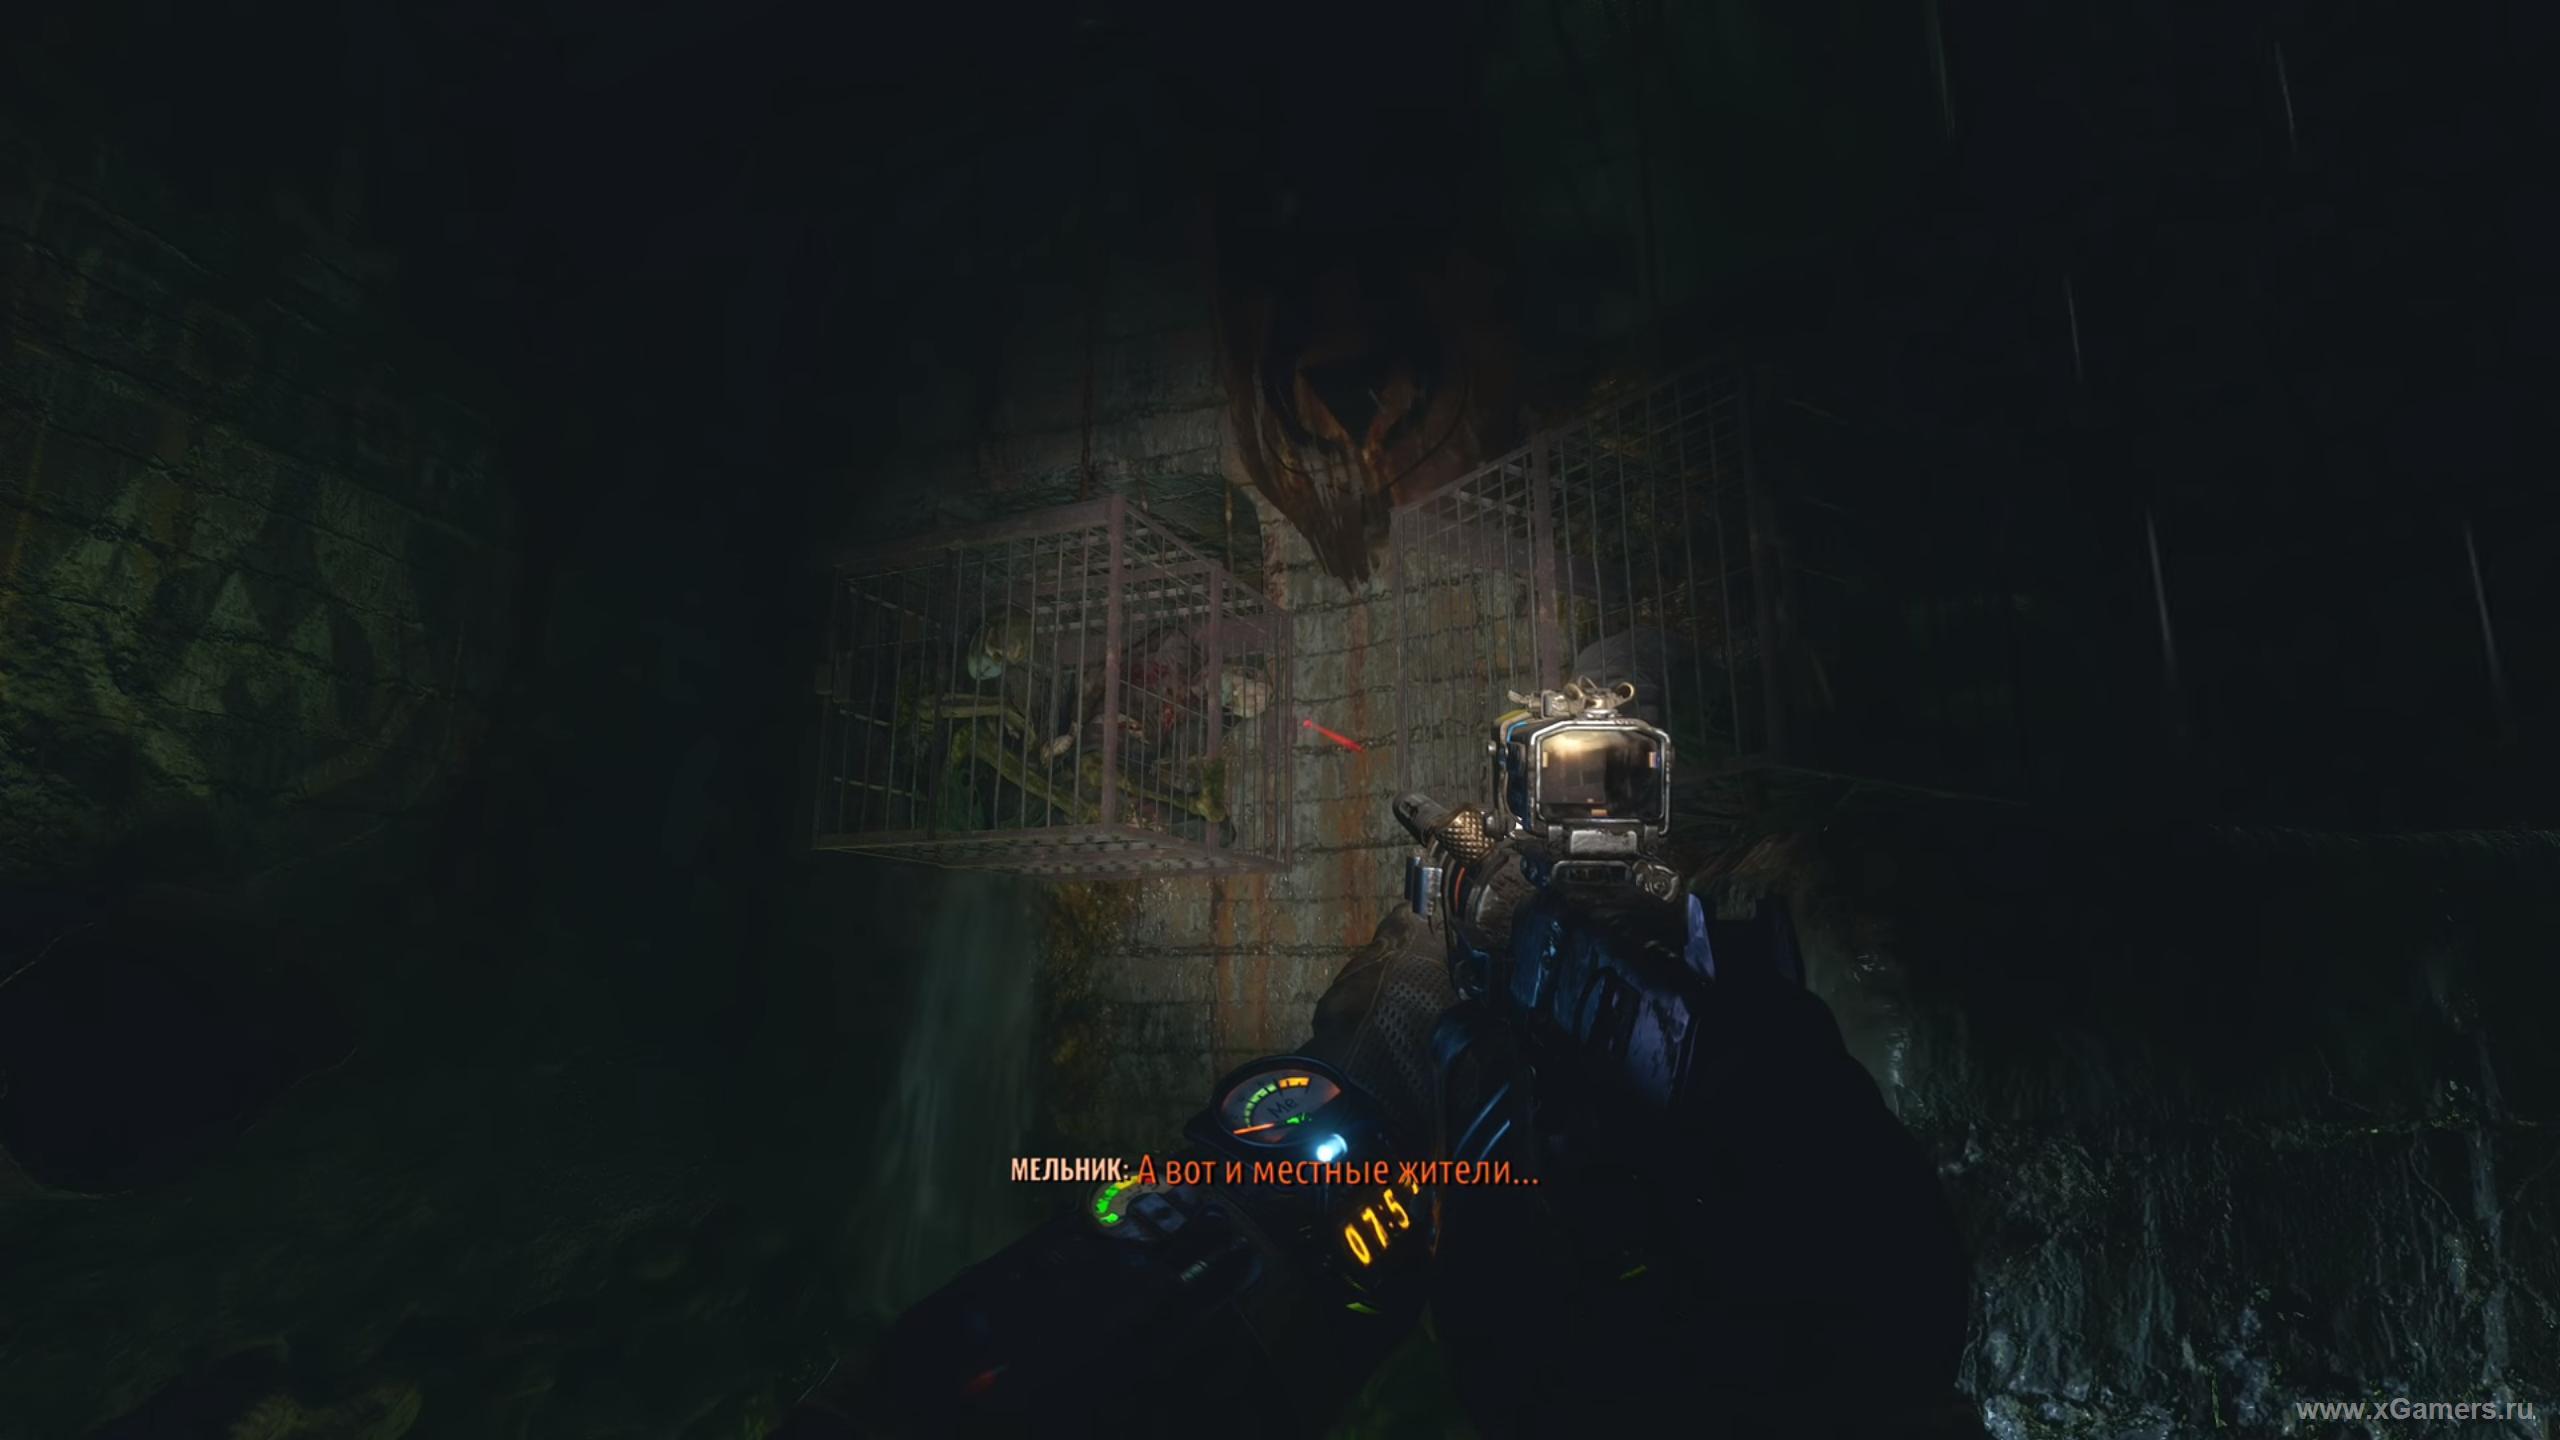
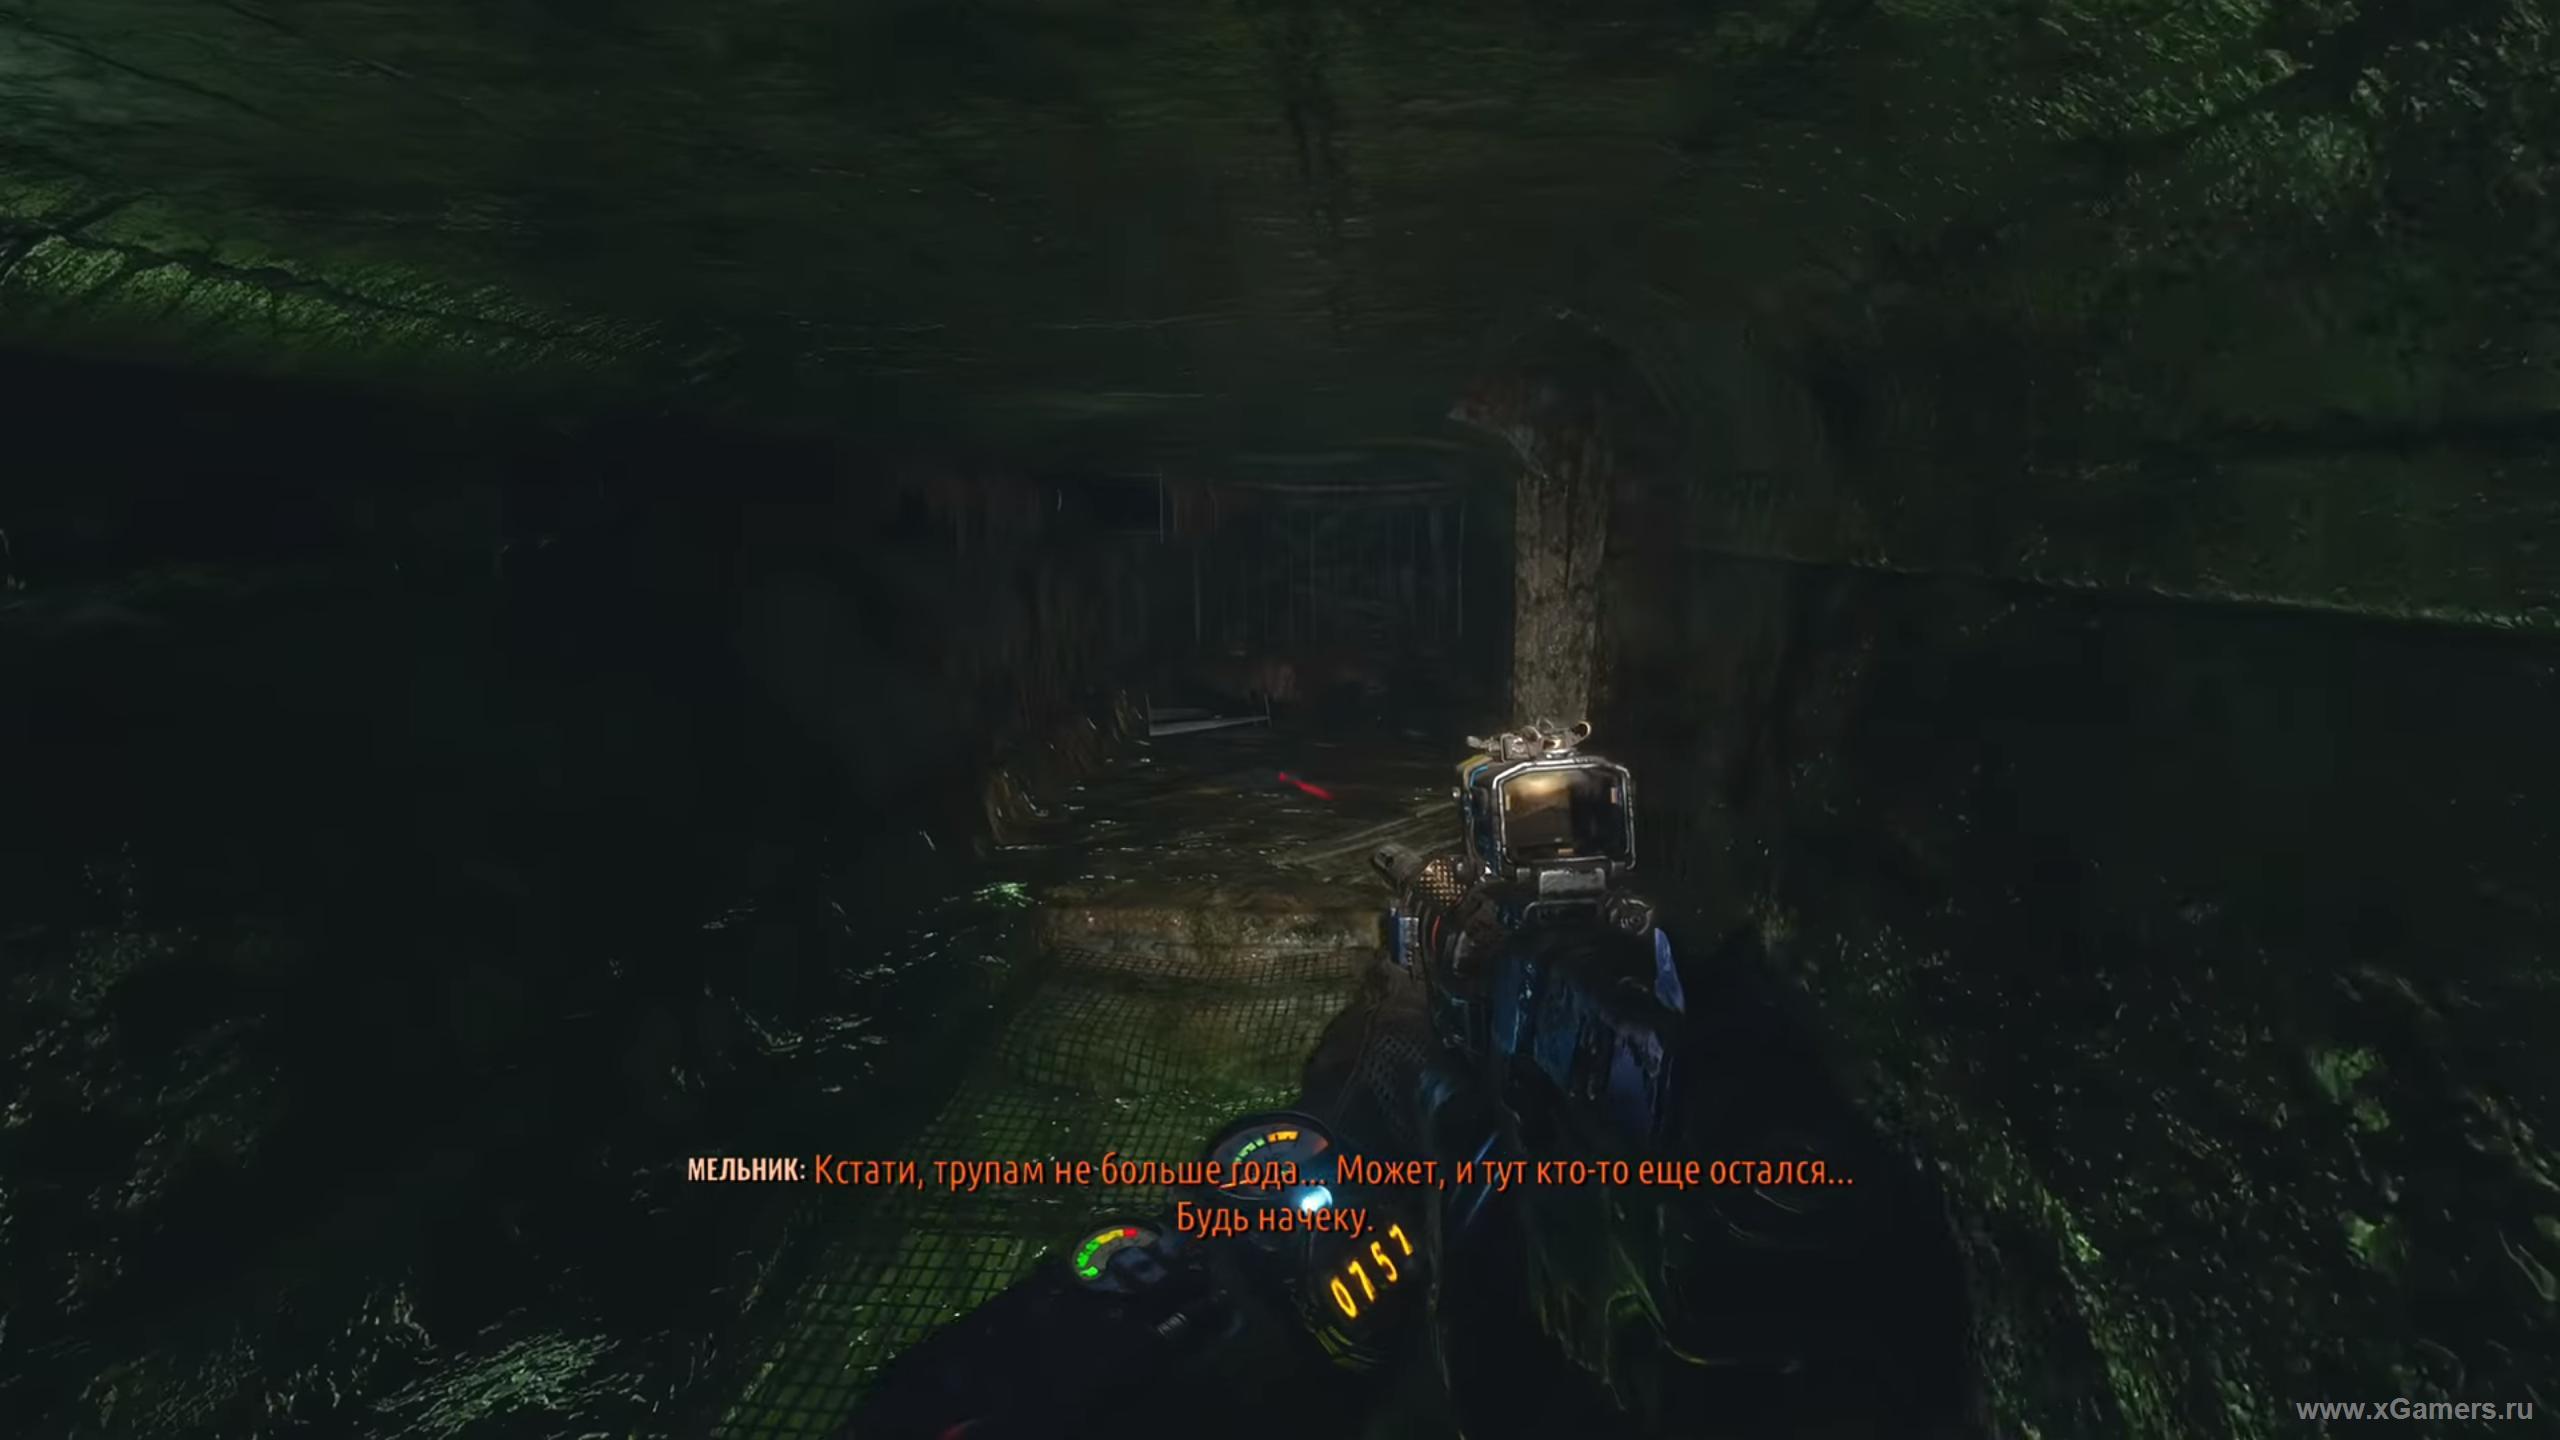
Follow them until you reach the abode of the locals. Barely have time to meet - hear the signal of the attack. We"ll have to fight back.
However, this fight will be simpler than the previous ones, since the mutants run in the same direction. True, in this battle, if you do not have a cannon with a sight that allows you to see in the dark, it is better not to shoot it for nothing and wait until the enemy approaches. Shotgun here will be perfect. As you finish them, you will be let through to the base.
Take a look around. As it turned out, here Melnik will temporarily leave you to get intelligence information.

And here you are again on their own. Well, nowhere to retreat! We go for the medicine.
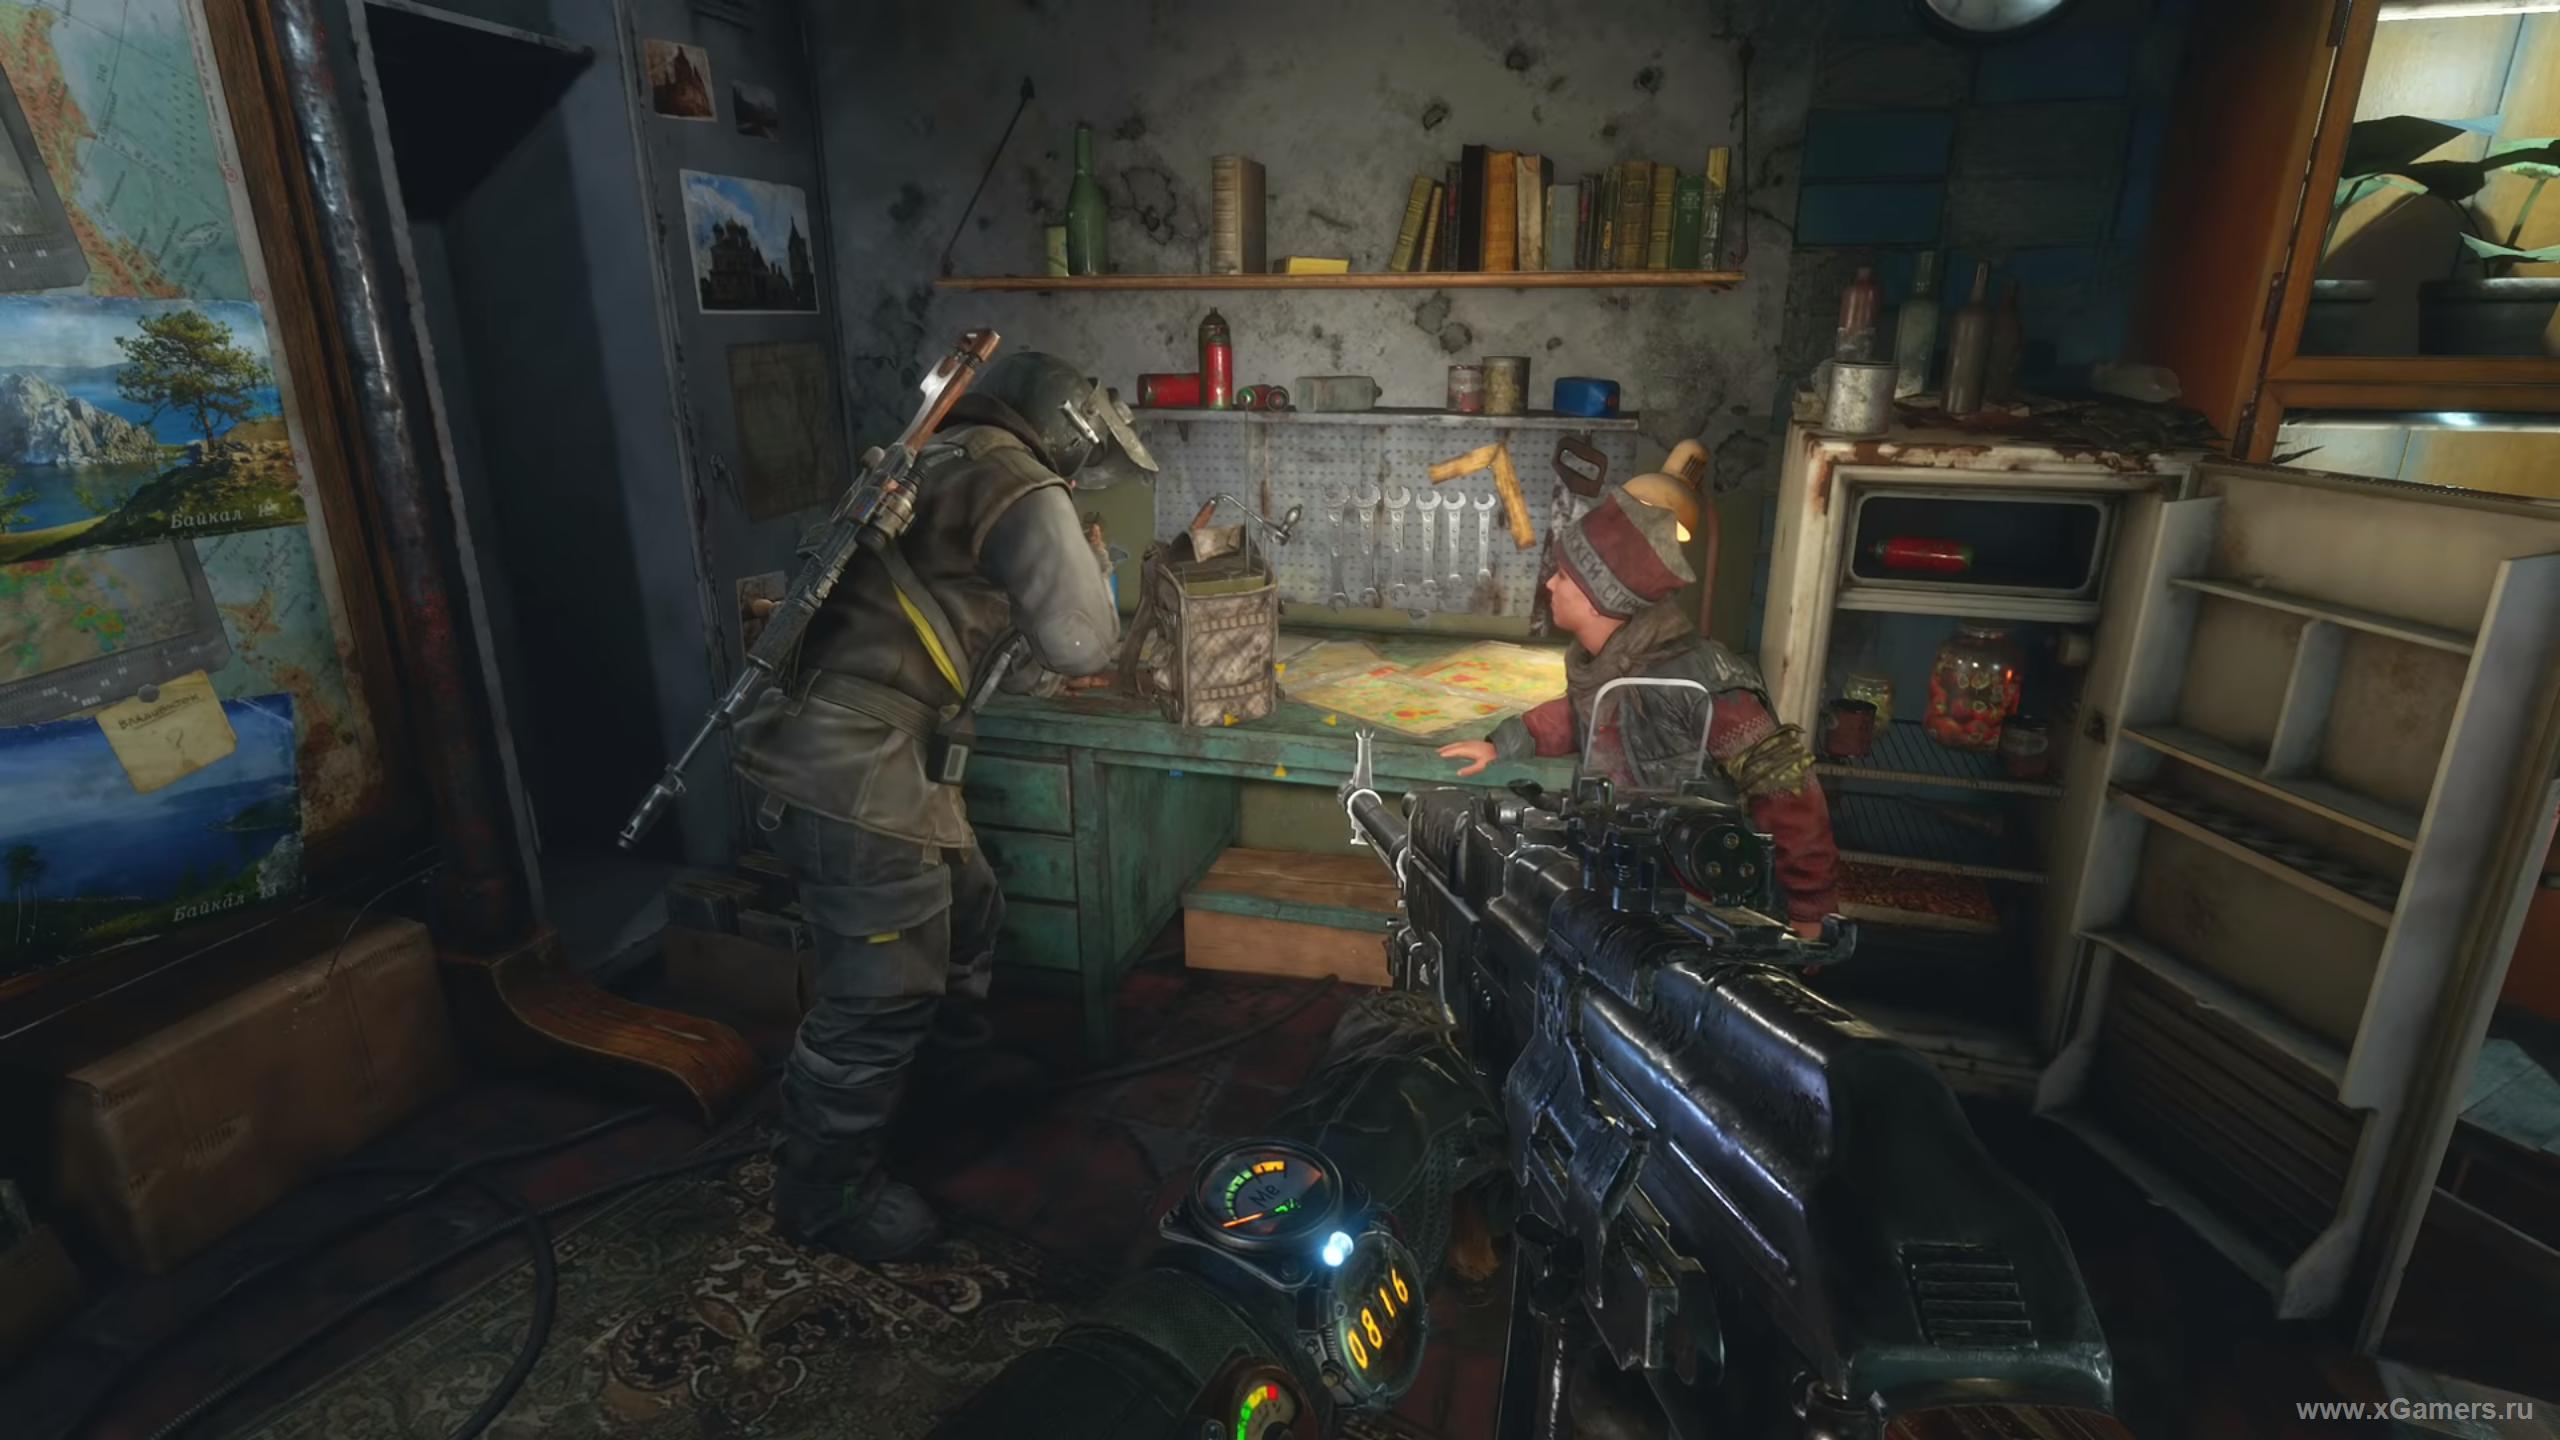
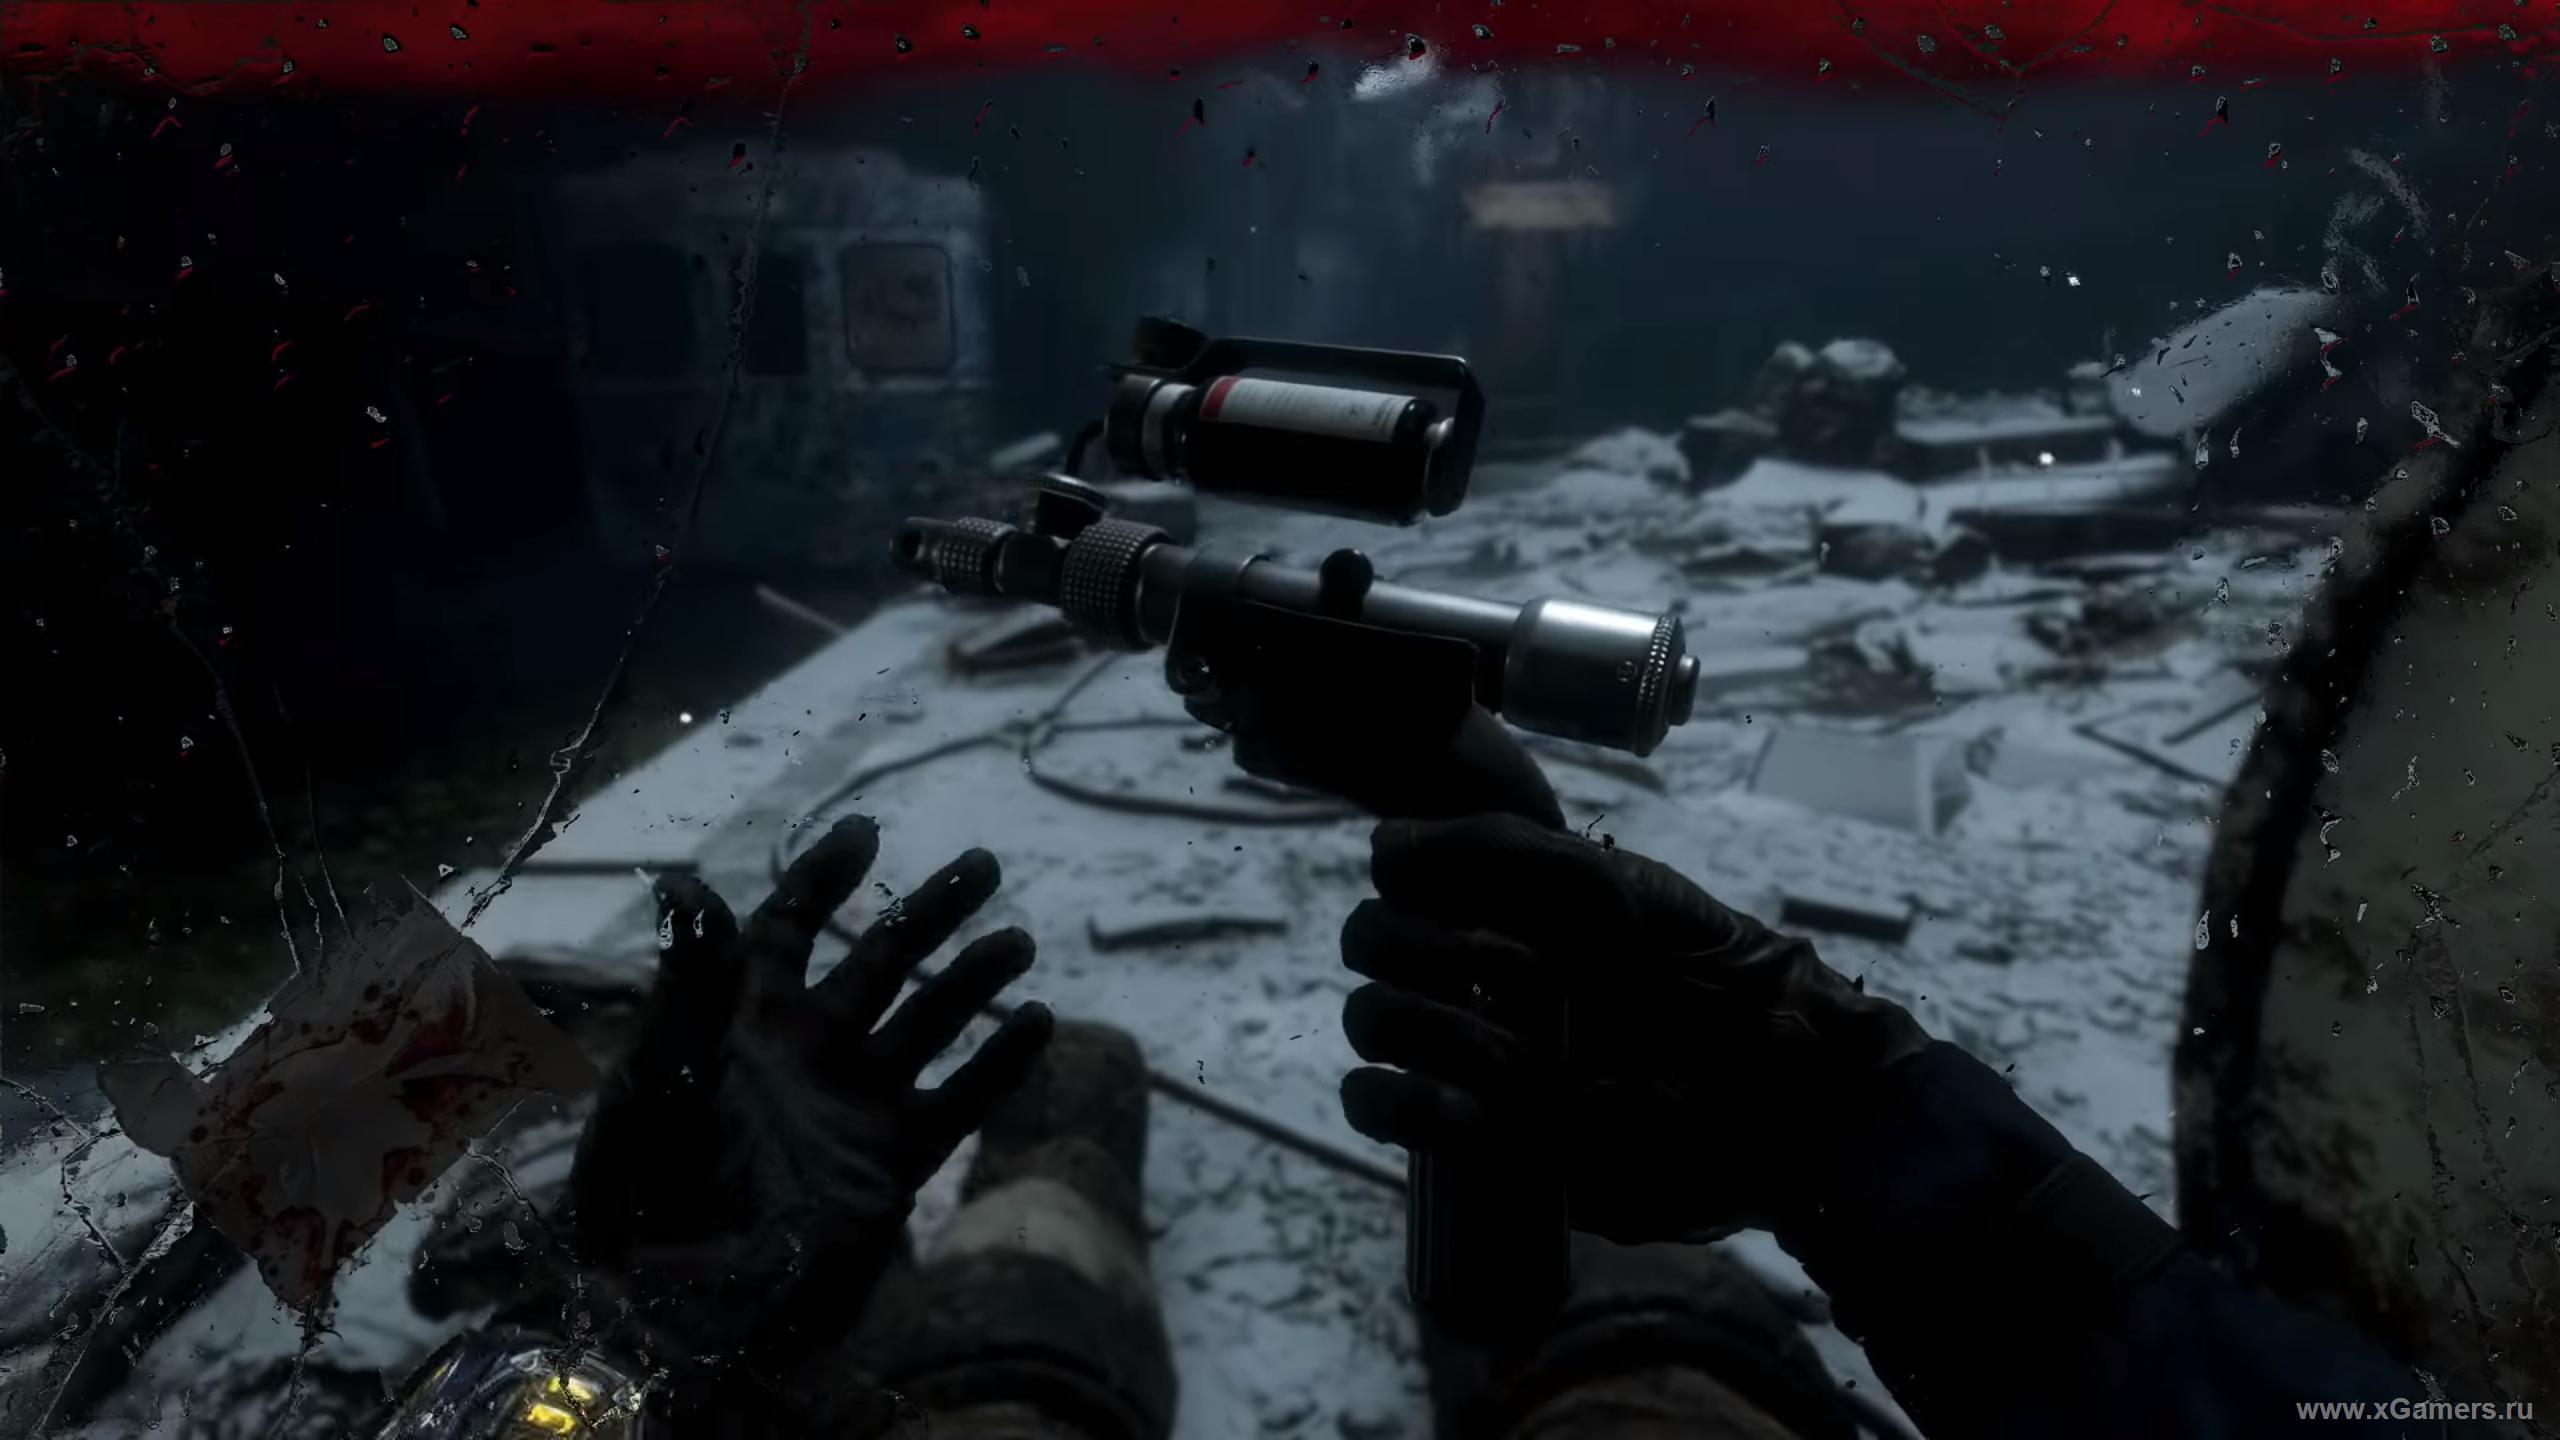
To maintain the morale, Miller, before leaving, will entrust you with the “rail” - a powerful weapon that is on the table at the entrance. There is also a postcard attached to the right of the cannon on the column, and there is also a workbench here - don’t forget to use it, it will be hard to go on!
The light in the darkness
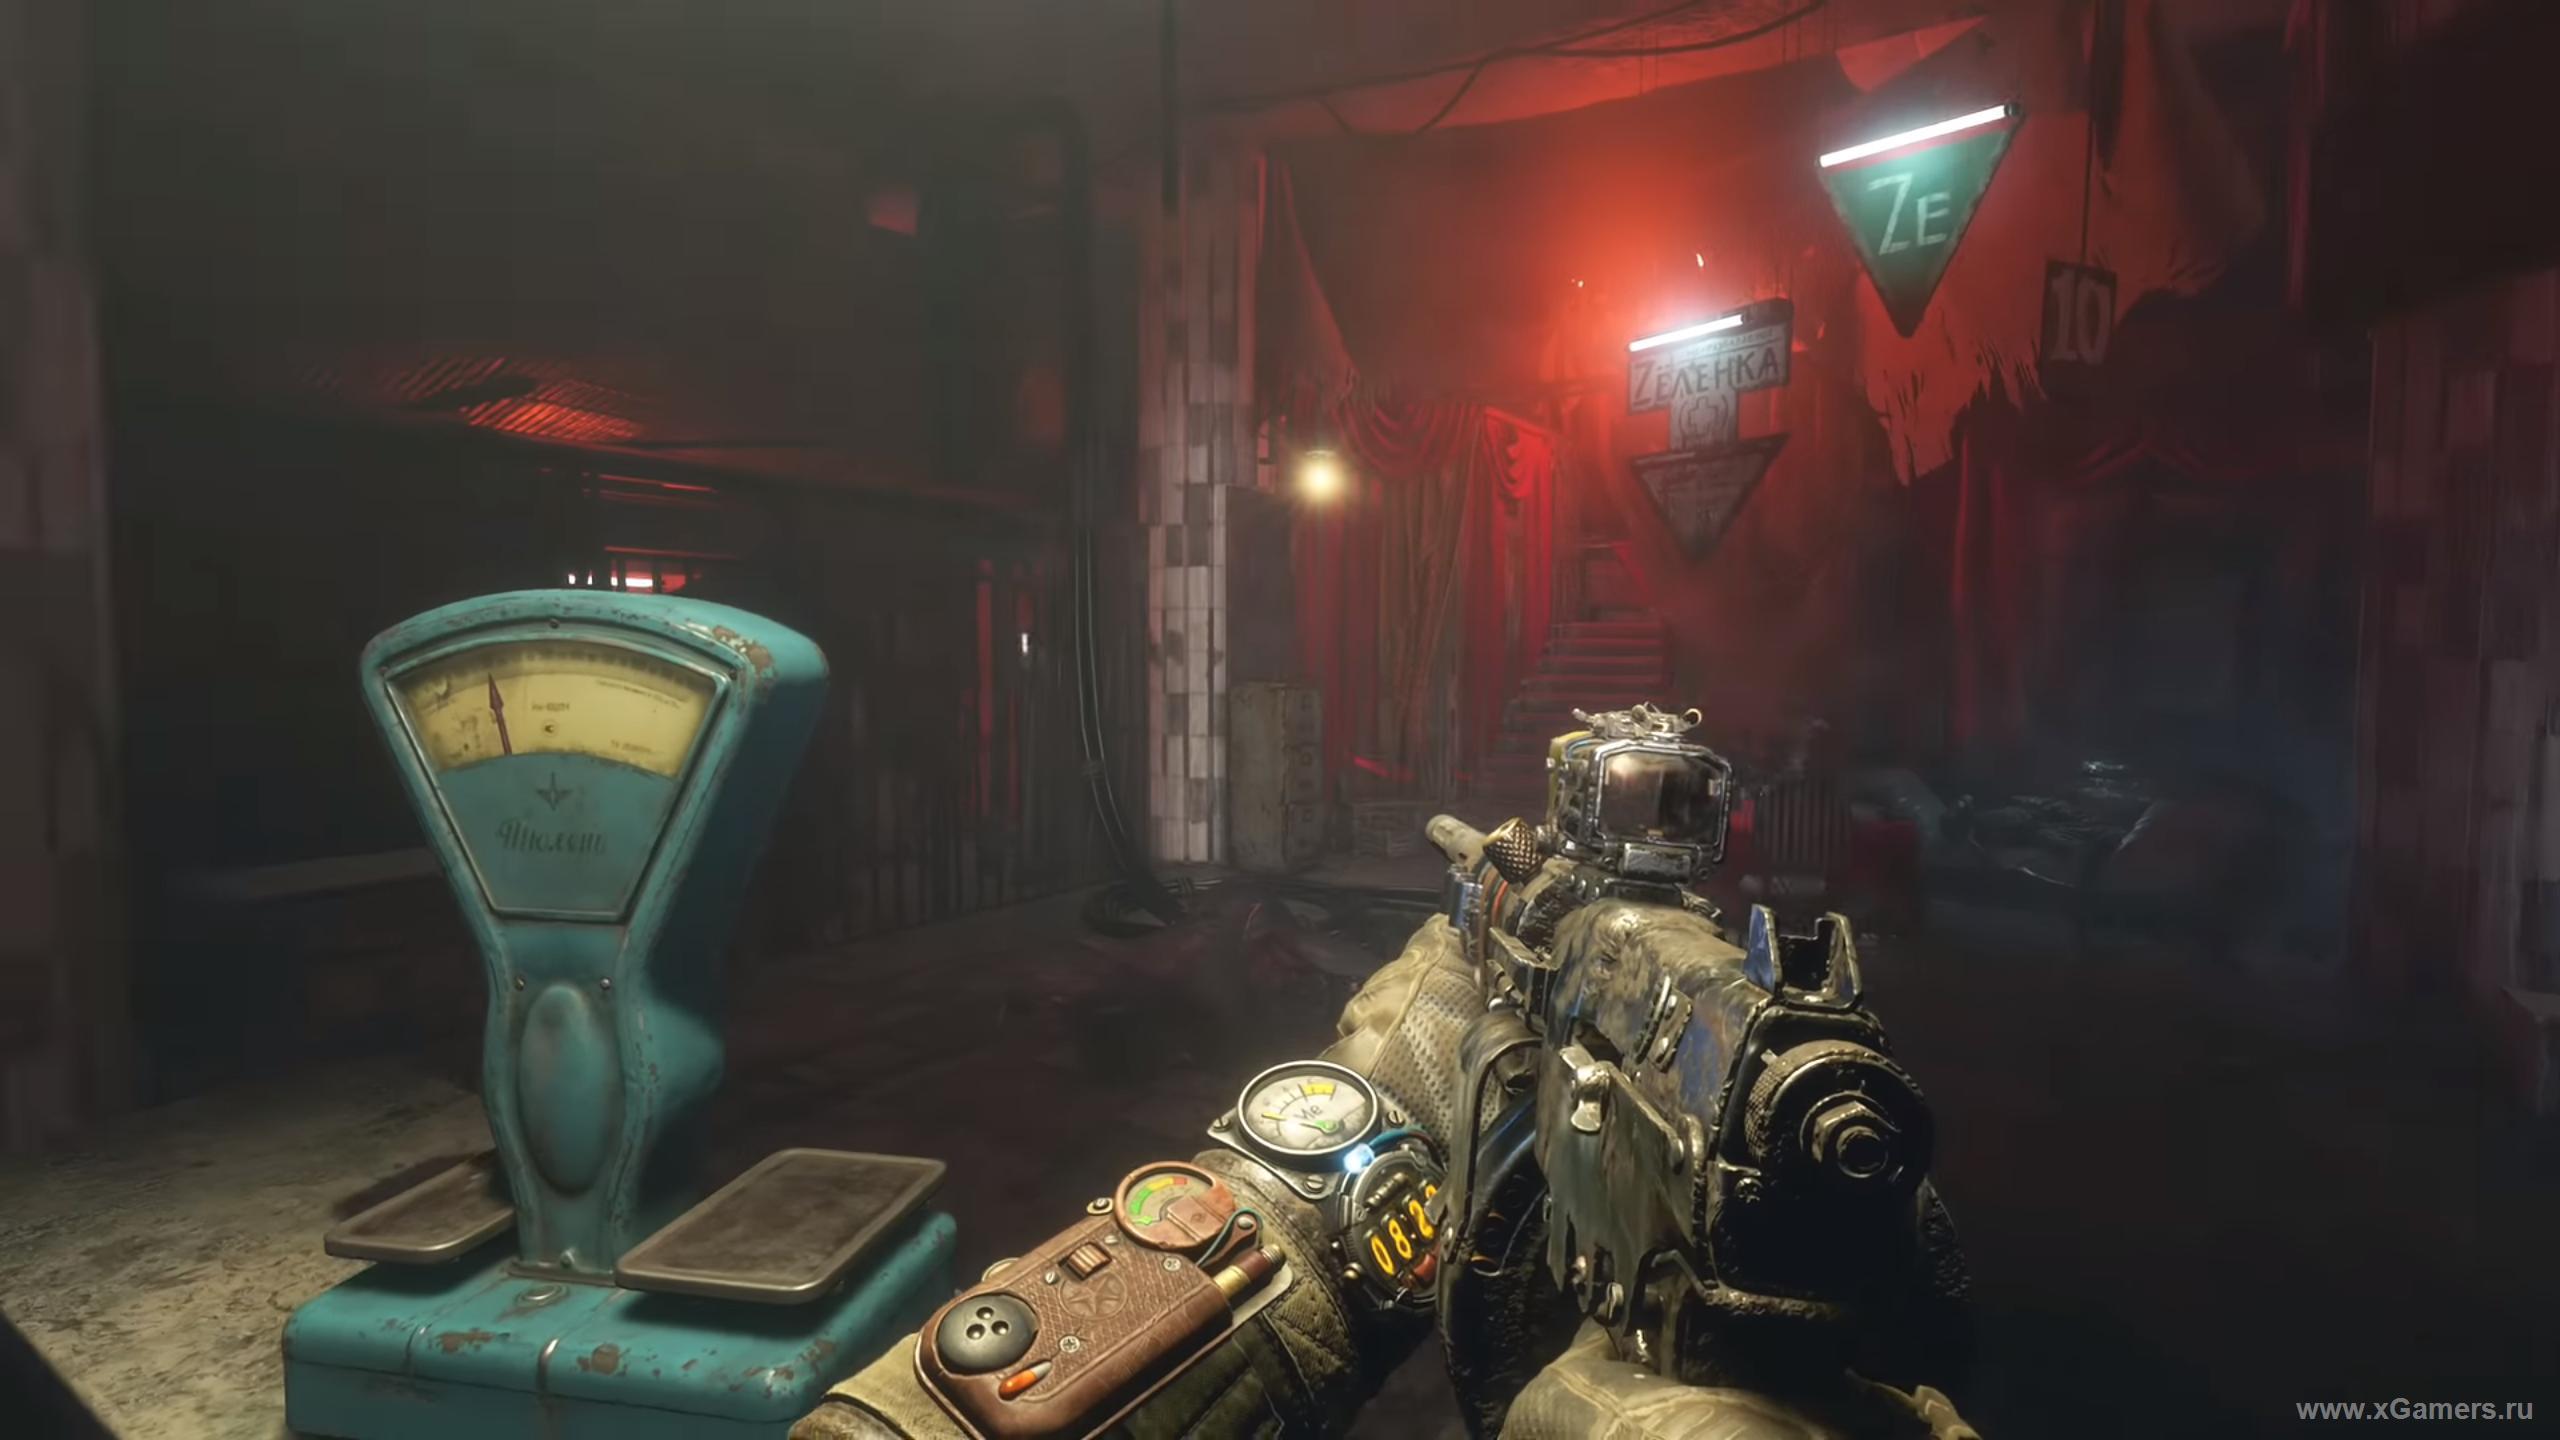
You were alone on a safe but lifeless station. Collect here all that you find, then climb up the central staircase.
Here, too, scattered utility, be careful. Your goal - the car on the ceiling. On the seat on the right is a notebook, take it, and then look around the station below. Strip all living creatures right from here, from a safe position (there should be four monsters altogether.) After that, jump down.
Now move to another similar car on the ceiling along the stairs. There are no enemies here, you can be calm.
Here you can find two bottles of Molotov and AK cocktails. Next, you will need to turn left twice to get to the descent into the large hall.
The passage is further closed by a lattice similar to the one we saw earlier. And as soon as you try to open it with a valve, a flock of the same mutants will attack you.
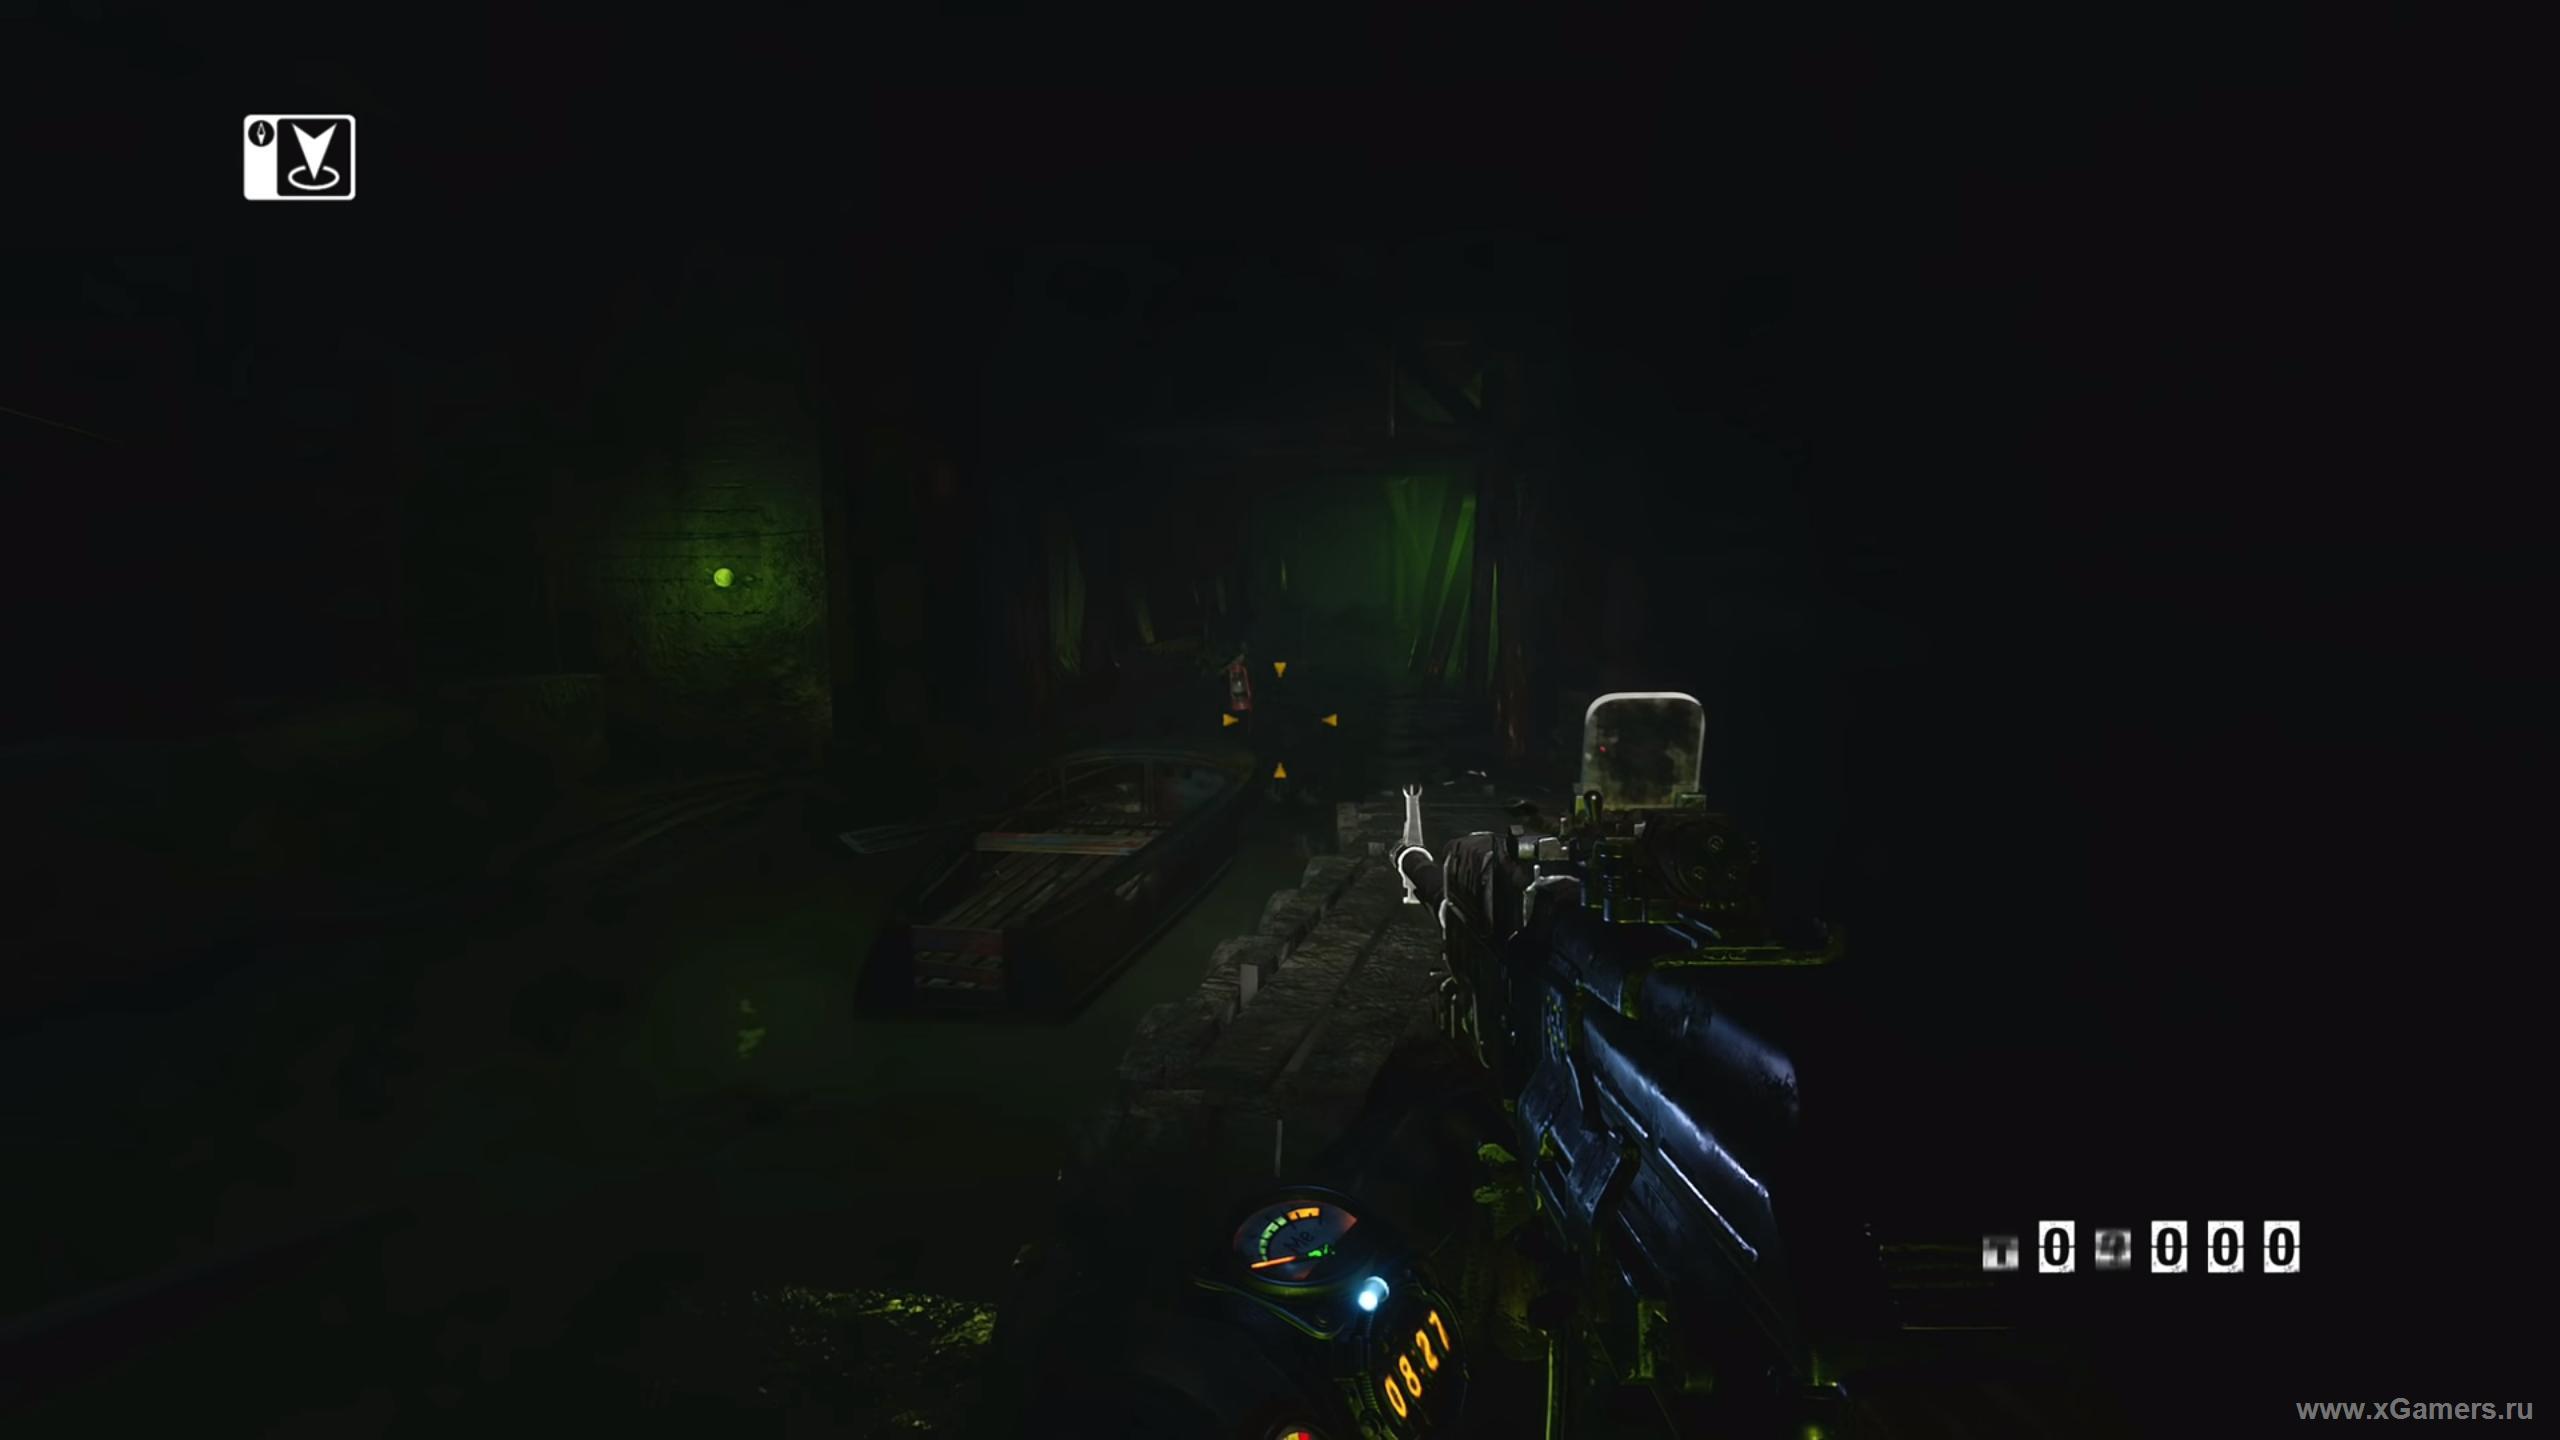
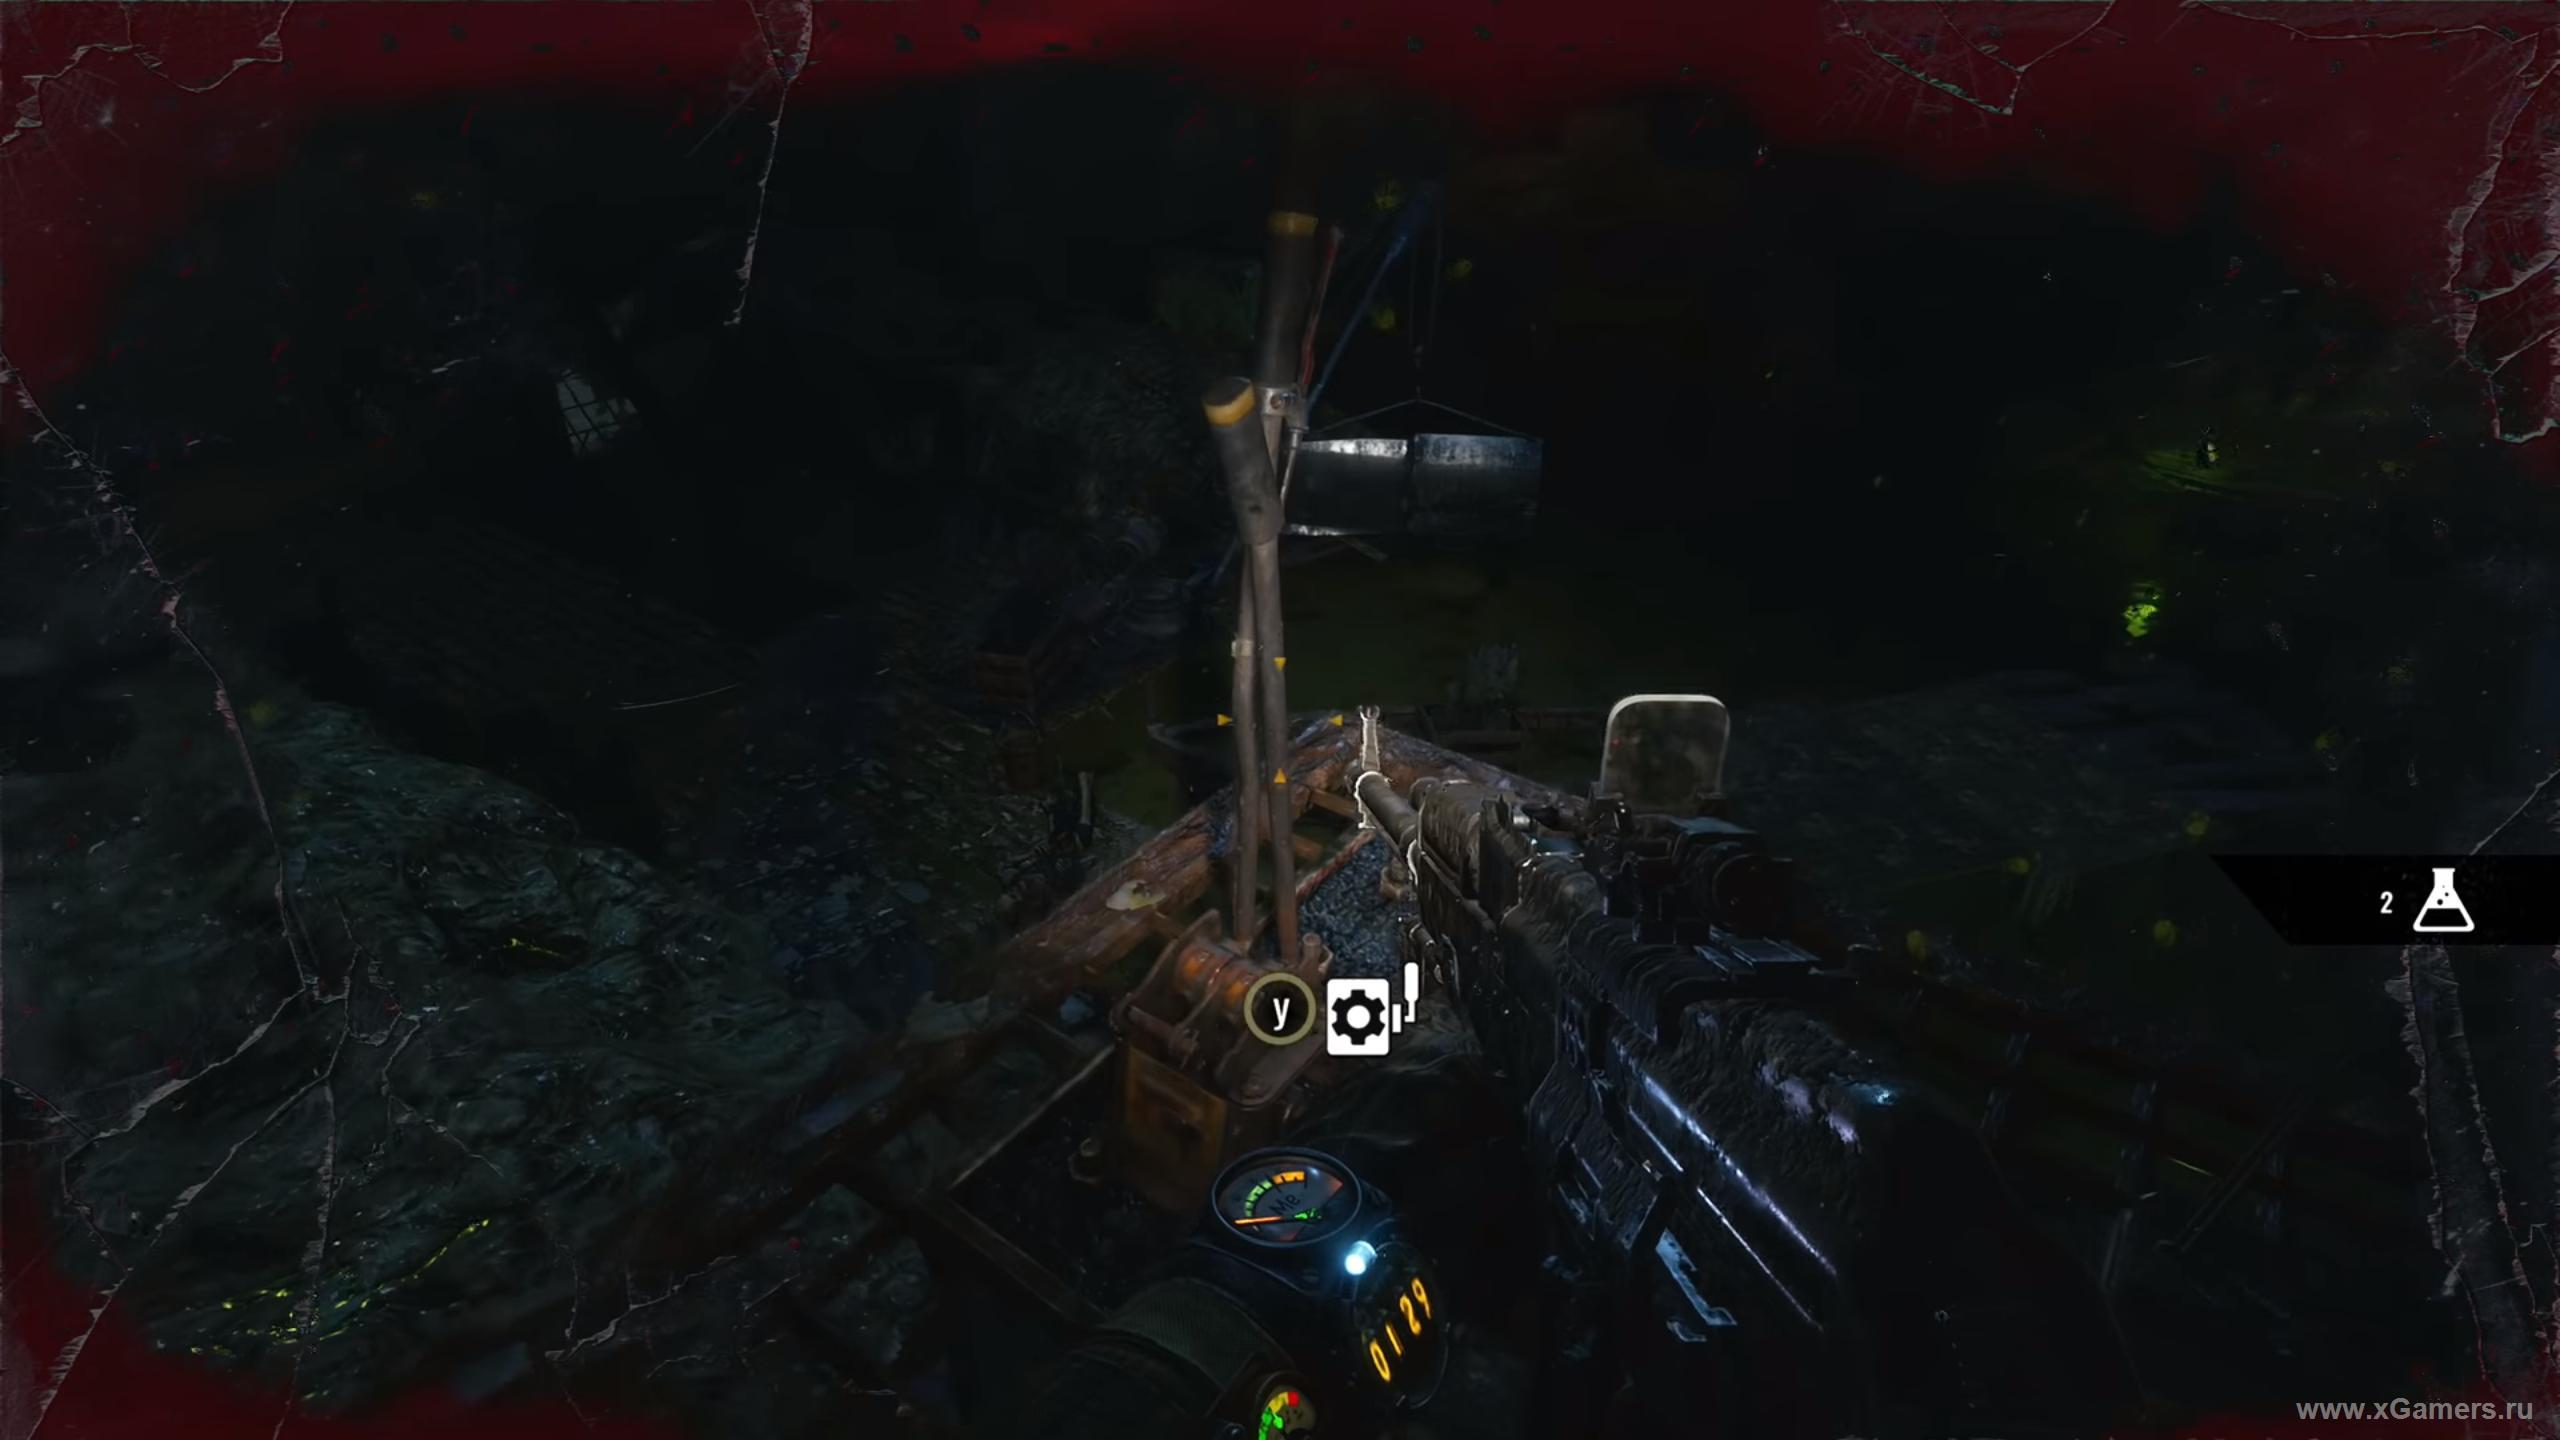
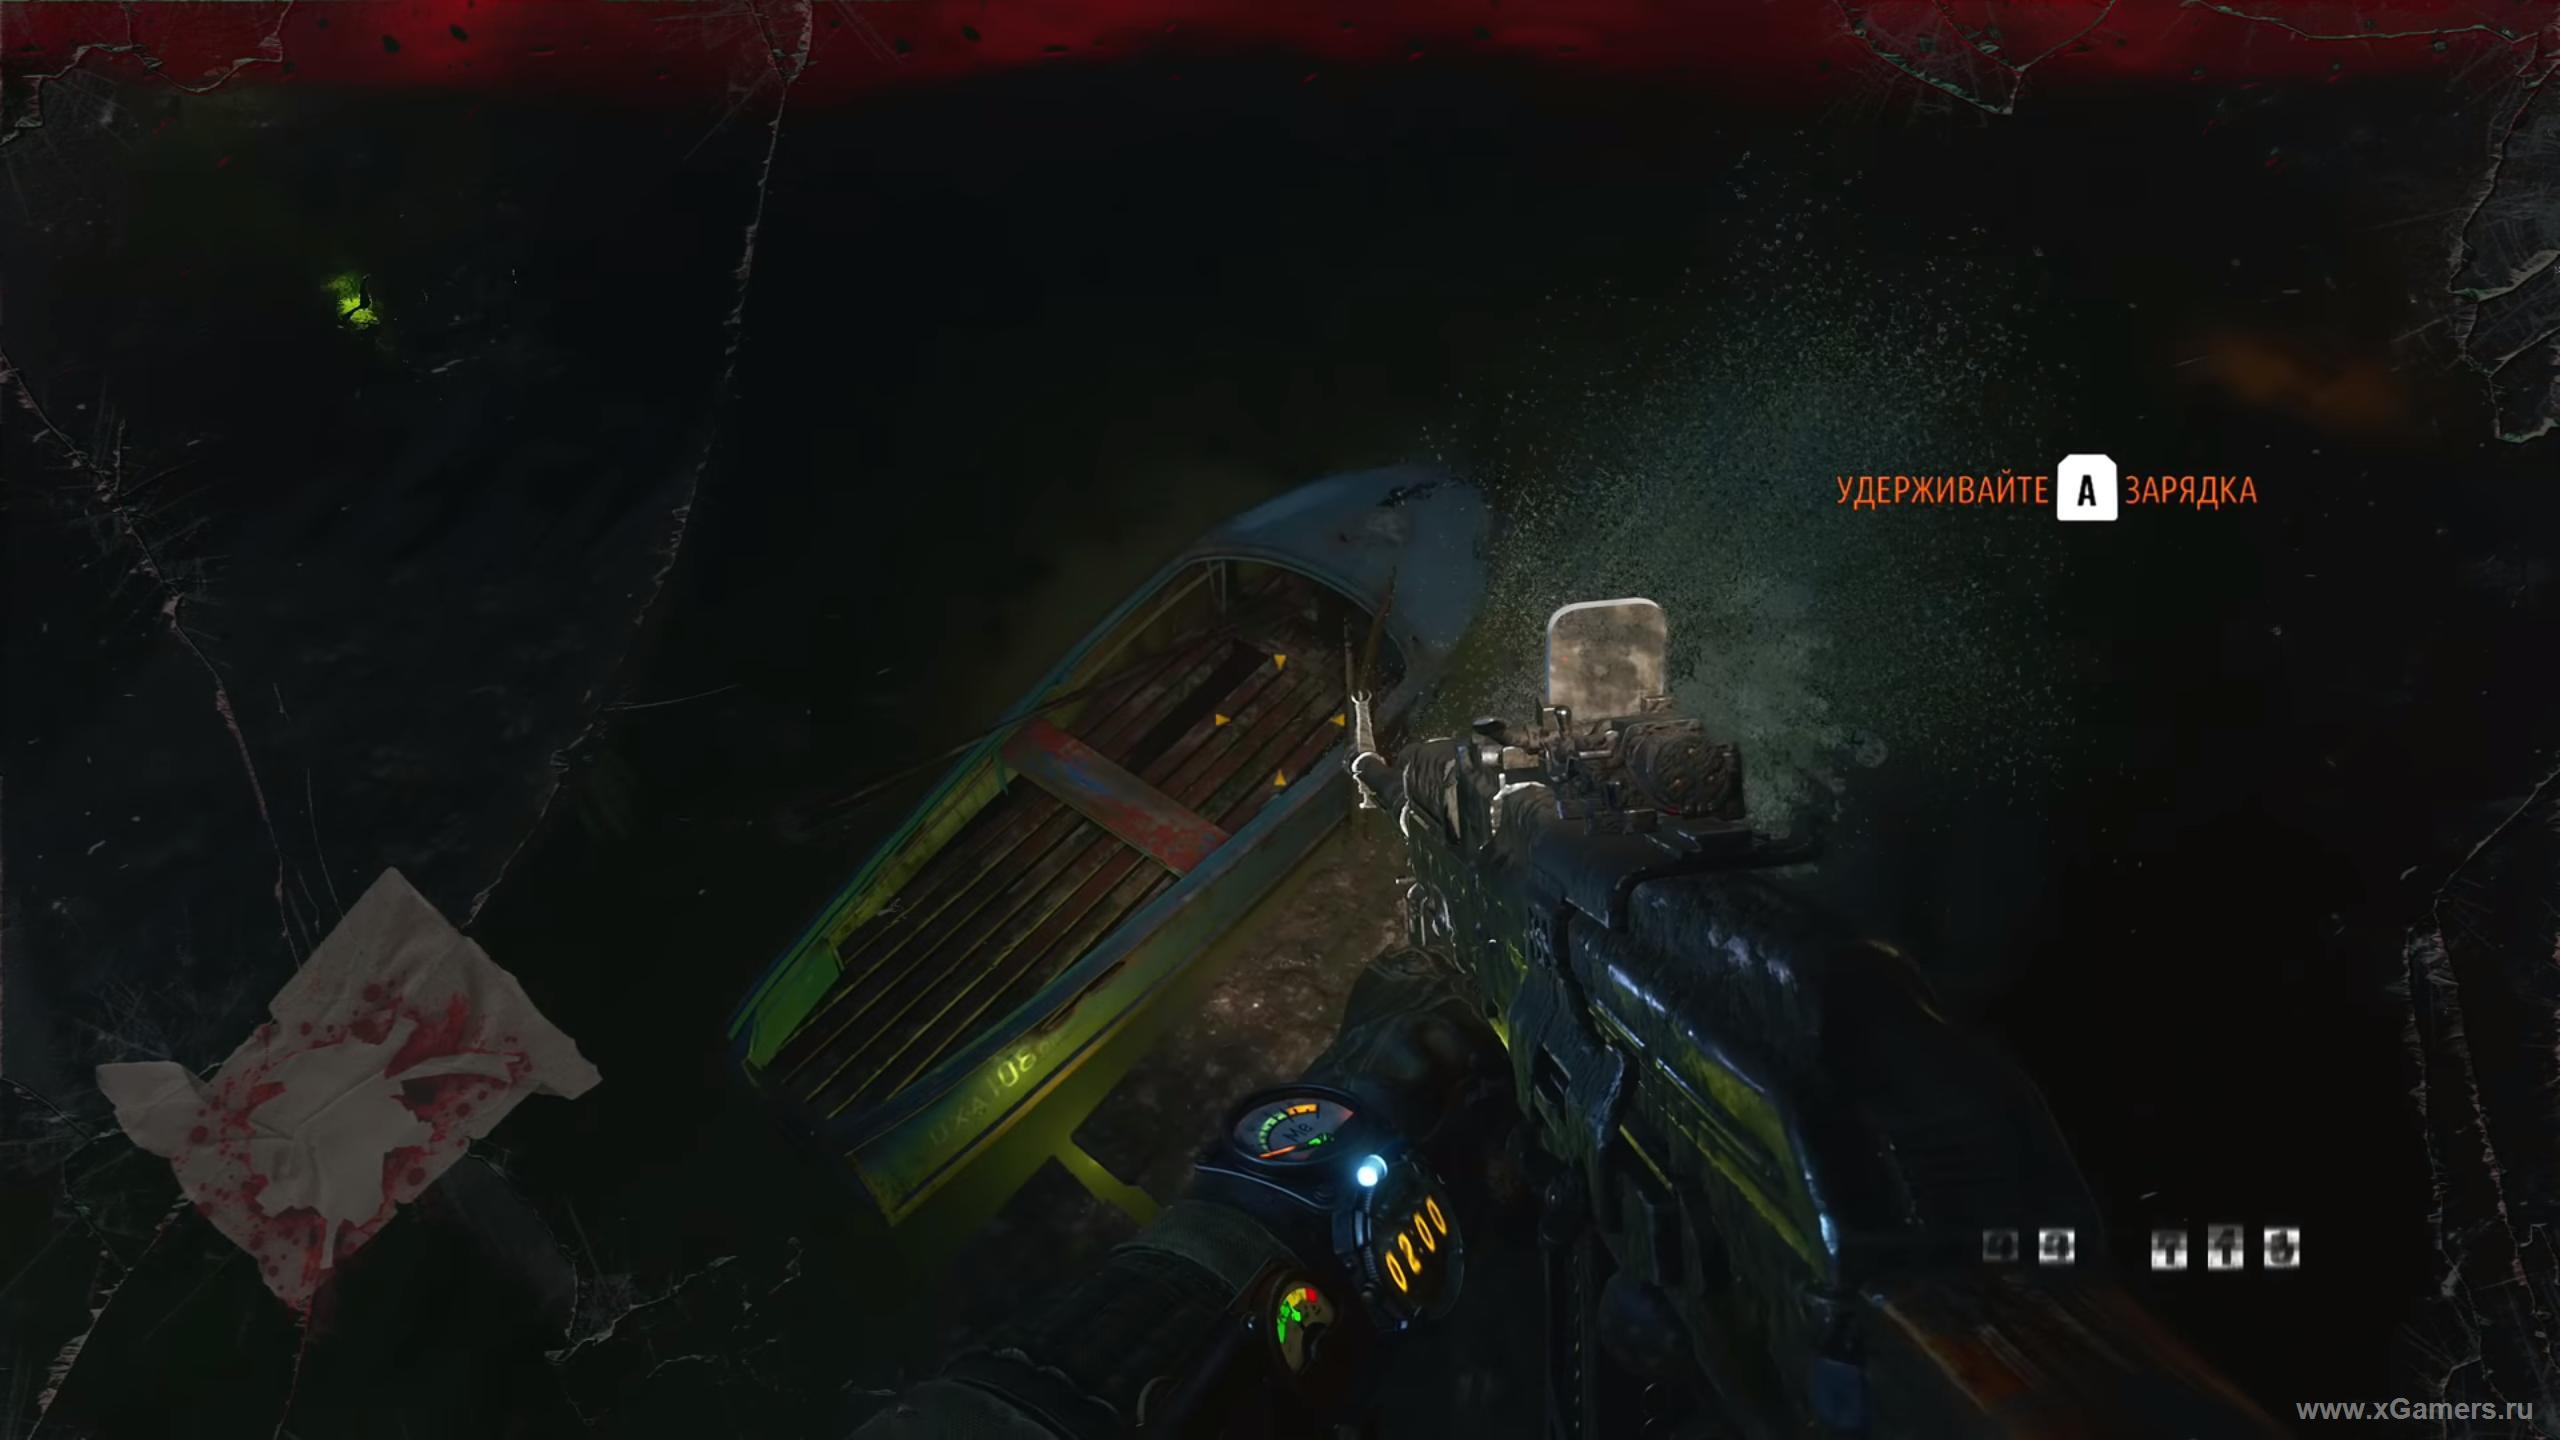
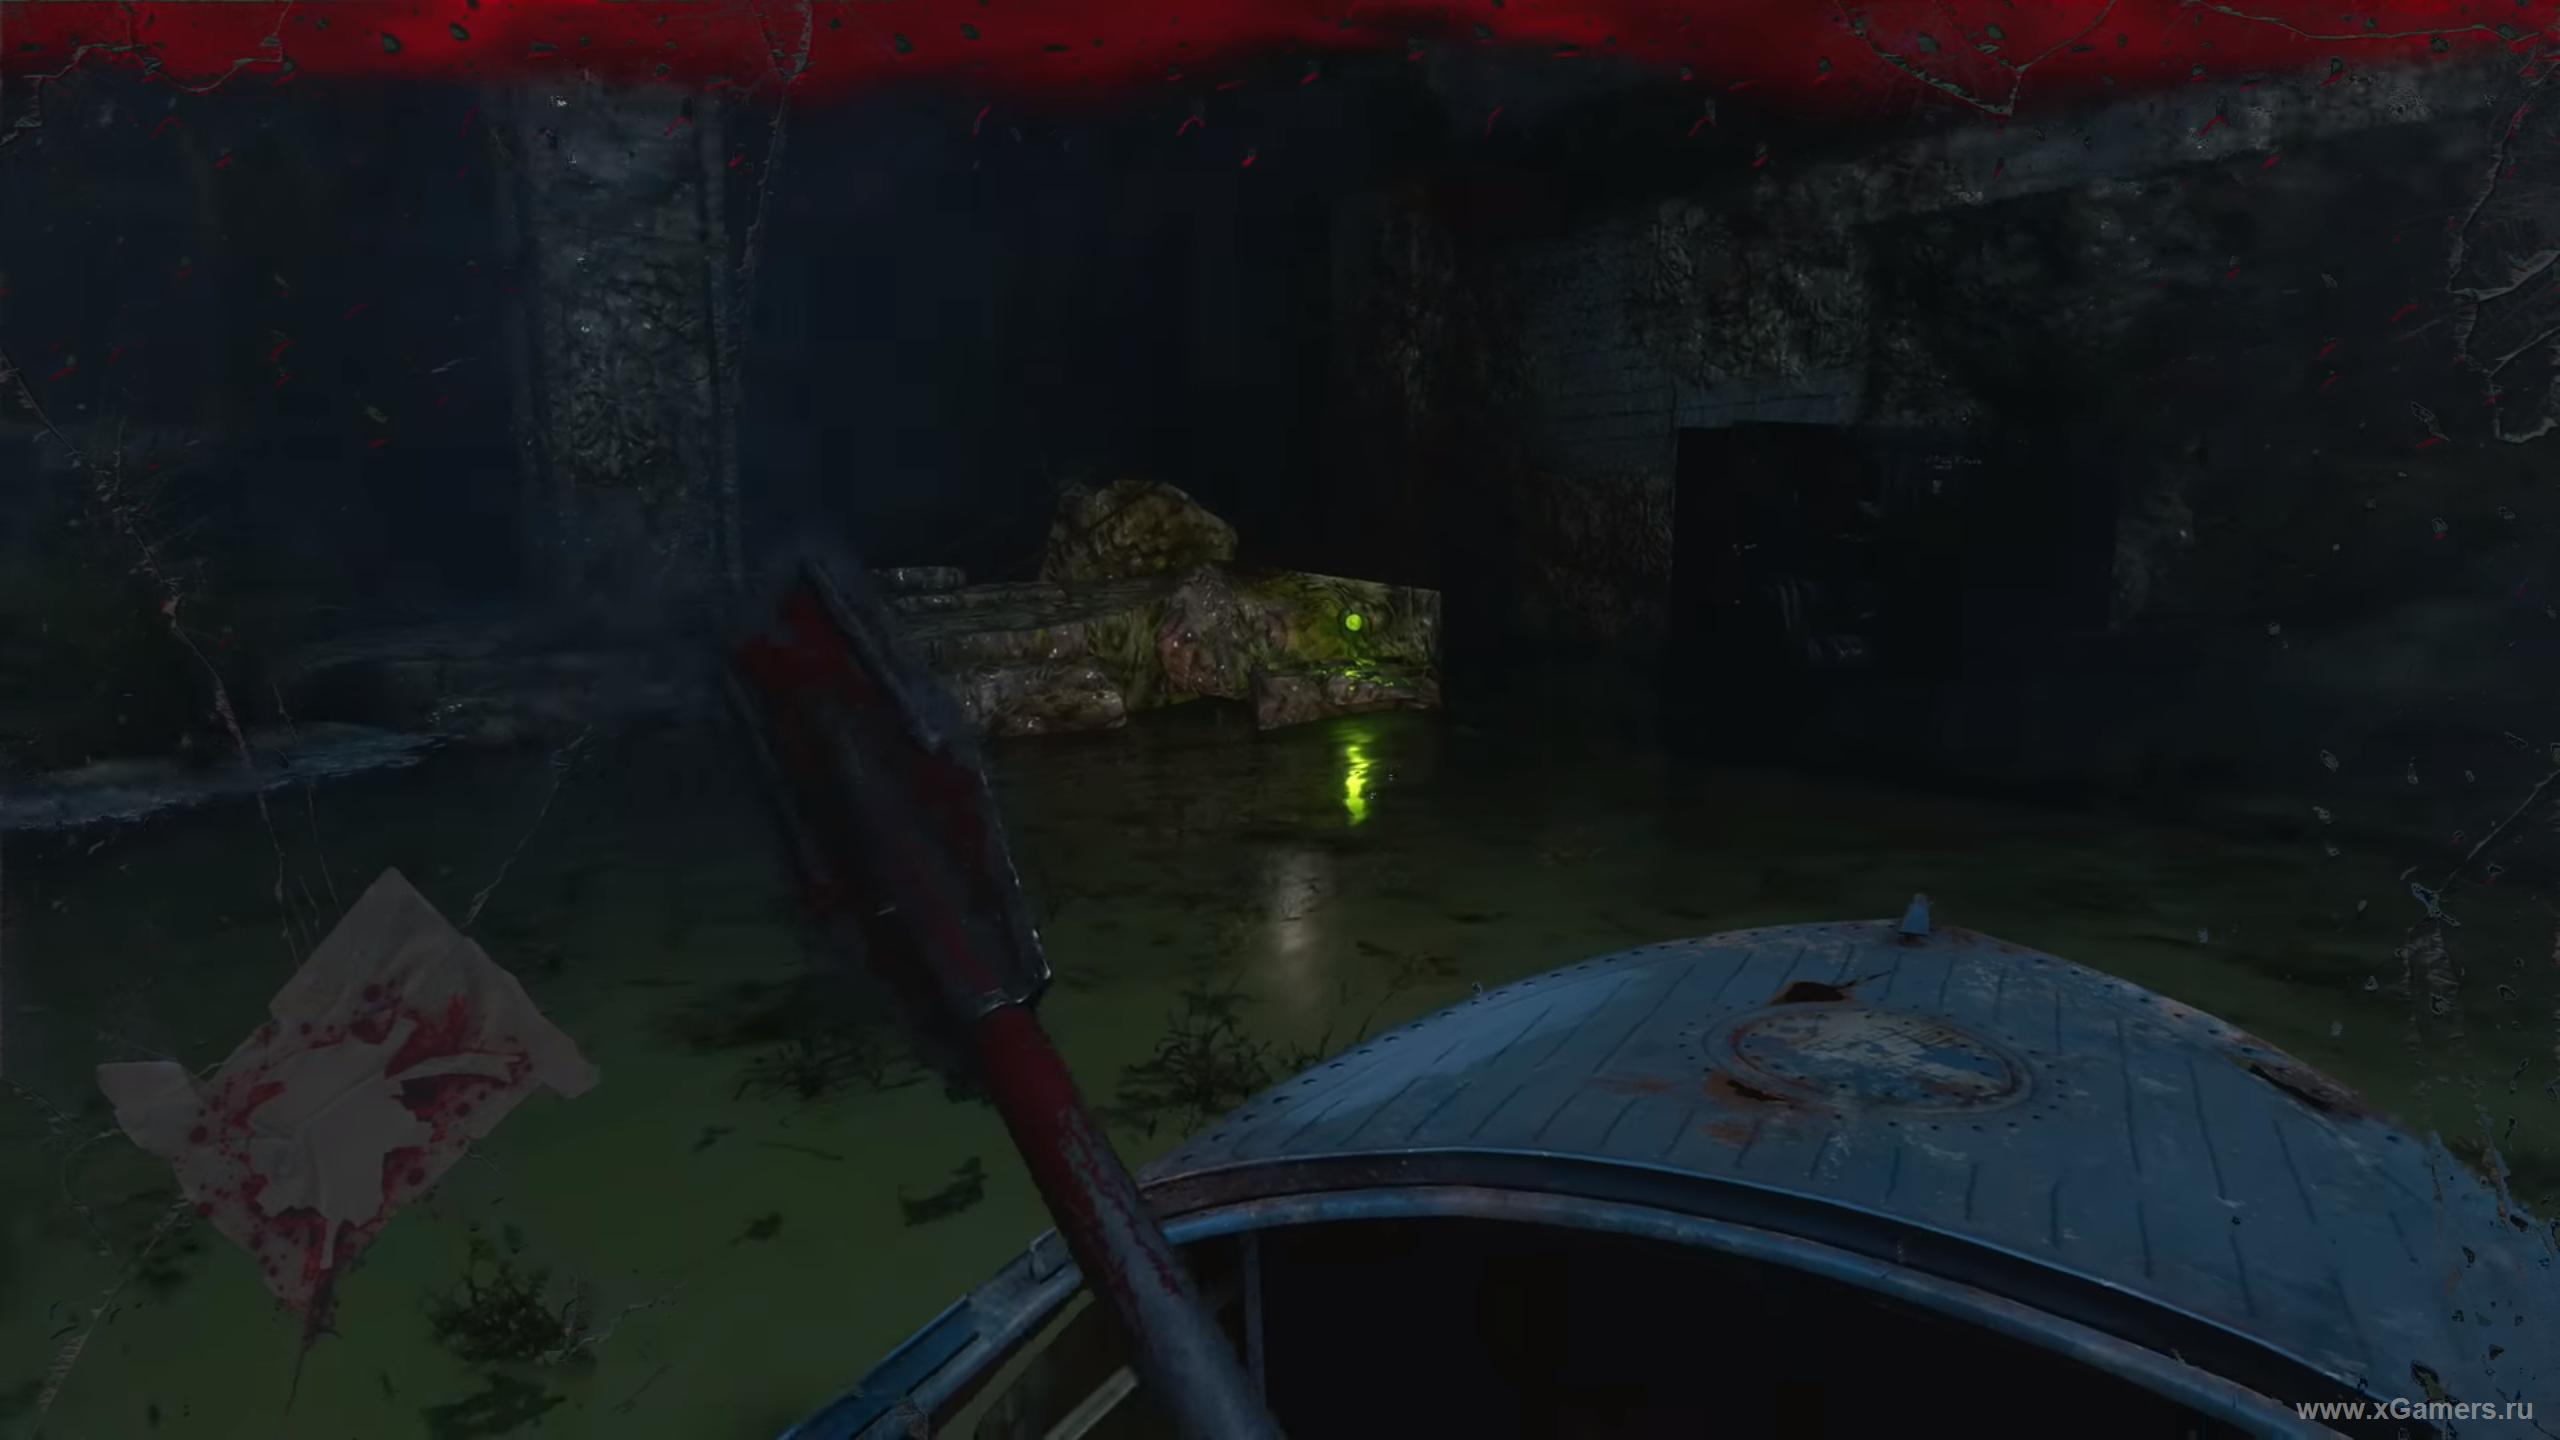
Attack will be waves, it is better to press to any wall and mow them on approach. Before you go further, wait - the last attack may be delayed. If there is no new for ten seconds, or longer, you can turn the valve. As soon as you open the passage, go to the pier in the sewer - there you will see a boat. Do not rush to climb there - before sailing around you can collect all sorts of useful things.
(The next part is optional, it is not necessary to play the game.) If you want to investigate the local catacombs, then moor at the other pier on the left. Come forward, paying attention to leeches on the walls and ceiling - they are easily killed by anything, so do not be lazy and clean them all. To your left will be another grille - you go there.
Before turning, go to the room on the right - there are cartridges. After that, go to the next room. There you will see the door ajar - through it you will fall behind that very lattice. Kill two mutants - they will not have serious resistance.
Take from the table a battered diary, as well as a mod for a shotgun. Also here in the locker there are filters for gas mask. All taken? You can go back. True, on the road they will attack you again, but the attack, again, not serious, should be easily managed.
(Optional part finished.)
While you continue to swim, shoot already familiar leeches.
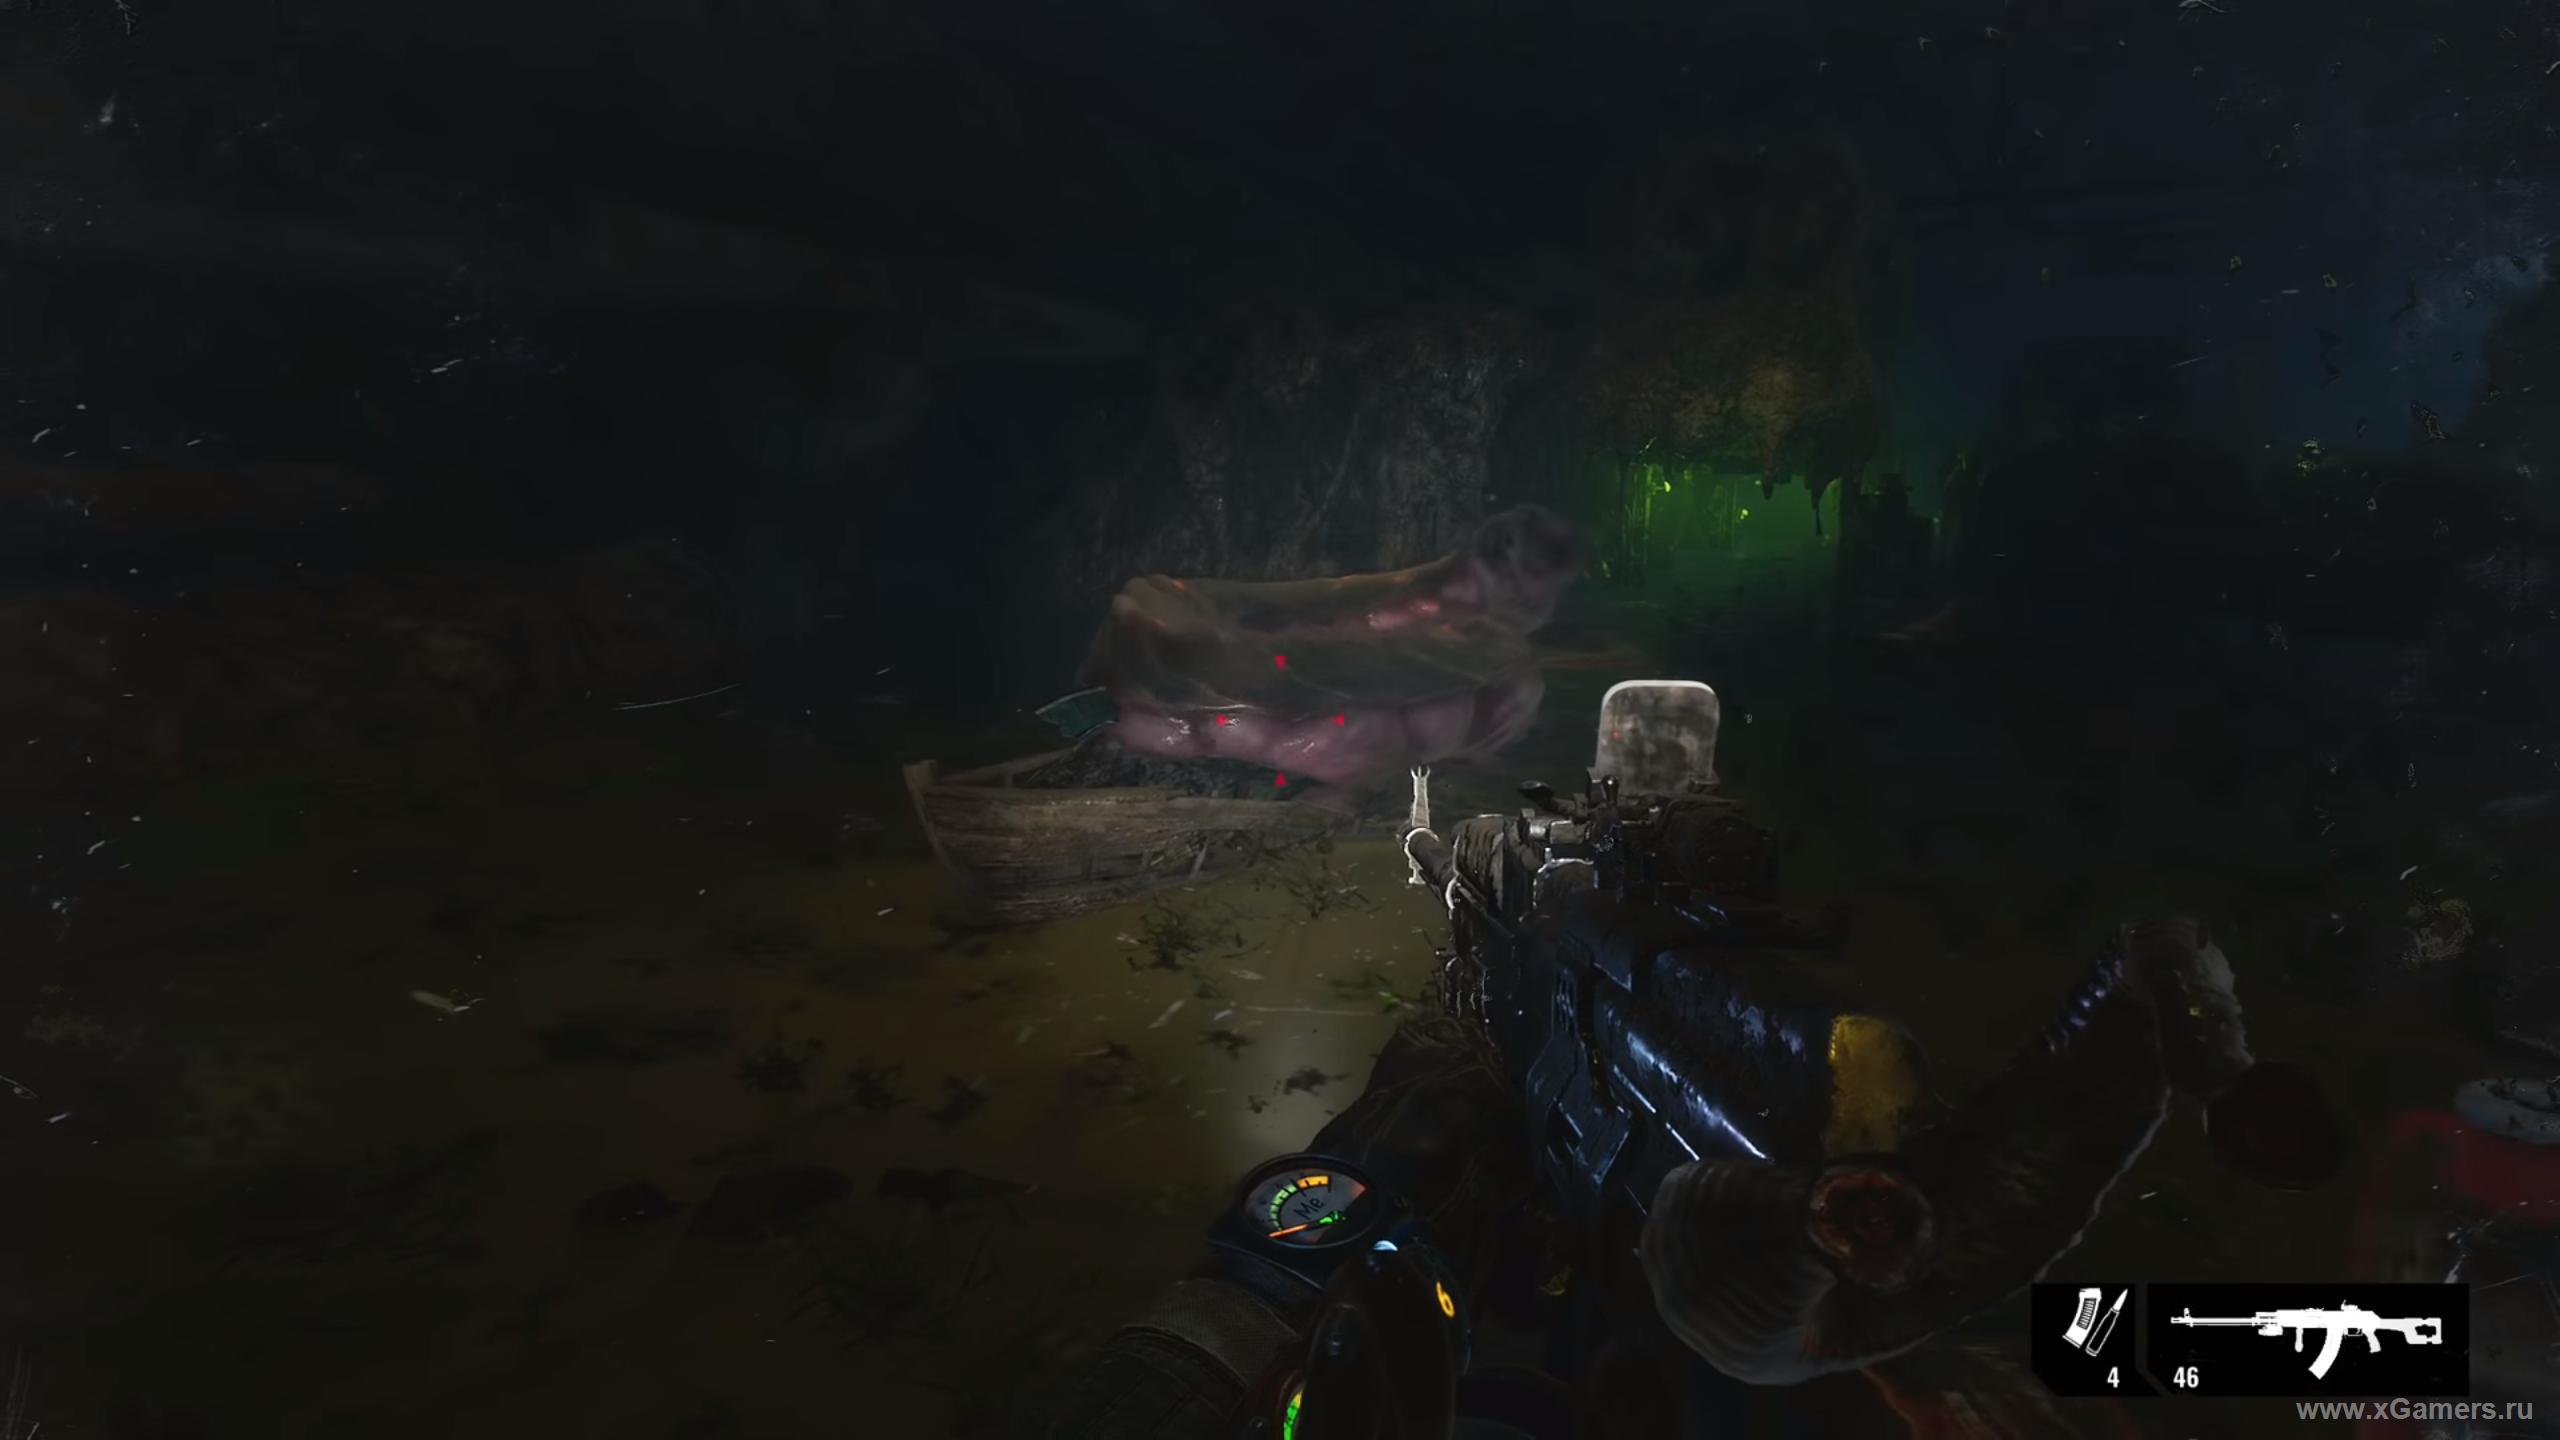
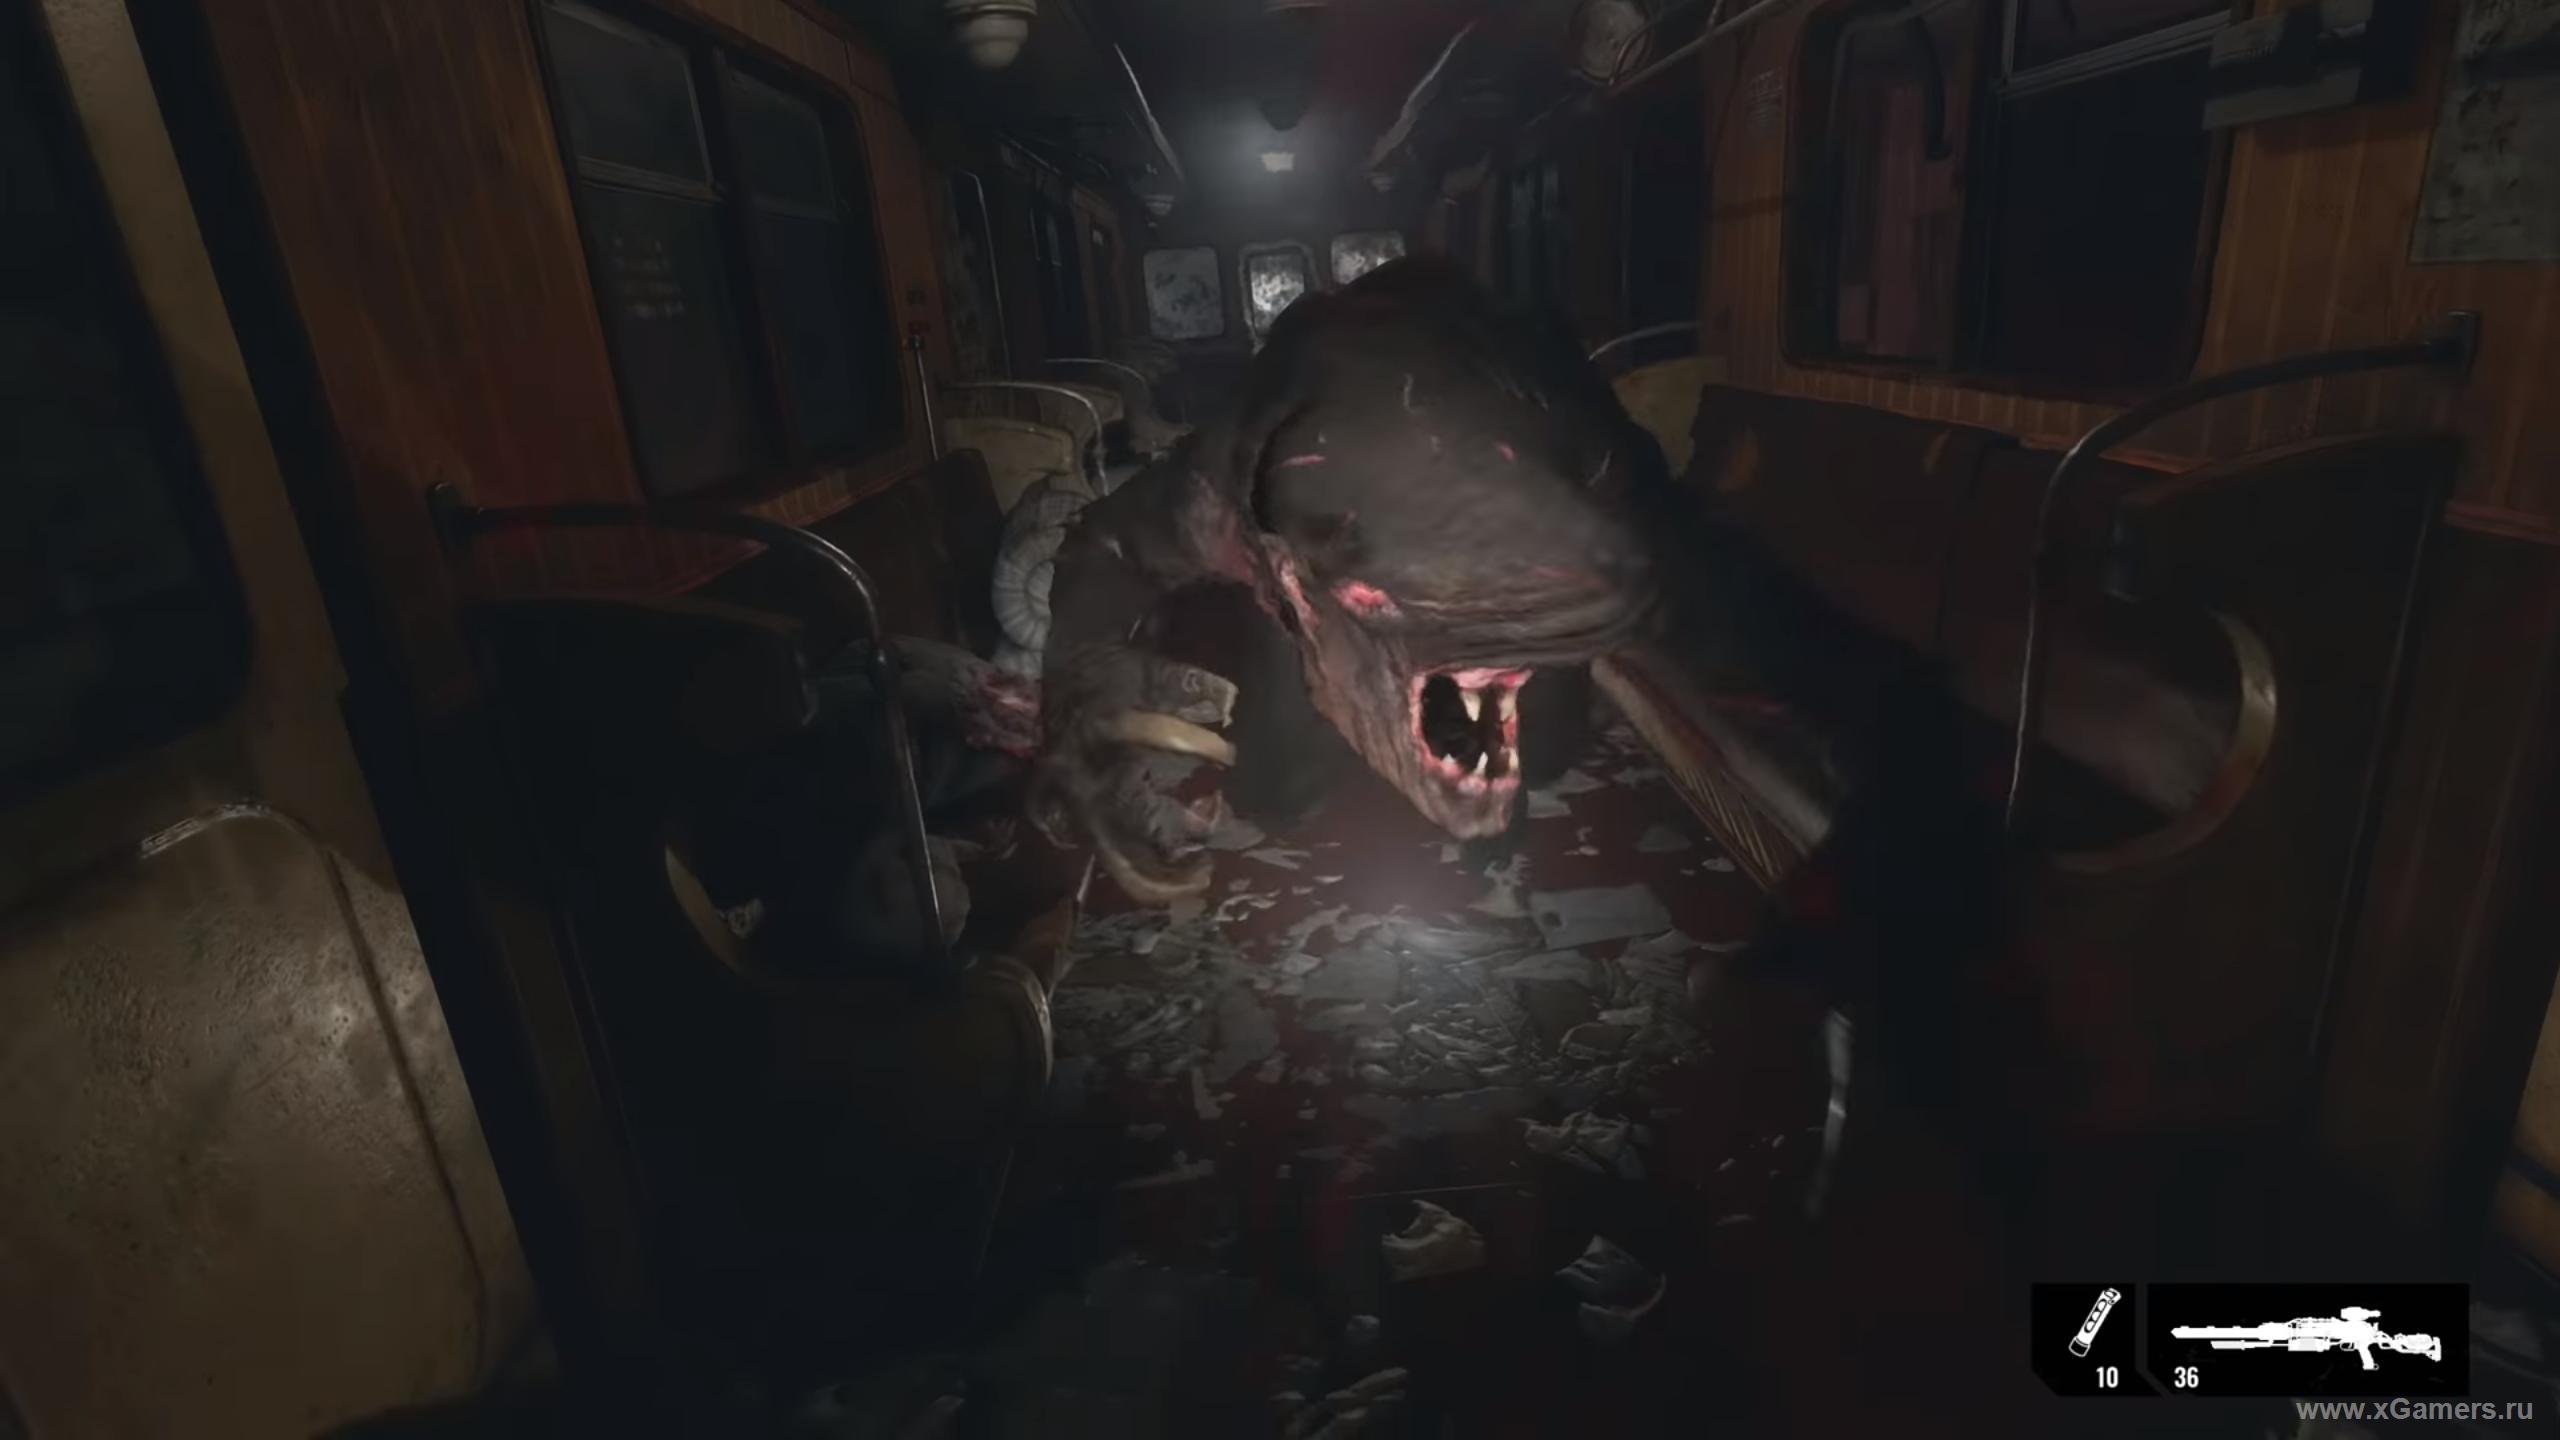
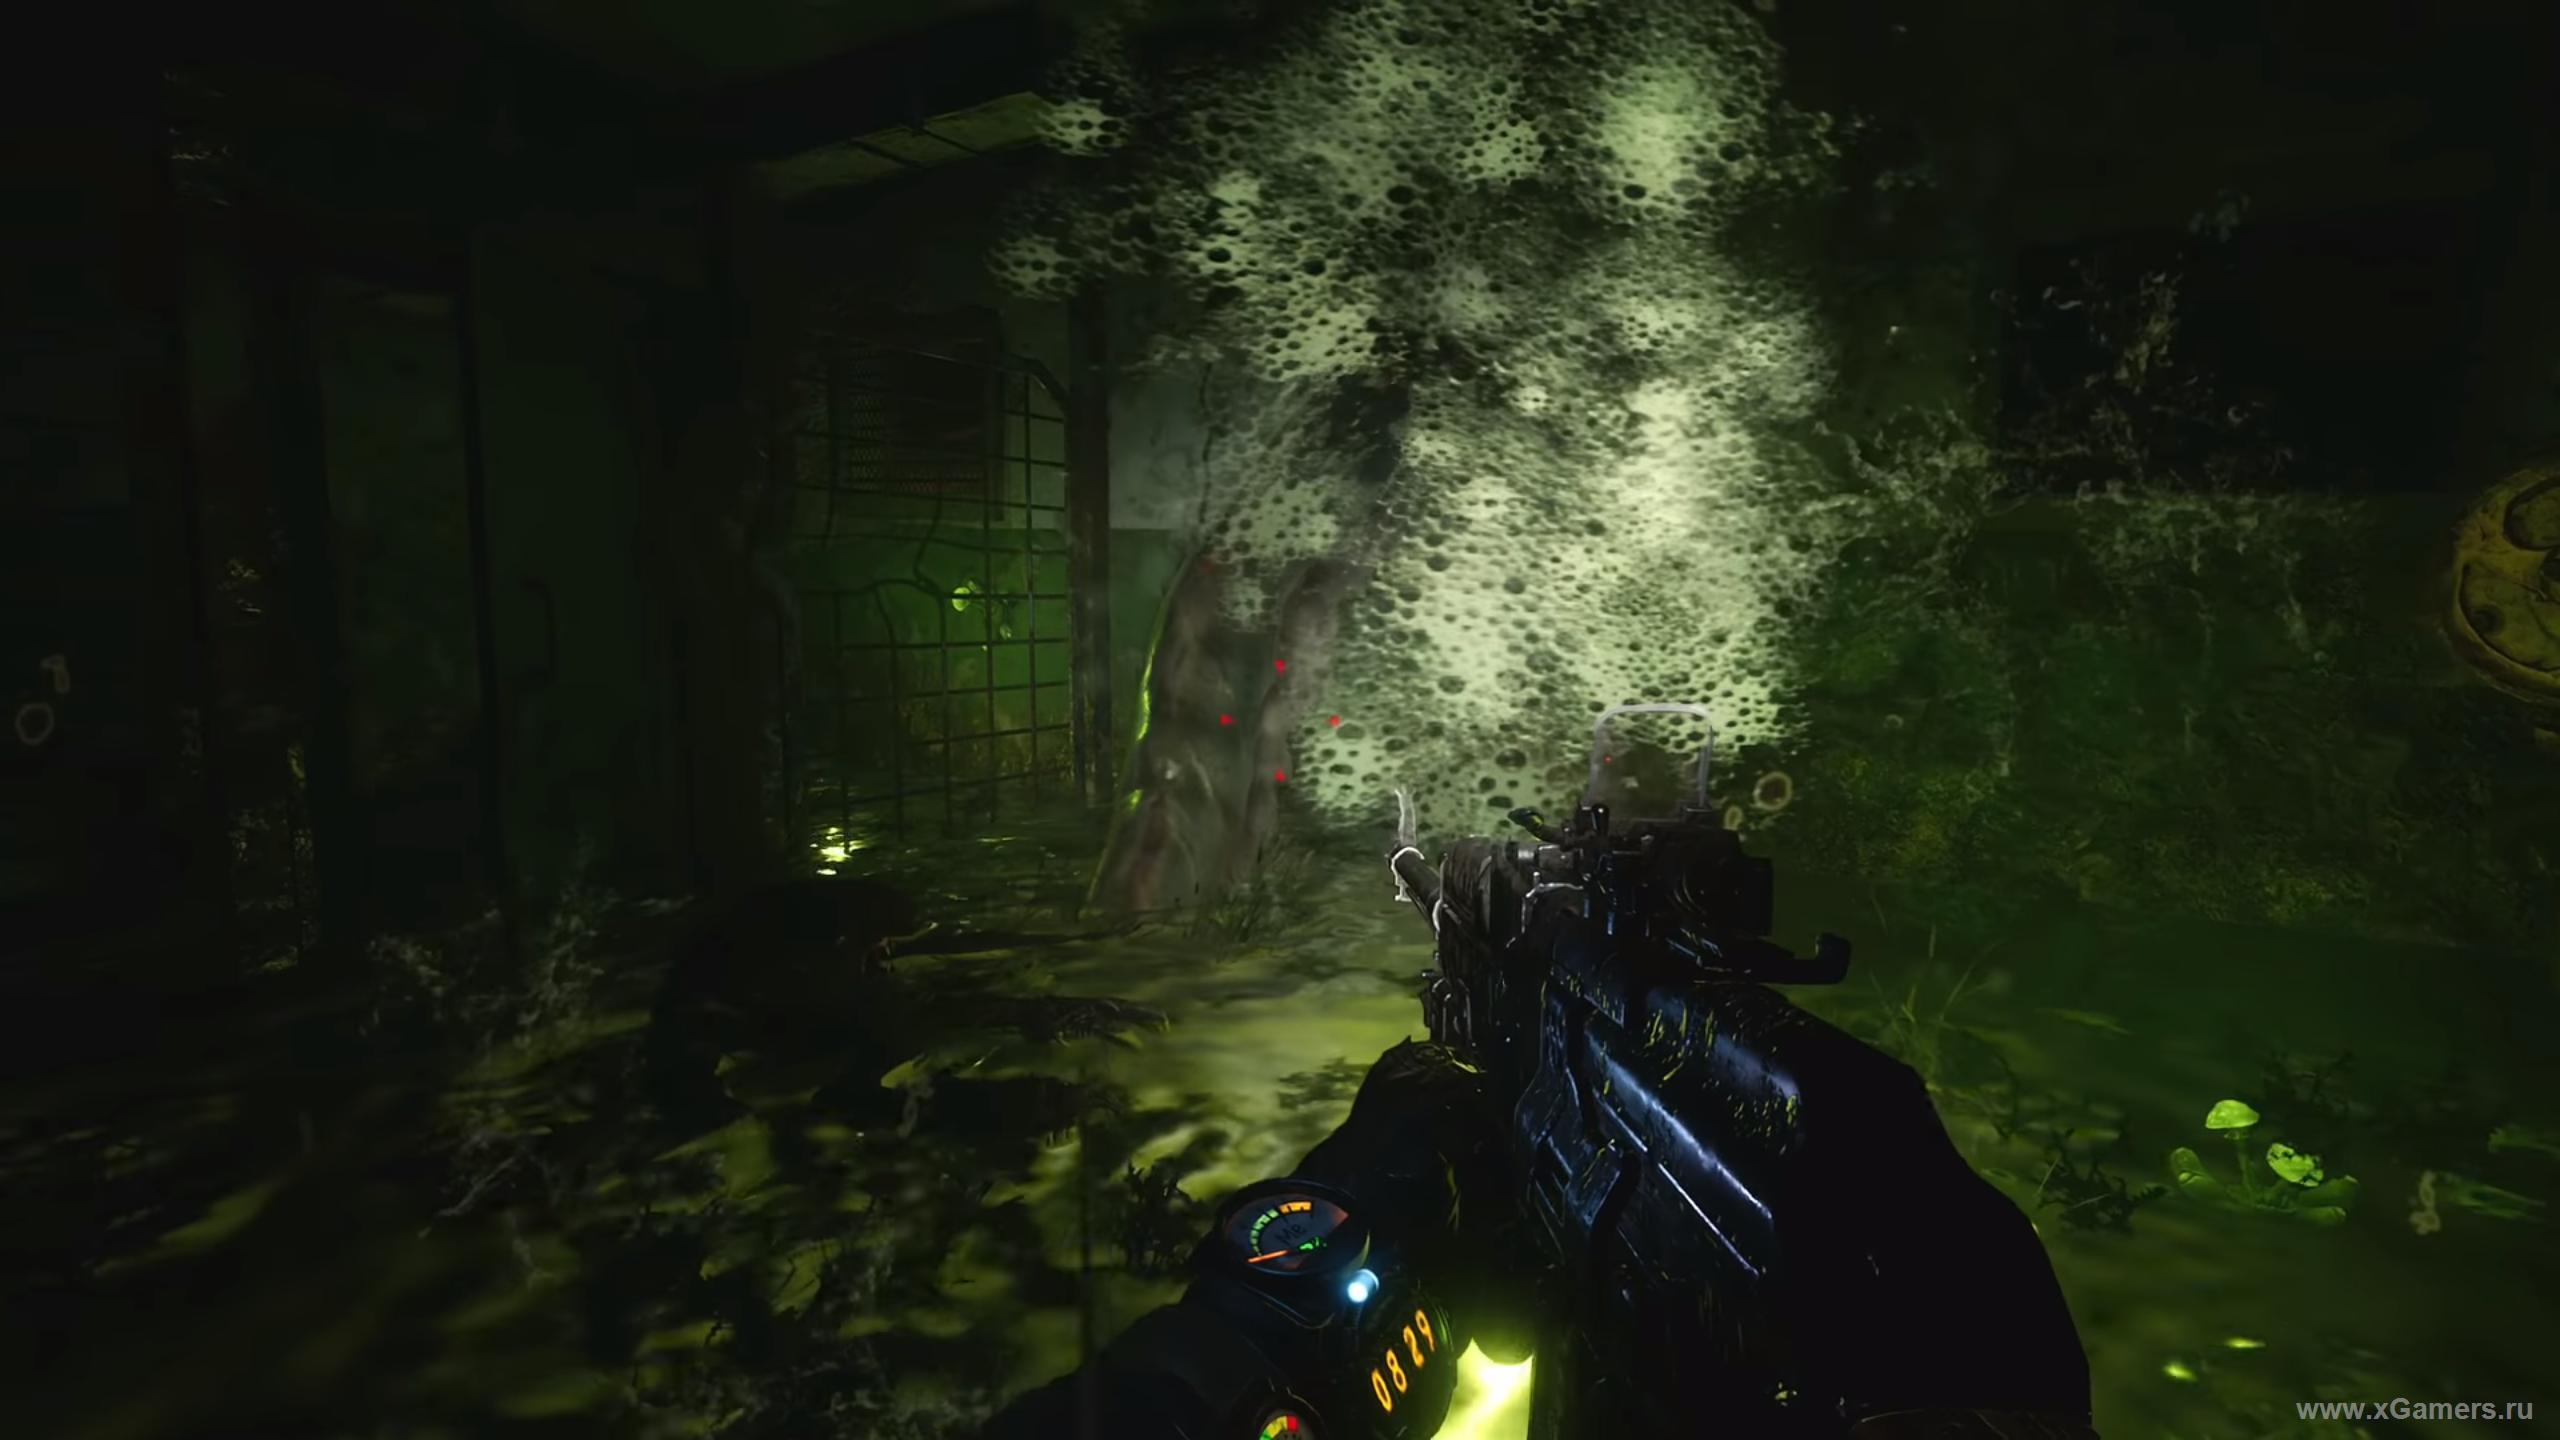
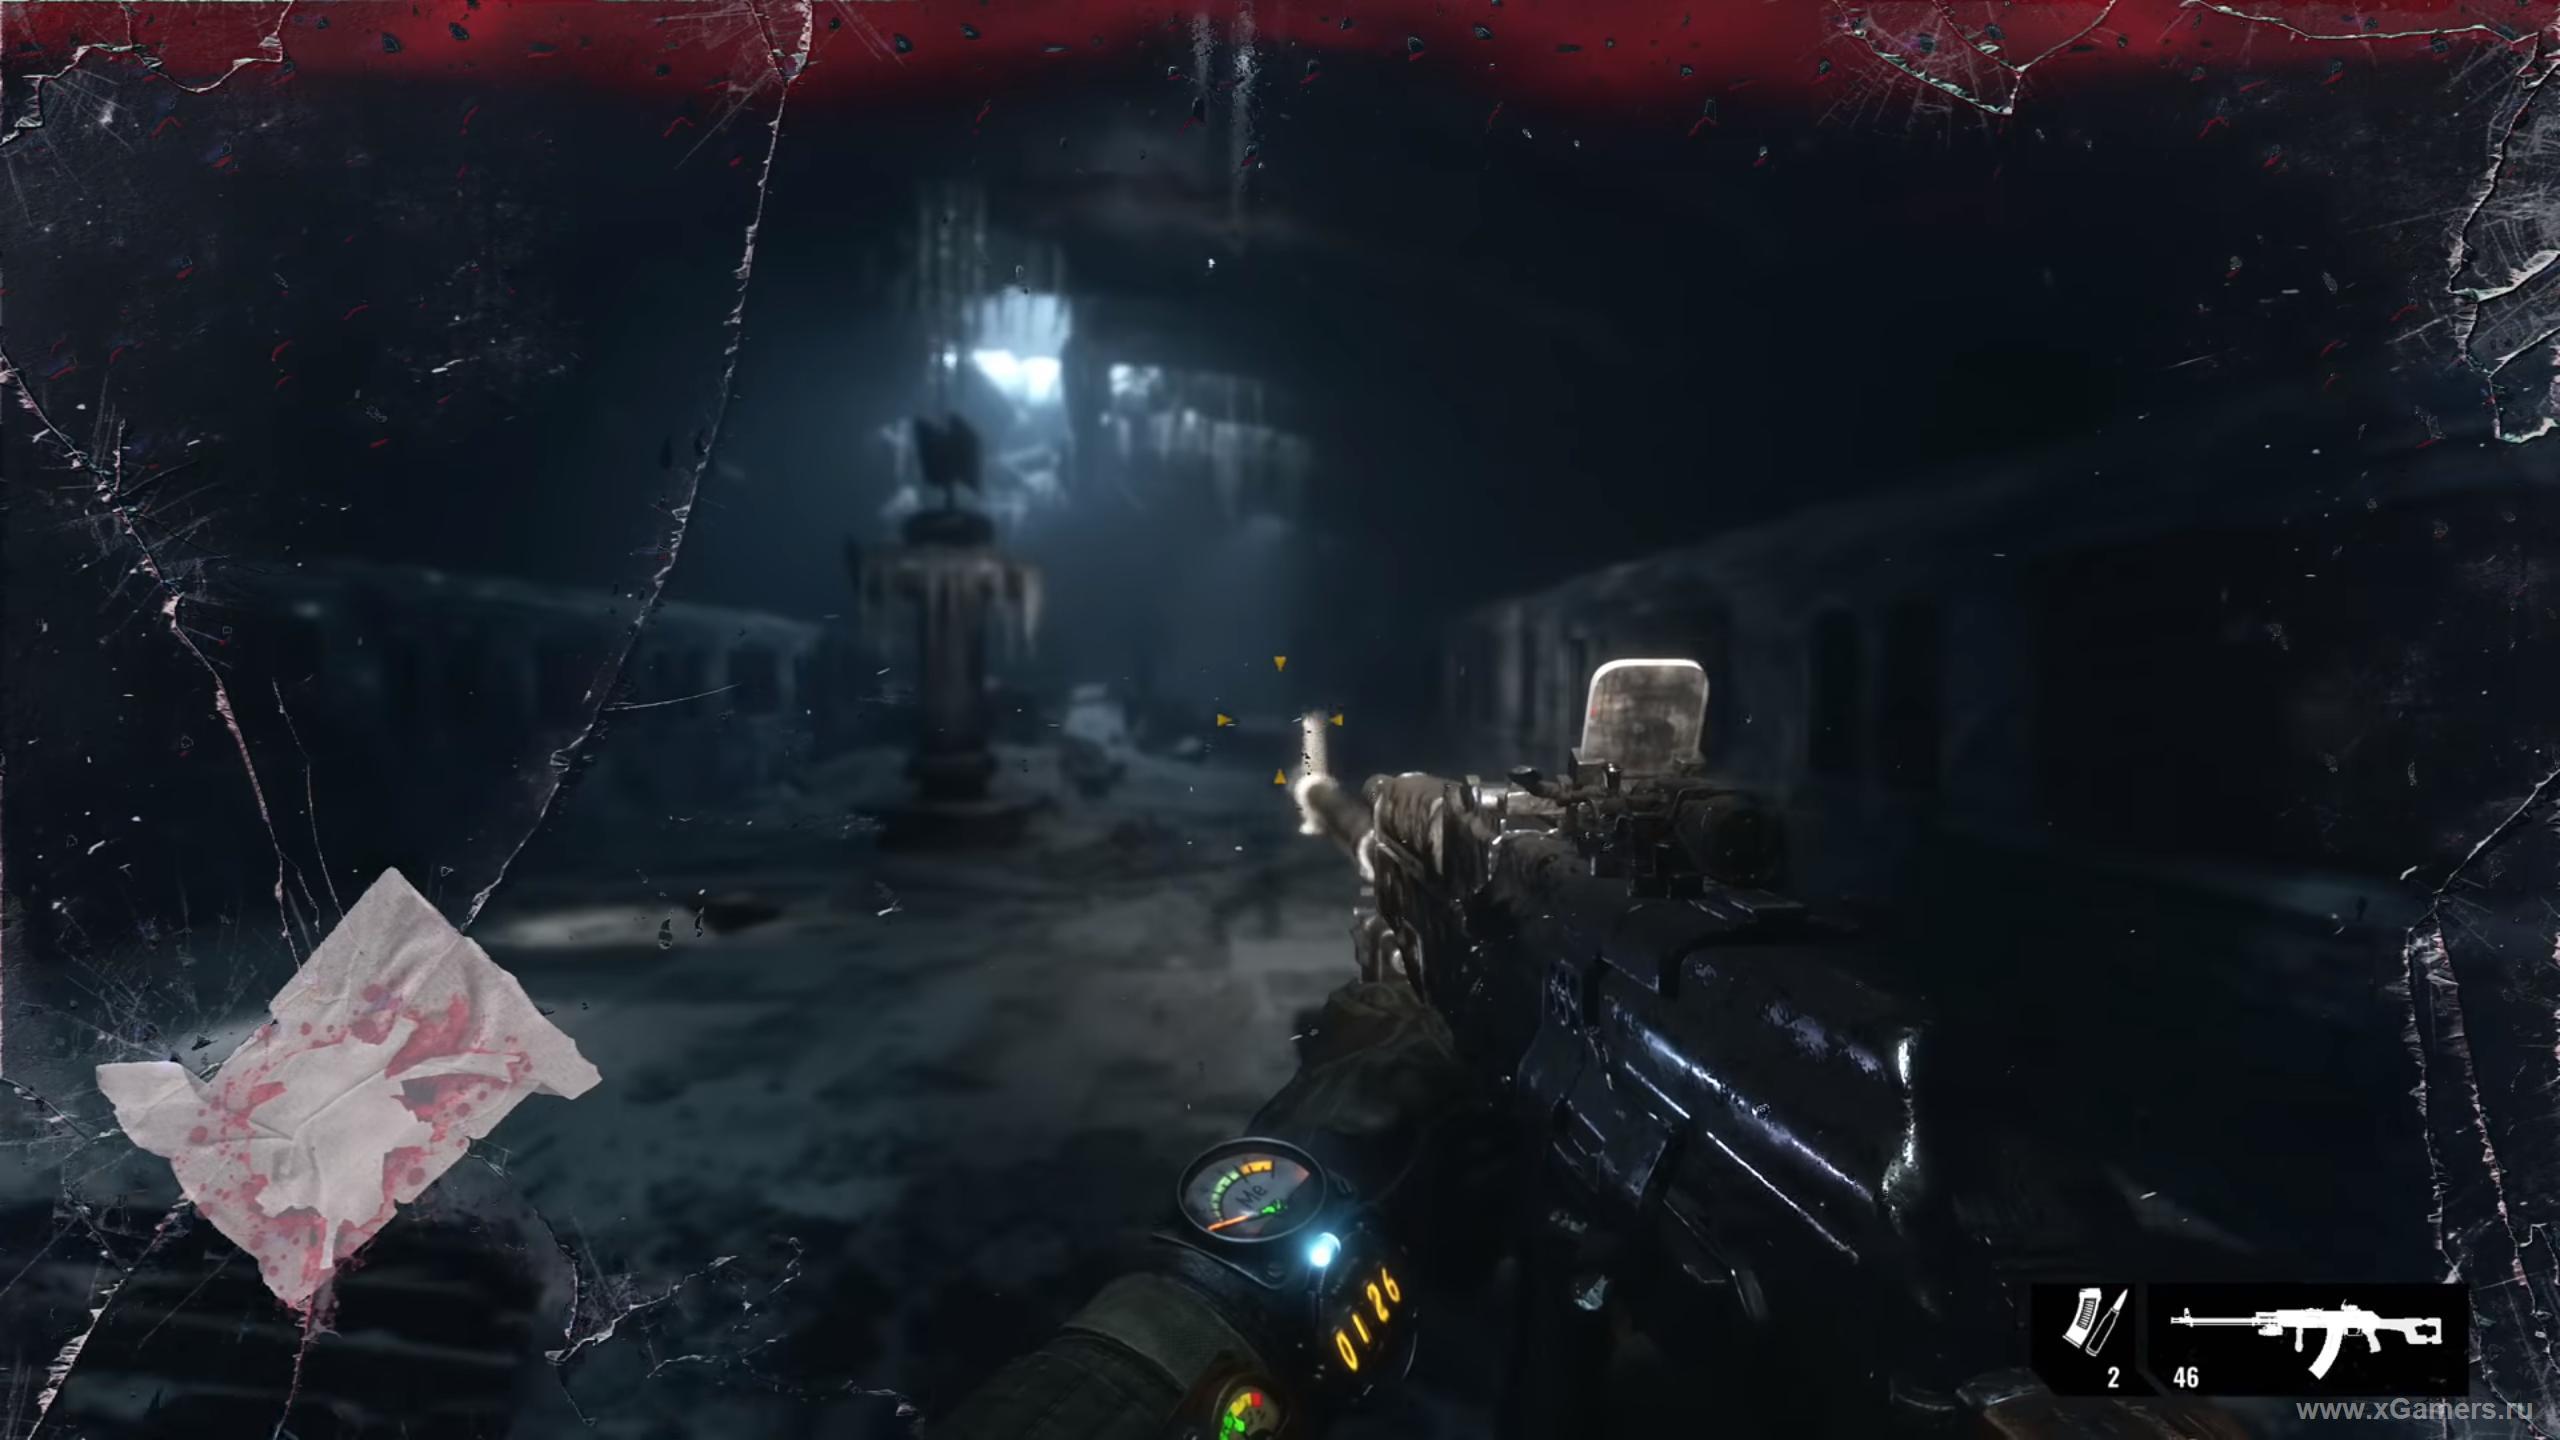
Before you swim out of the tunnel into another large hall, put on a gas mask. As soon as you find yourself inside, you are attacked by giant worms, and they will throw you out of the boat. Emerge on the surface, then shoot them as soon as possible.
Climb back into the boat and swim to the highlighted green space. There are many leeches, and you already know what to do with them. As you finish, move to the flooded stairs and get out.
Get on the metal structure. Follow the platform to the train located on the opposite side. Better not slow down, otherwise the worms will attack you again. Inside the cars again nasty leeches - methodically clean them, then go to the exit on the left side.

Go up the stairs, from there to the control room. There are leeches on the walls, interrupt them. Collect here everything that you find, then exit and use the lever to lower the ladder to the pier. Above it is fixed the boat - we need it. Of course, it will be necessary to go to it through the corridors full of leeches.
Do not waste cartridges on a worm that eats someone"s body - it will not offend you.
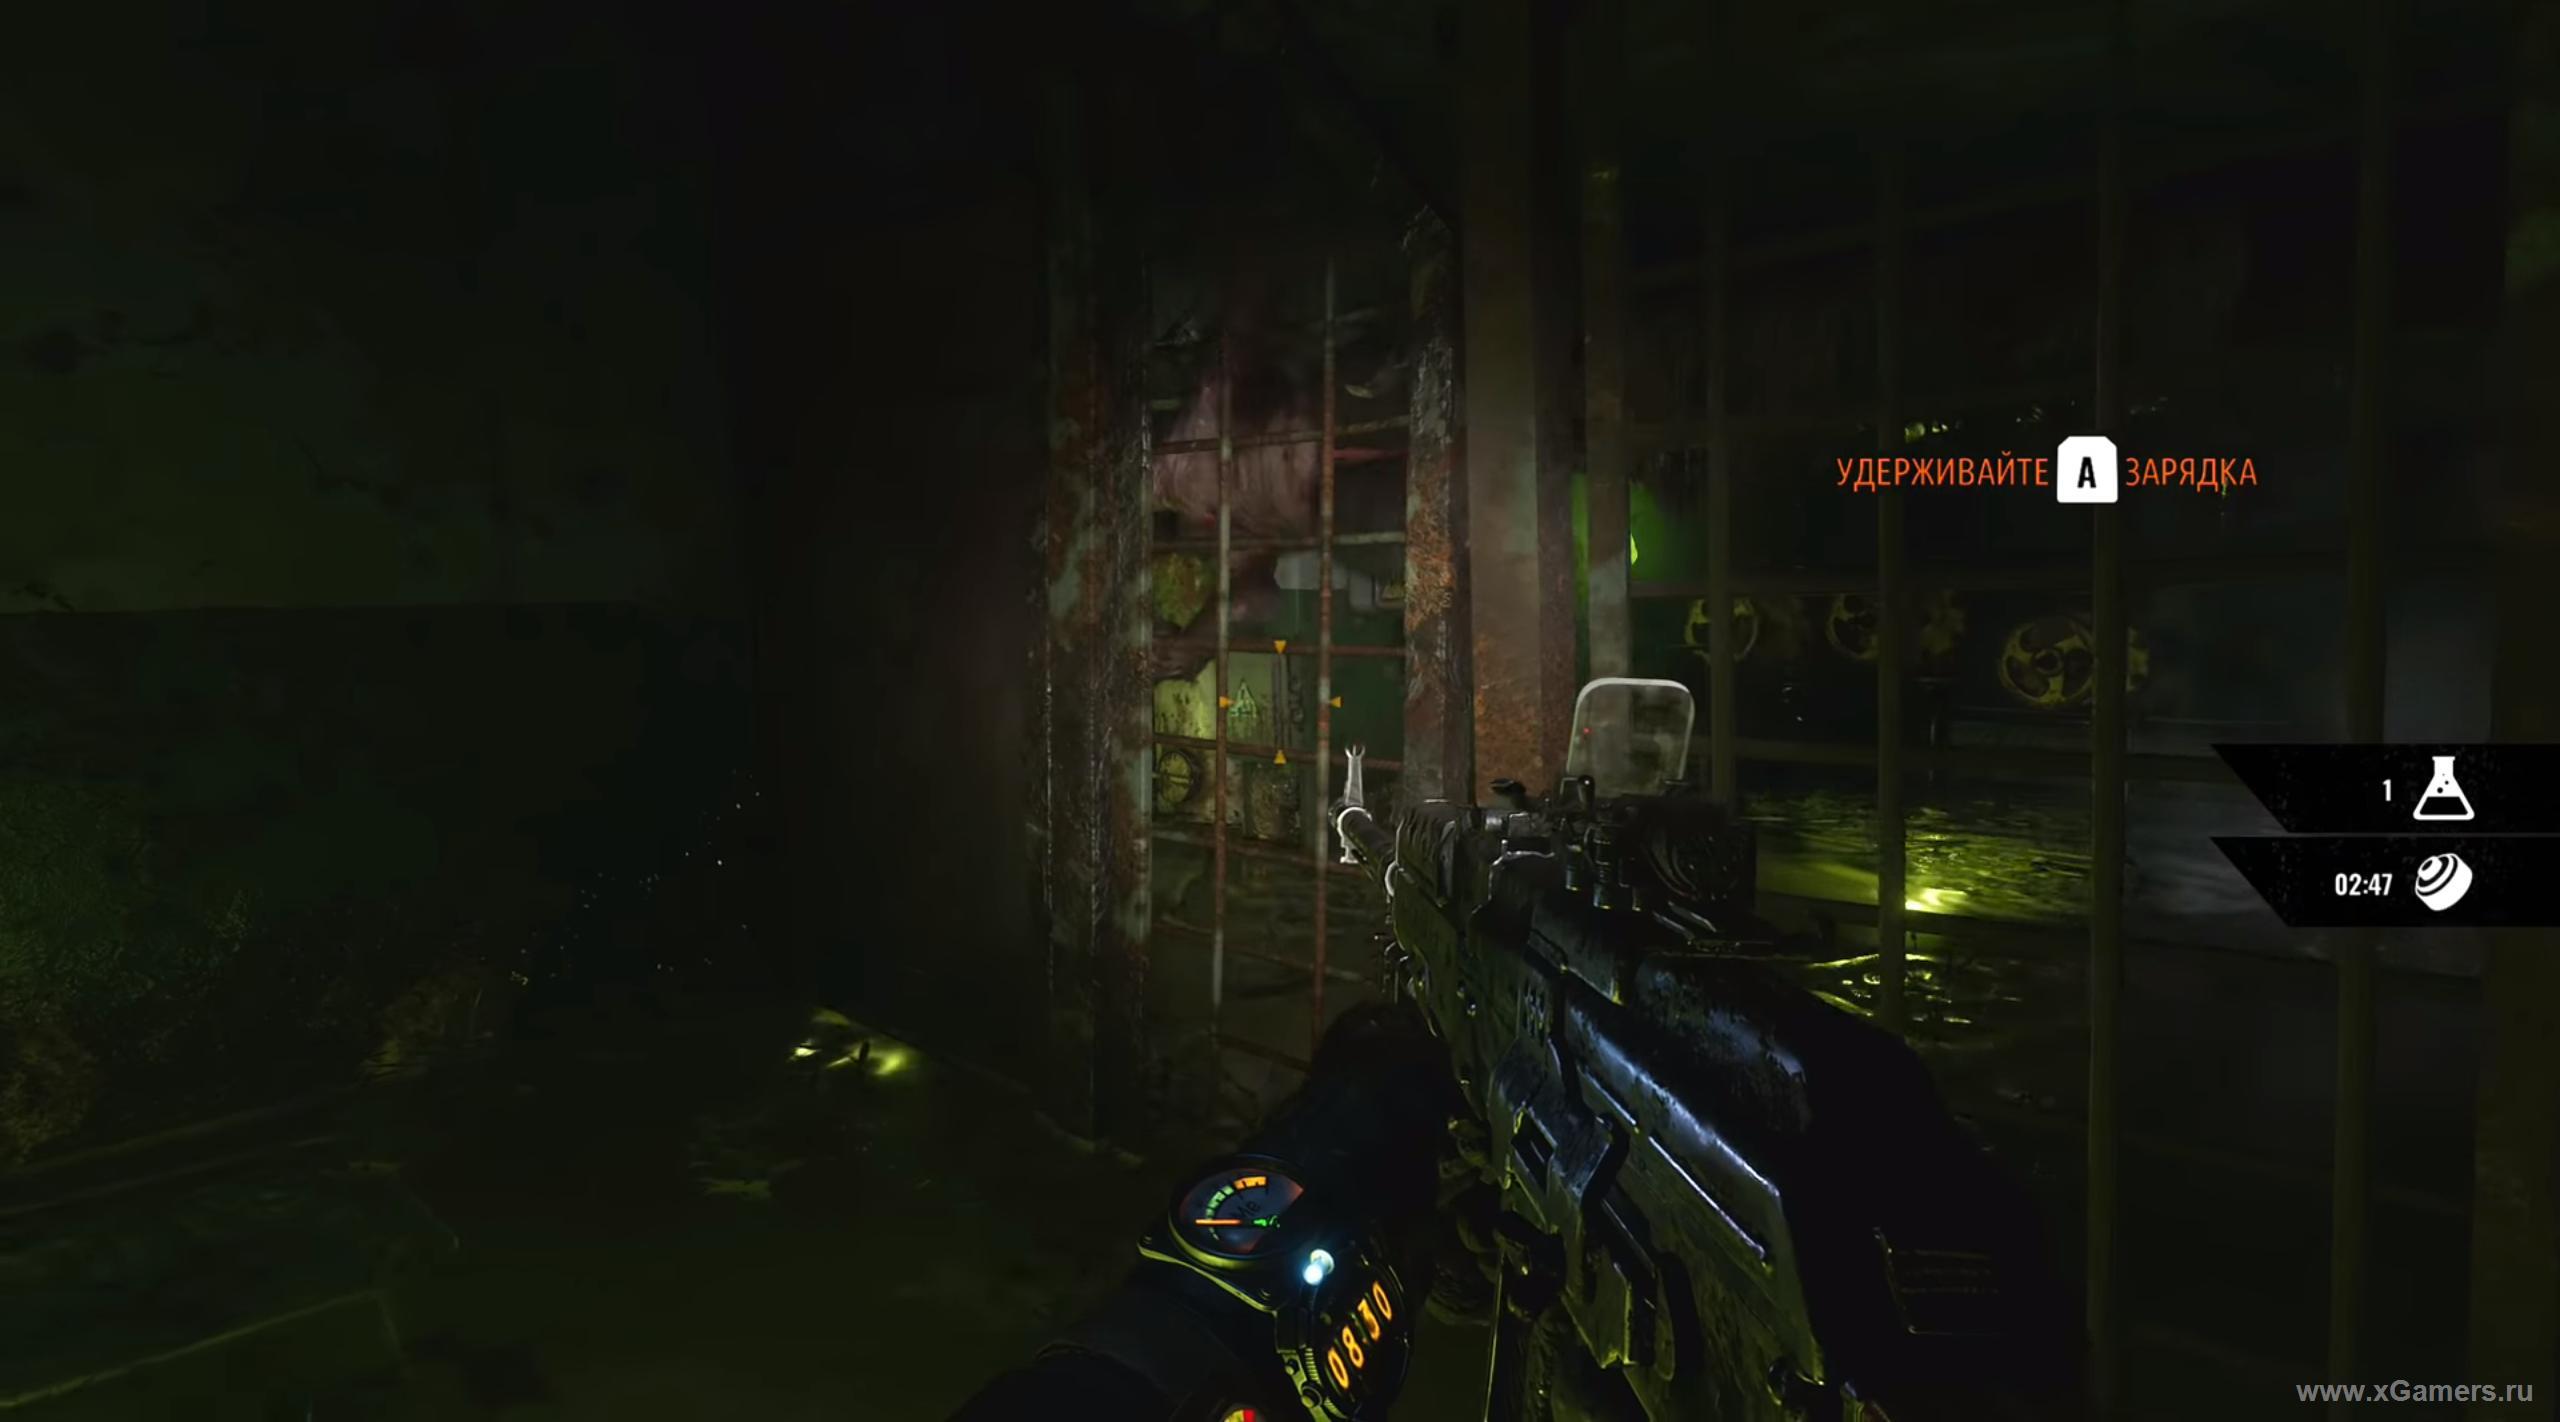
See the passage on the right? Turn around - here you will find boxes of ammunition and, more importantly, a workbench. Fix it, make the cartridges - everything is as it should be. As you finish, go through the passage mentioned above (there are leeches again.) As a result, you will find yourself at the crane controlling the boat. Carefully, worms from below will spit on you! Shoot them down, then collect everything useful here, and then use a crane.
Go to the boat directly. If you are not finished off all the worms, the rest of you will attack. Here it is best to use a sniper to clear everything you see - it will greatly facilitate the upcoming trip.
A couple of you will still attack on the way to the exit, but you can easily cope with them.
On the way, the main character at some point will lose consciousness from radiation - do not worry, this is a scripted scene, nothing really threatens you.
Mystery Institute
As soon as the hero wakes up, you will have to be injected with antiradin, despite the hallucinations.
Use the first-aid kit, then go to the far end of the hall, to the escalator. Rise to the pumping station. Visual effects can be ignored, they are again scripted.
Turn right and enter the room, from which you can hear familiar voices. Melnik did find the map you need! Pick up everything useful from the shelf and from the lockers, and take a note from the TV.
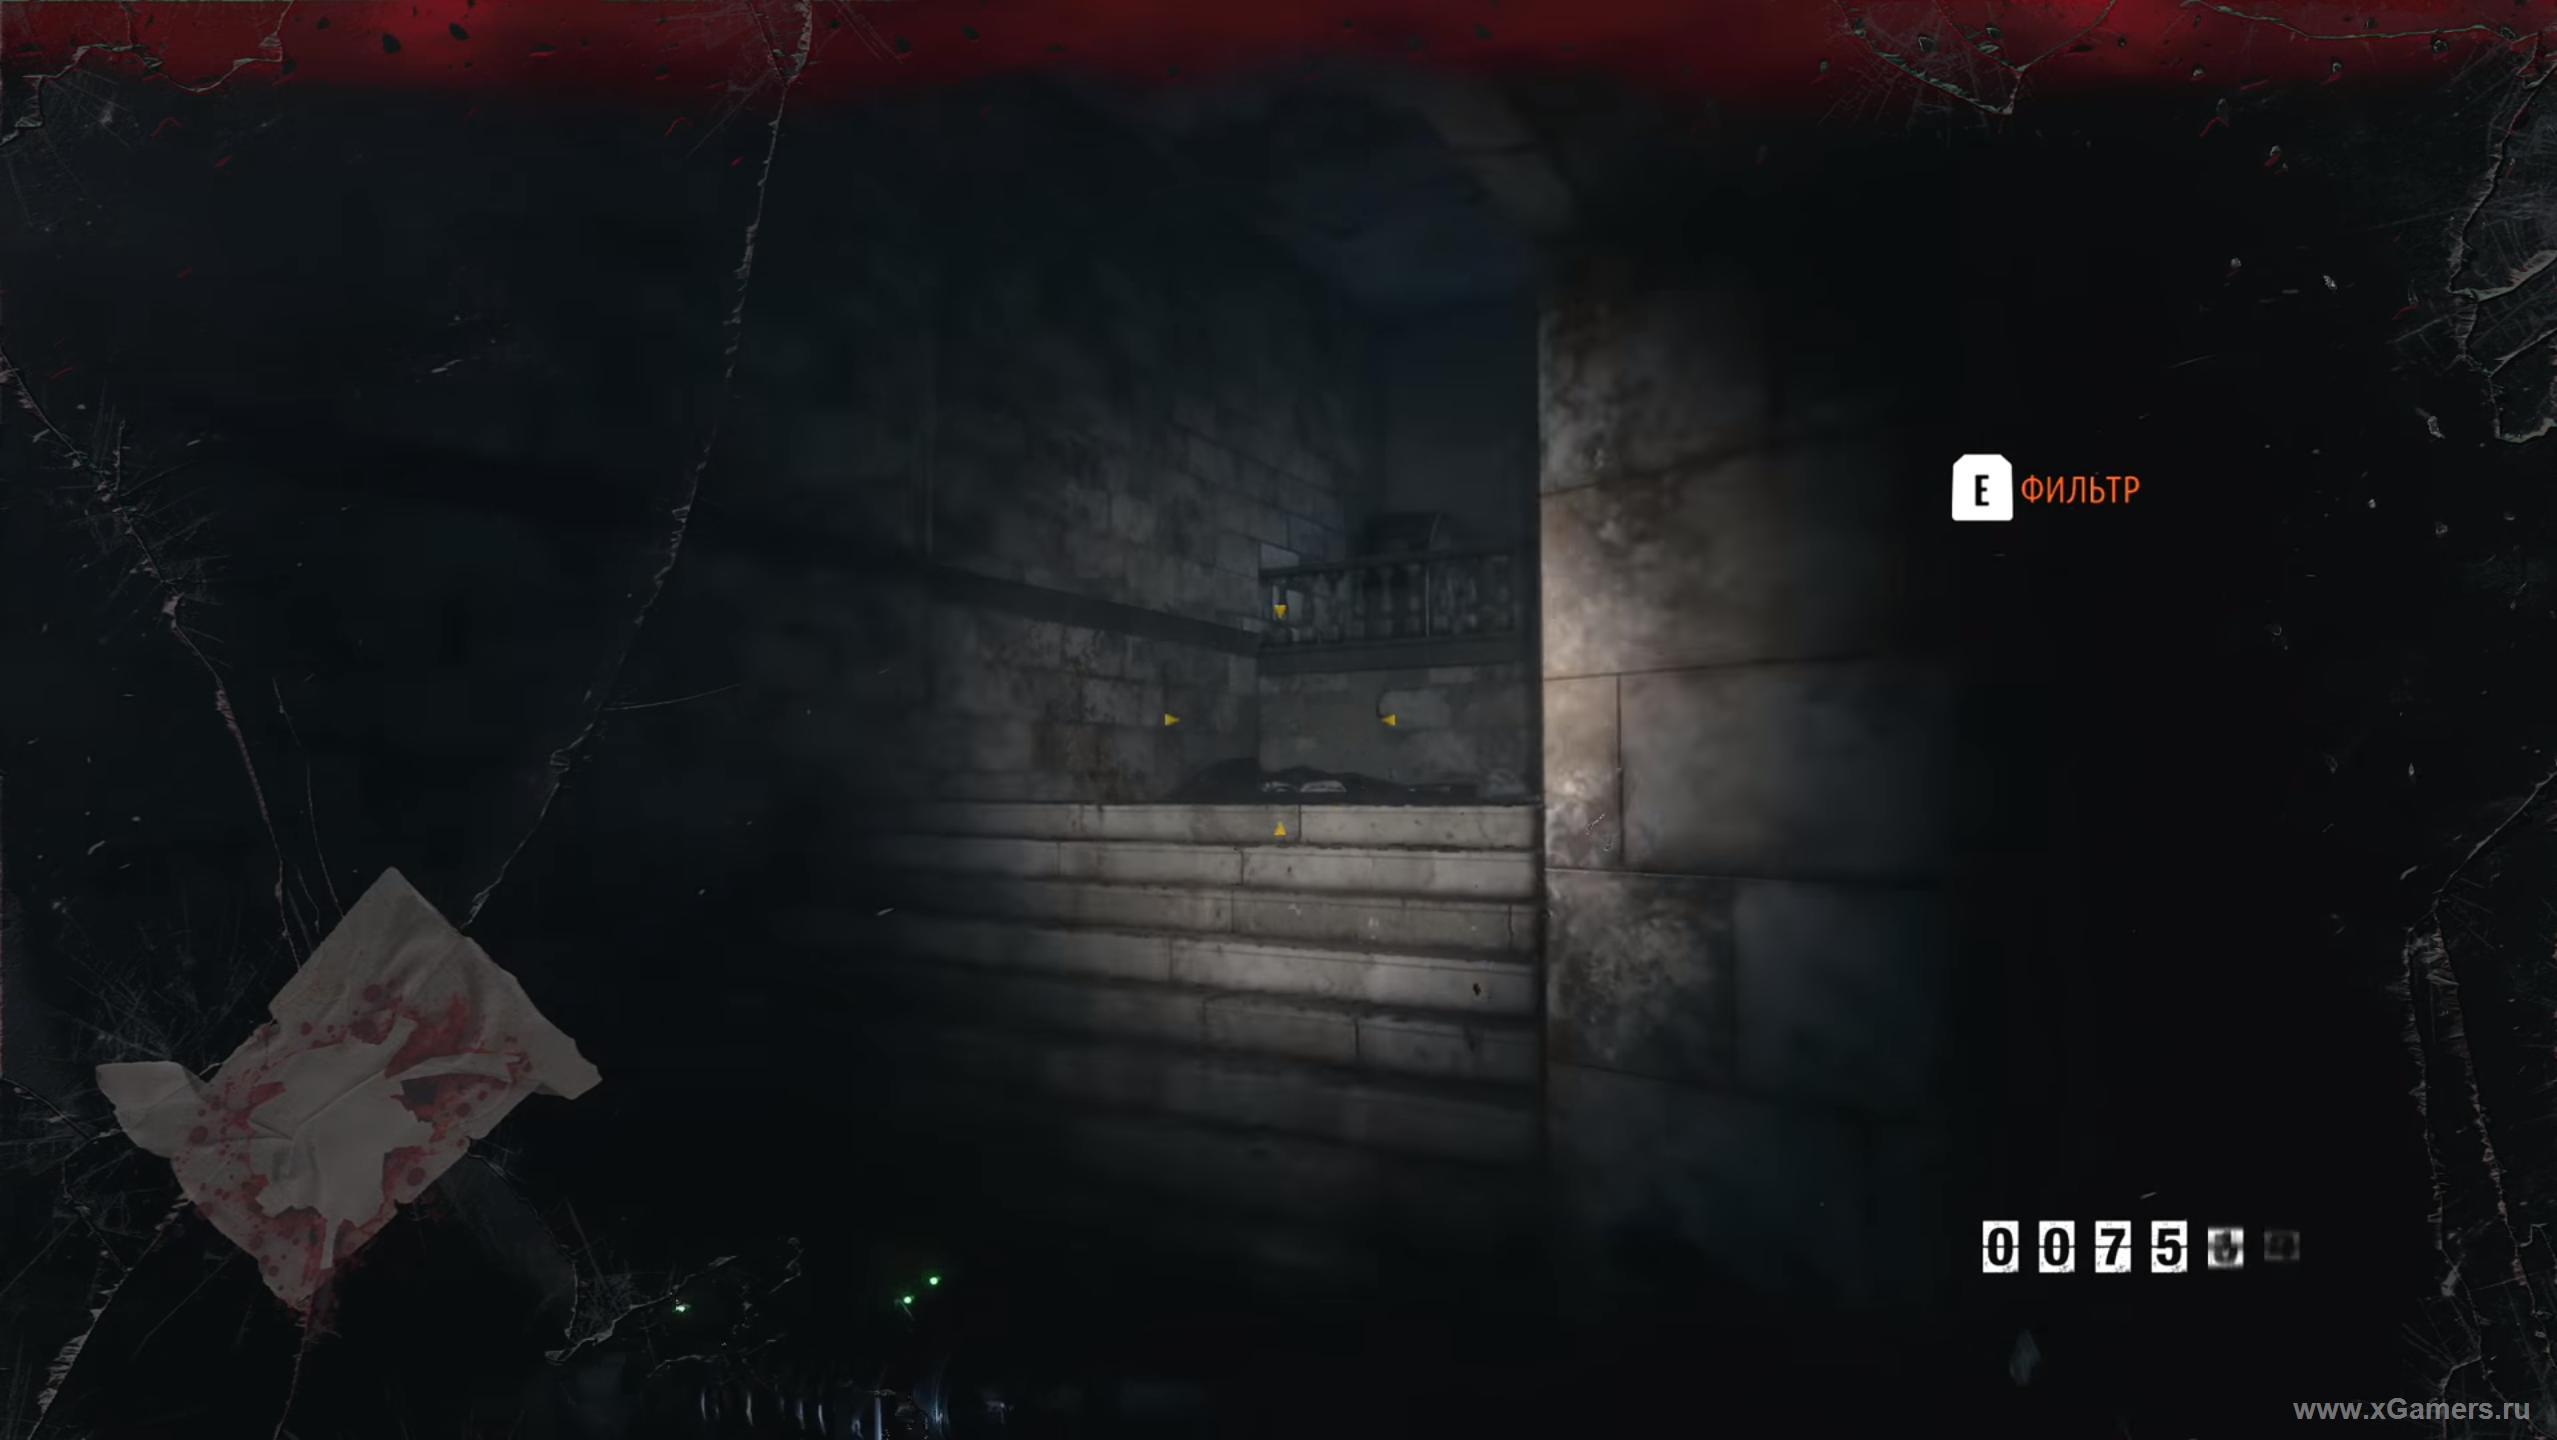
Go to the stairs on the first floor. Along the way, it makes sense to search every meter. There are many filters - you will need them, and how. Collected? Knock the door.
Once on the street, move forward. You will be shown a colorful flashback cutscene, at the end of which Artem wakes up and you can continue on your way.
Slide the BMP down. There are no enemies here. Turn around and go forward a little and take everything useful from the boxes. Take the notebook lying next to the corpse.

After that, turn around again and run forward for a strange creature. As soon as you find yourself on the surface, in front of you will be the same institution.
There is nobody inside, so just look around and collect all the useful things around. Go through the room with soaring things in the air. On the right side of the exit - blockage. You there. Clean the metal case and step onto the roof.
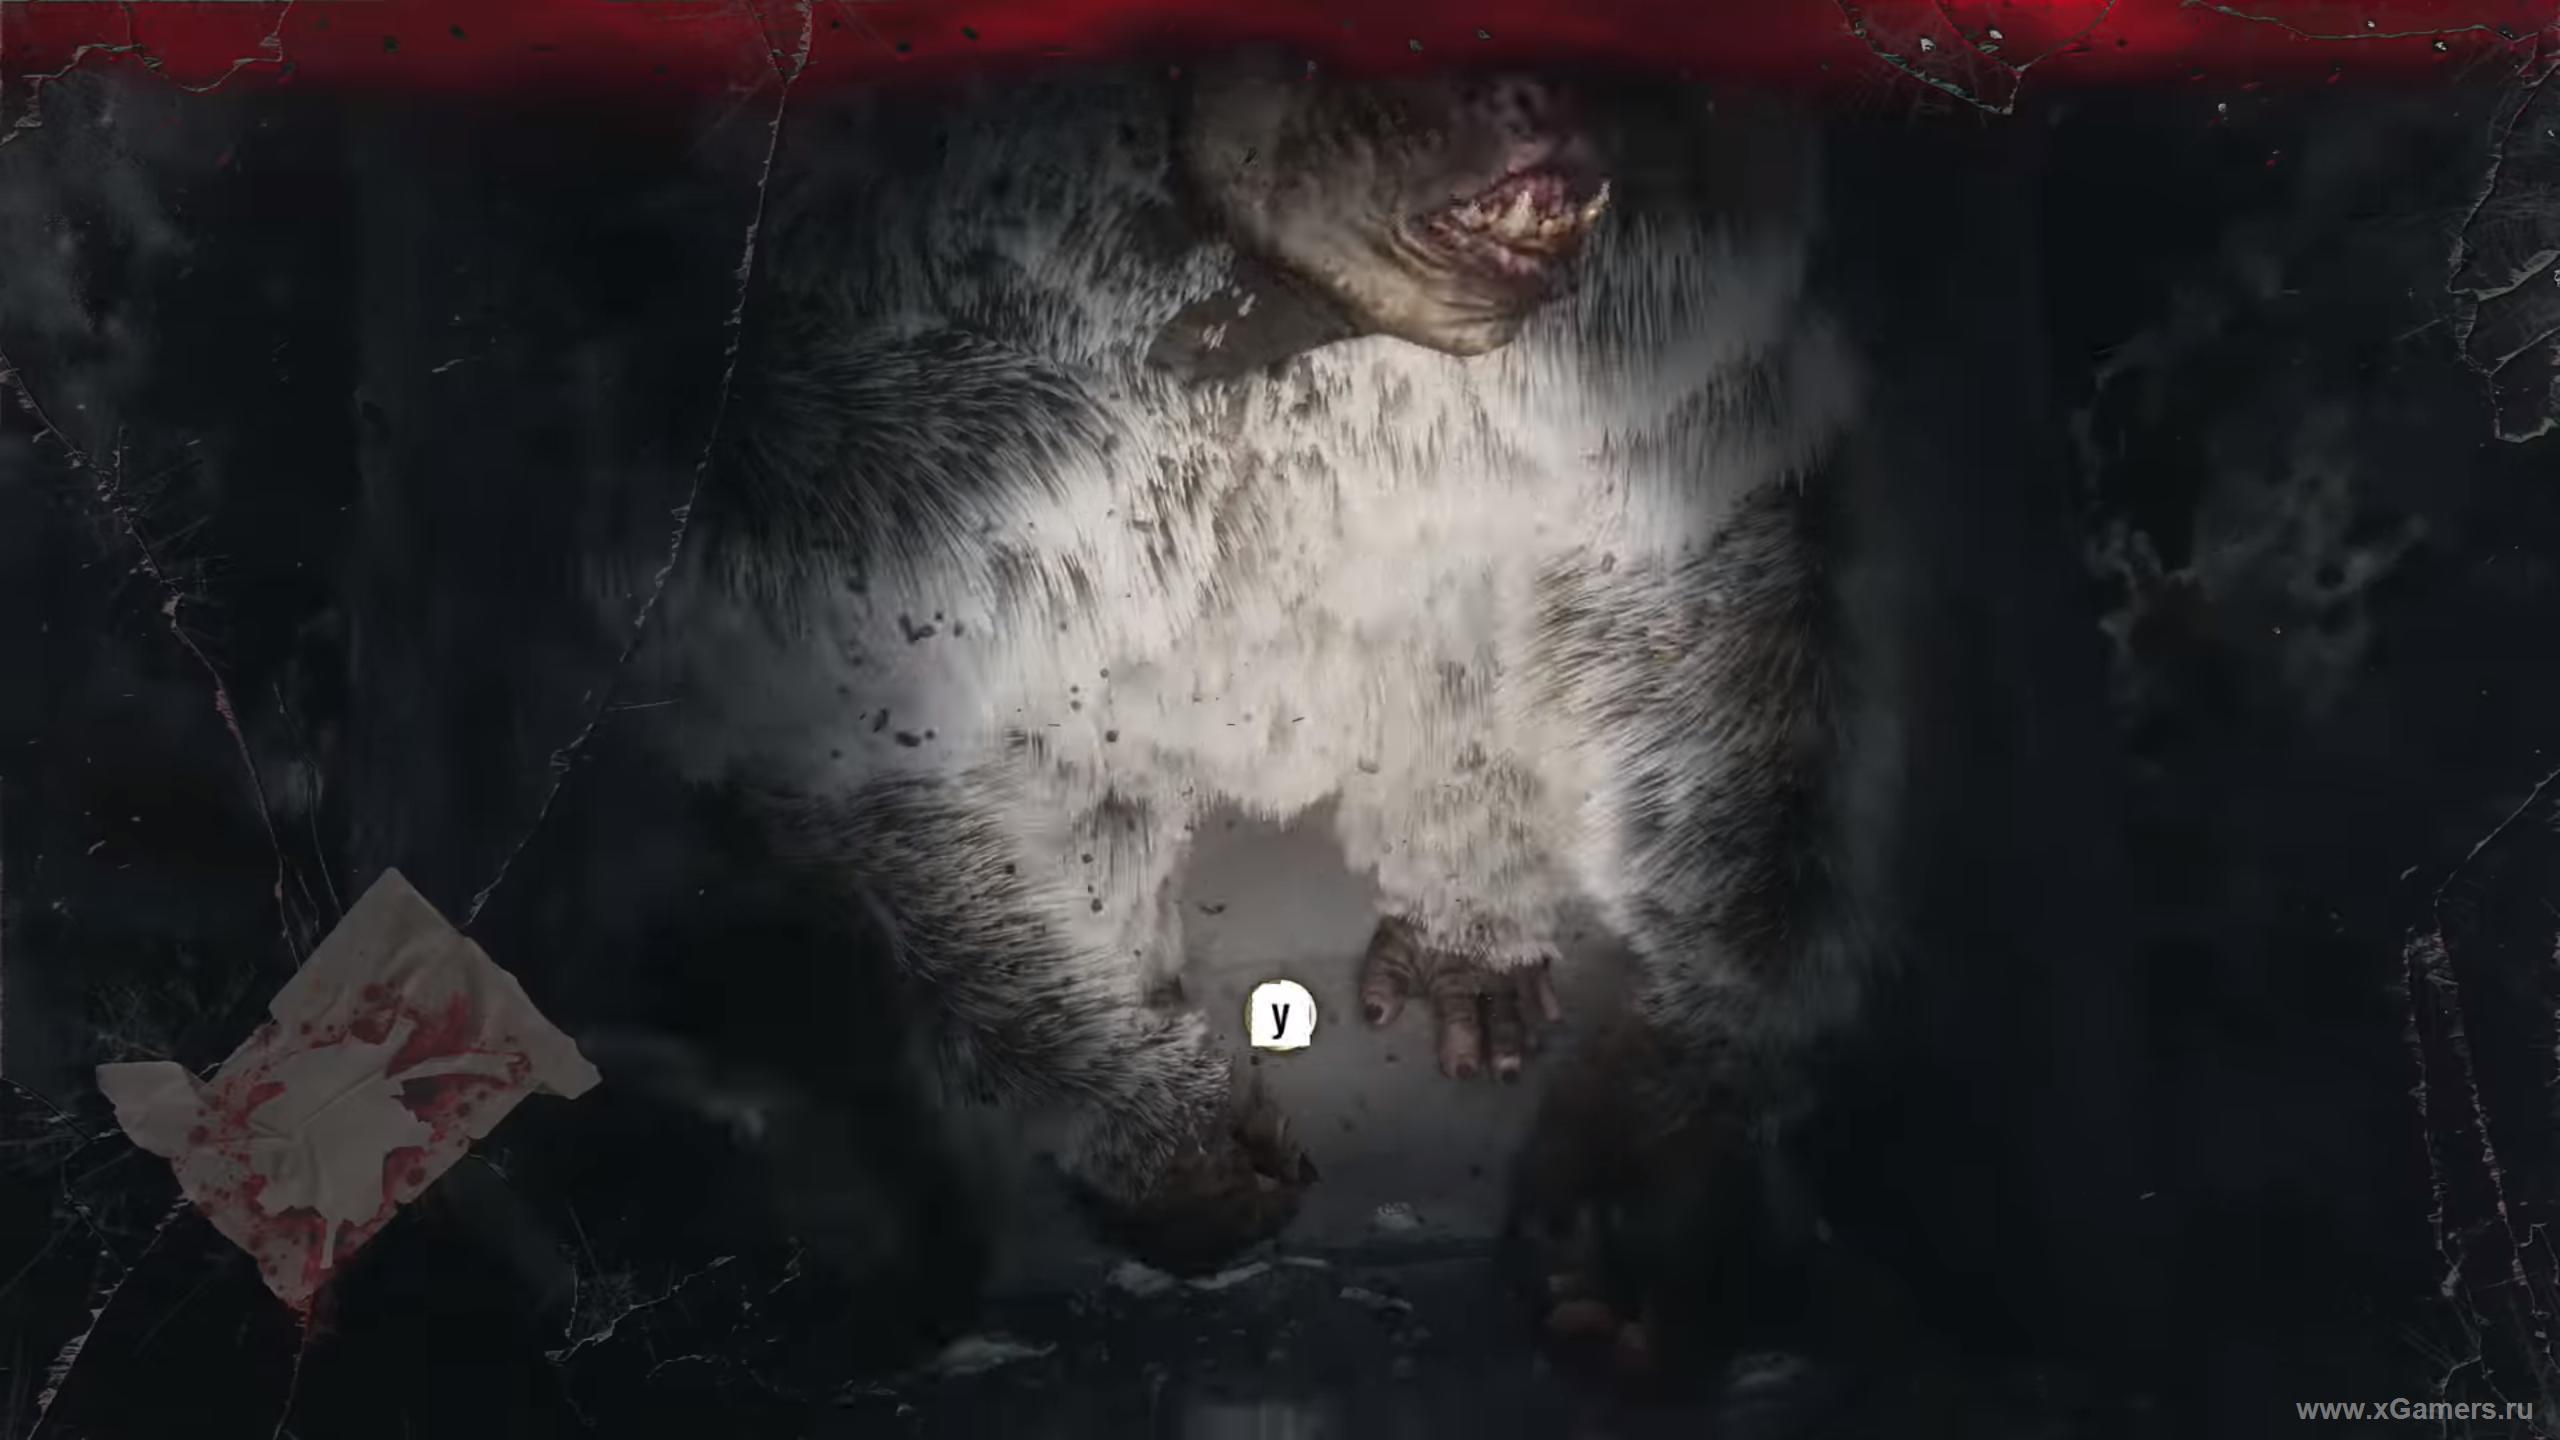
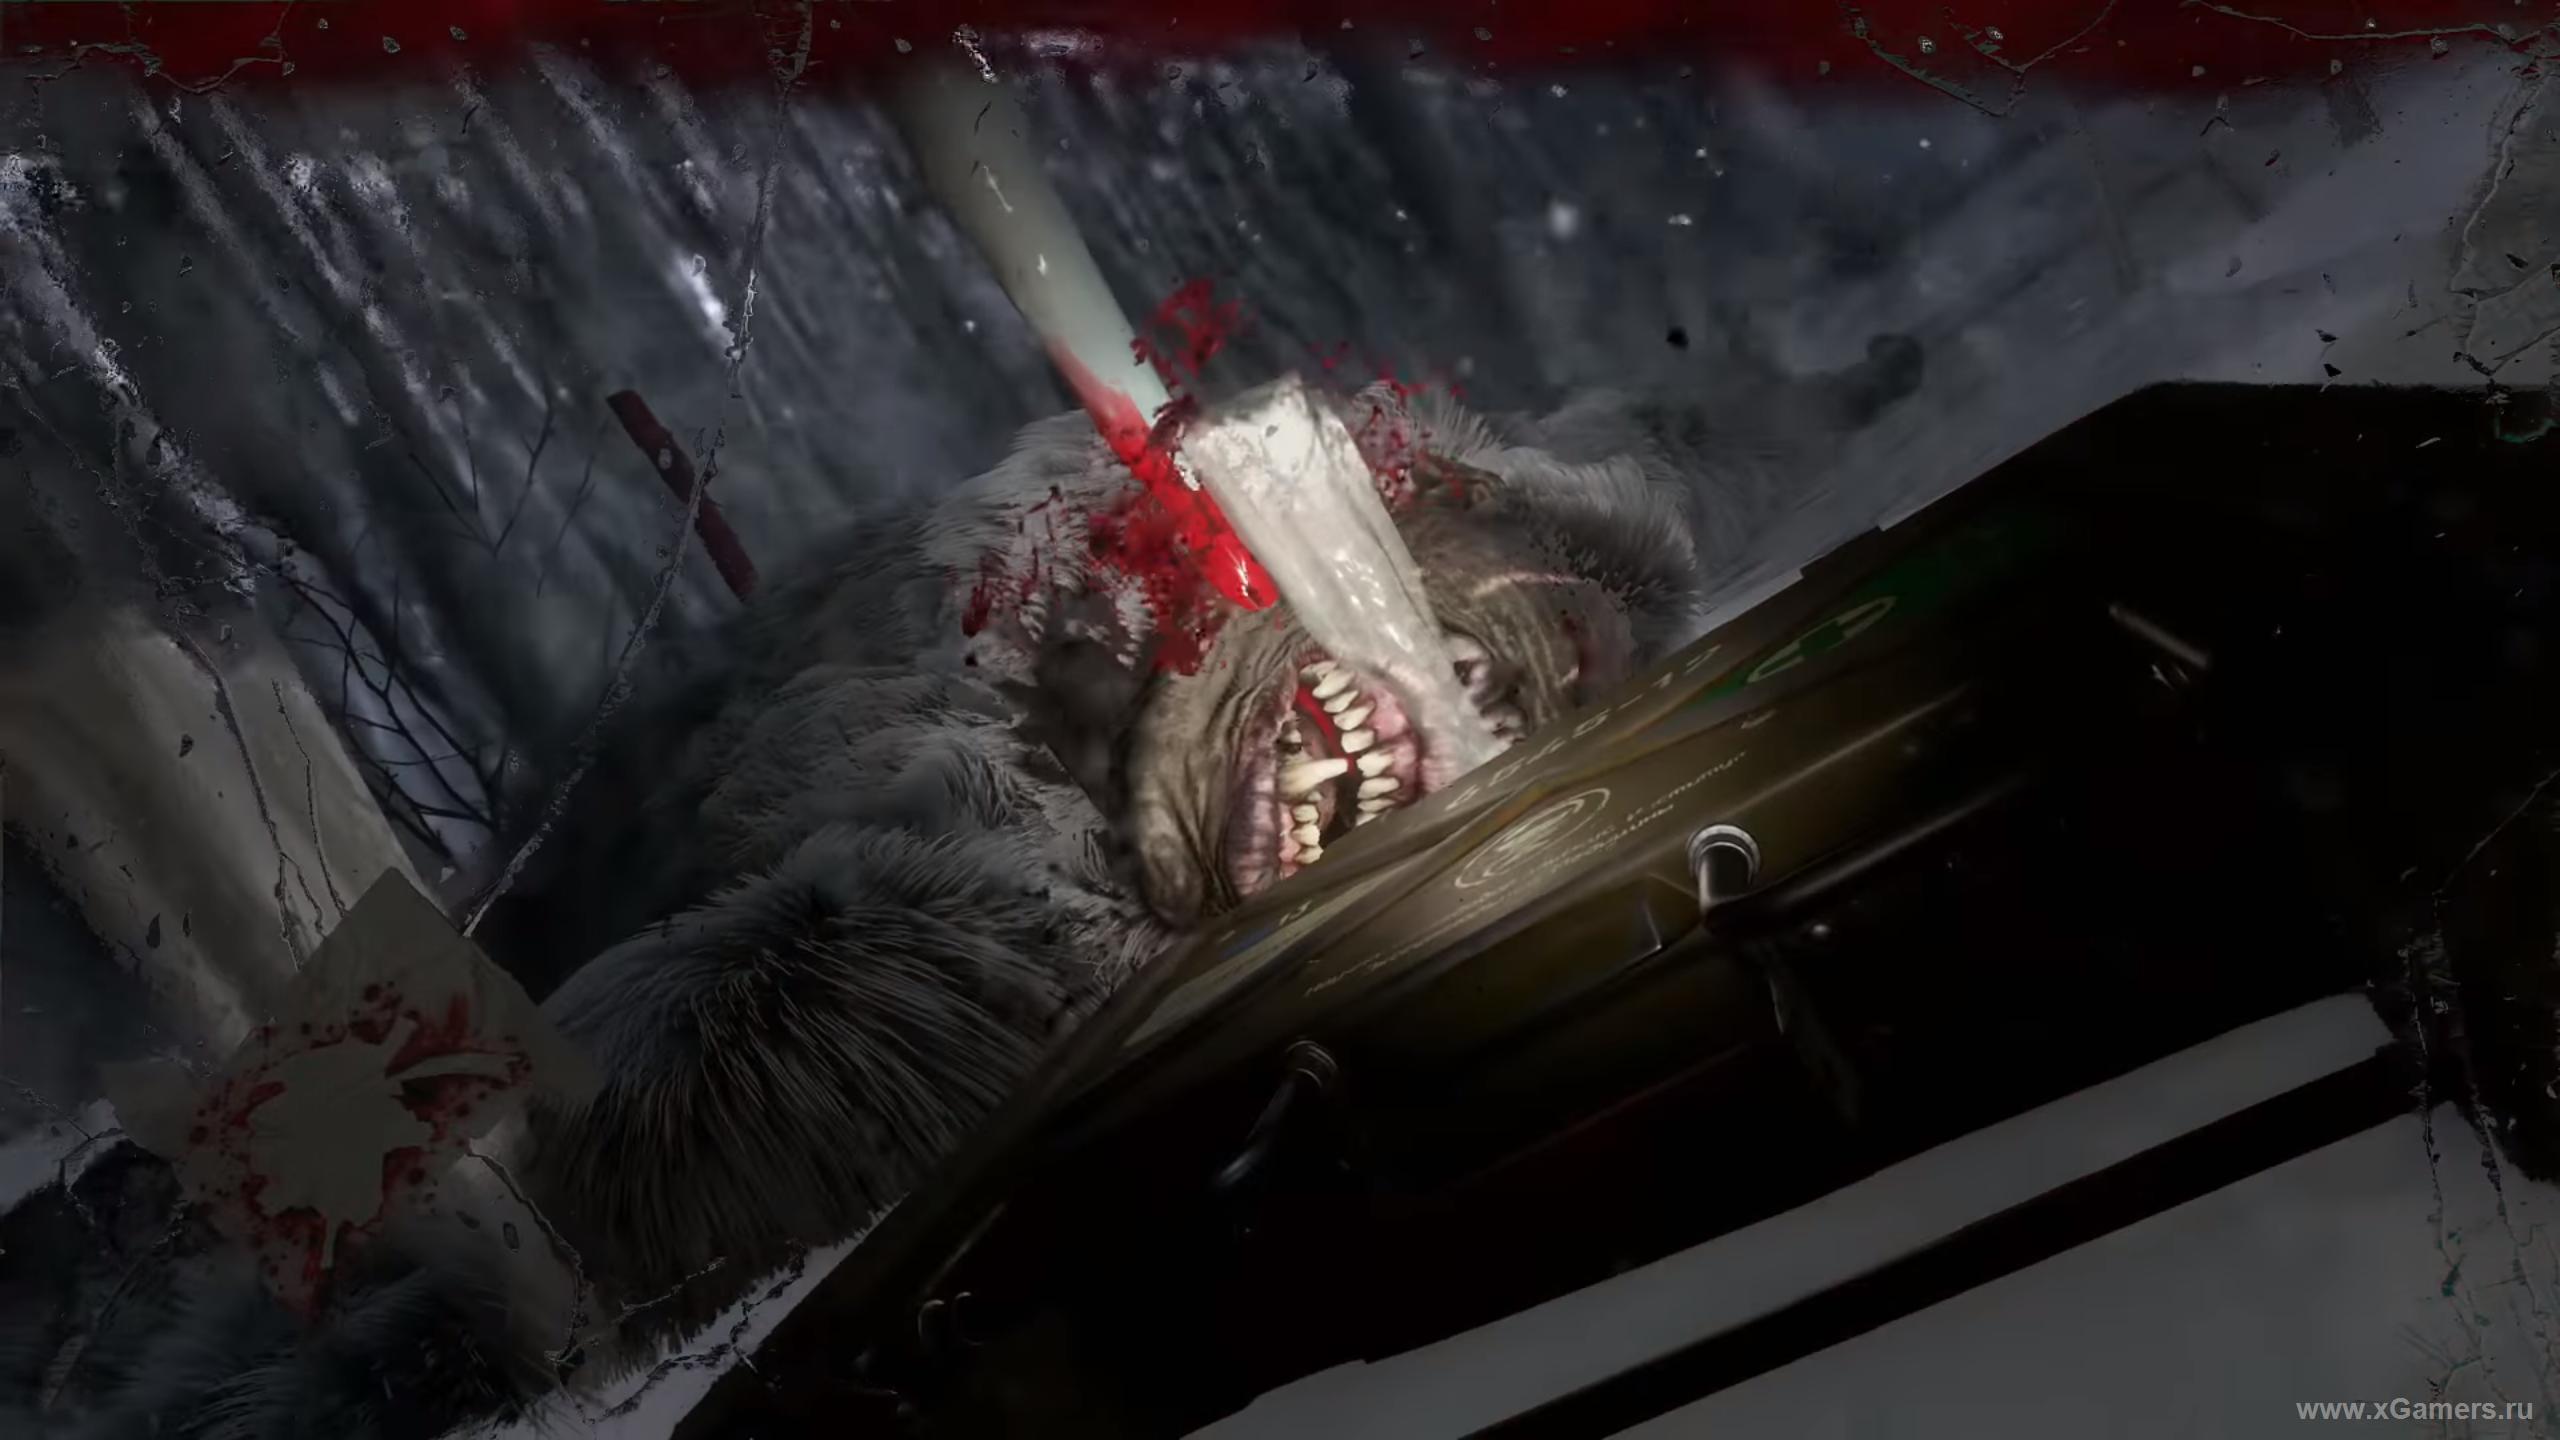
As soon as you get there, a huge blind gorilla will attack you. Note that she will not notice you if you move slowly and silently. You can kill her - a dozen bursts in the head reliably calm the unhappy creature.
Run past the gorilla through the passage she is blocking - she will not follow you. Then get down to the bottom floor.
At the end of the room you will find a switch. Search everything here, turn on the light - another gorilla will appear to you. You can kill her, but it will be easier to just go around and proceed through the door, from which she appeared.
There is another switch near the locked grille on the wall - use it. In the next room there will be another gorilla - deal with it as you like, and go to the elevator.

Keep going and ignore the hallucinations. Once on the floor above, pull all that is useful from the racks, then go through the opening in the wall into the passage to another building of this complex.
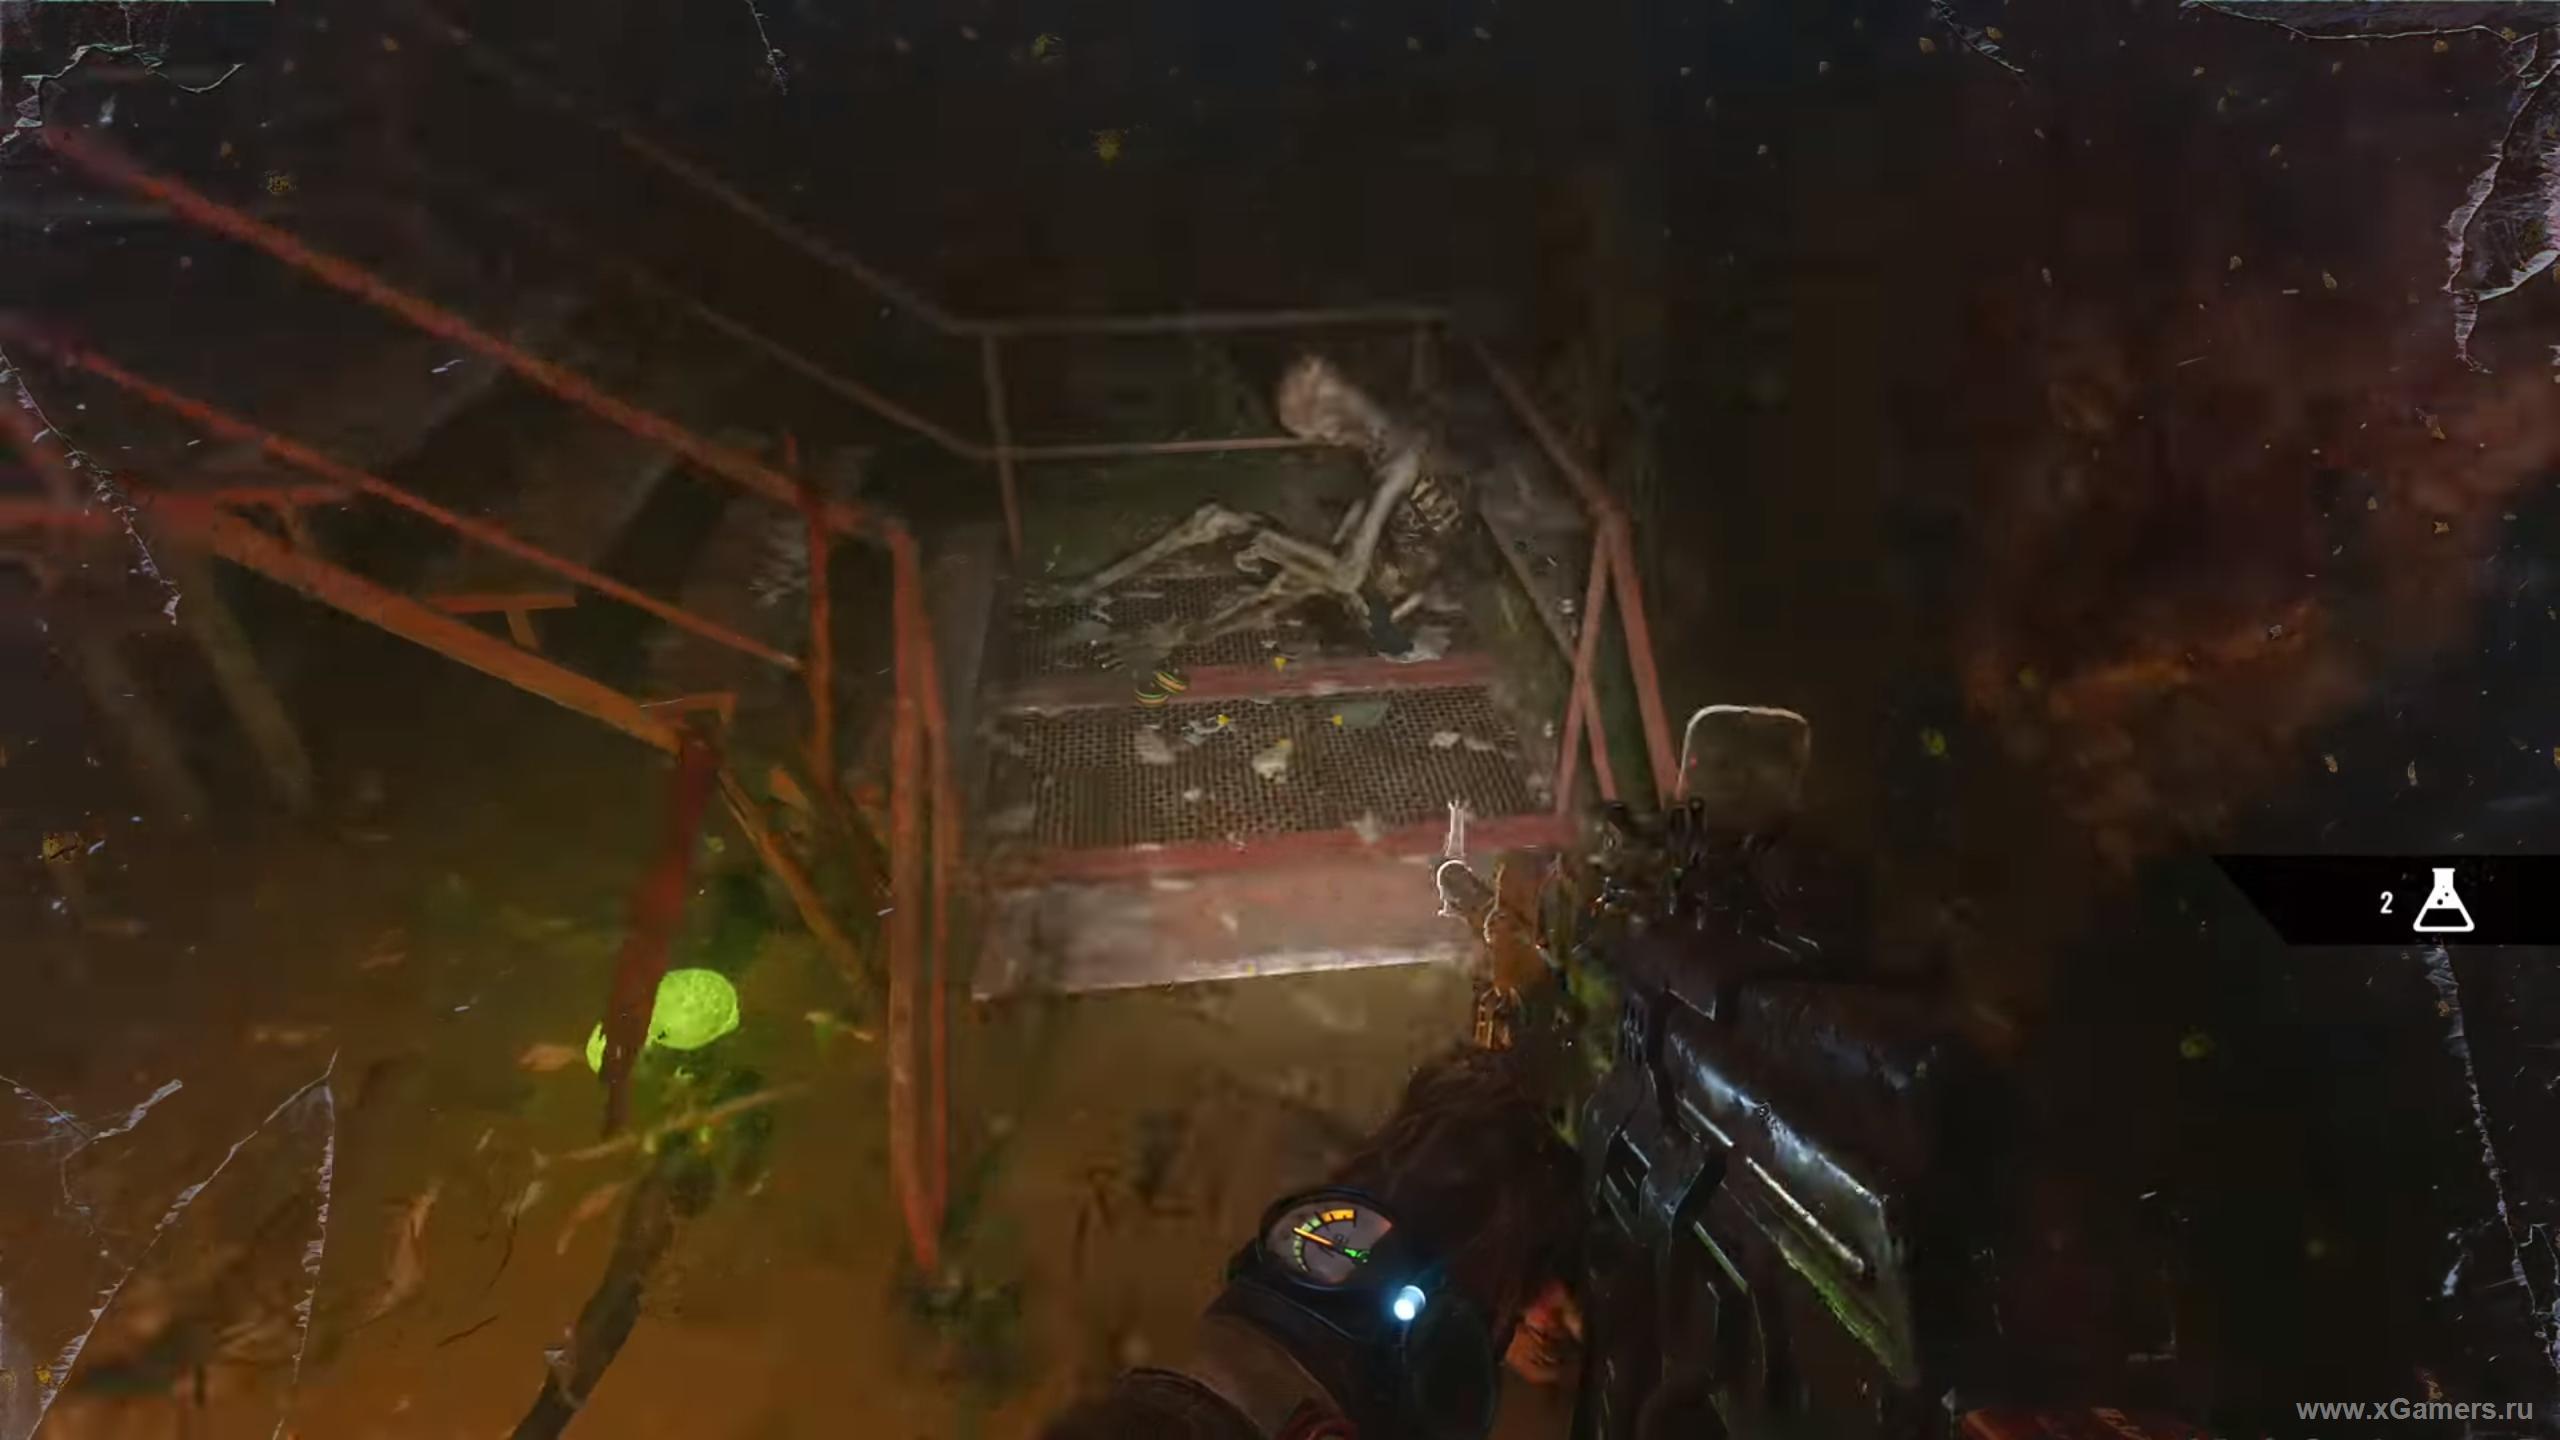
After the next series of colorful protagonist glitches, go downstairs - there is another furry friend waiting for you in the cluttered room. The stairs you need are on the right. Go down the floor below, go along the corridor - on the medical trolley in front of the aisle is a list of goods, pick it up. Ignoring ongoing hallucinations, make your way into the large hall. Both its levels inhabit the gorillas, so be extremely careful. There is definitely no need to fight with mutants - just run around them. Your goal now is a switch located on the right side. Having dealt with him, climb up the central staircase to the second level of the room. Near the pile of bones is another switch, use it too. This will unblock the exit from the hall. Better to just run without turning around. At some point, the monsters will no longer follow you.
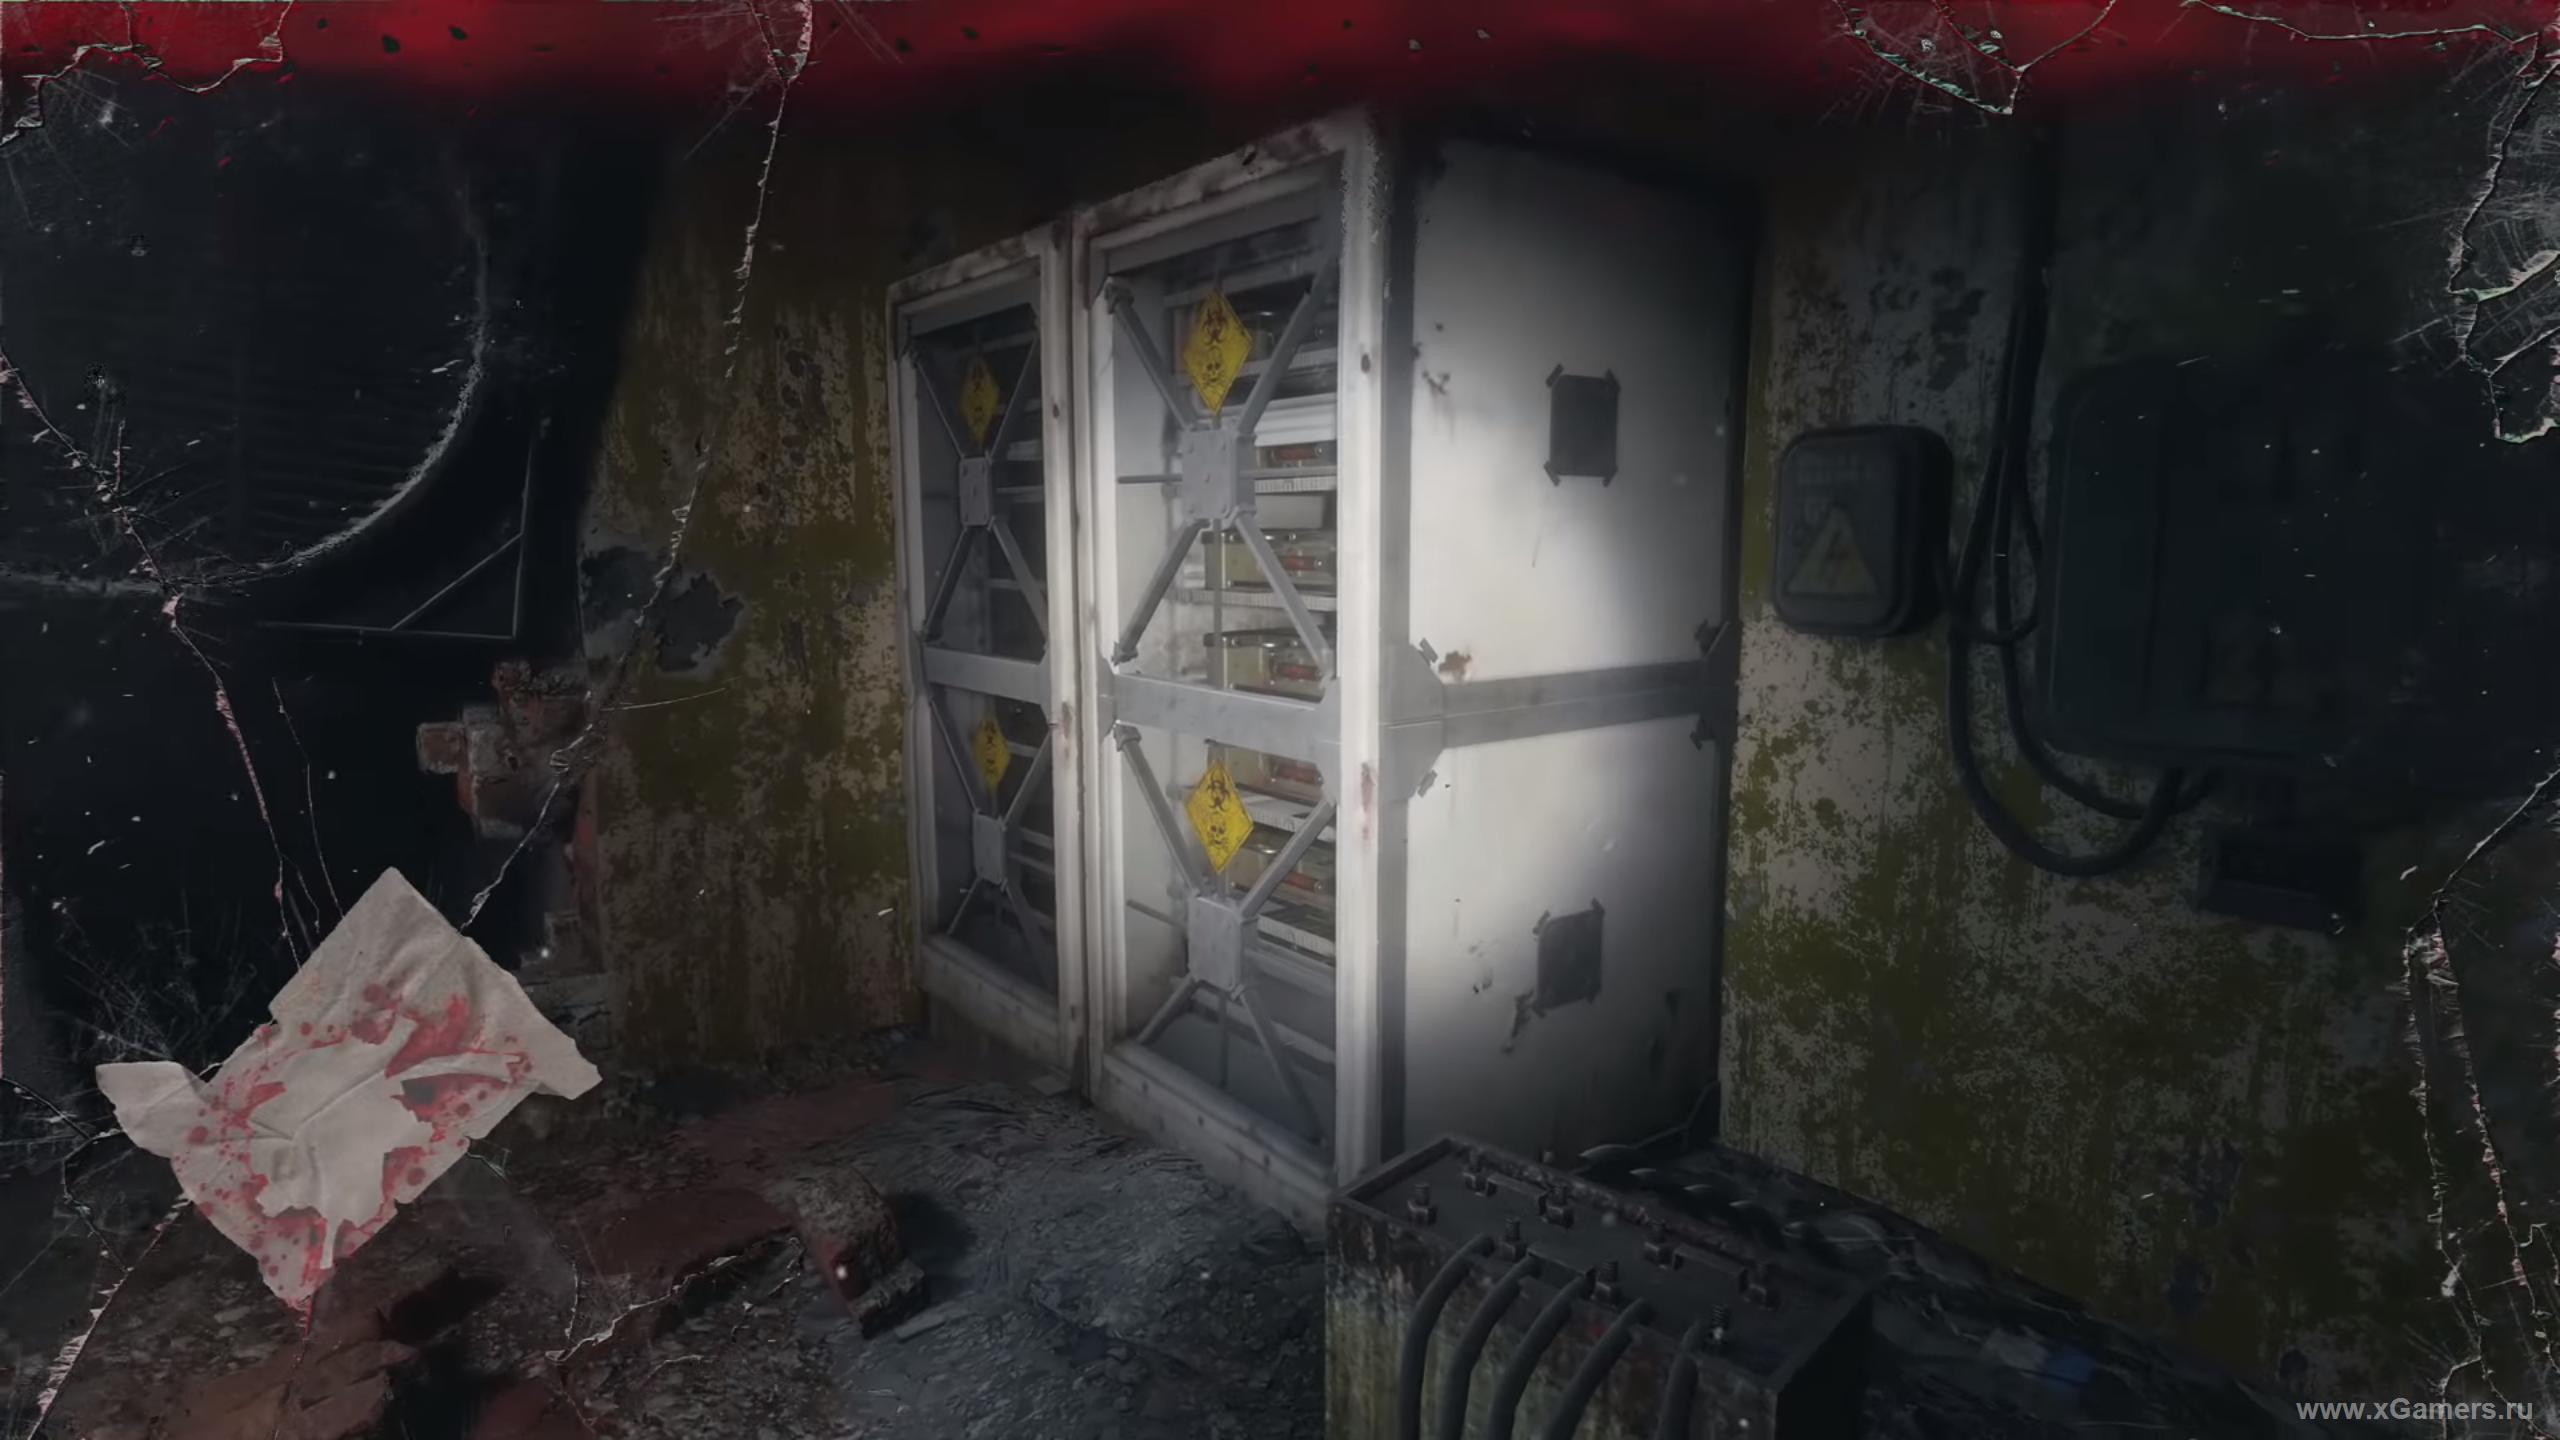
This is almost all. Go to the elevator, from there to the floor where the warehouse with the preparations we need is located. As soon as you take the coveted green small suitcase, the last gorilla will attack you - just press the illuminated buttons and look at how Artem overcomes his last strength.
Now your adventure is almost over. See how Melnik reanimates Artyom, after which you will find yourself in an already familiar car on the way to the final of the game.
When Artem wakes up, get behind the wheel and drive to the last stop.
All that comes next is one long cutscene. Enjoy the ending you deserve! The game is over!