Metro Exodus Caspian walkthrough | Baron | Gul | Ship with slaves | Bunker
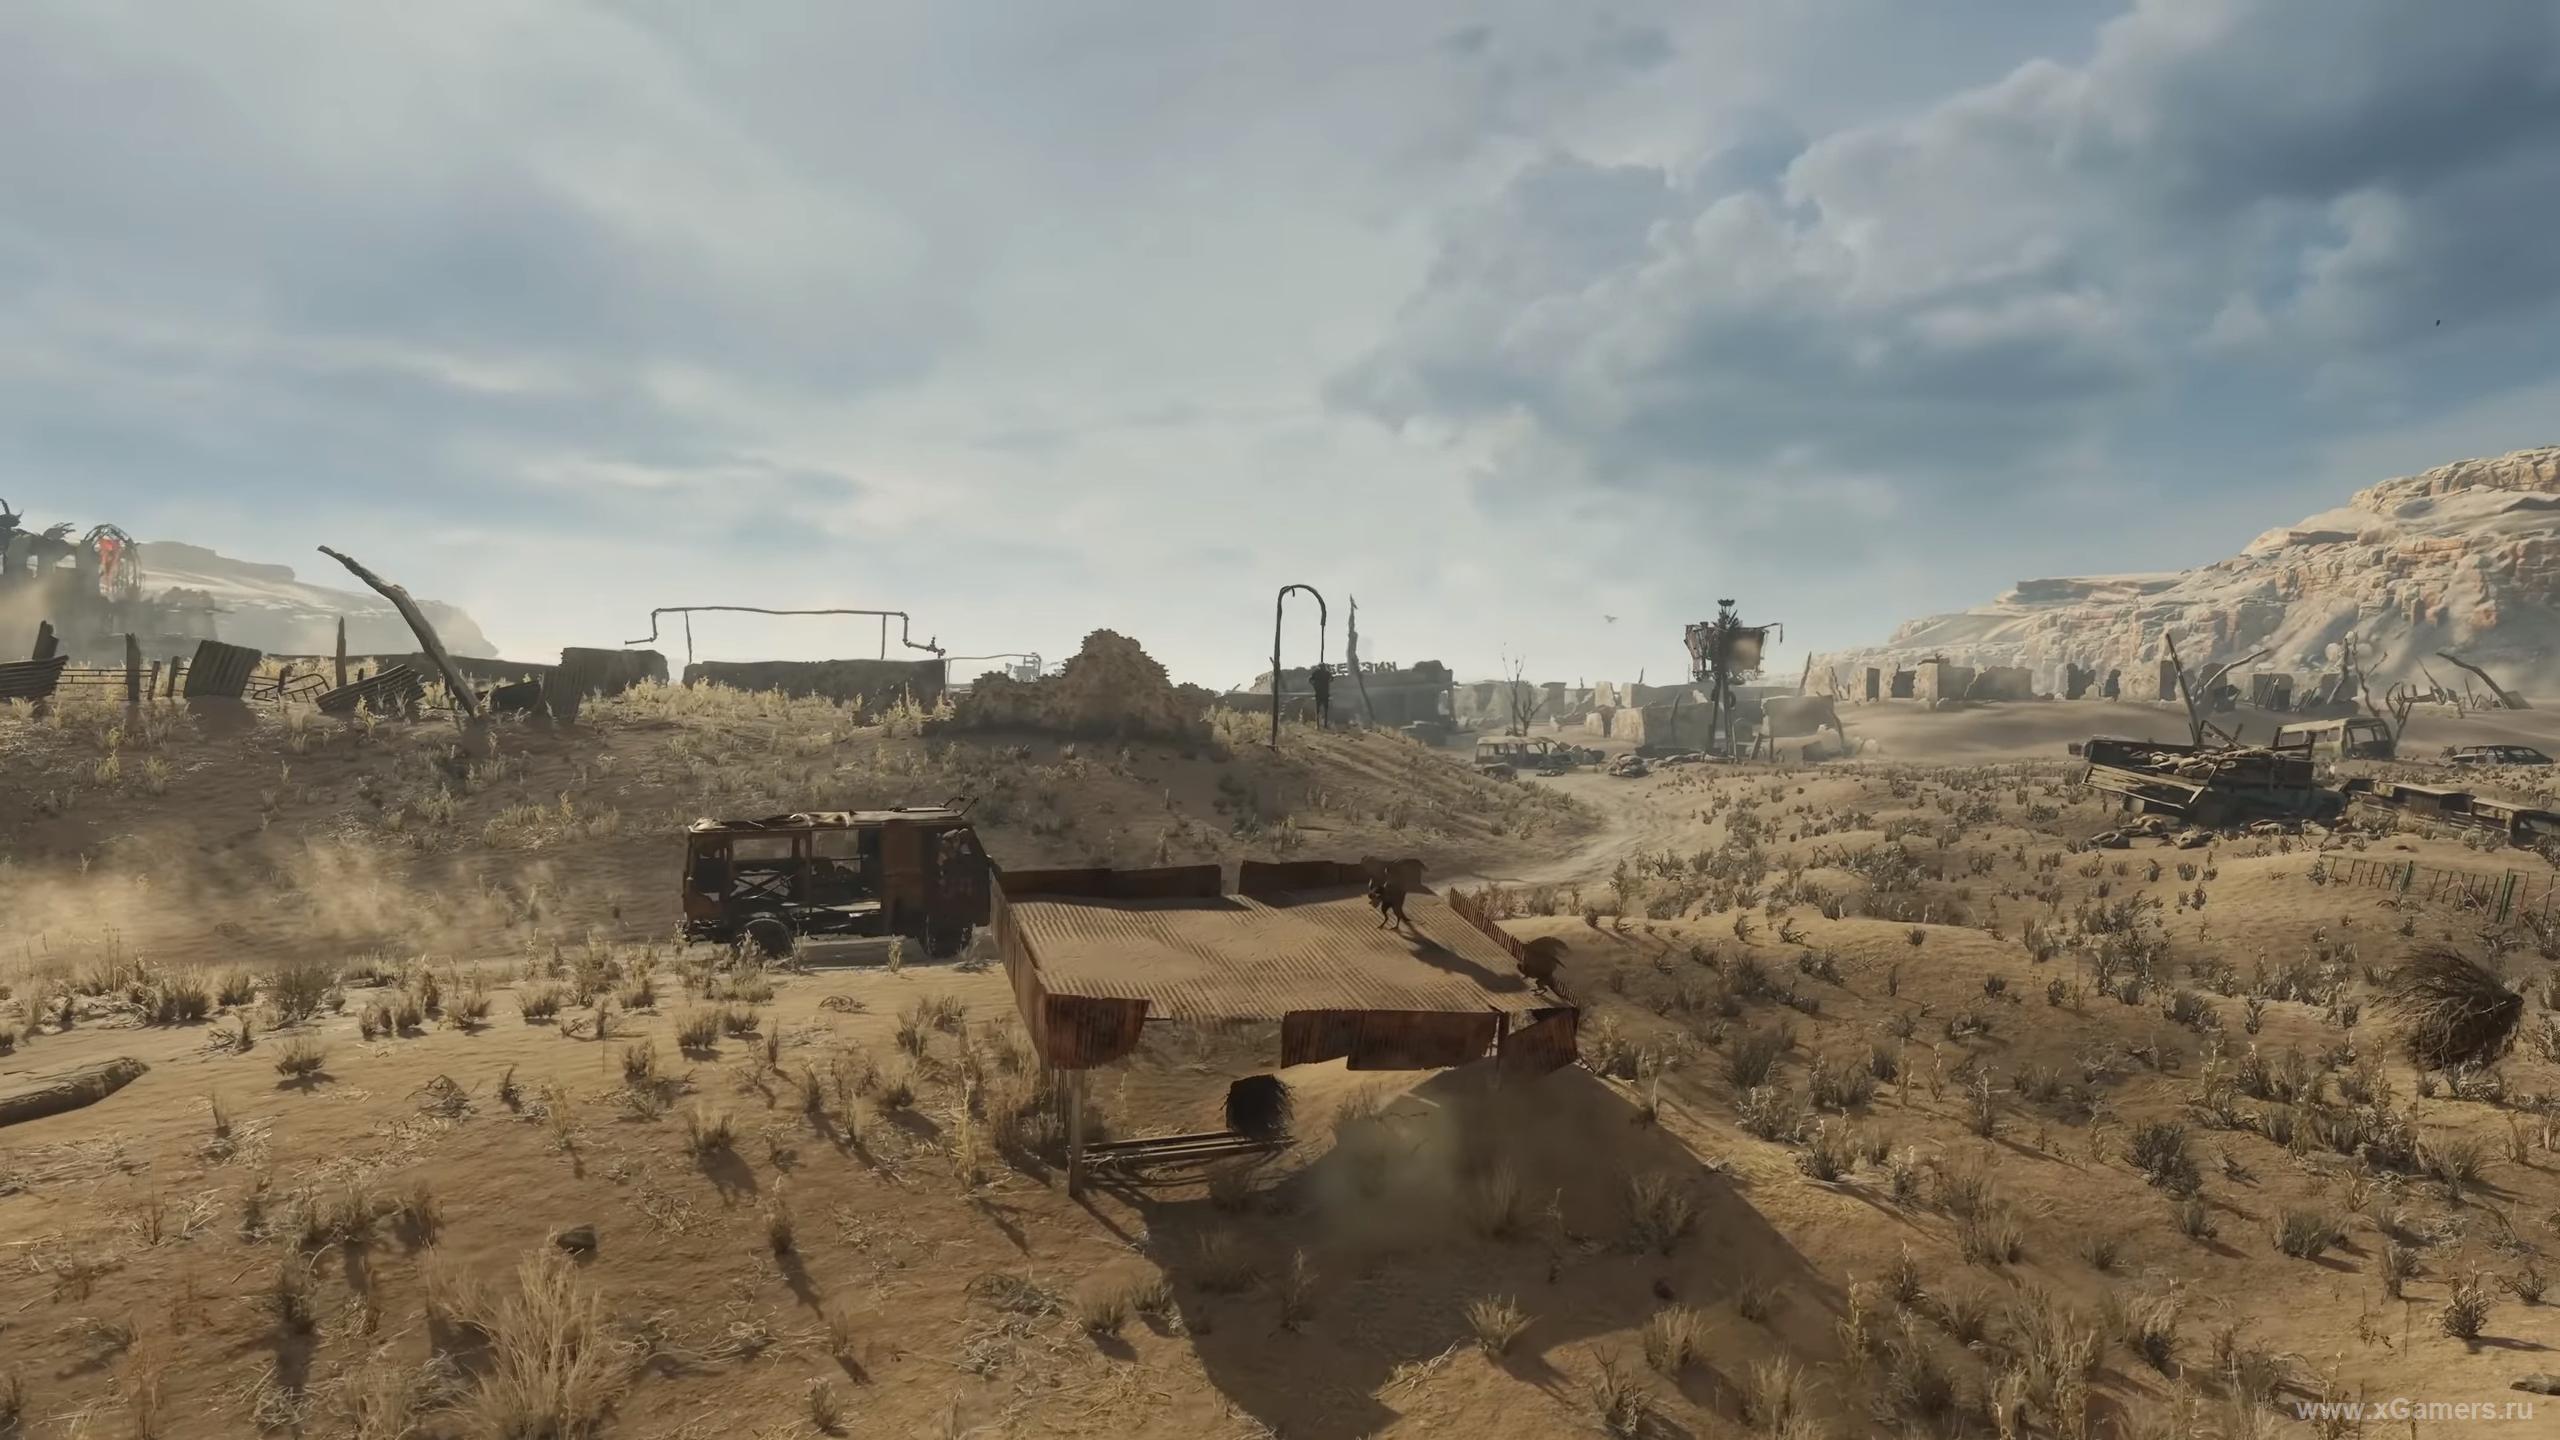
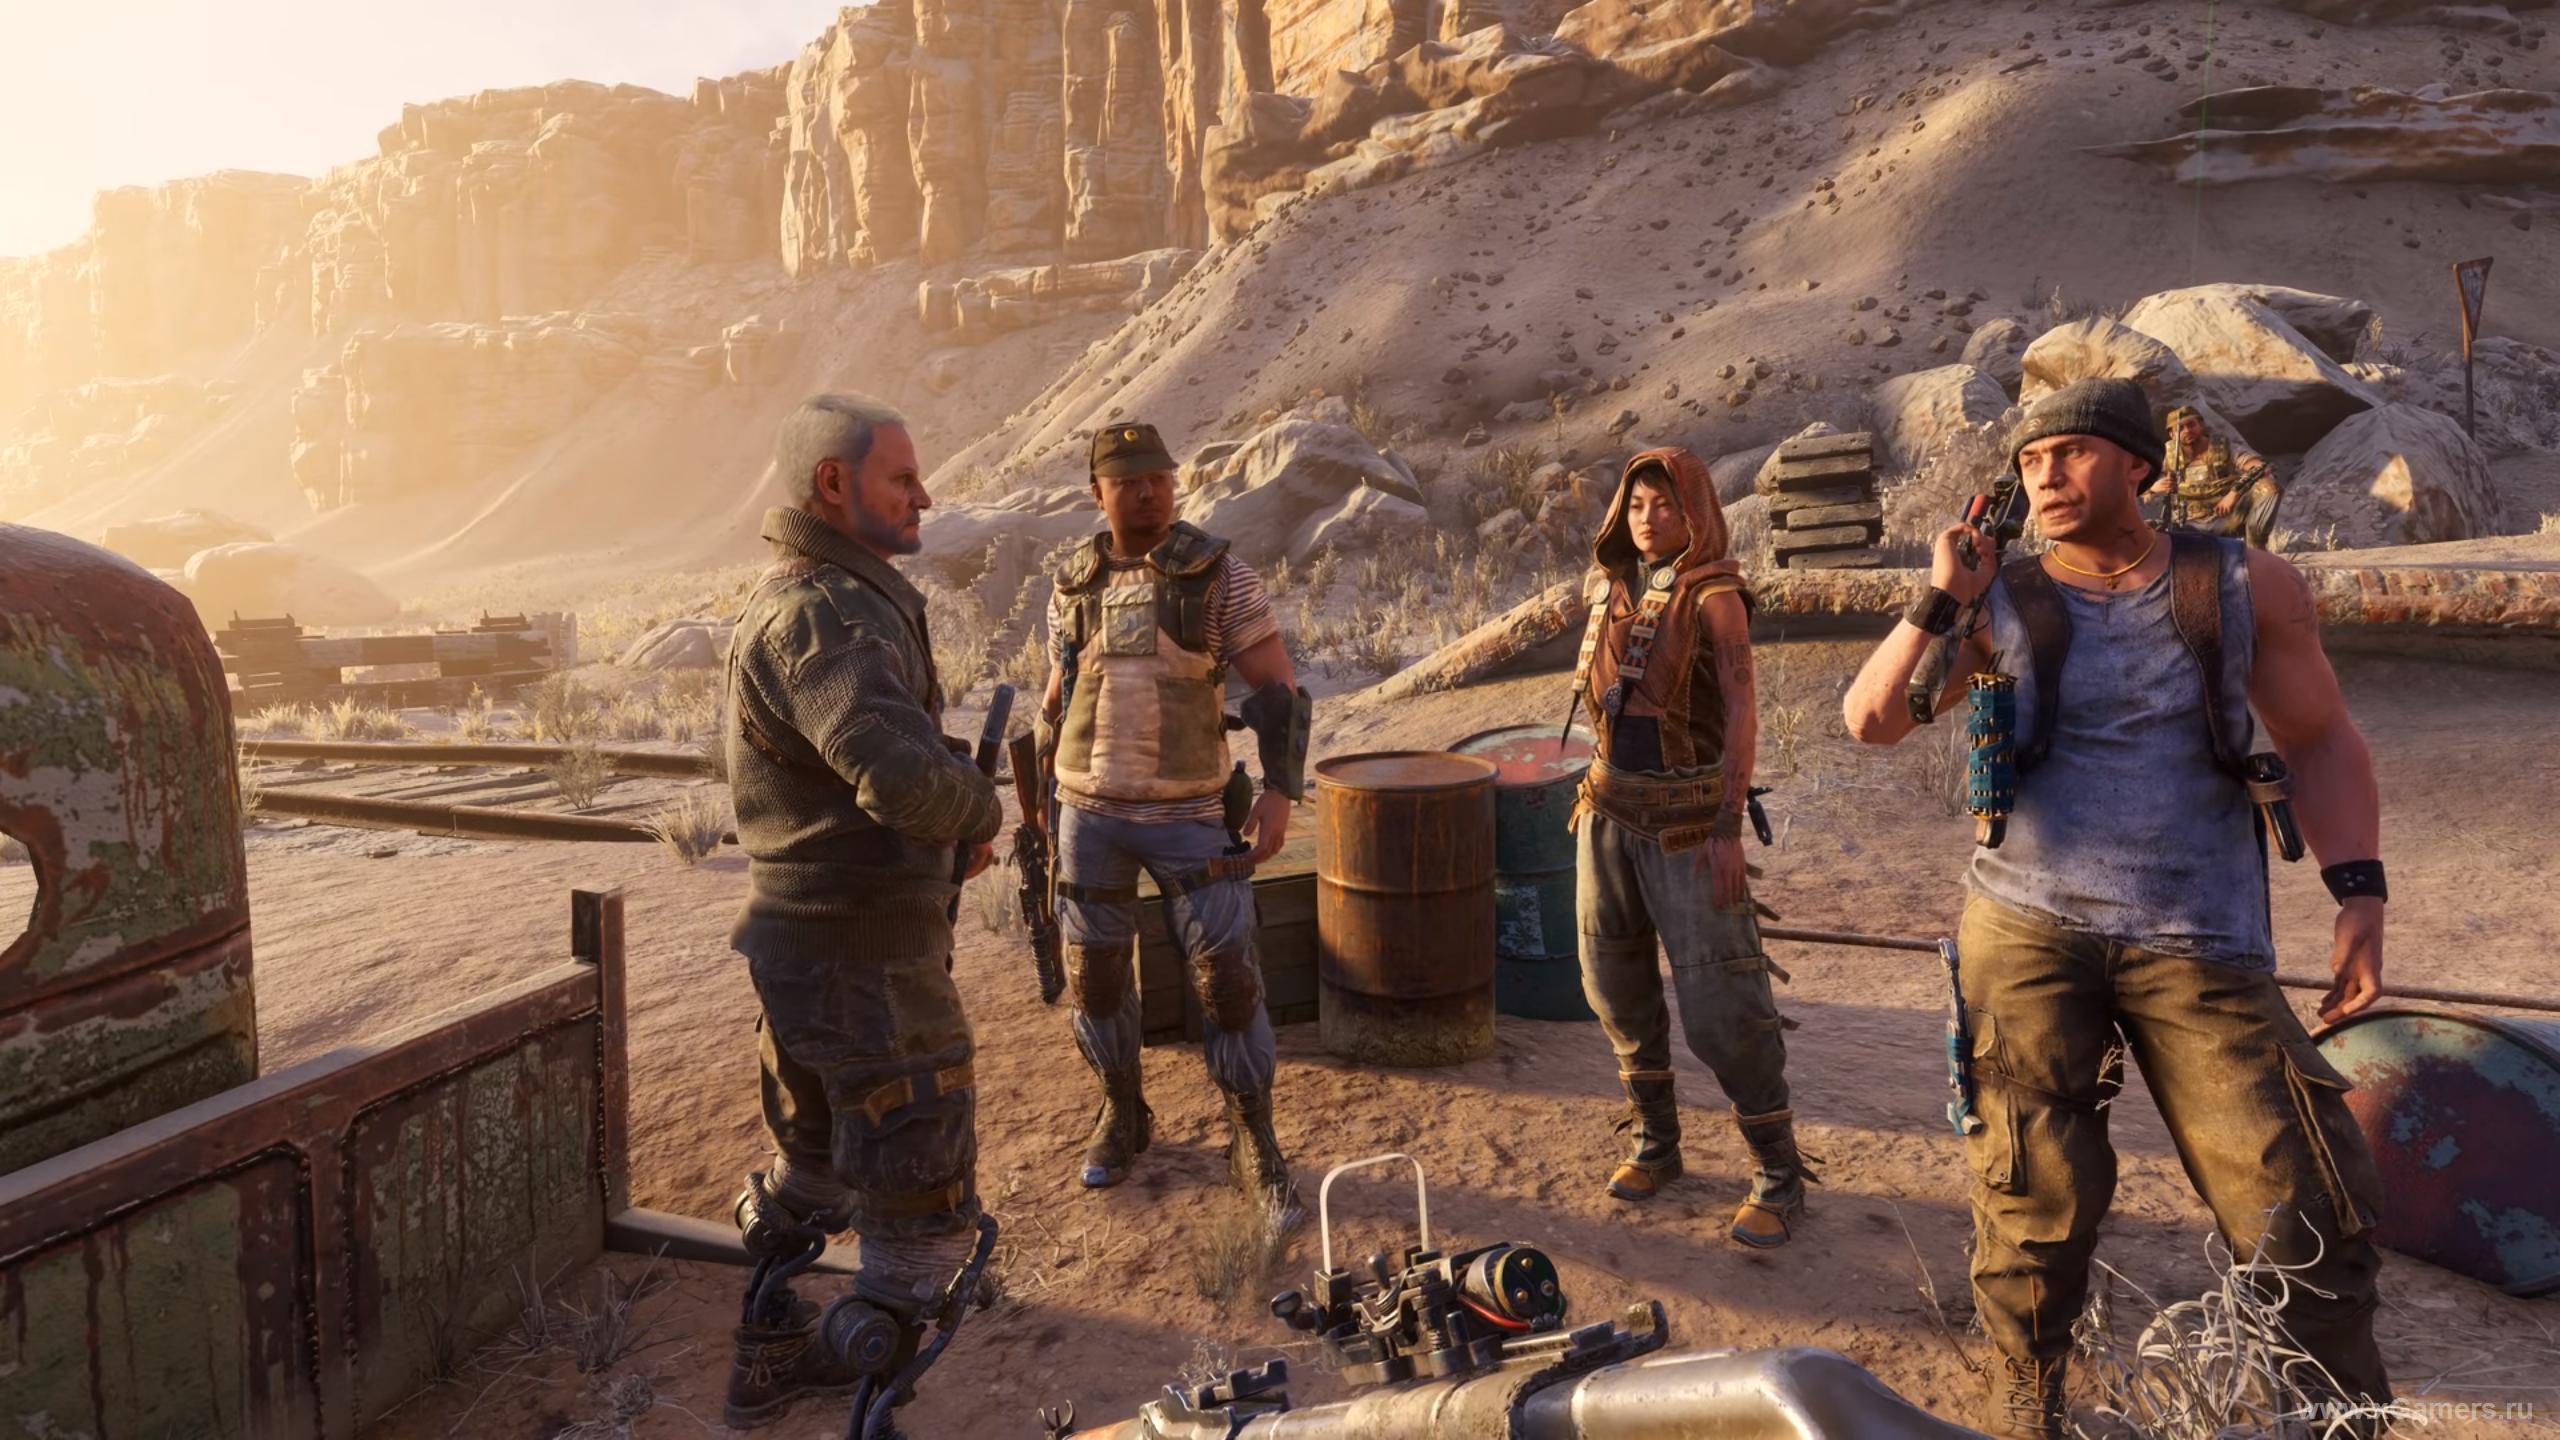
The sixth chapter, and our hero meets the “wasteland in the square” - not only that the world itself is now a continuous post-nuclear landscape, so the main characters have arrived in the real desert. And at the same time, what a visual contrast compared with the previous open location! From cold to heat - almost from fire and into the fire. However, it is very likely that it will literally turn out this way ... But, everything in order in our passage.
Mysterious Raiders or Mad Max
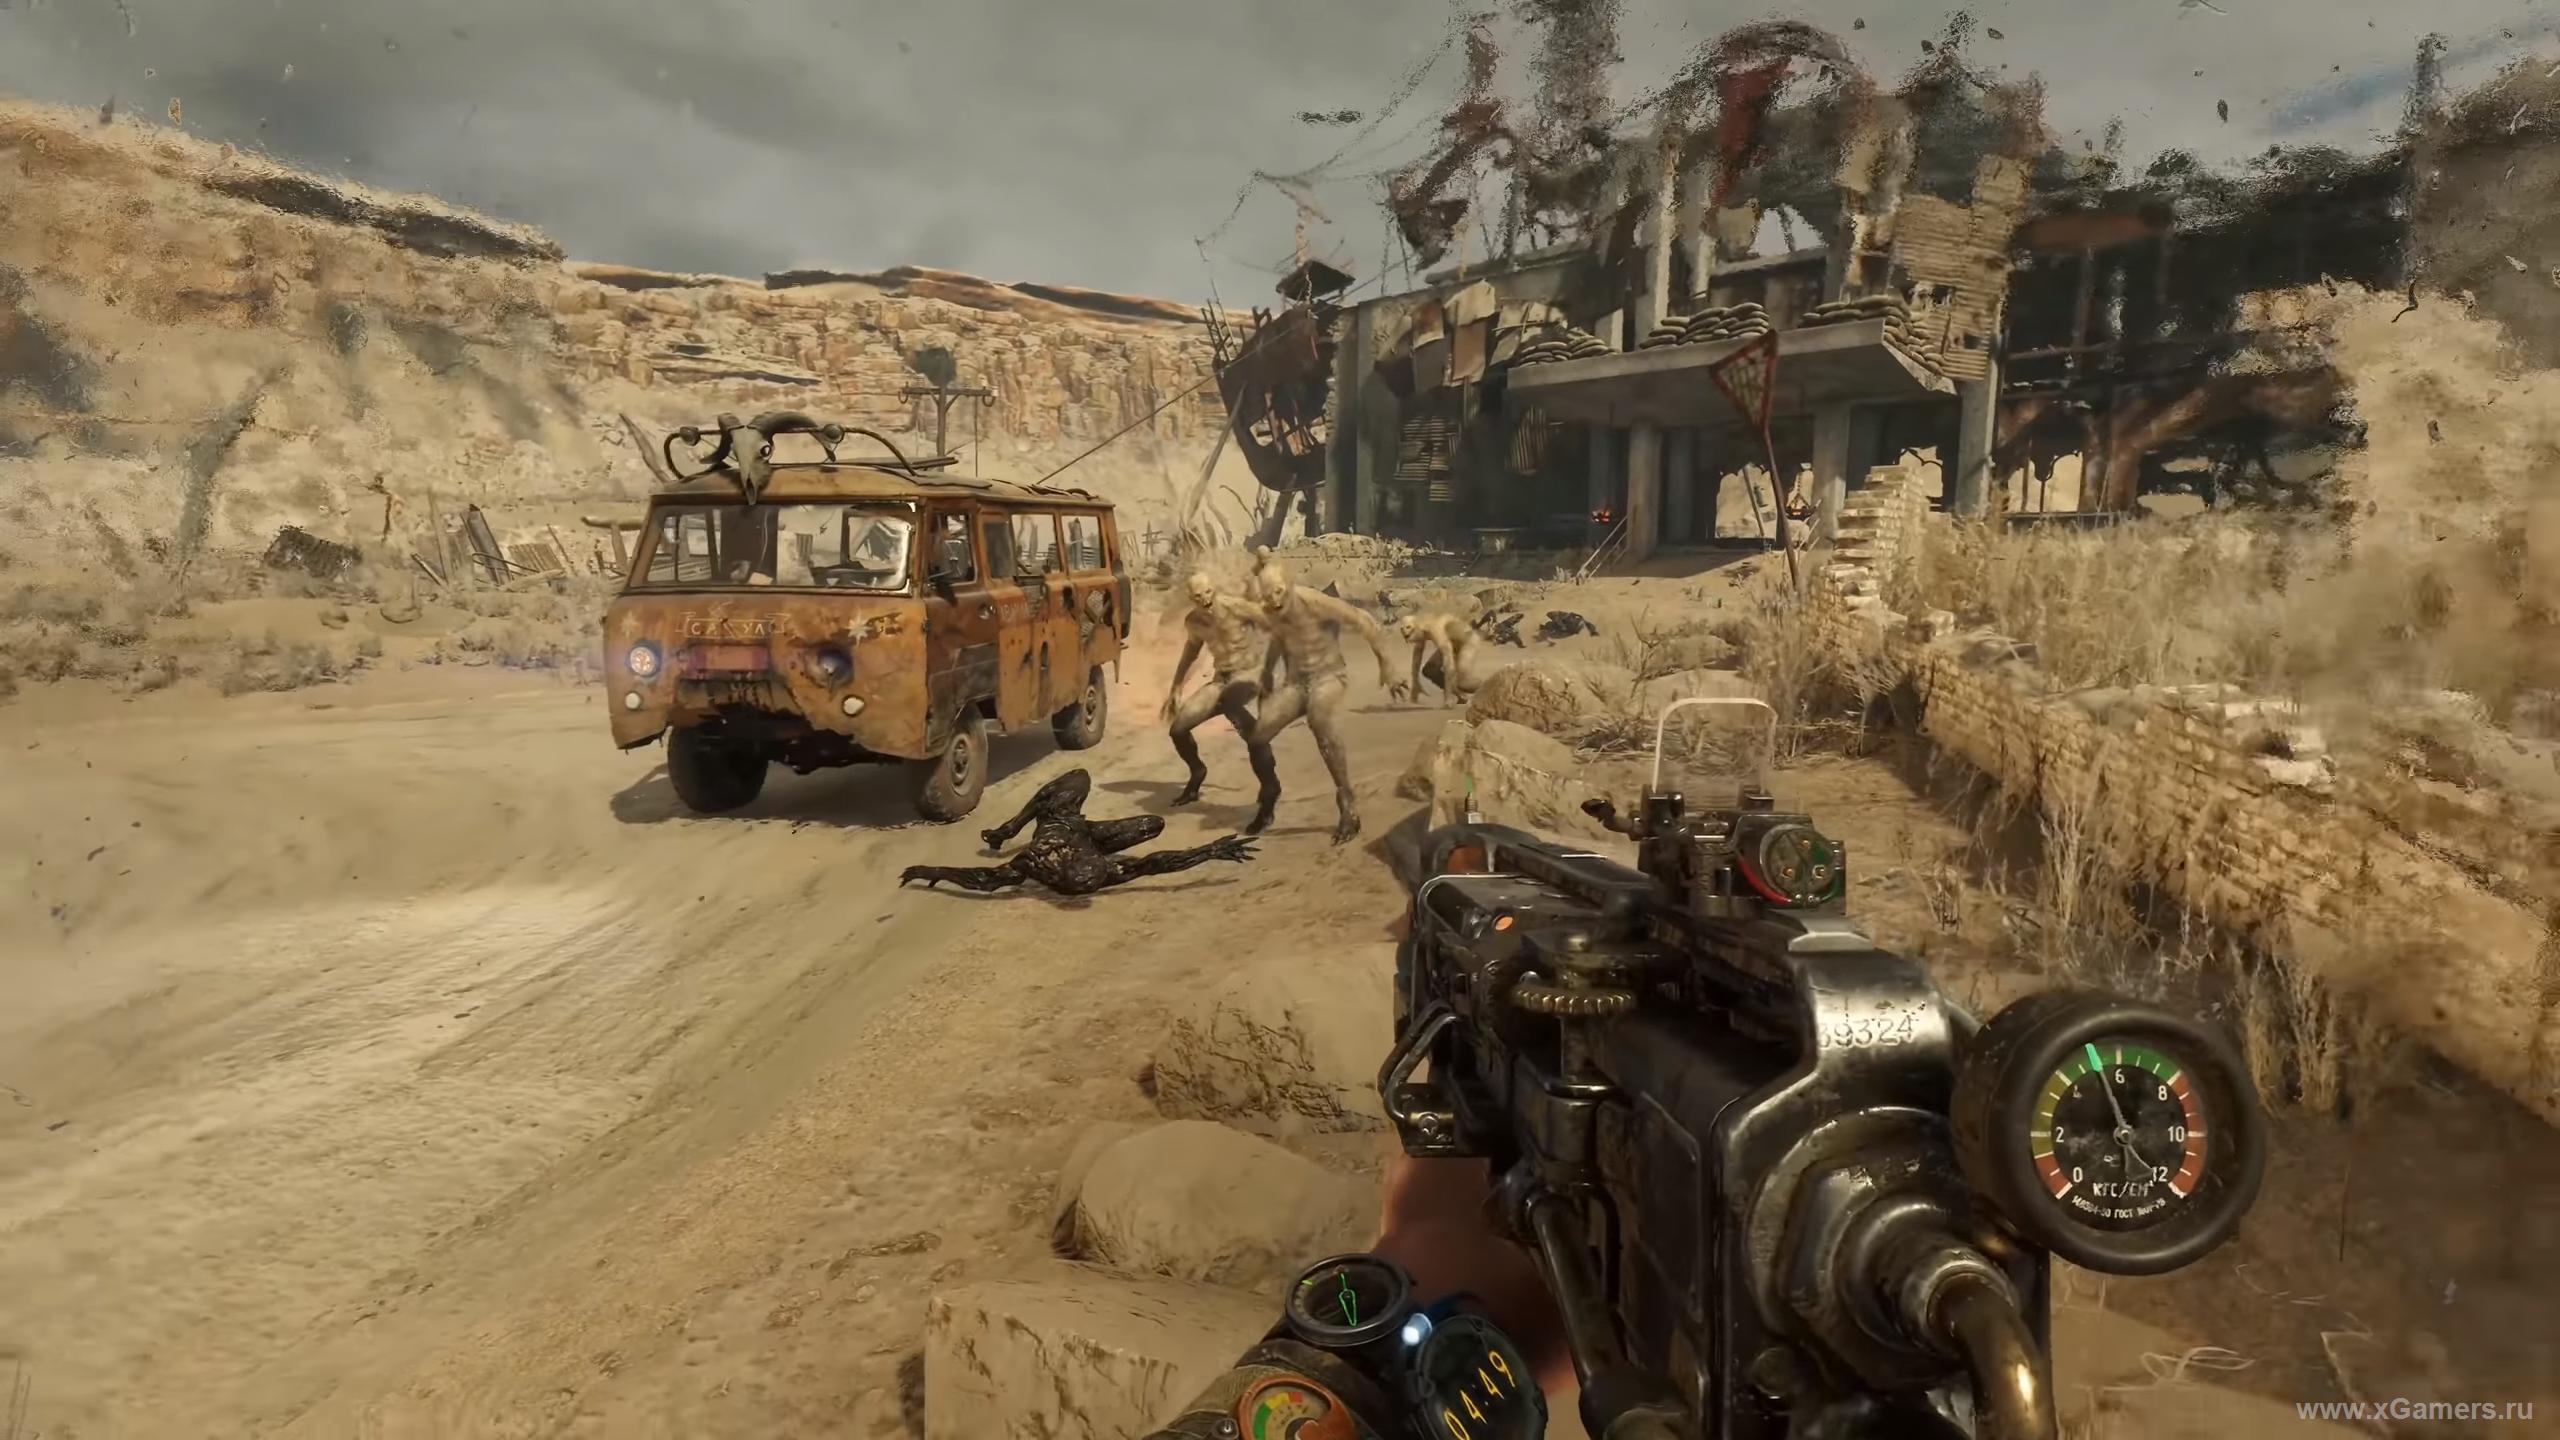
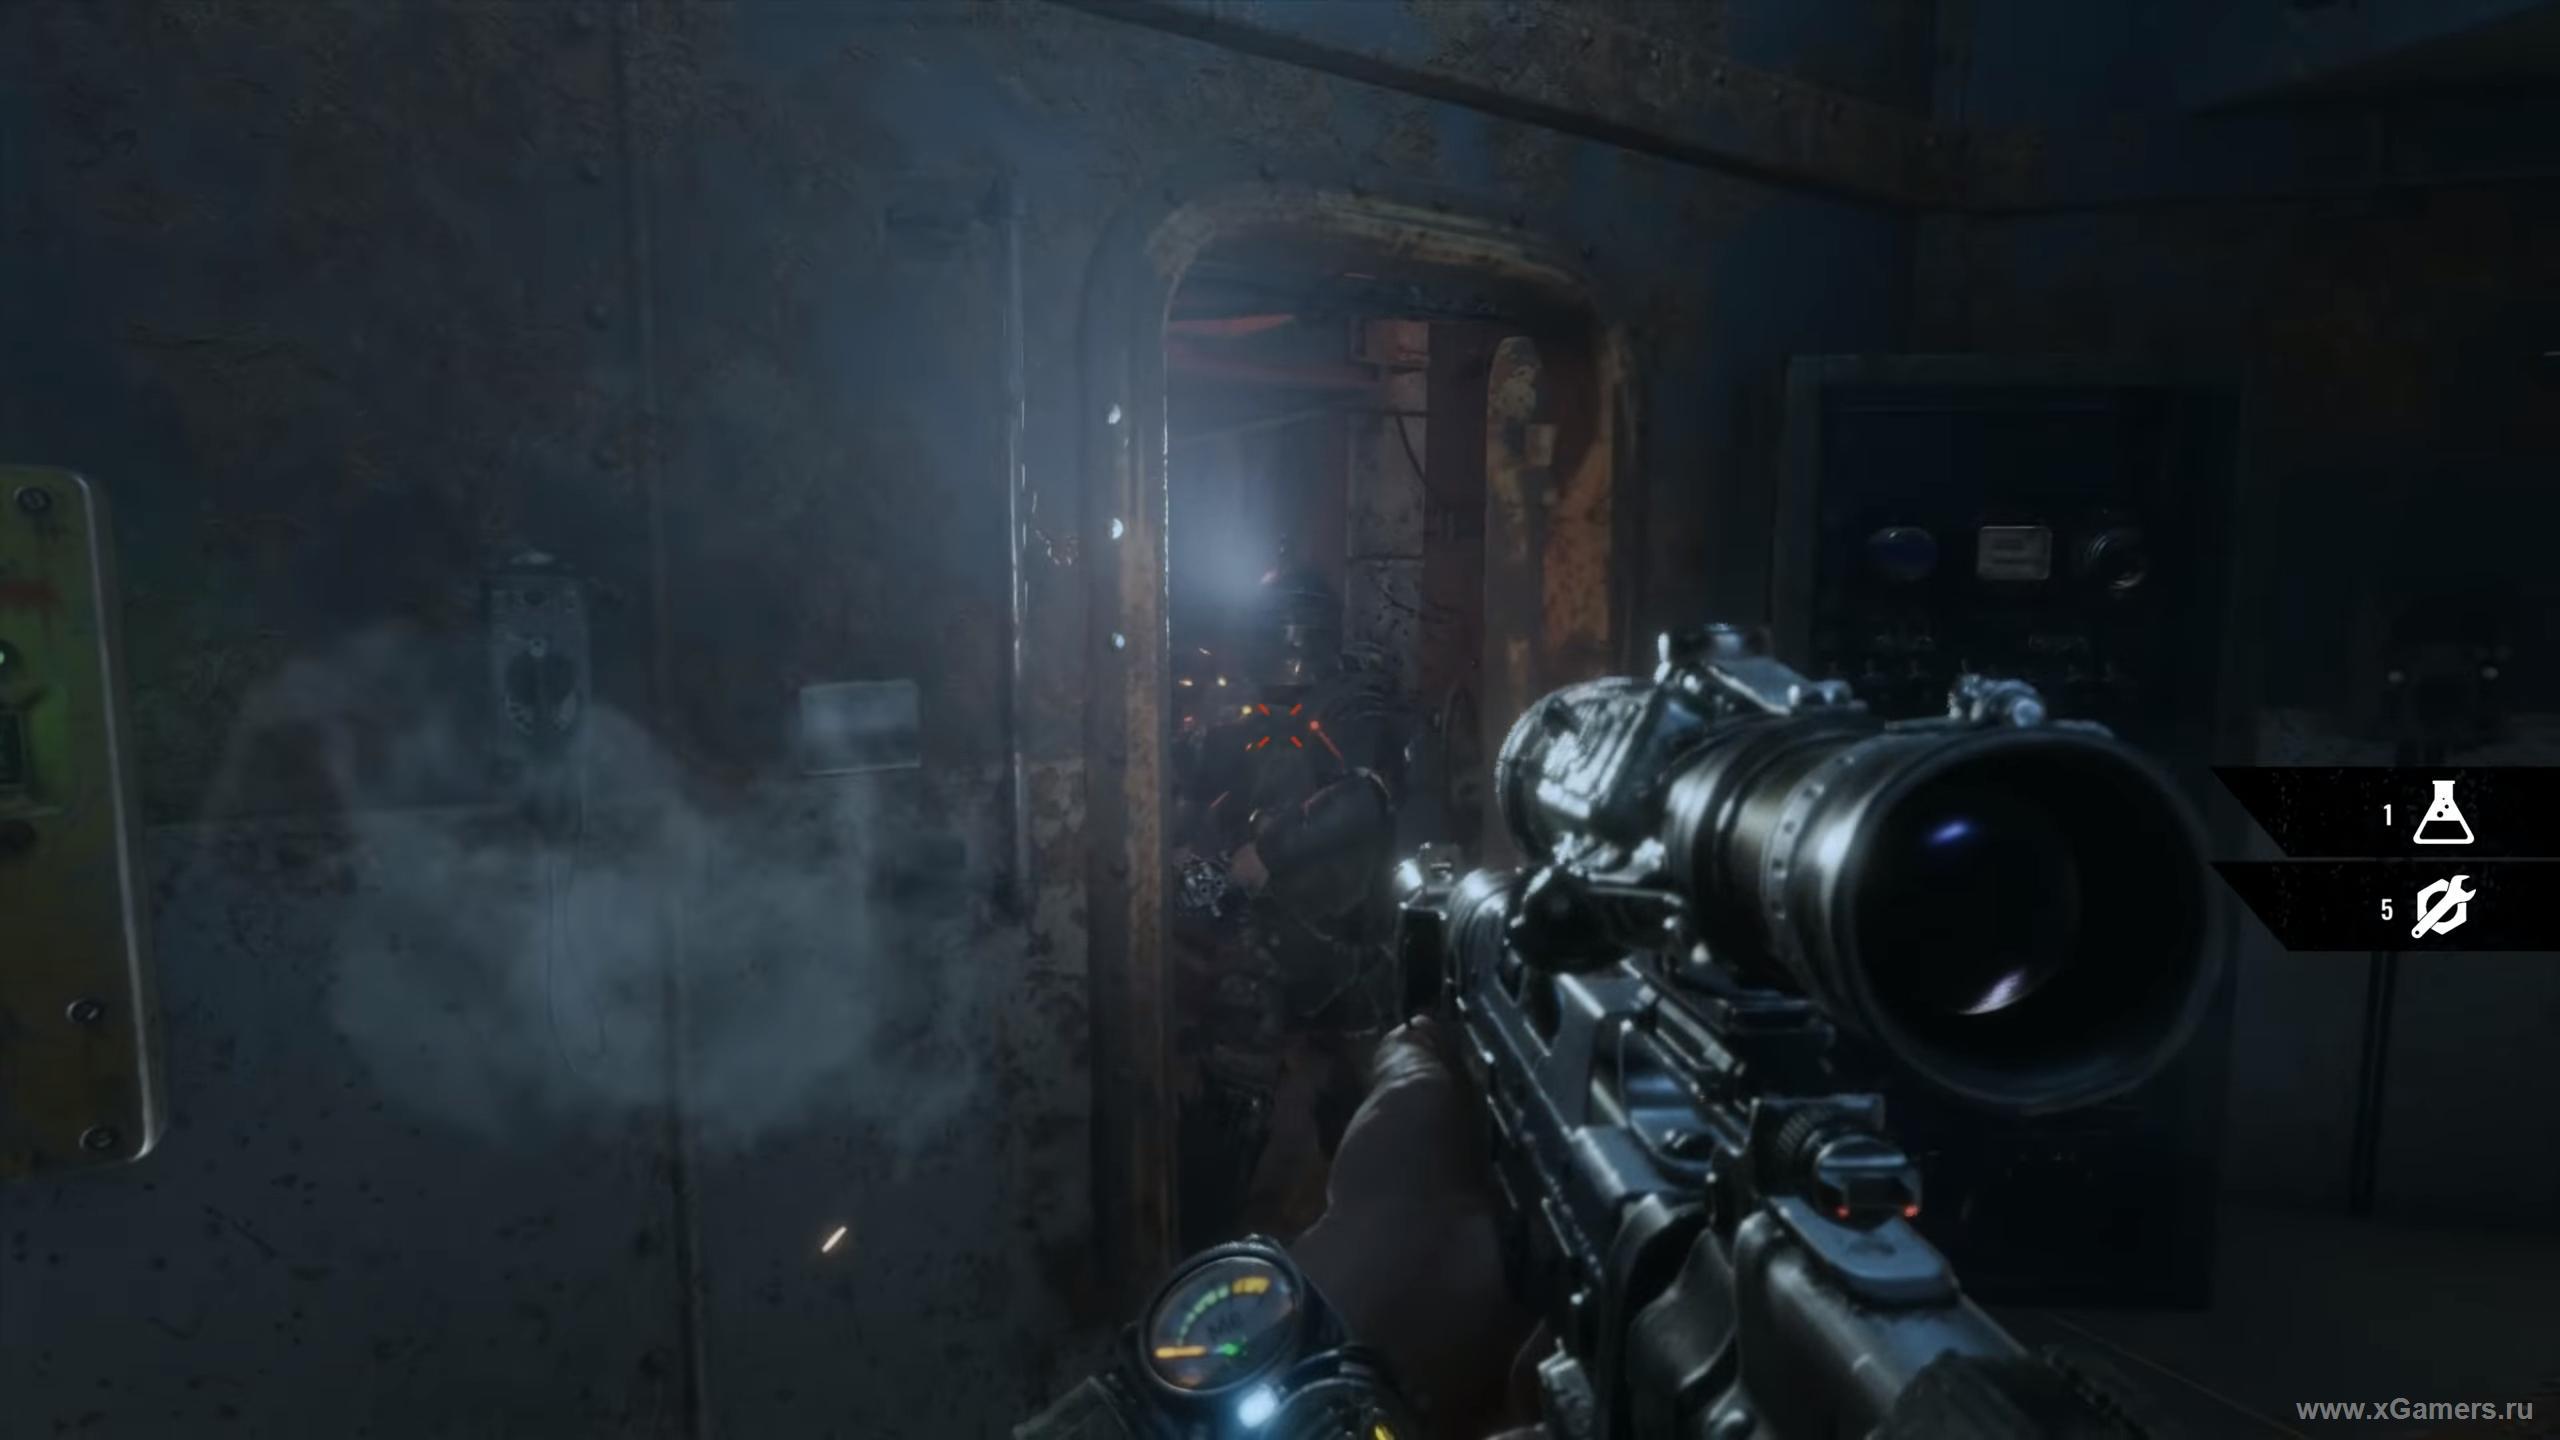
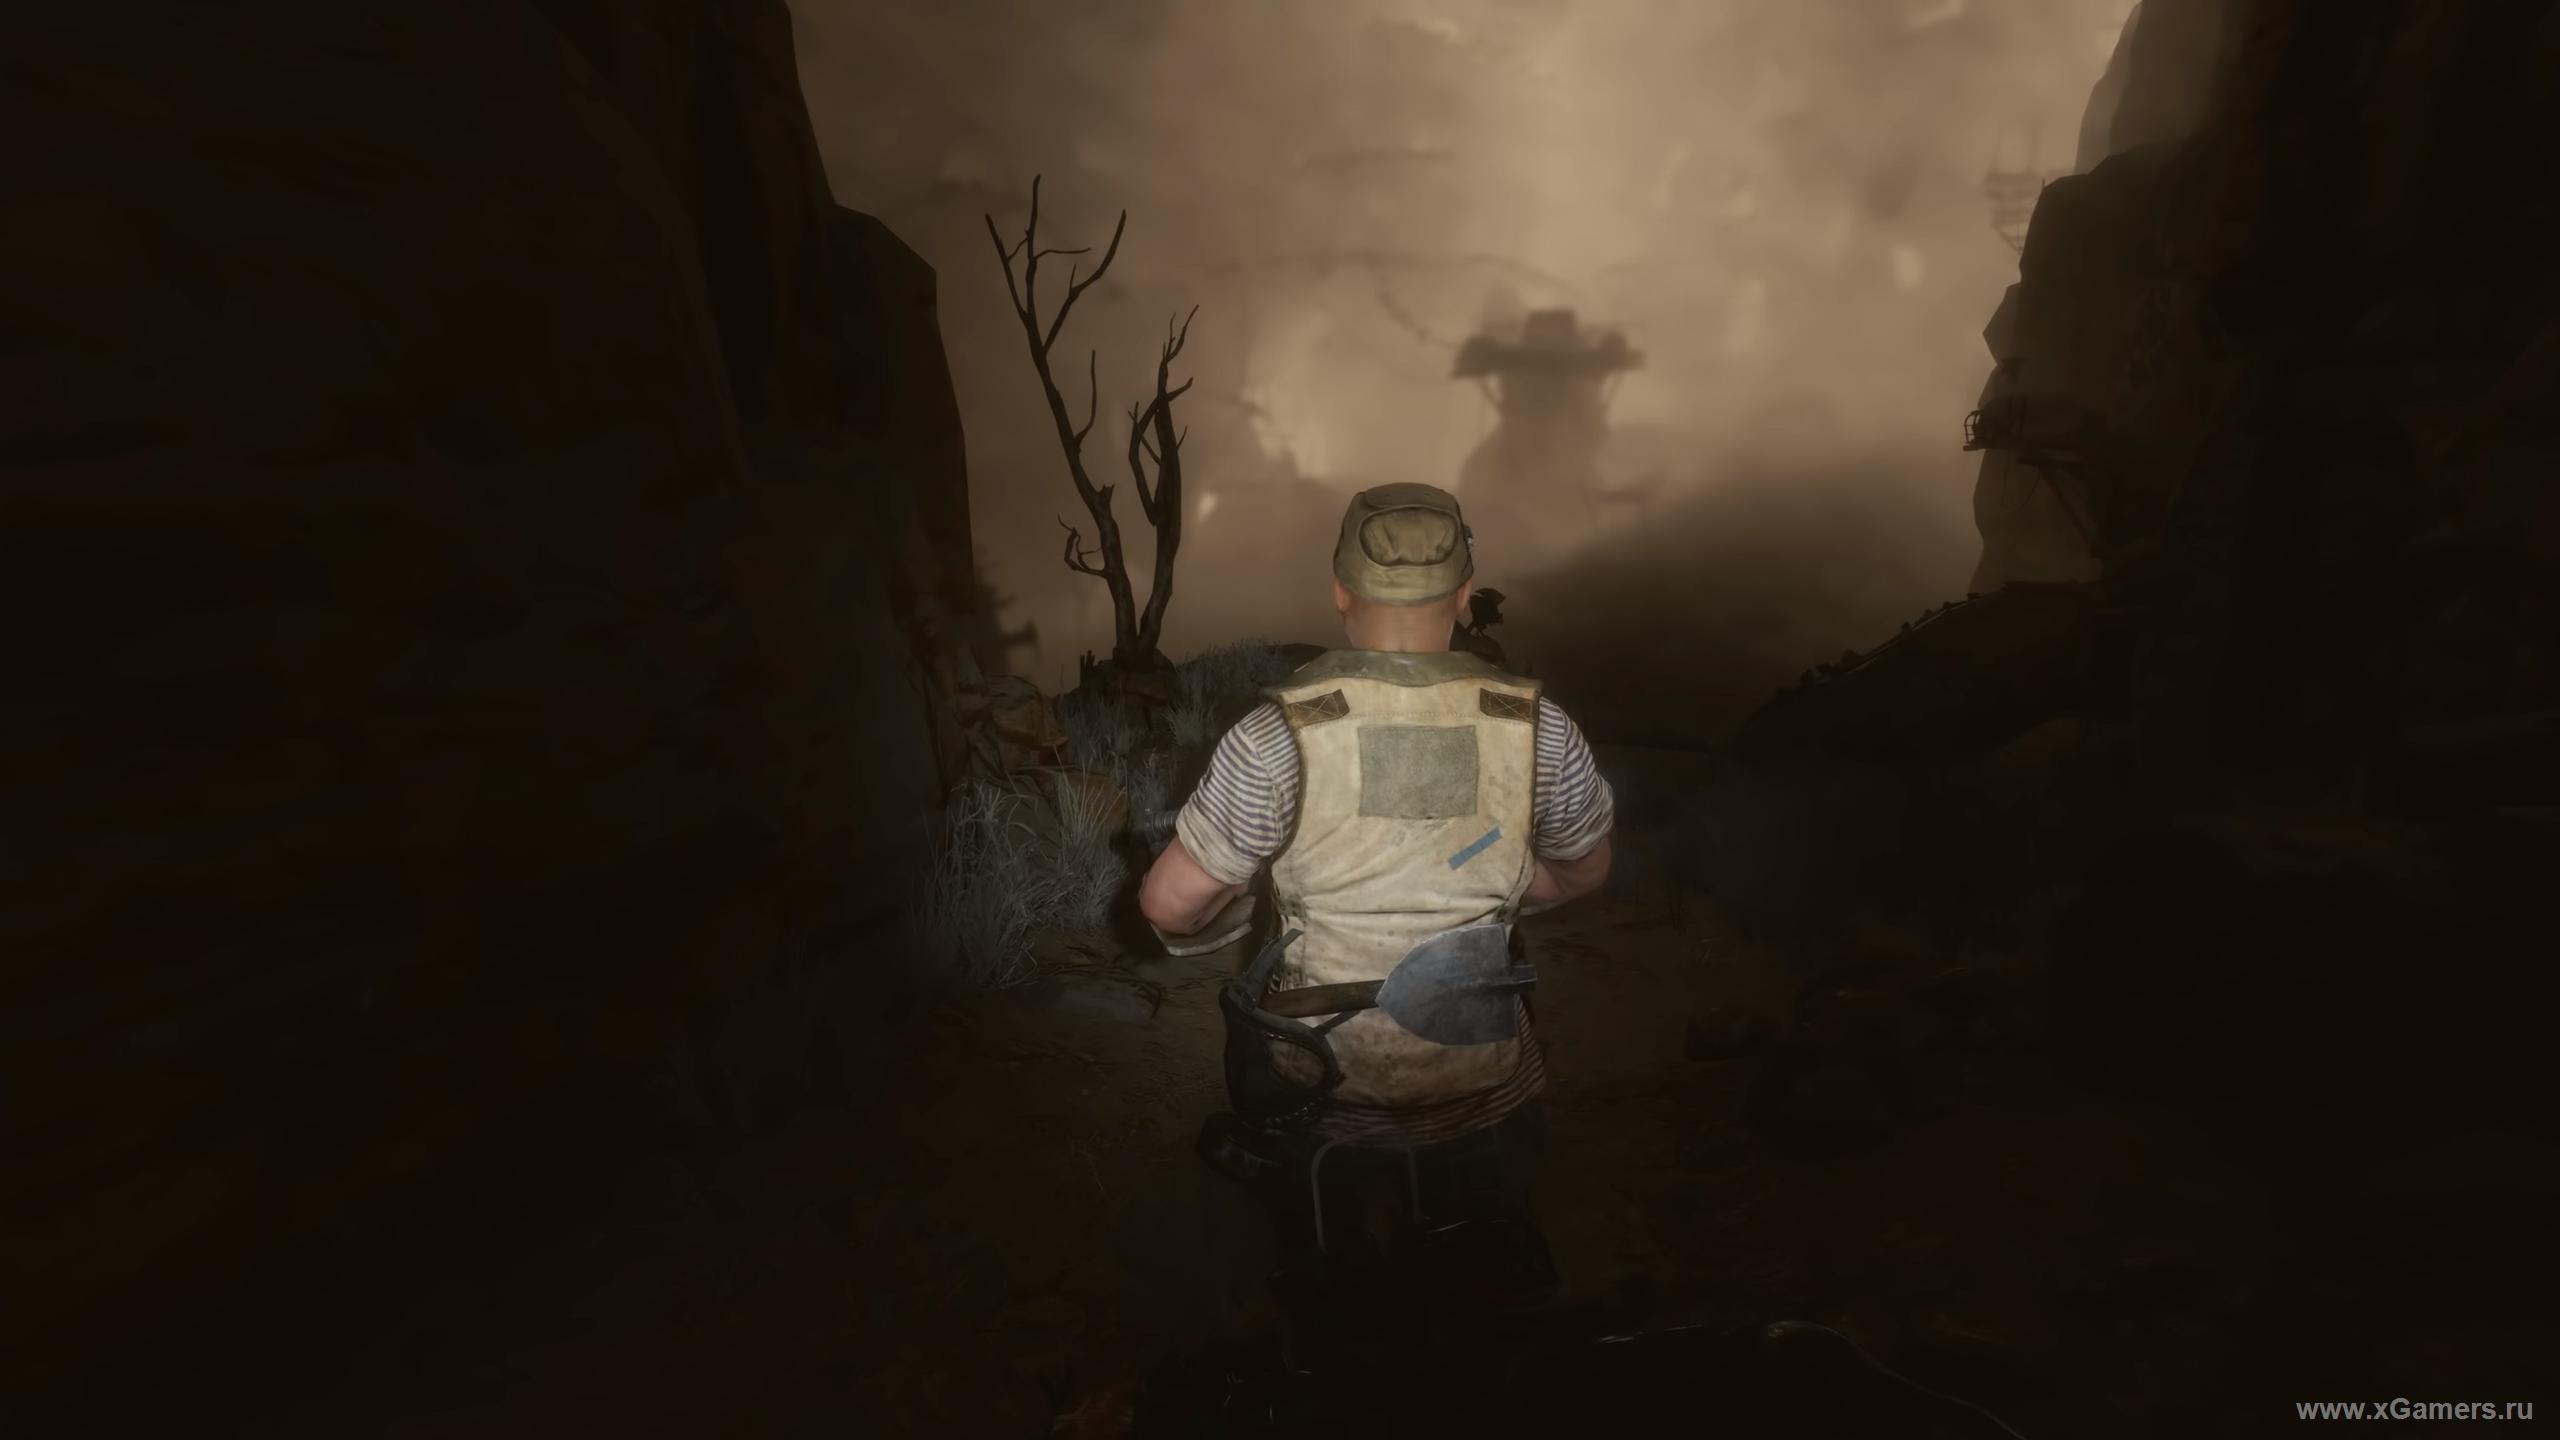
First of all, you need to attend to the replenishment of ammunition and ammunition. Given the meat grinder through which the protagonist missed in the fifth chapter, it is likely that with this you now have small (or large, depending on the level of complexity) problems. However, the resources for crafting should be quite enough in abundance. And this should be addressed immediately, as soon as the cutscenes are over. As soon as you have stocked up with everything you need, follow the mark on the map towards the nearest village. When you get to it, nature itself will meet you very unfriendly. Therefore, nothing remains but to fasten a gas mask and go inside the building. There are already waiting for you three monsters on the second floor. Knowing this, you can take care of them in advance, having treated you with something burning — for example, a Molotov cocktail.
After that, continue up to the roof of the building. There the enemy will be waiting for you. Be careful! This is one of the moments where you can get a plus to karma if you don’t kill it. This will bring you closer to a good ending, and, accordingly, to a bad one if you kill. One way or another, having made a decision, take the handle from the car door, then get out of there and go to the friend on the wheels. You can ignore opponents, just reach the cabin and click the interaction button. This will lead to the cutscene trigger, in which Damir will colorfully kill the “chameleons” around.
Total, you got a private car! By the standards of the Caspian Sea - a real luxury!
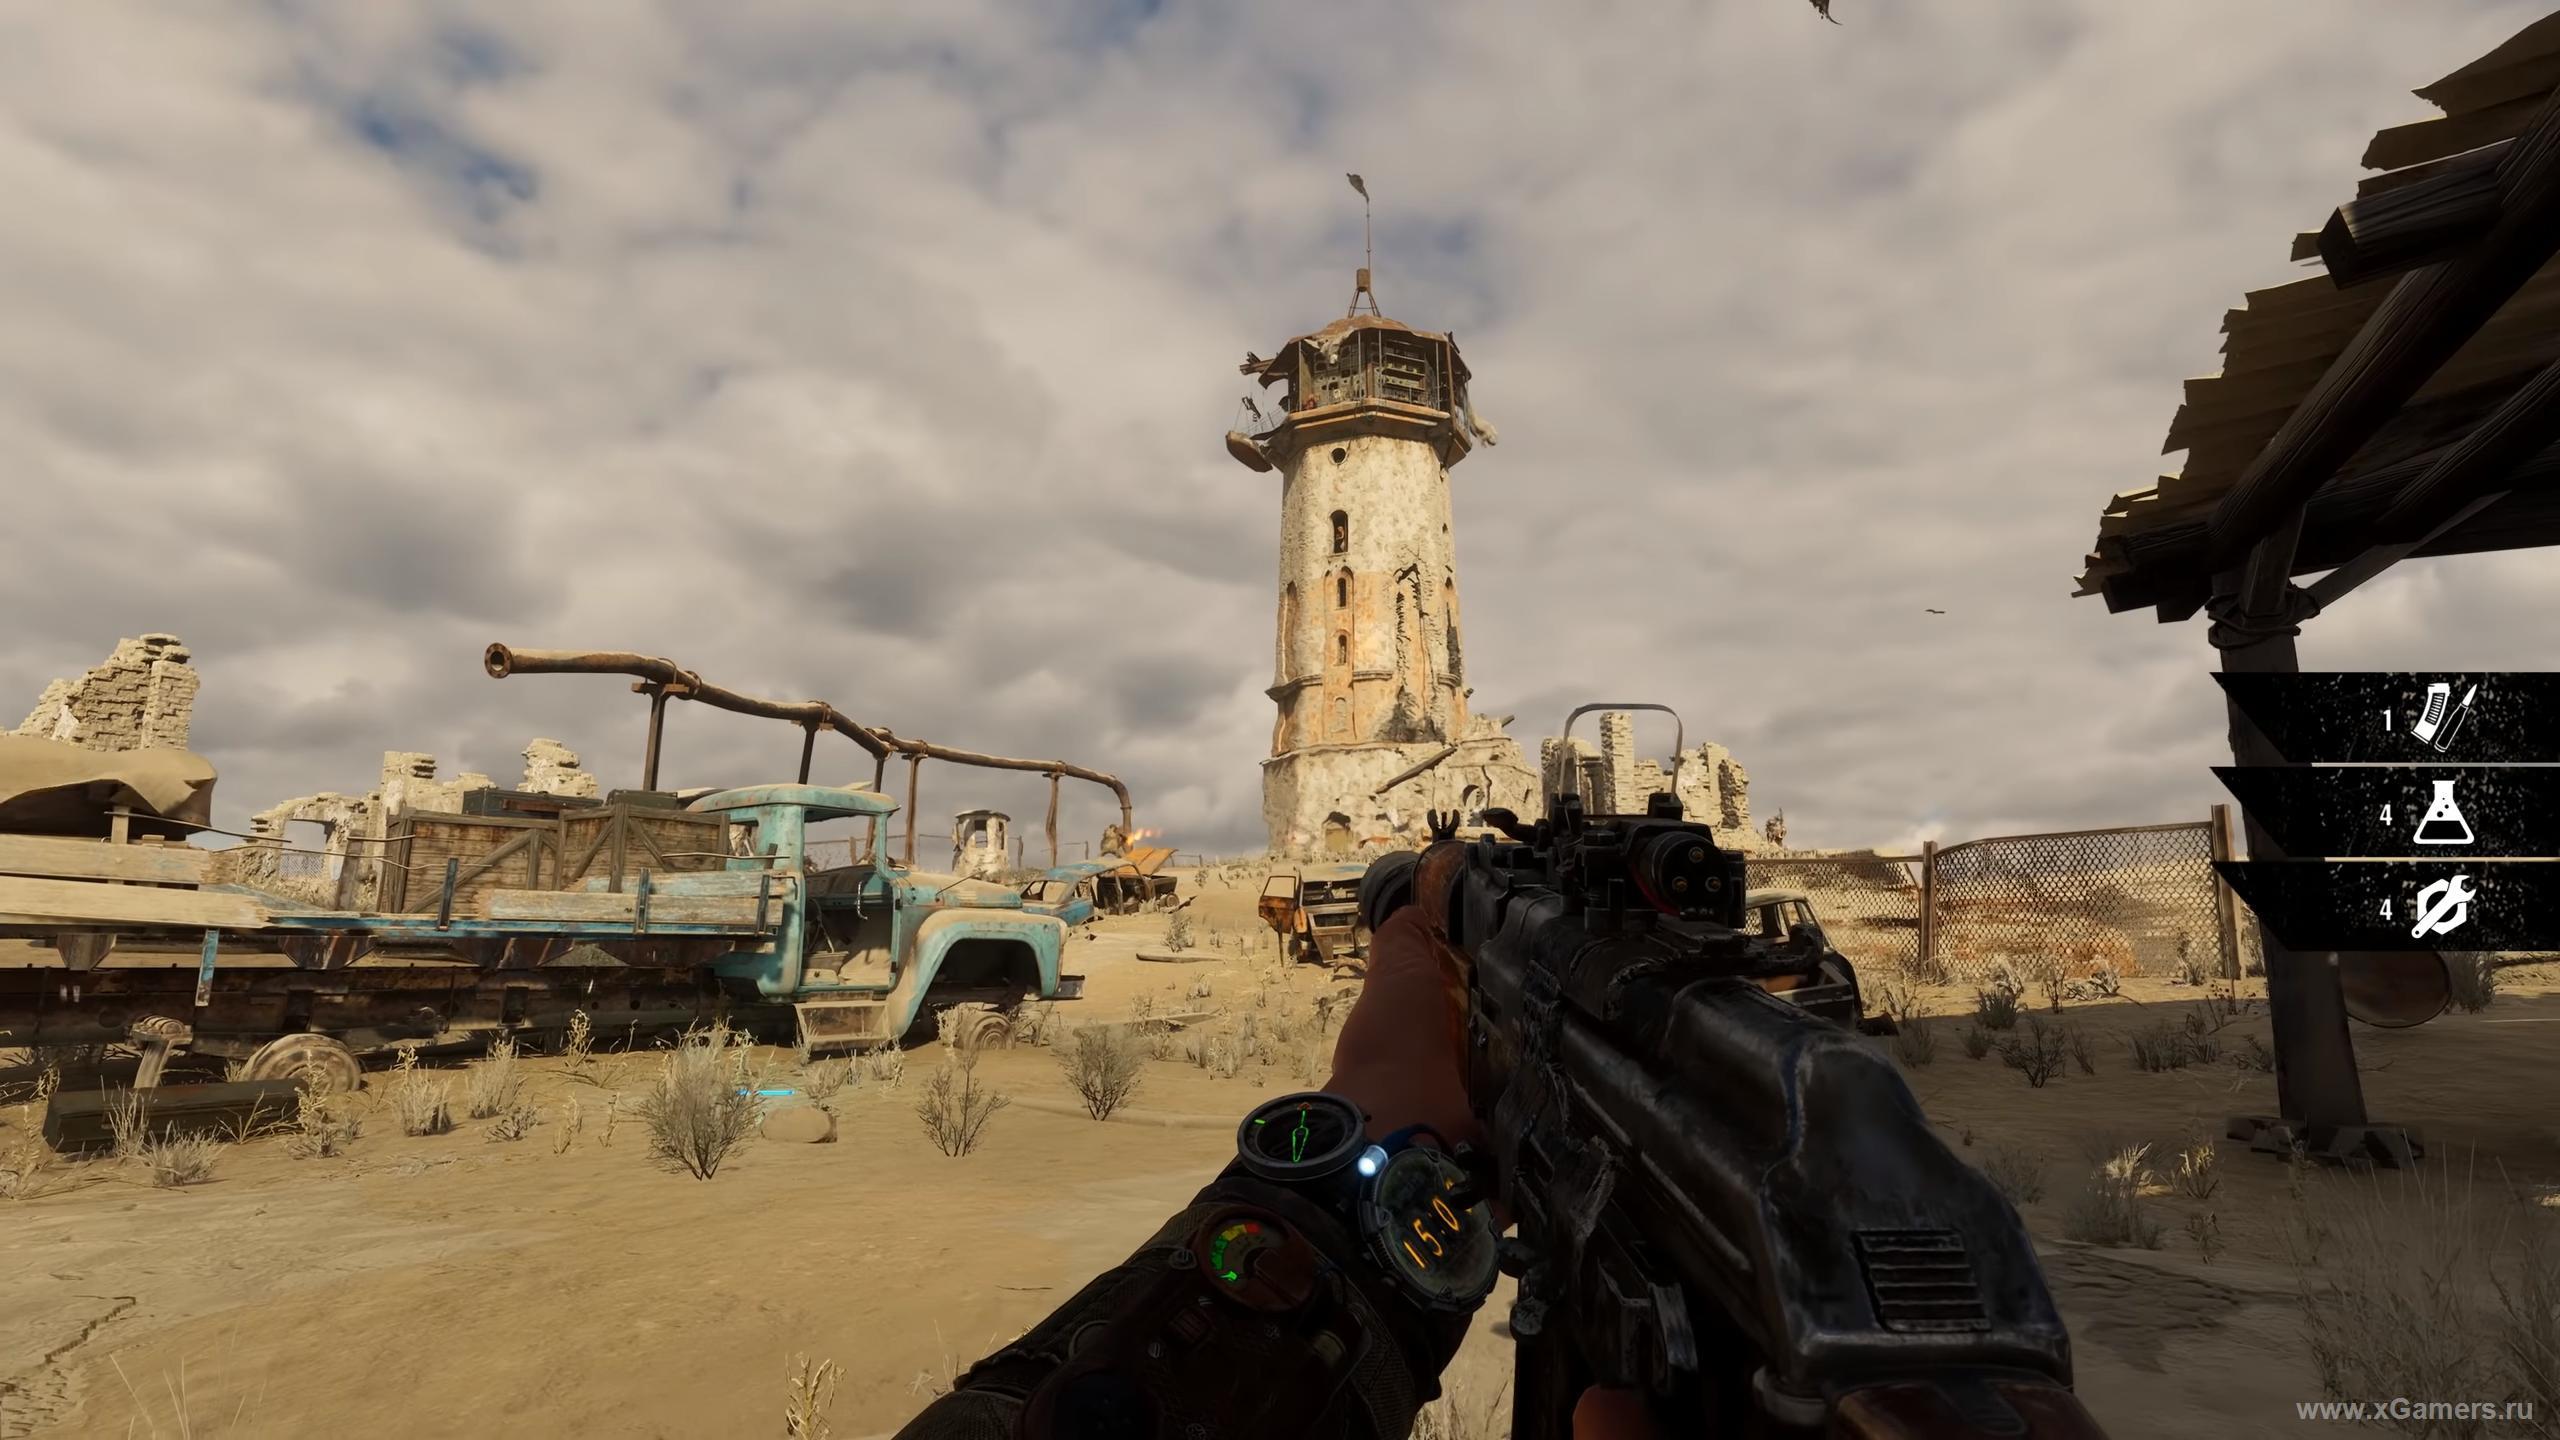
The goal is a lighthouse, or to save Private Gul!
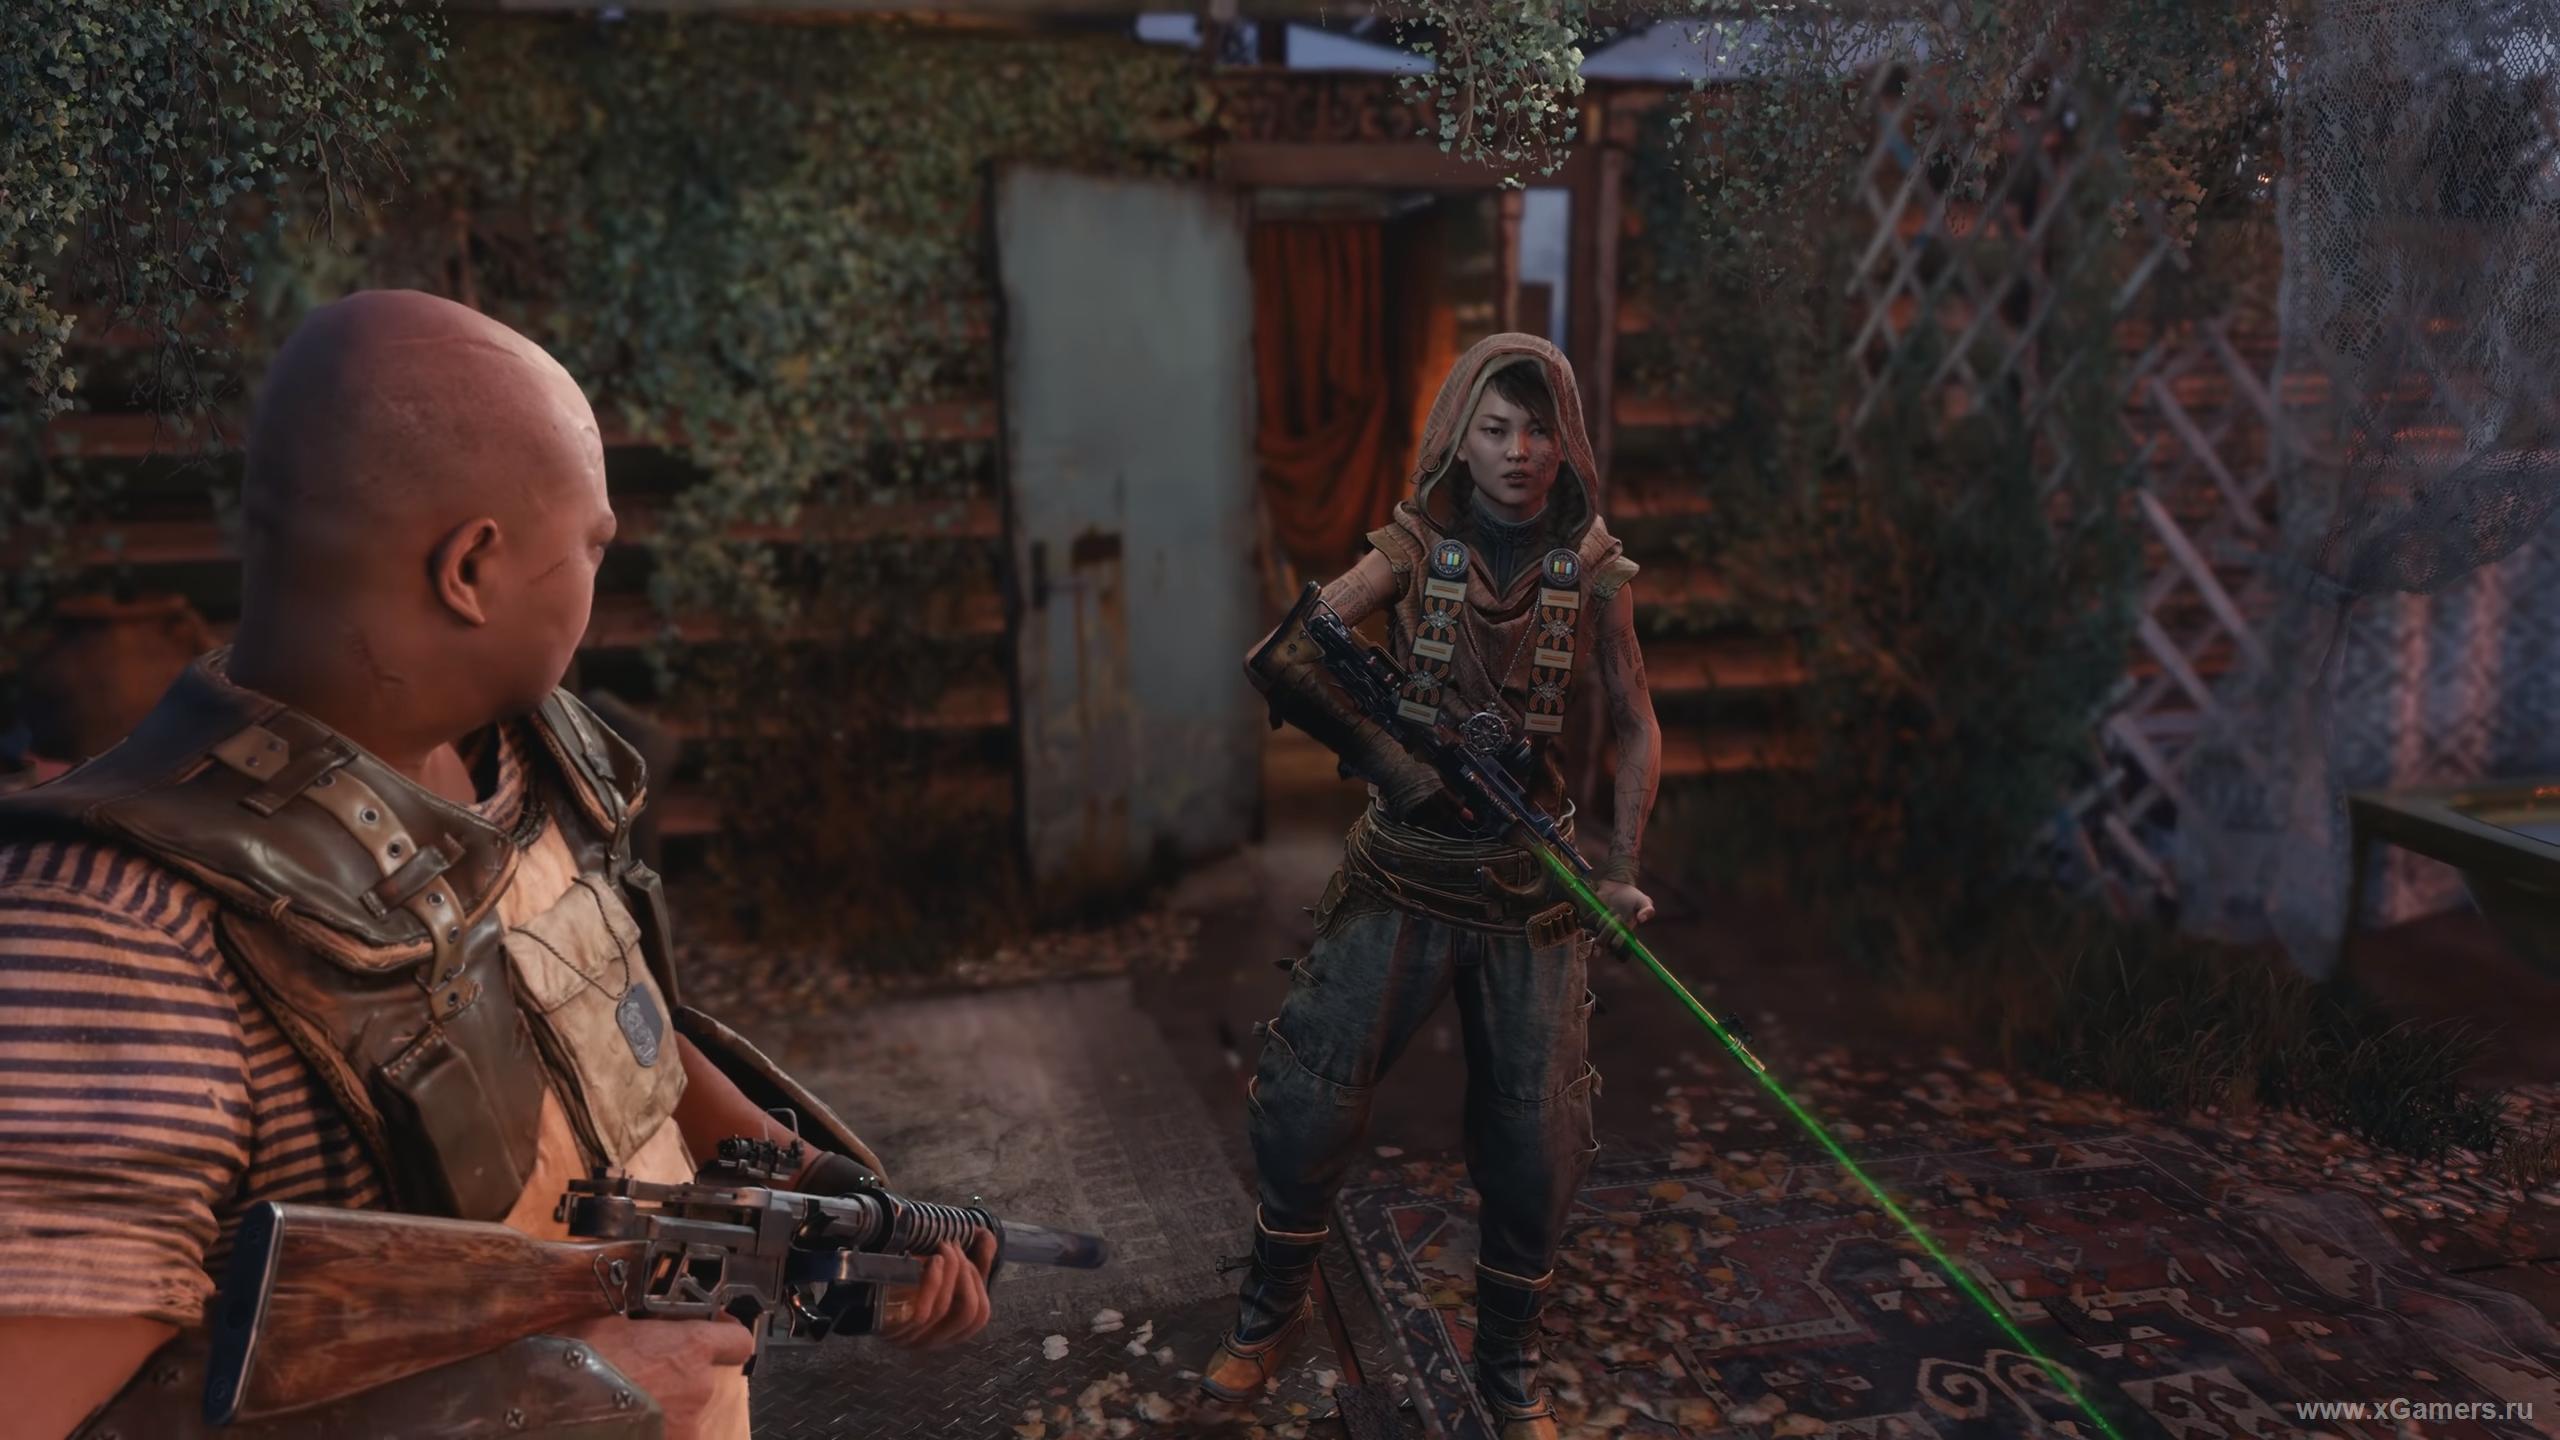
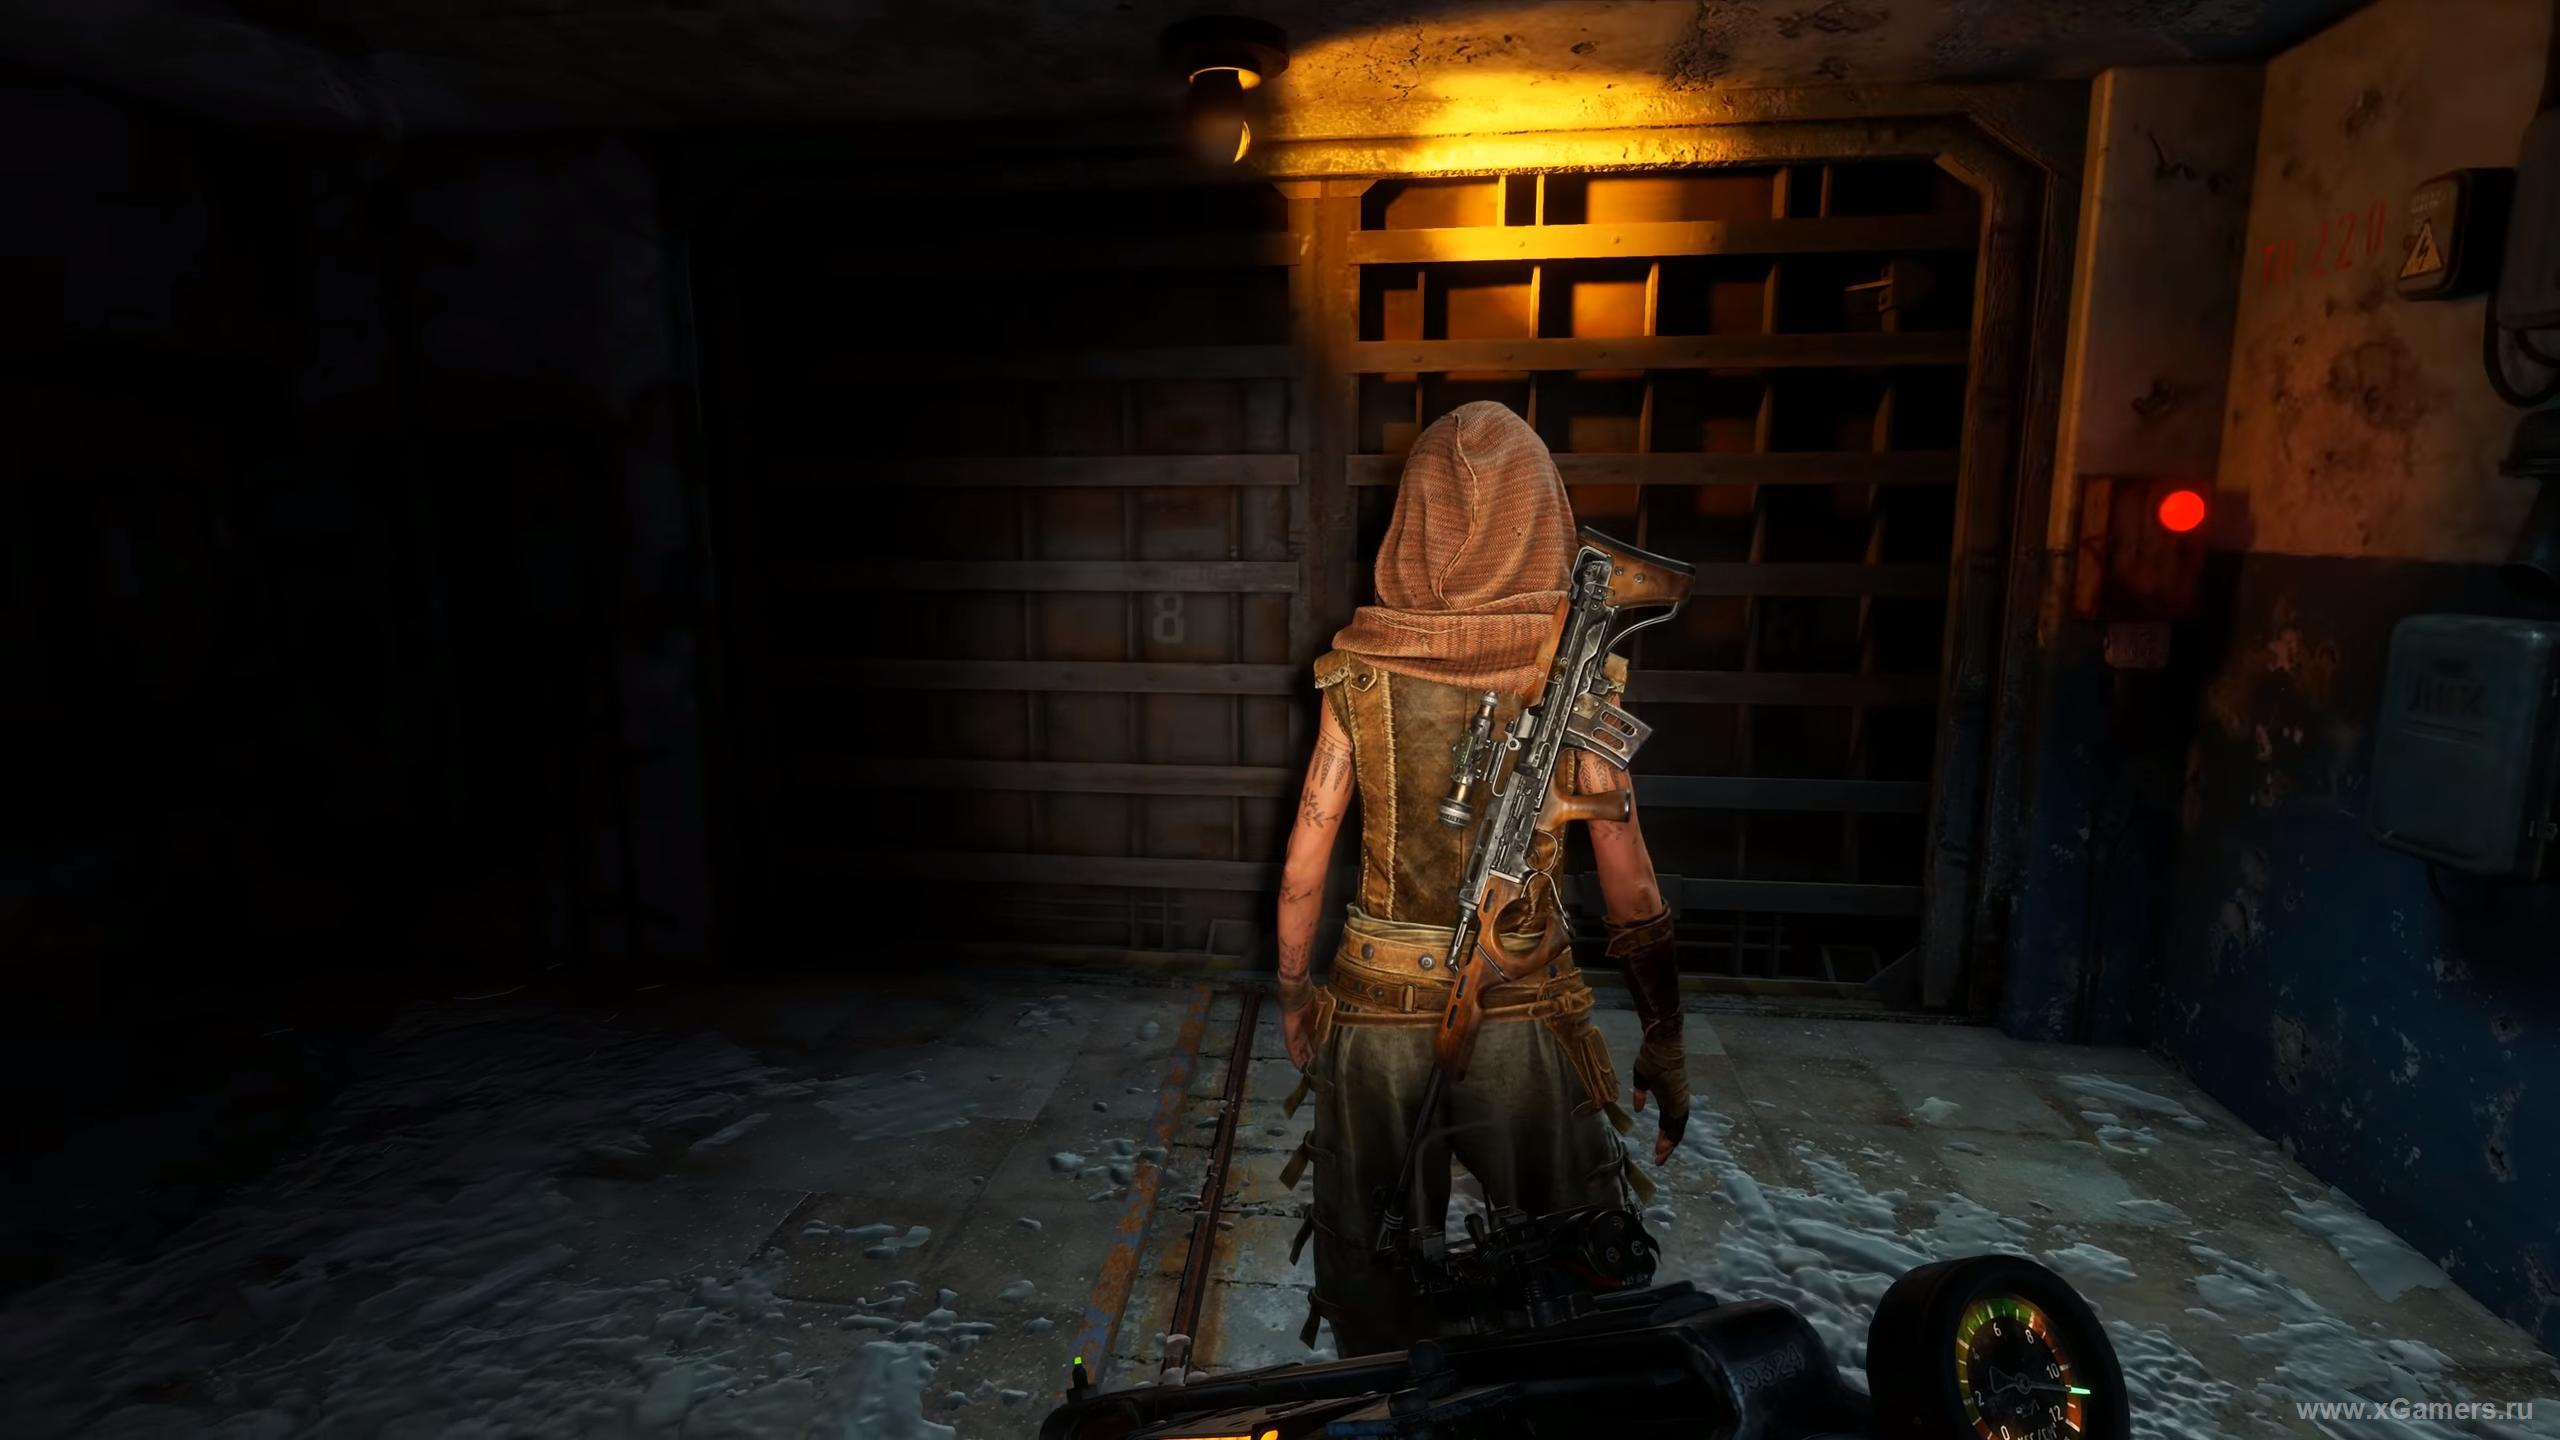
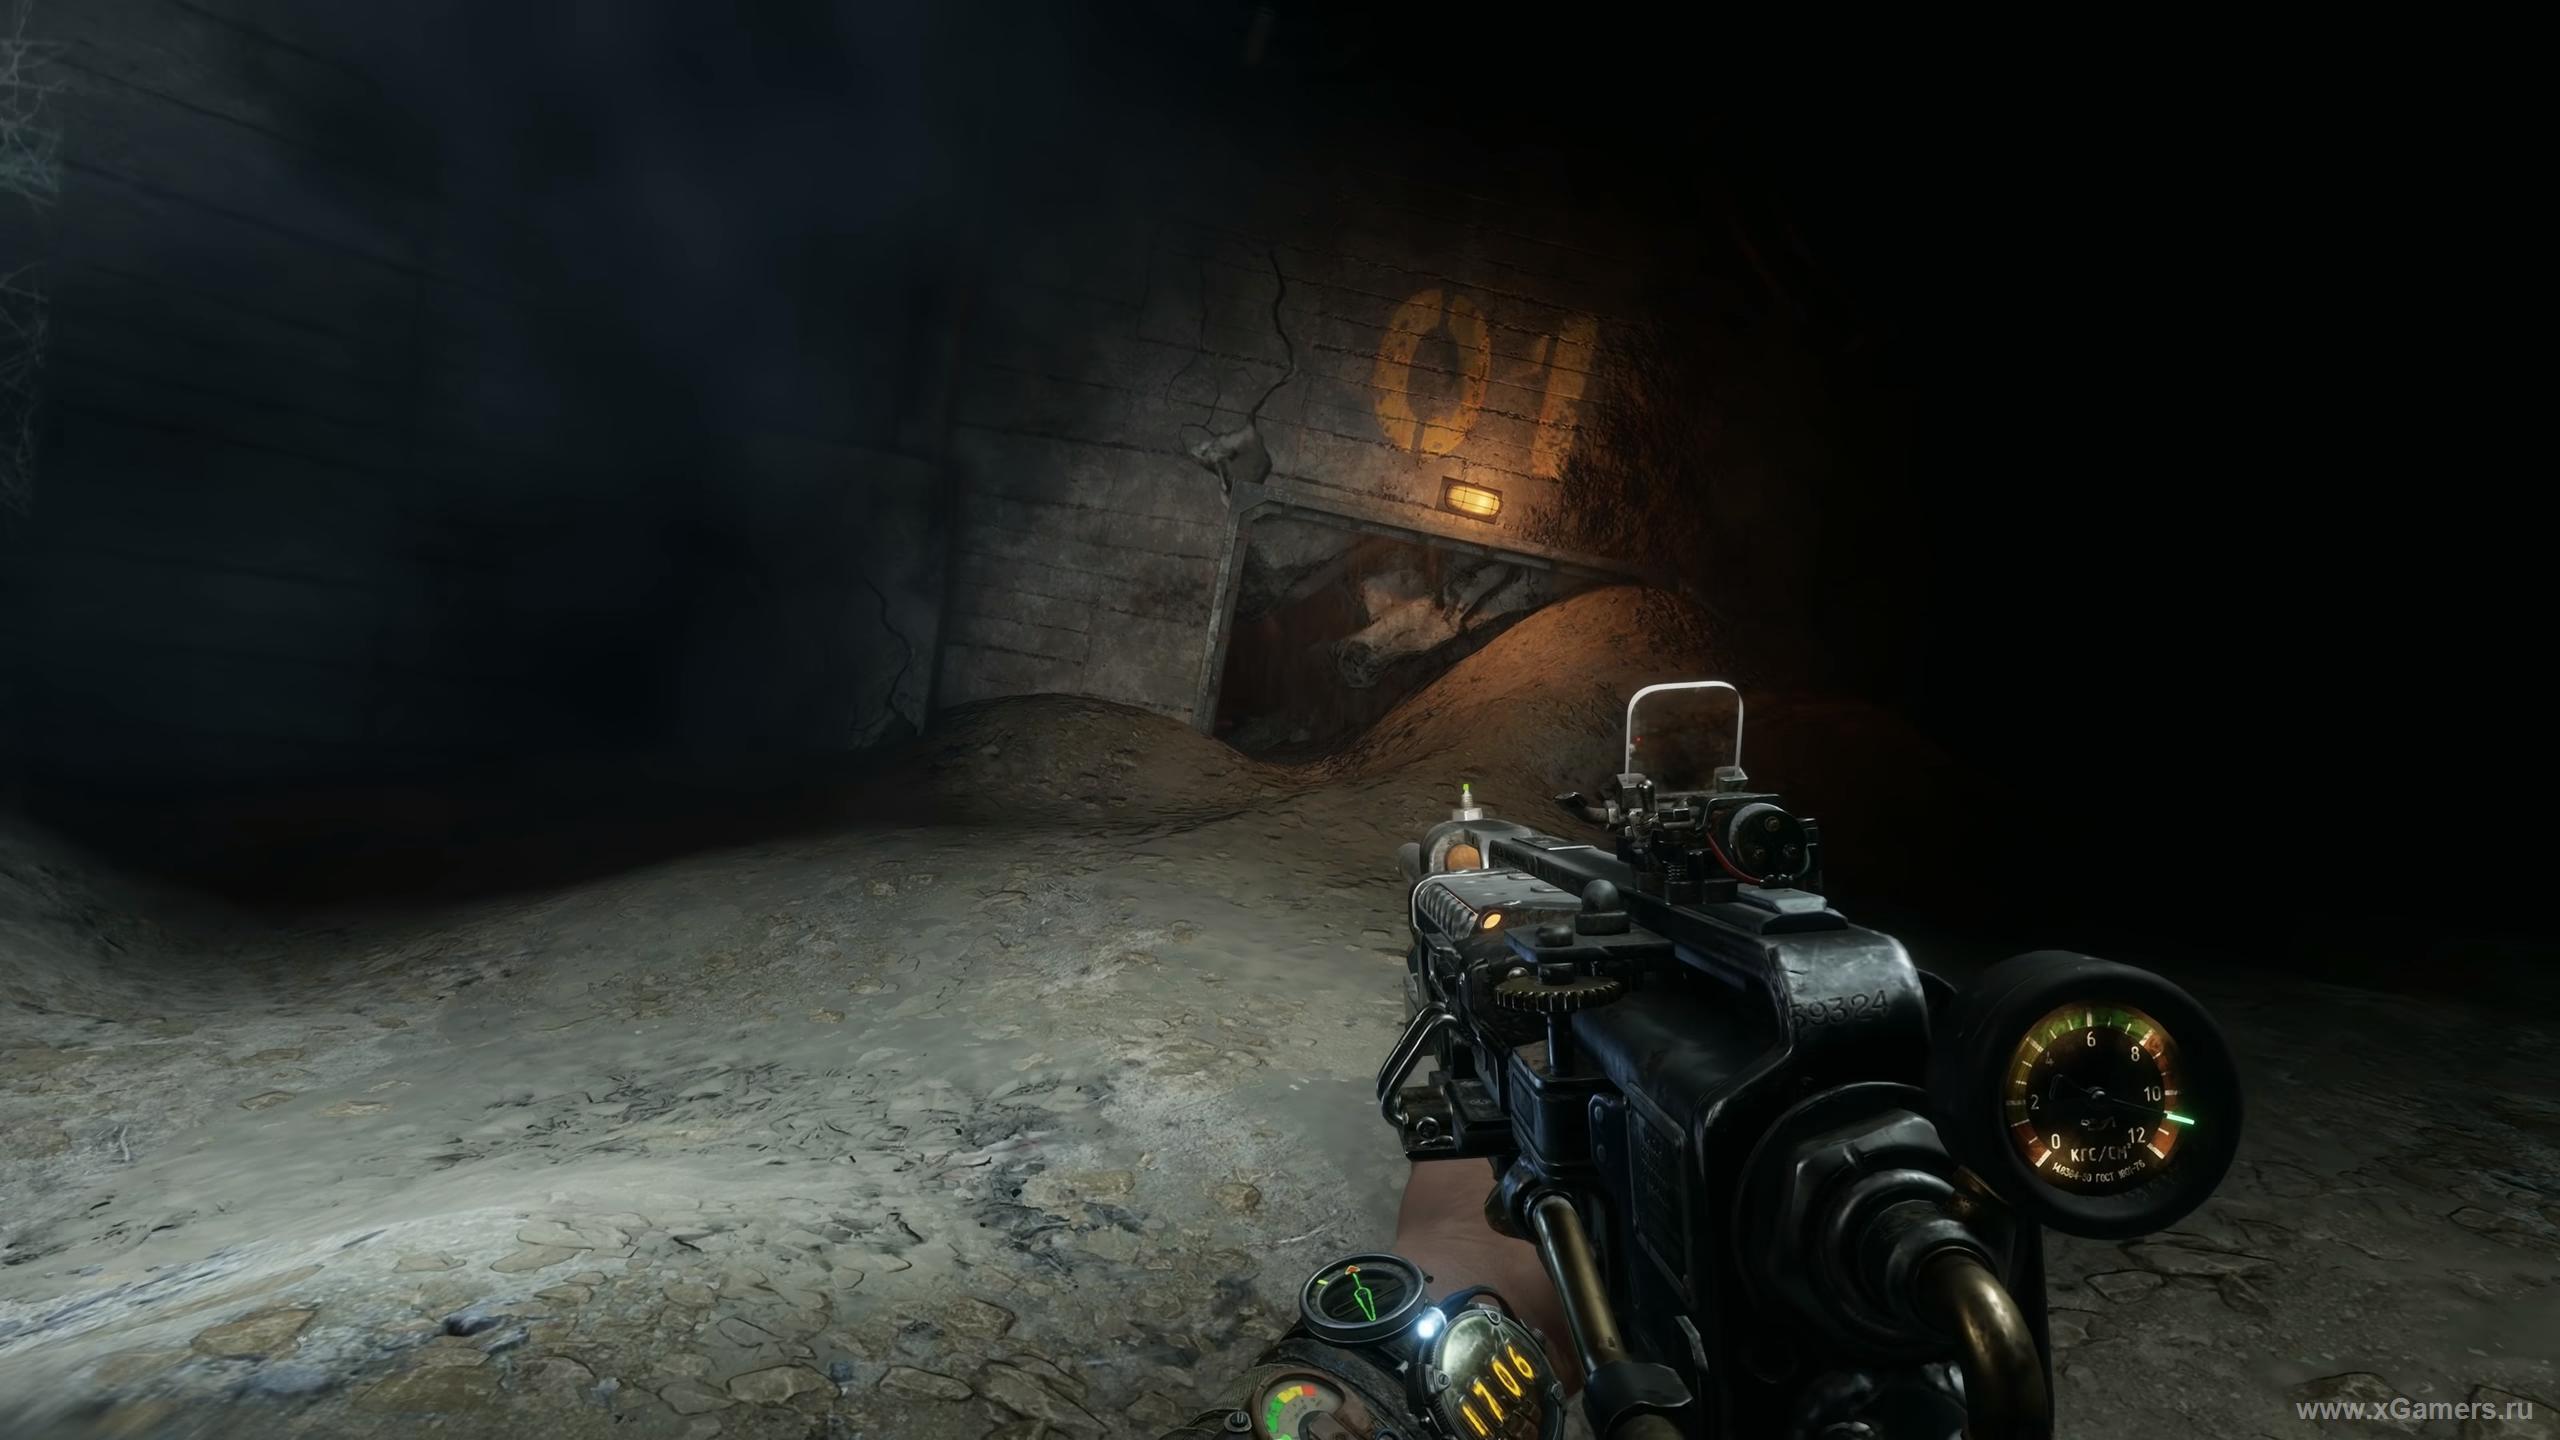
After receiving the car, you should go to the lighthouse as soon as possible. Your task is to help out the inhabitant of the local ruins, a girl named Gul. She is a sniper, stoically holding the defense against the local gangster raiders. However, to get to it, you first have to overcome the cave of oilmen.
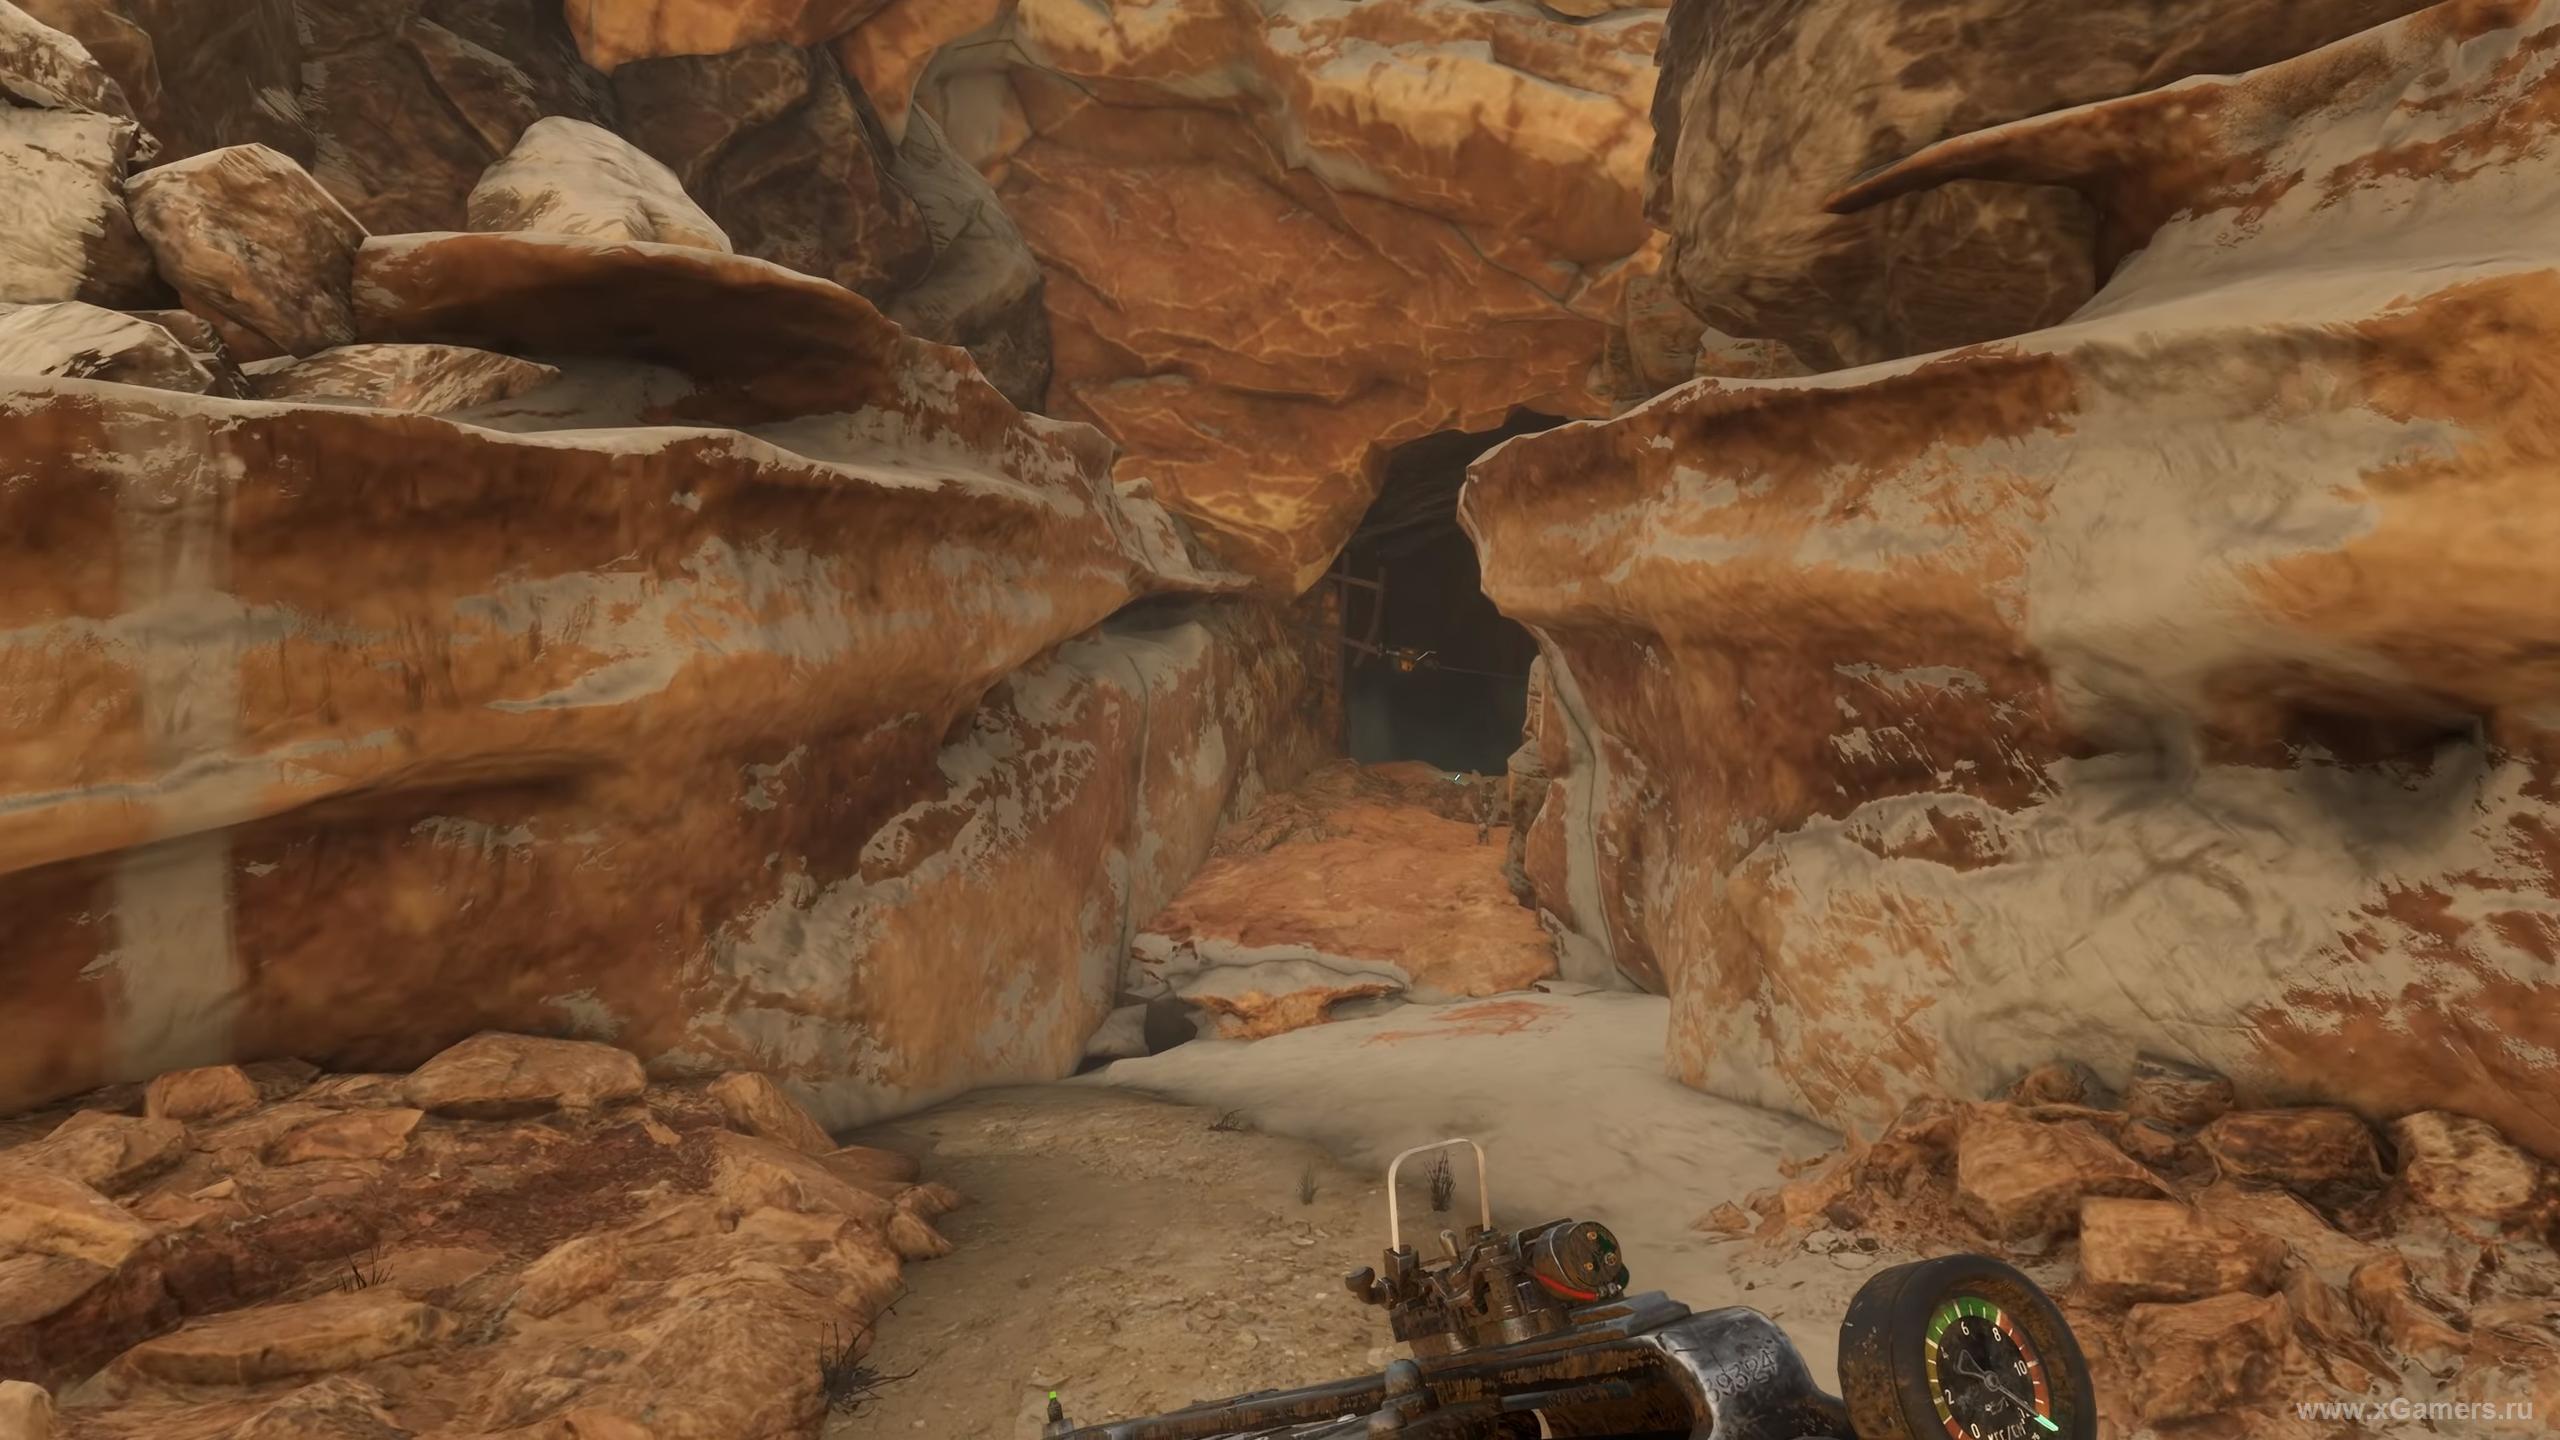
After reaching the desired place on the map, use the cable with the carbine attached to it to penetrate the cave itself. If you do not want extra problems, then it is better to try not to make noise, so immediately take the gunshot away. Kill a couple of opponents on the slope, and then eliminate the trap.
If you play carefully enough, here you can quietly disable almost every enemy. Again, if you want a good ending - do not kill the wounded oilmen, they are not a threat to you. If you do not commit a single murder here, then right in front of the lighthouse you will have to wait for another plus to karma.
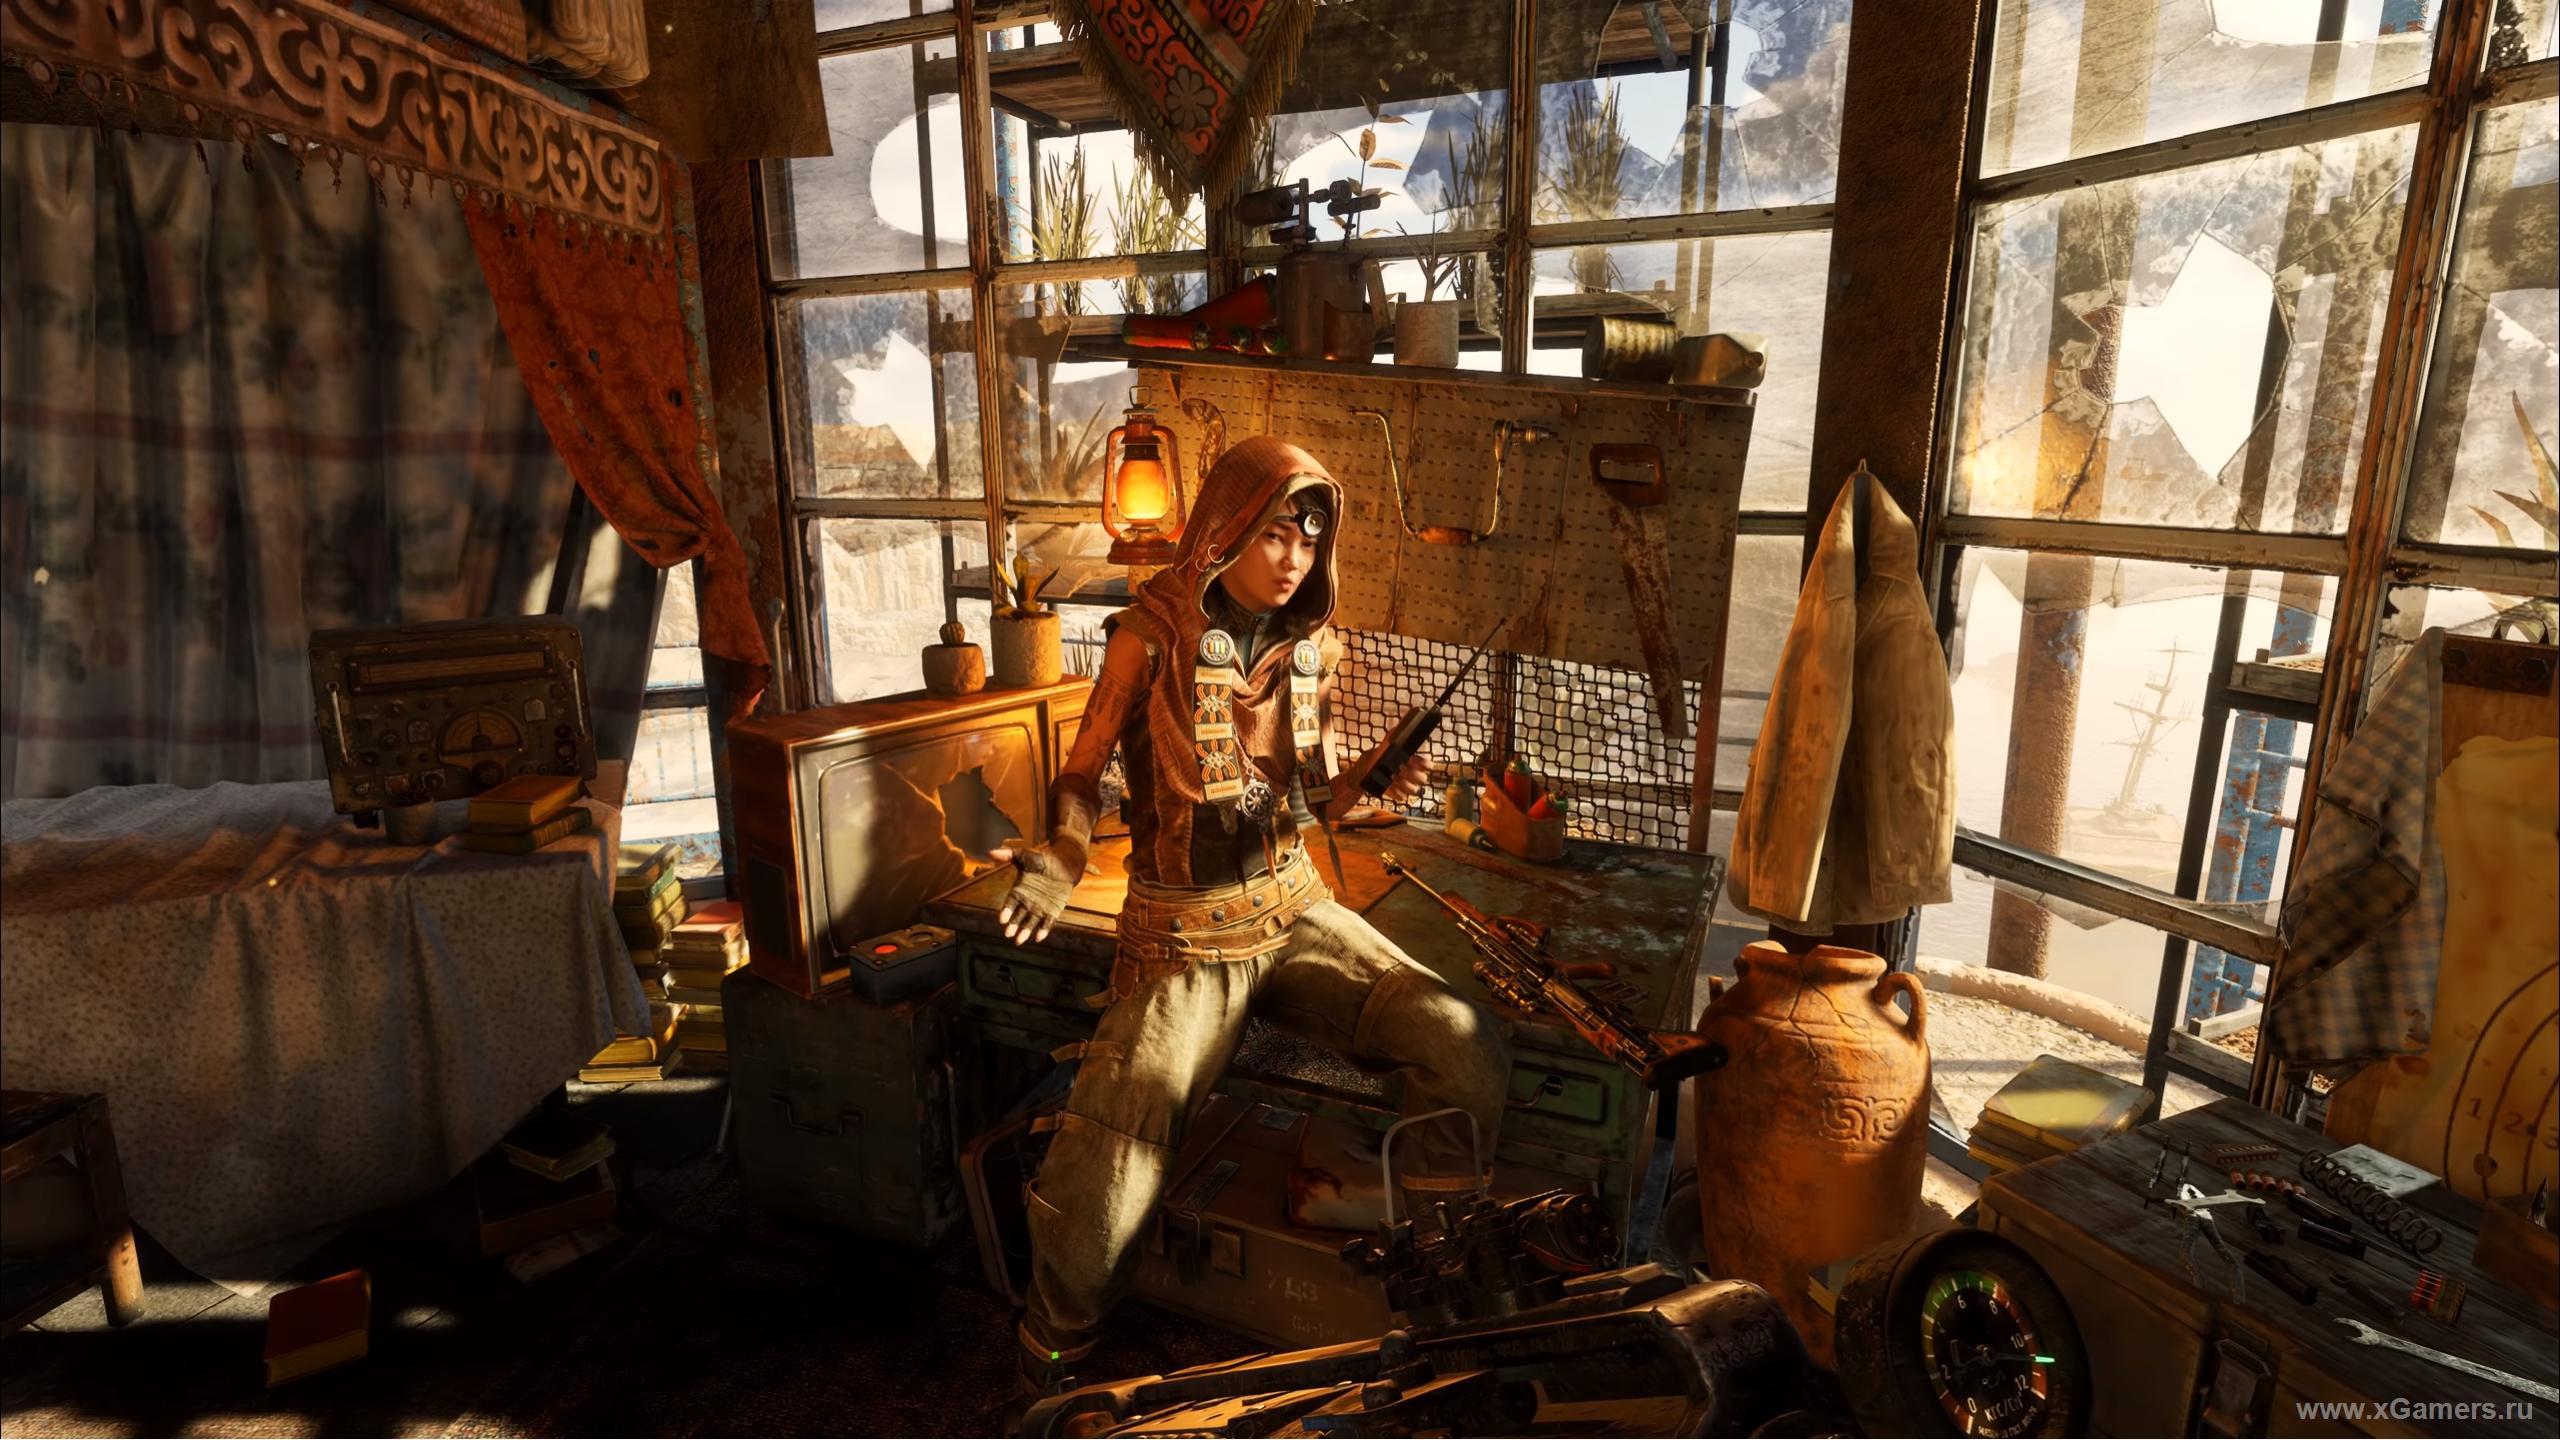
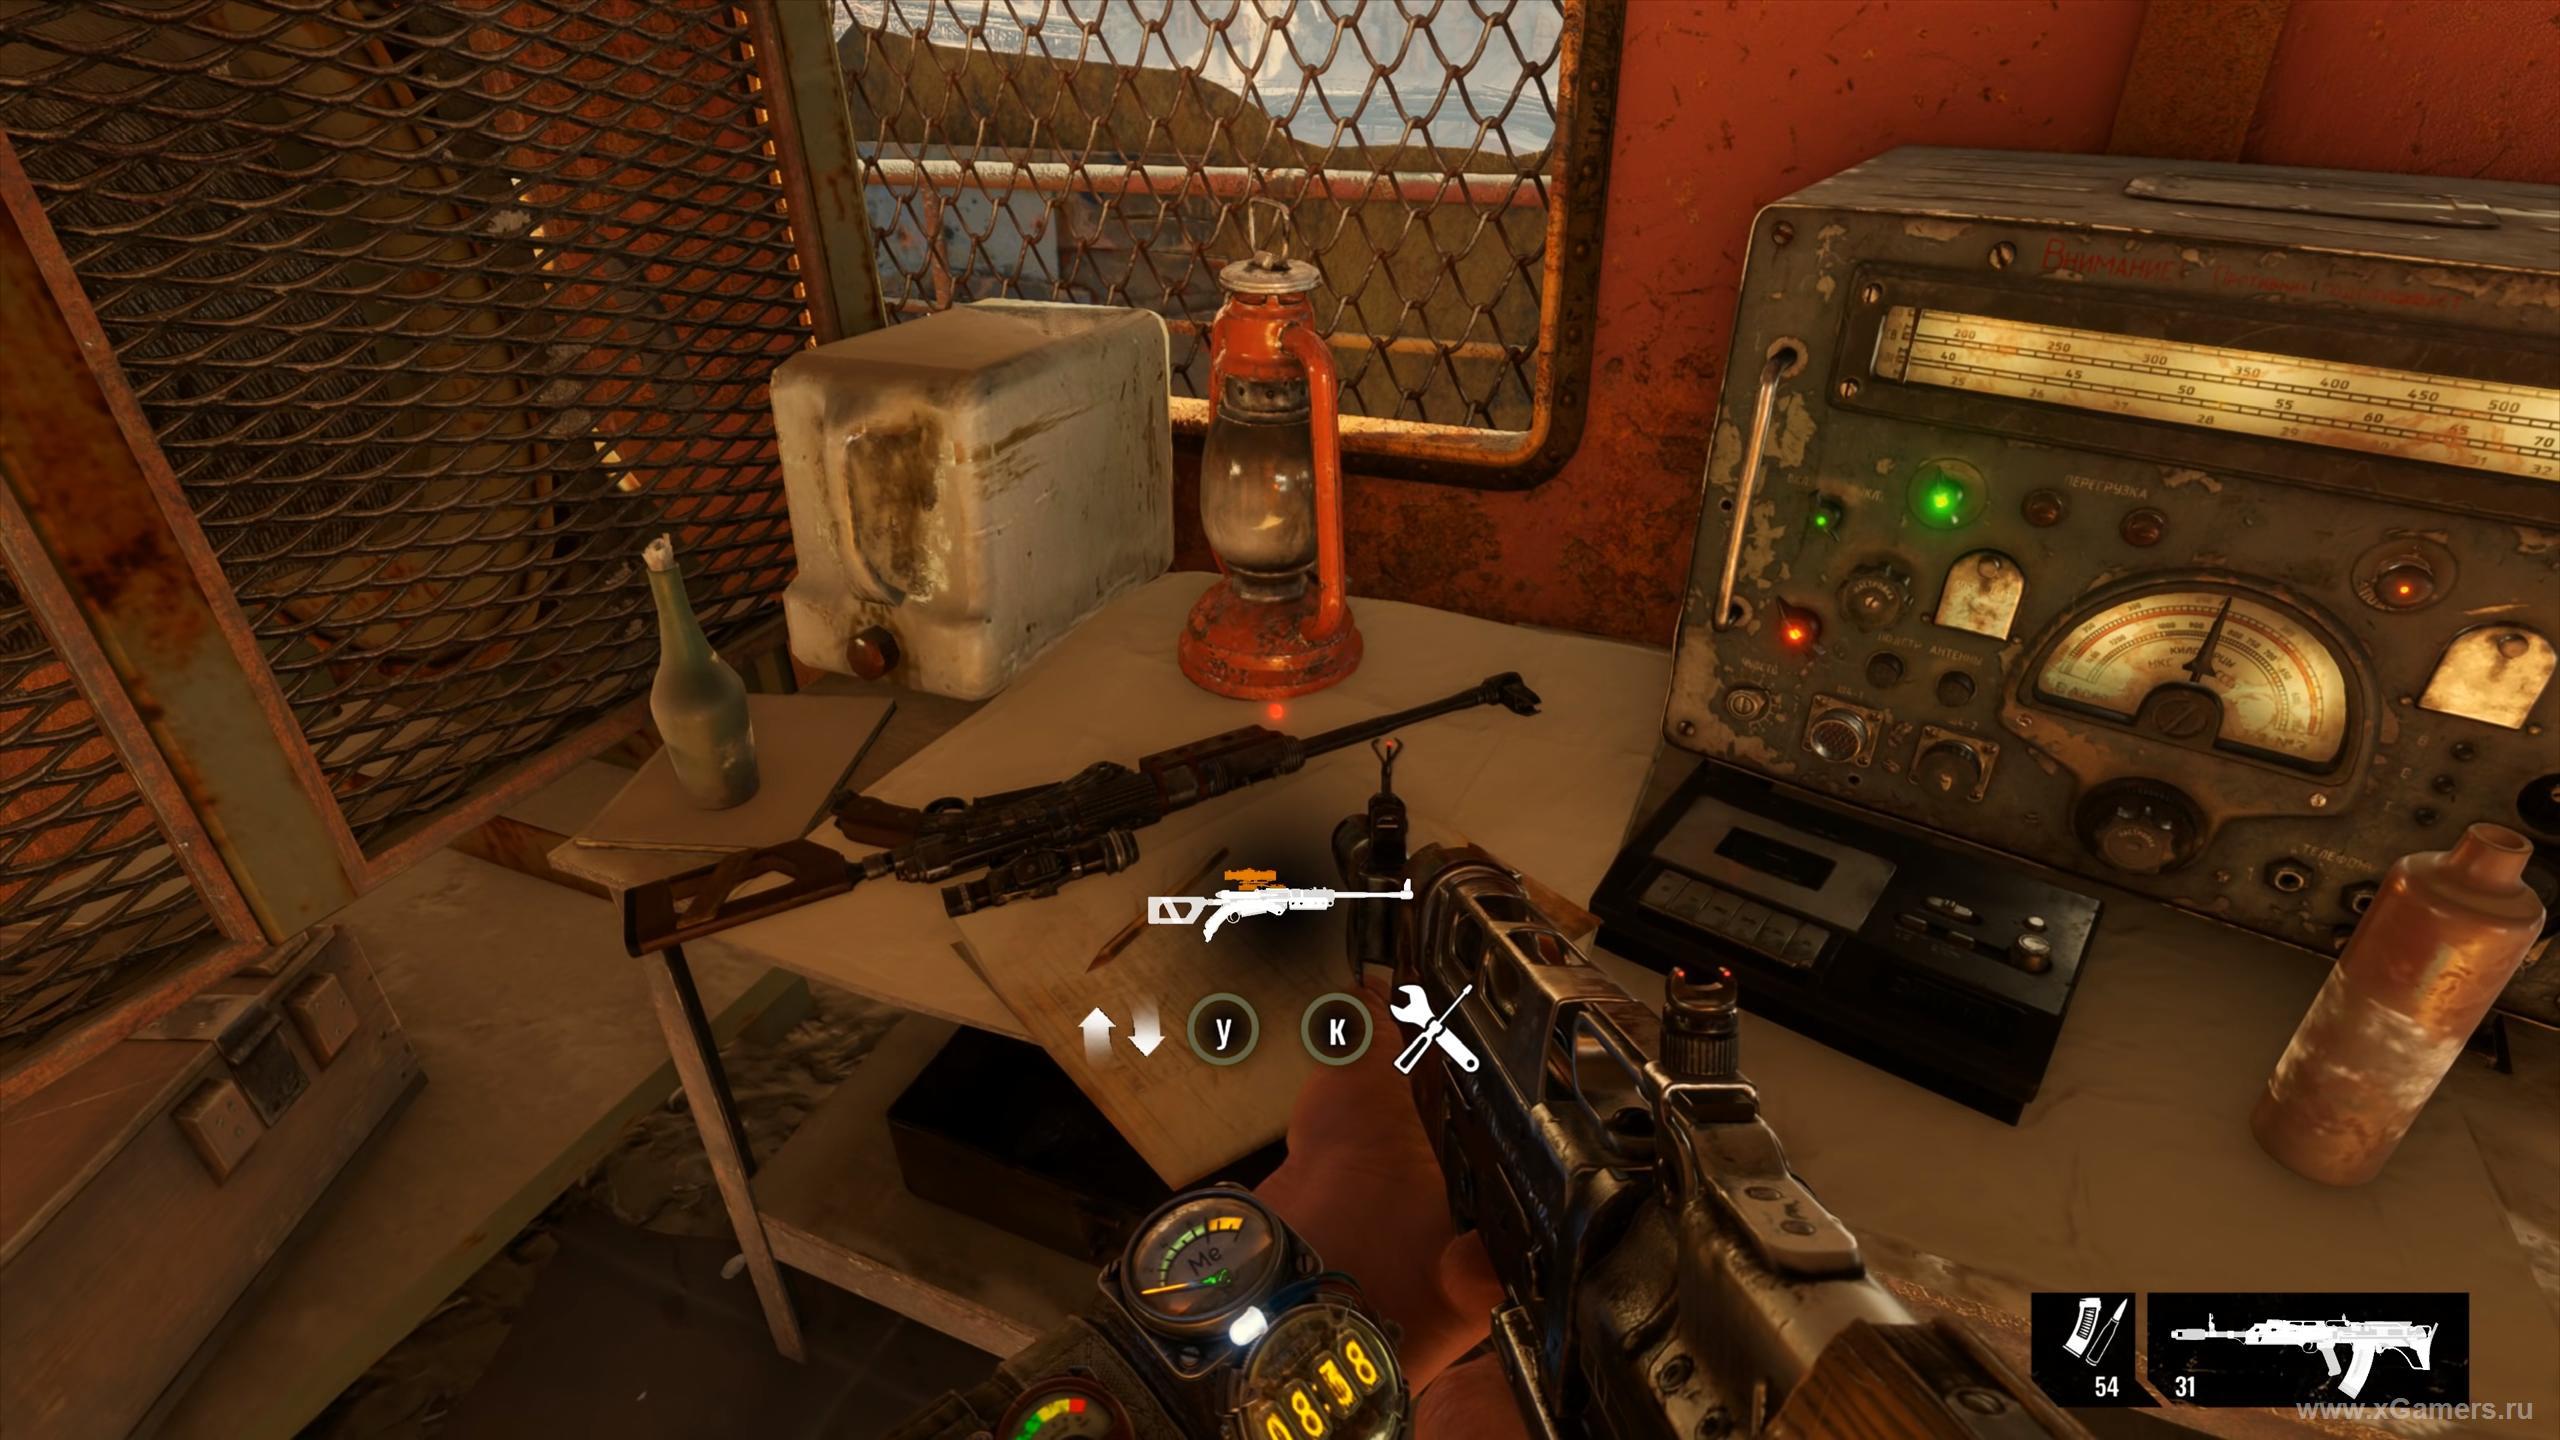
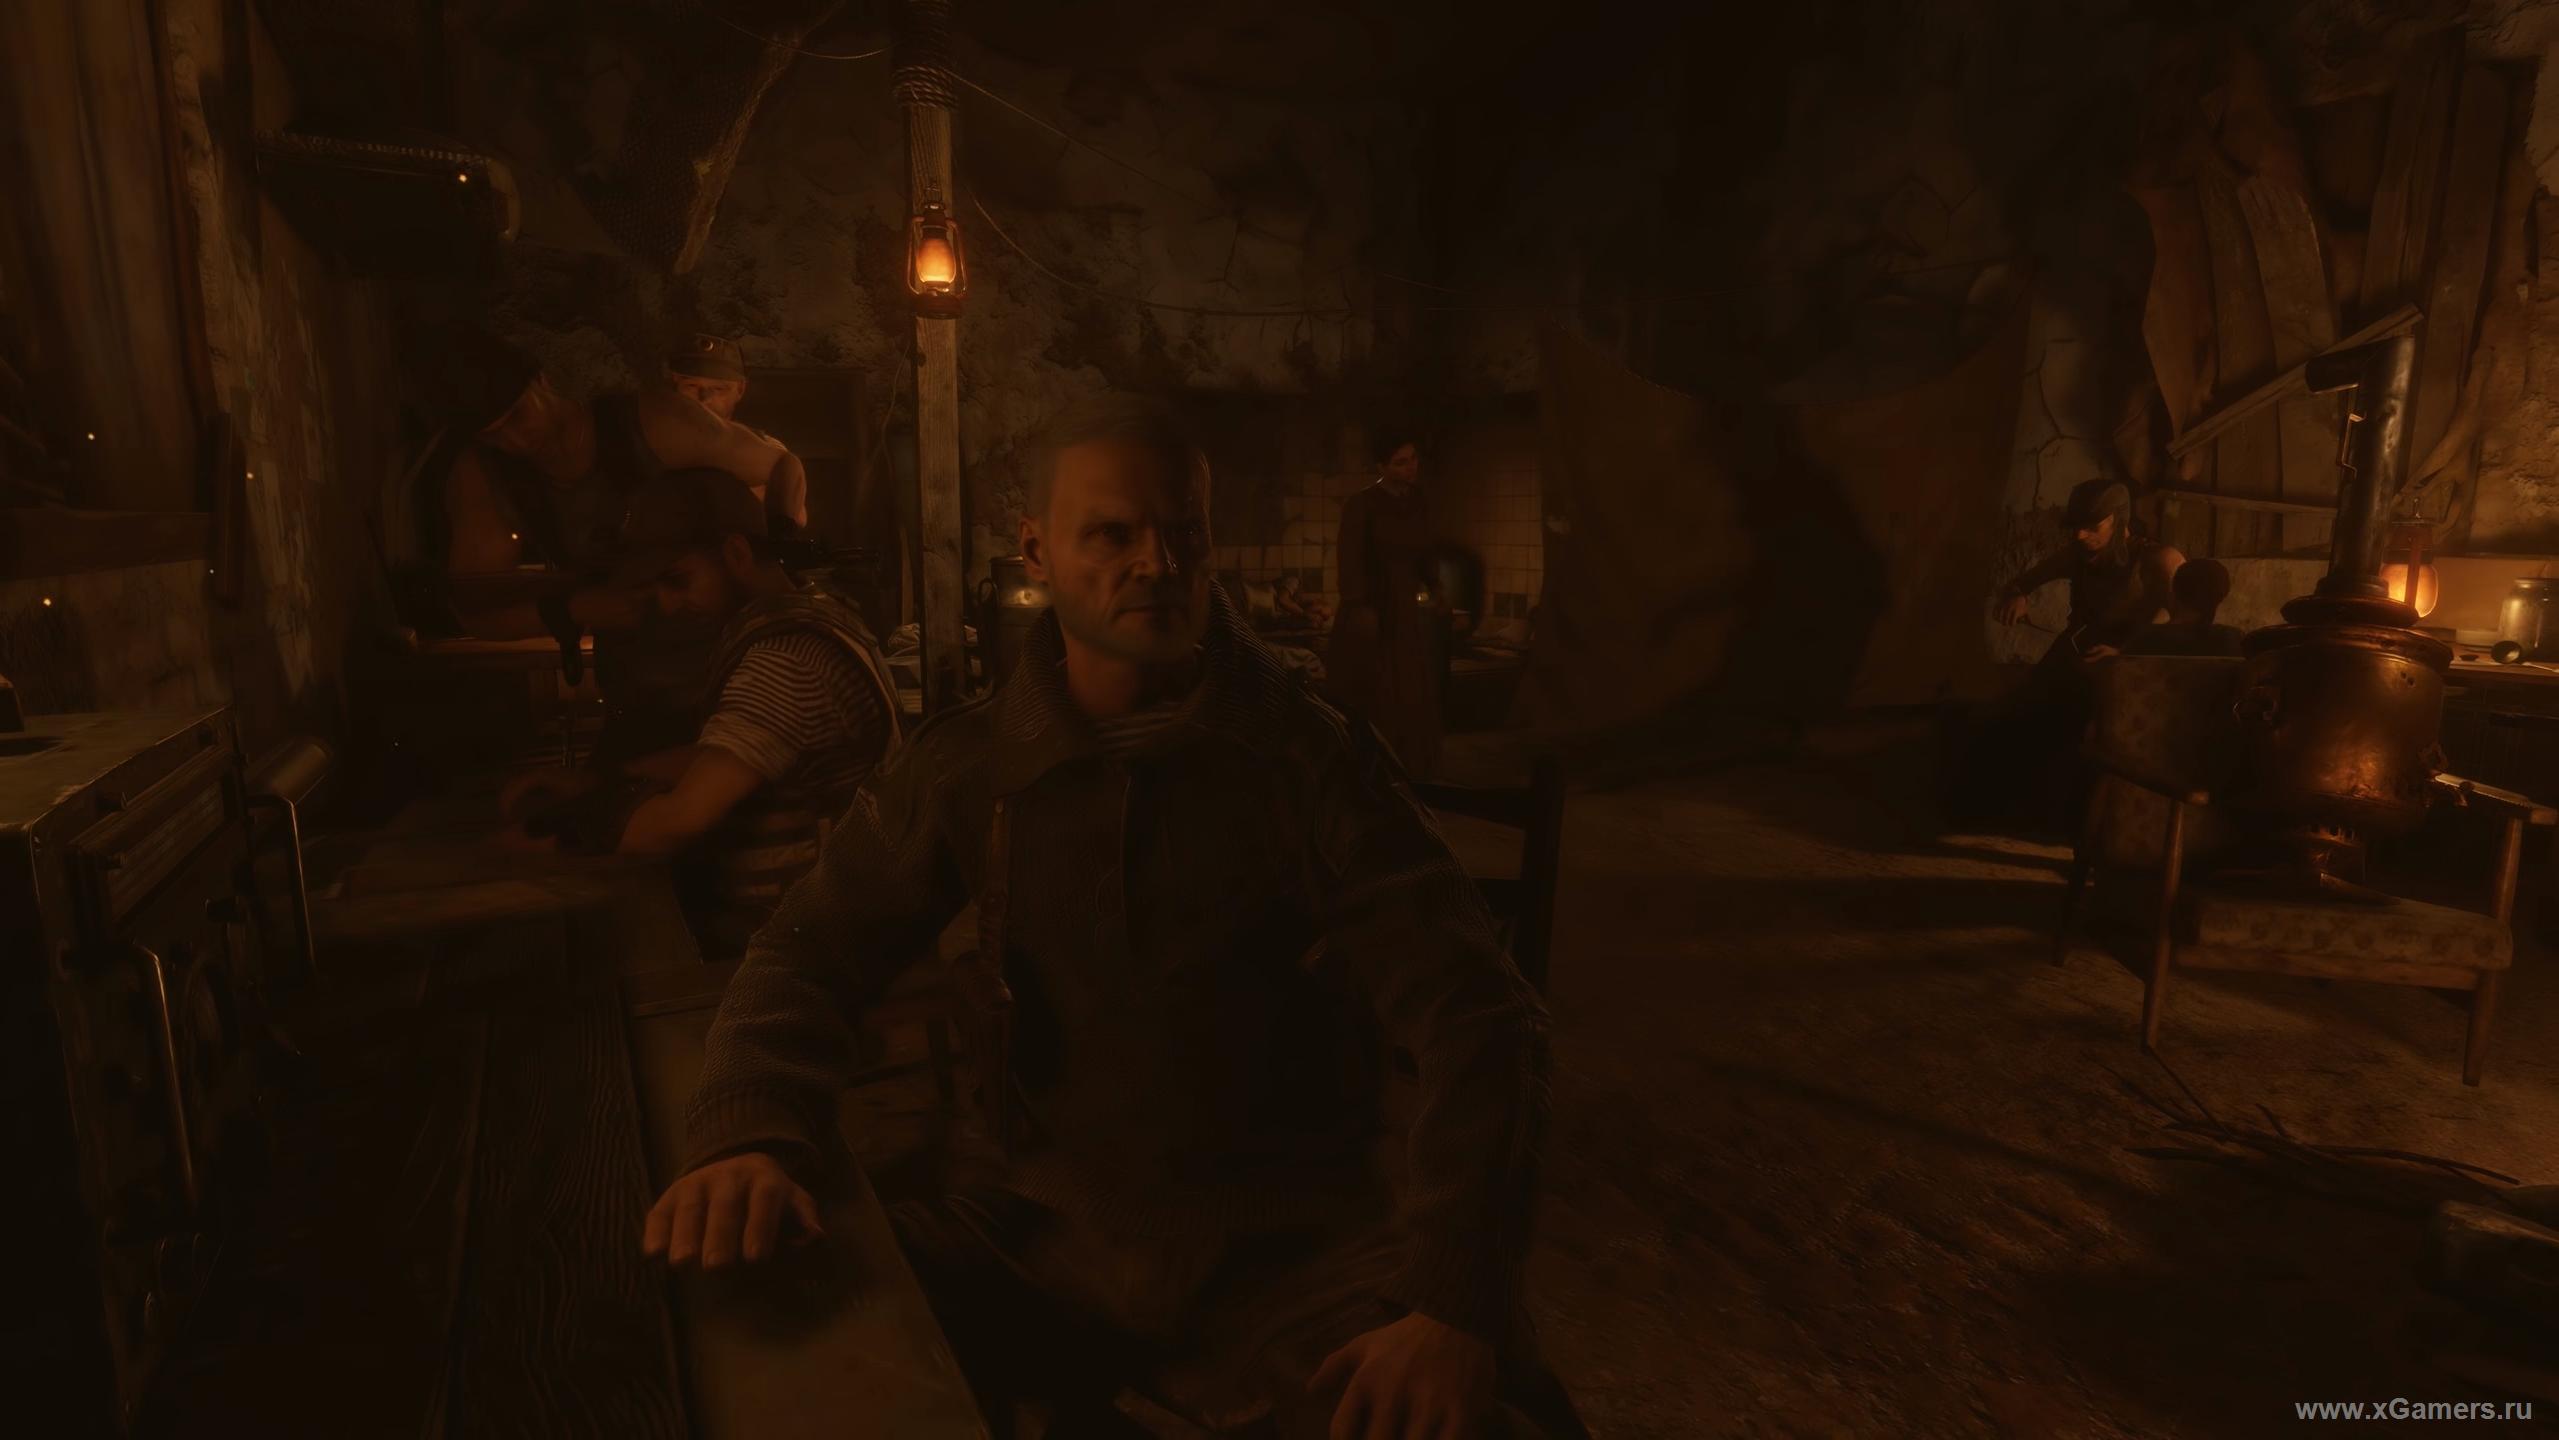
Going upstairs, look carefully while Gul tells his story. On her desk, you can grab improvements for breaking. You can install the upgrade right here, using the girl"s workbench. In general, when you finish enjoying the atmosphere of her abode and views of the area from a bird"s eye view, at your request, Gul will take you to the goal designated by Melnik, the bunker of the Communication Center.
Mysterious bunker: Under the ground again!
And so, you are at the entrance. In order to open the pressure seal, it is necessary to apply electric current to them. The control panel is in the room to your right. When you find yourself inside, be careful. There you will already become spiders, which some may remember by Last Light. They are quite strong, but their Achilles" heel is light, so the lantern will be the best weapon against them. Weakened, took in the target their weak point, shot. Repeat until the spiders run out.
When you leave the elevator, in the wall to your left you can see a hole in which you can squeeze into something that should be done. Then you need to proceed down the direction of the control units, then - find the back stairs, on which you will make your way up.
Dive straight into the rift. There the spiders are waiting for you again - you know what to do. Now you have to do a thorough study of these premises. Look through every corner here, take away everything useful that you find - there is enough swag here. Near the typewriter on the table is a piece of paper - this is a memo. Now find the generator room and reactivate the power supply to the local grid.

This will open the doors. Feel free to leave the room, then run through the metal detector frame and go down. Our friend Damir here will open the doors leading to the control center. You can not particularly stop here, unless, of course, you just want to enjoy the atmosphere - you will not find anything useful here. Move on, go in a straight line, without turning anywhere. Ahead you will see a blockage - in front of him roll into the toilet, then exit from the other end of the room. Unfortunately, the archive is tightly locked from the inside. However, near the entrance there is a loophole through which you can climb into the next room.
Having done this, you should open the door to your left. Search the body near the control console - in your pockets you will find an old photo of the Gul family. Subsequently, if you decide to hand her this find to her, then in return will receive a flask for Nastya as a sign of gratitude.
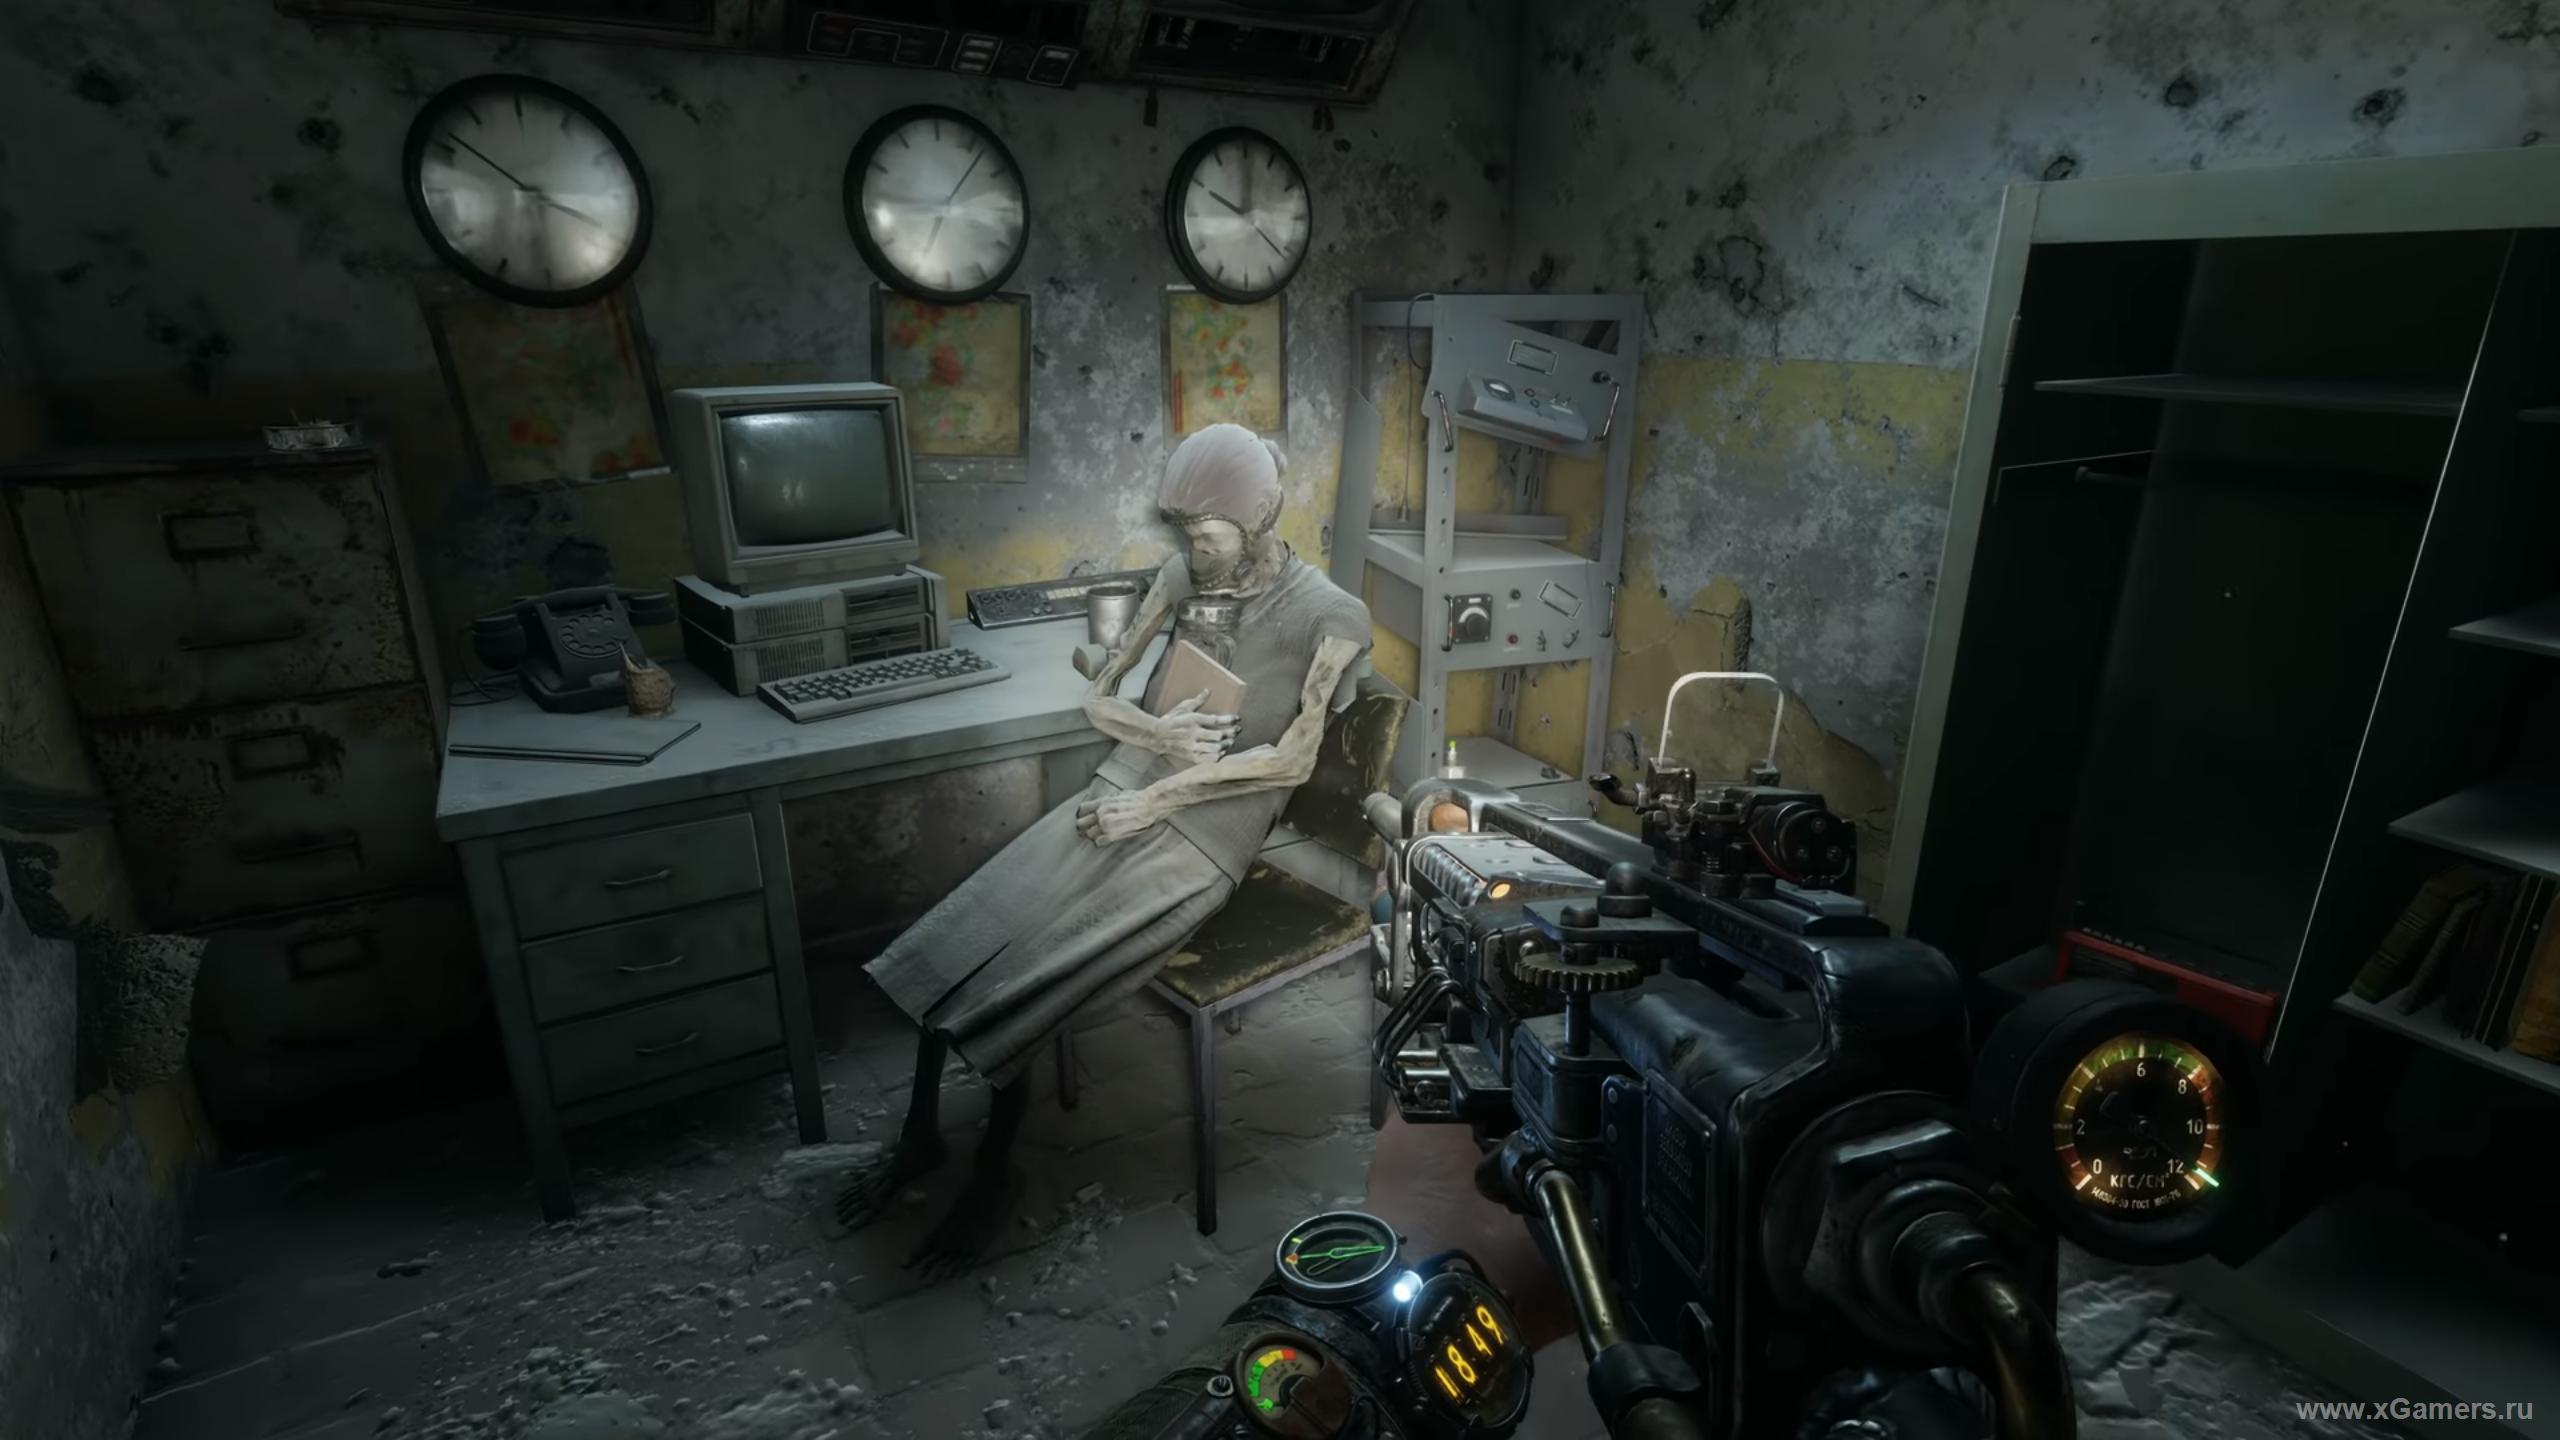
Pay attention to the nearest computer table. Take a piece of paper from him, which is an analysis of images, then move on. Surprise! Someone turned off the light, and you are again attacked by nasty spiders. You can shoot them, or try to get into the back room, where you can climb into the ventilation shaft. However, there you are just waiting for these creatures that need to kill. Once done with them, head to the archive. Your goal - the far closet, go to him and carefully search.
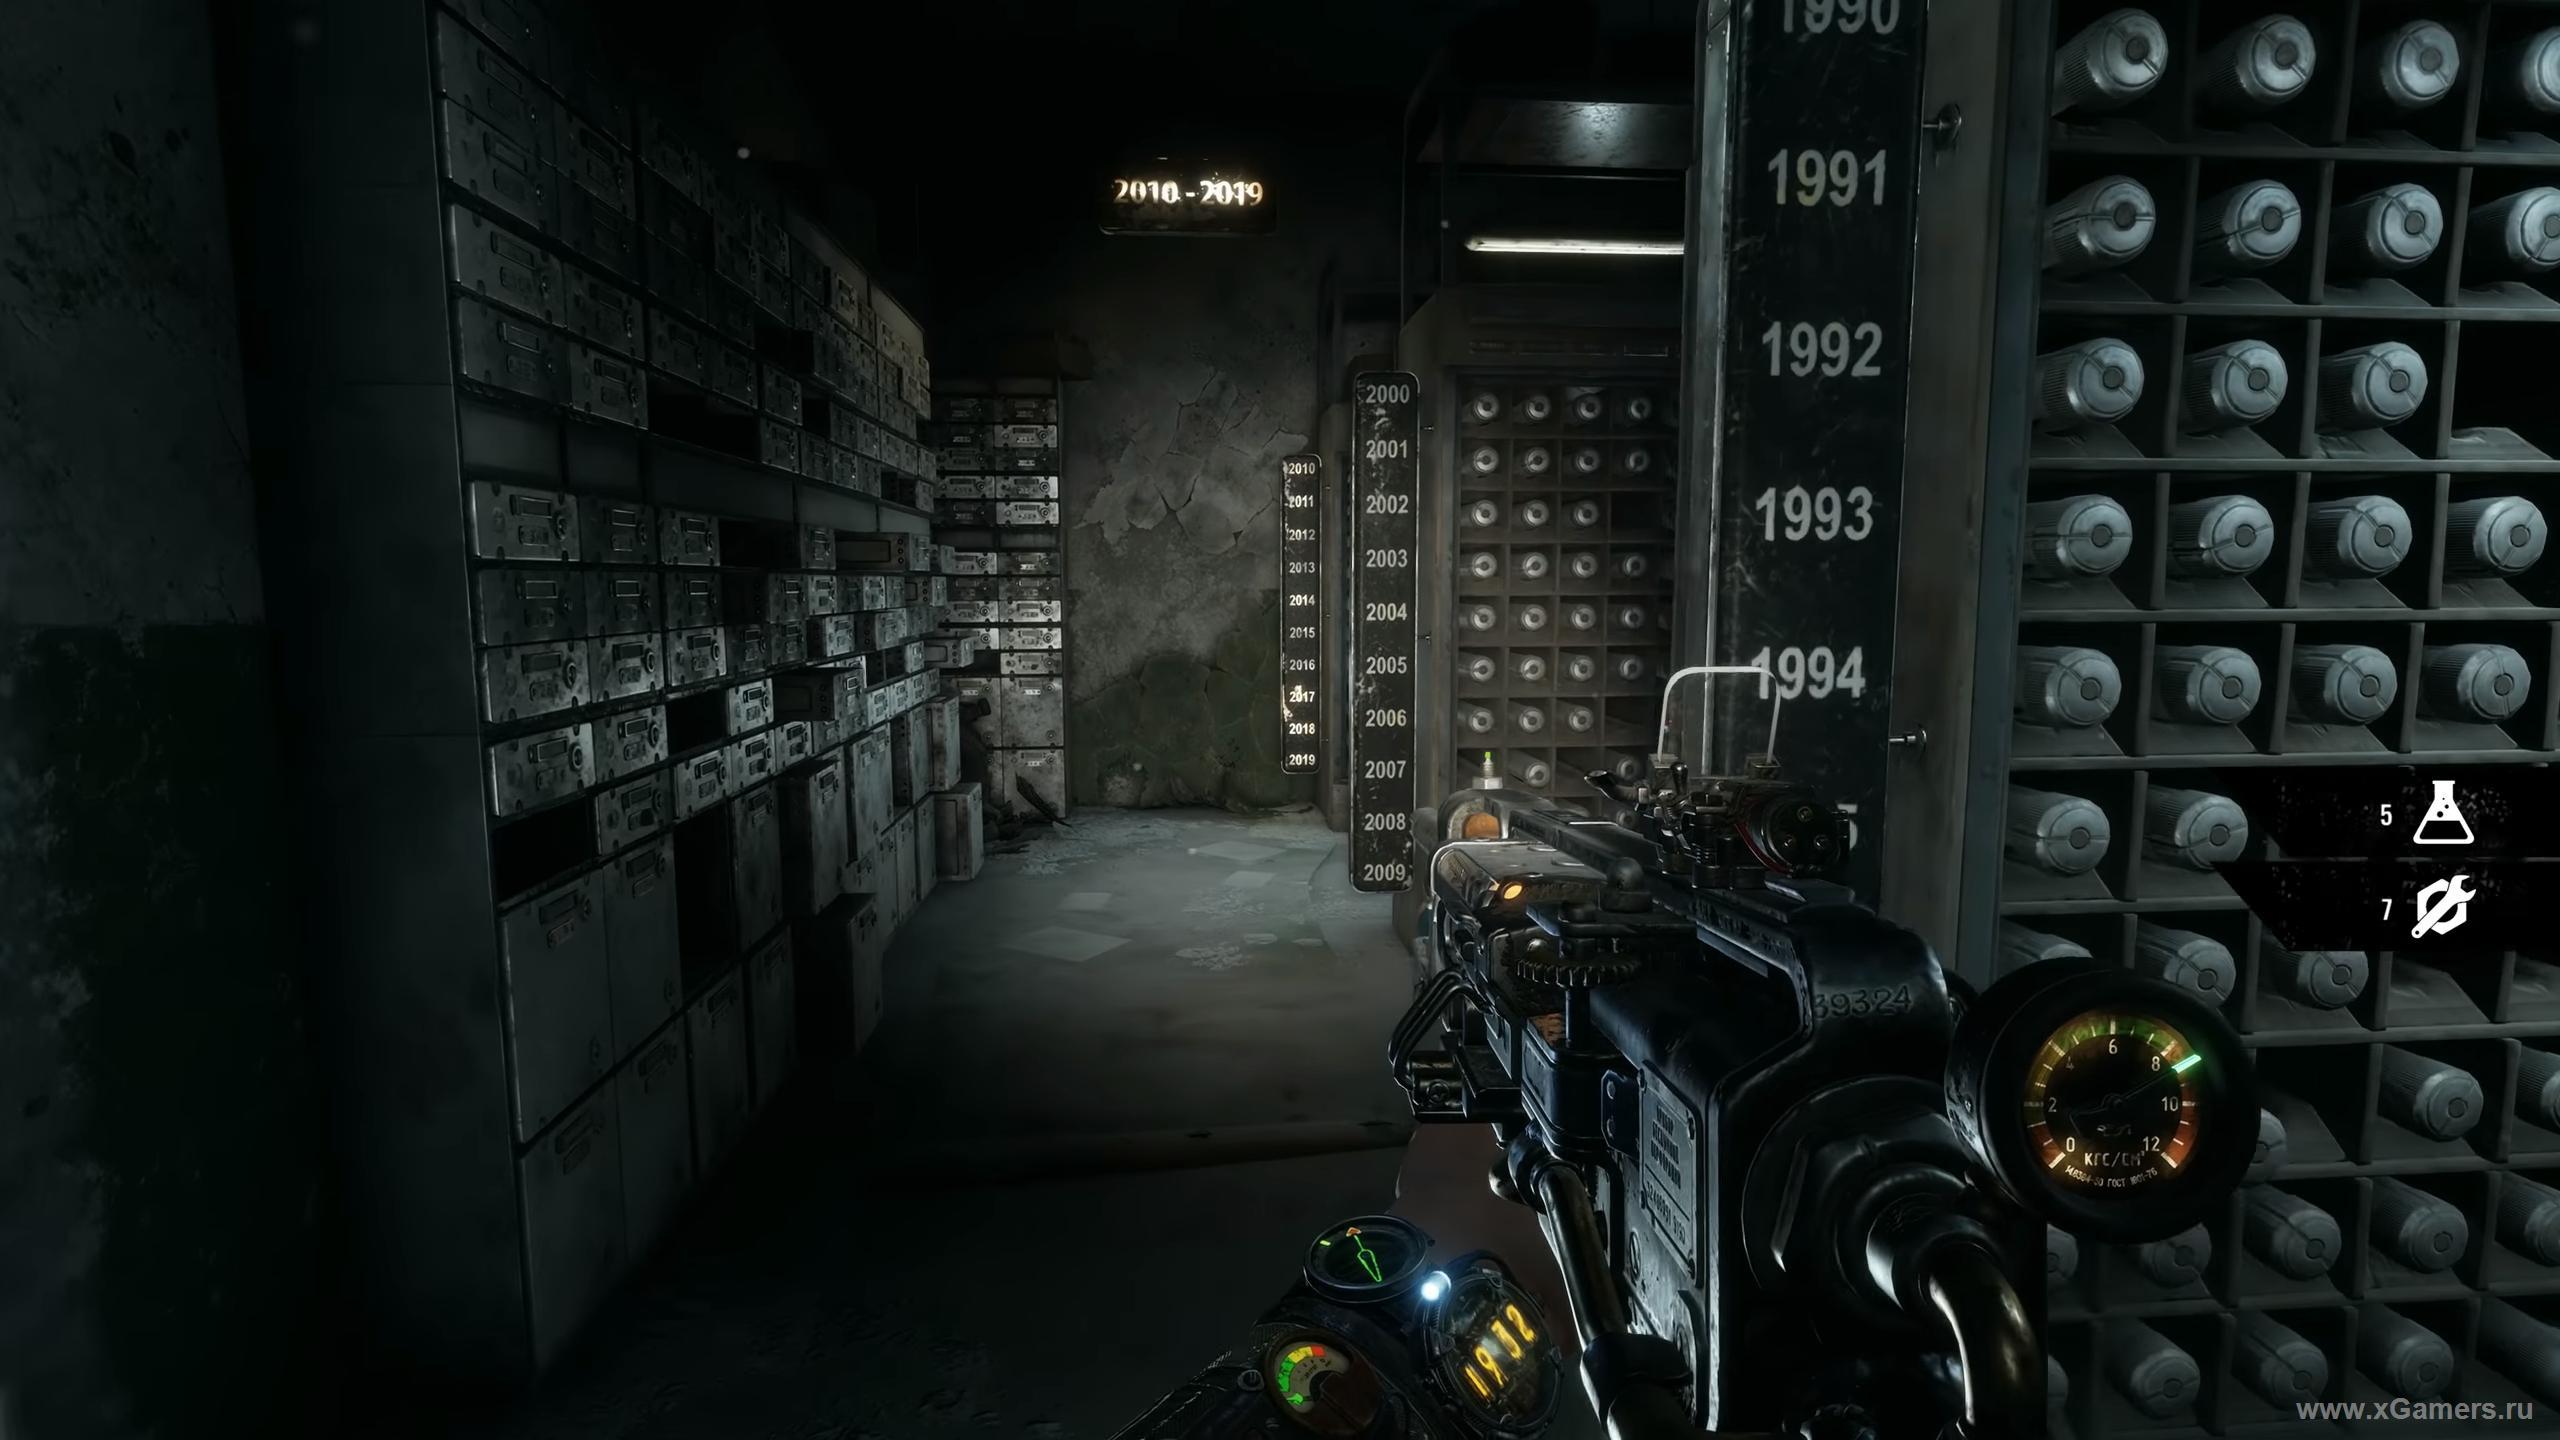
Basically, you found what you came here for. However, before getting out of this dark place, it would be wise to search the control room next door. On the table in it you will find another note, as well as be able to listen to a curious audio recording, which is taken there.

However, it is too early to rejoice, your adventures are not over here. In order for the elevator to work again, our comrade Damir will cut down all the lighting, which in turn means for you another long-term rendezvous with spiders. Therefore, it would be better if you take care of the charge level of the flashlight in advance, which in this case will serve as a great way to save ammo. As soon as you finally get out into the fresh air, get into the car and drive to the train. However, if earlier you did not kill the poor fellow on the roof of the two-story building, where you were hiding from the storm, then you should stop at the nearest crane and take a break, having properly sleep off. If you do, then good morning will wish you the head of the oil industry faction named Saul, and will offer to do away with the local authority, known as Baron.
Returning to Aurora, do not forget to talk to Anna. She will tell about various interesting places of the Caspian Sea, which may be worth a visit. They will be marked on your map.
Then you should climb onto the roof and transfer to the port using a rope. Move to the tap. On the way you will meet several opponents who, however, do not really represent anything from themselves. When you get to the goal, the protagonist"s wife, Anna, will take care of the sniper who was lying in wait in the control cabin. Climb there and take his weapon, after which you can use the workbench to replenish ammunition.
Ship with slaves
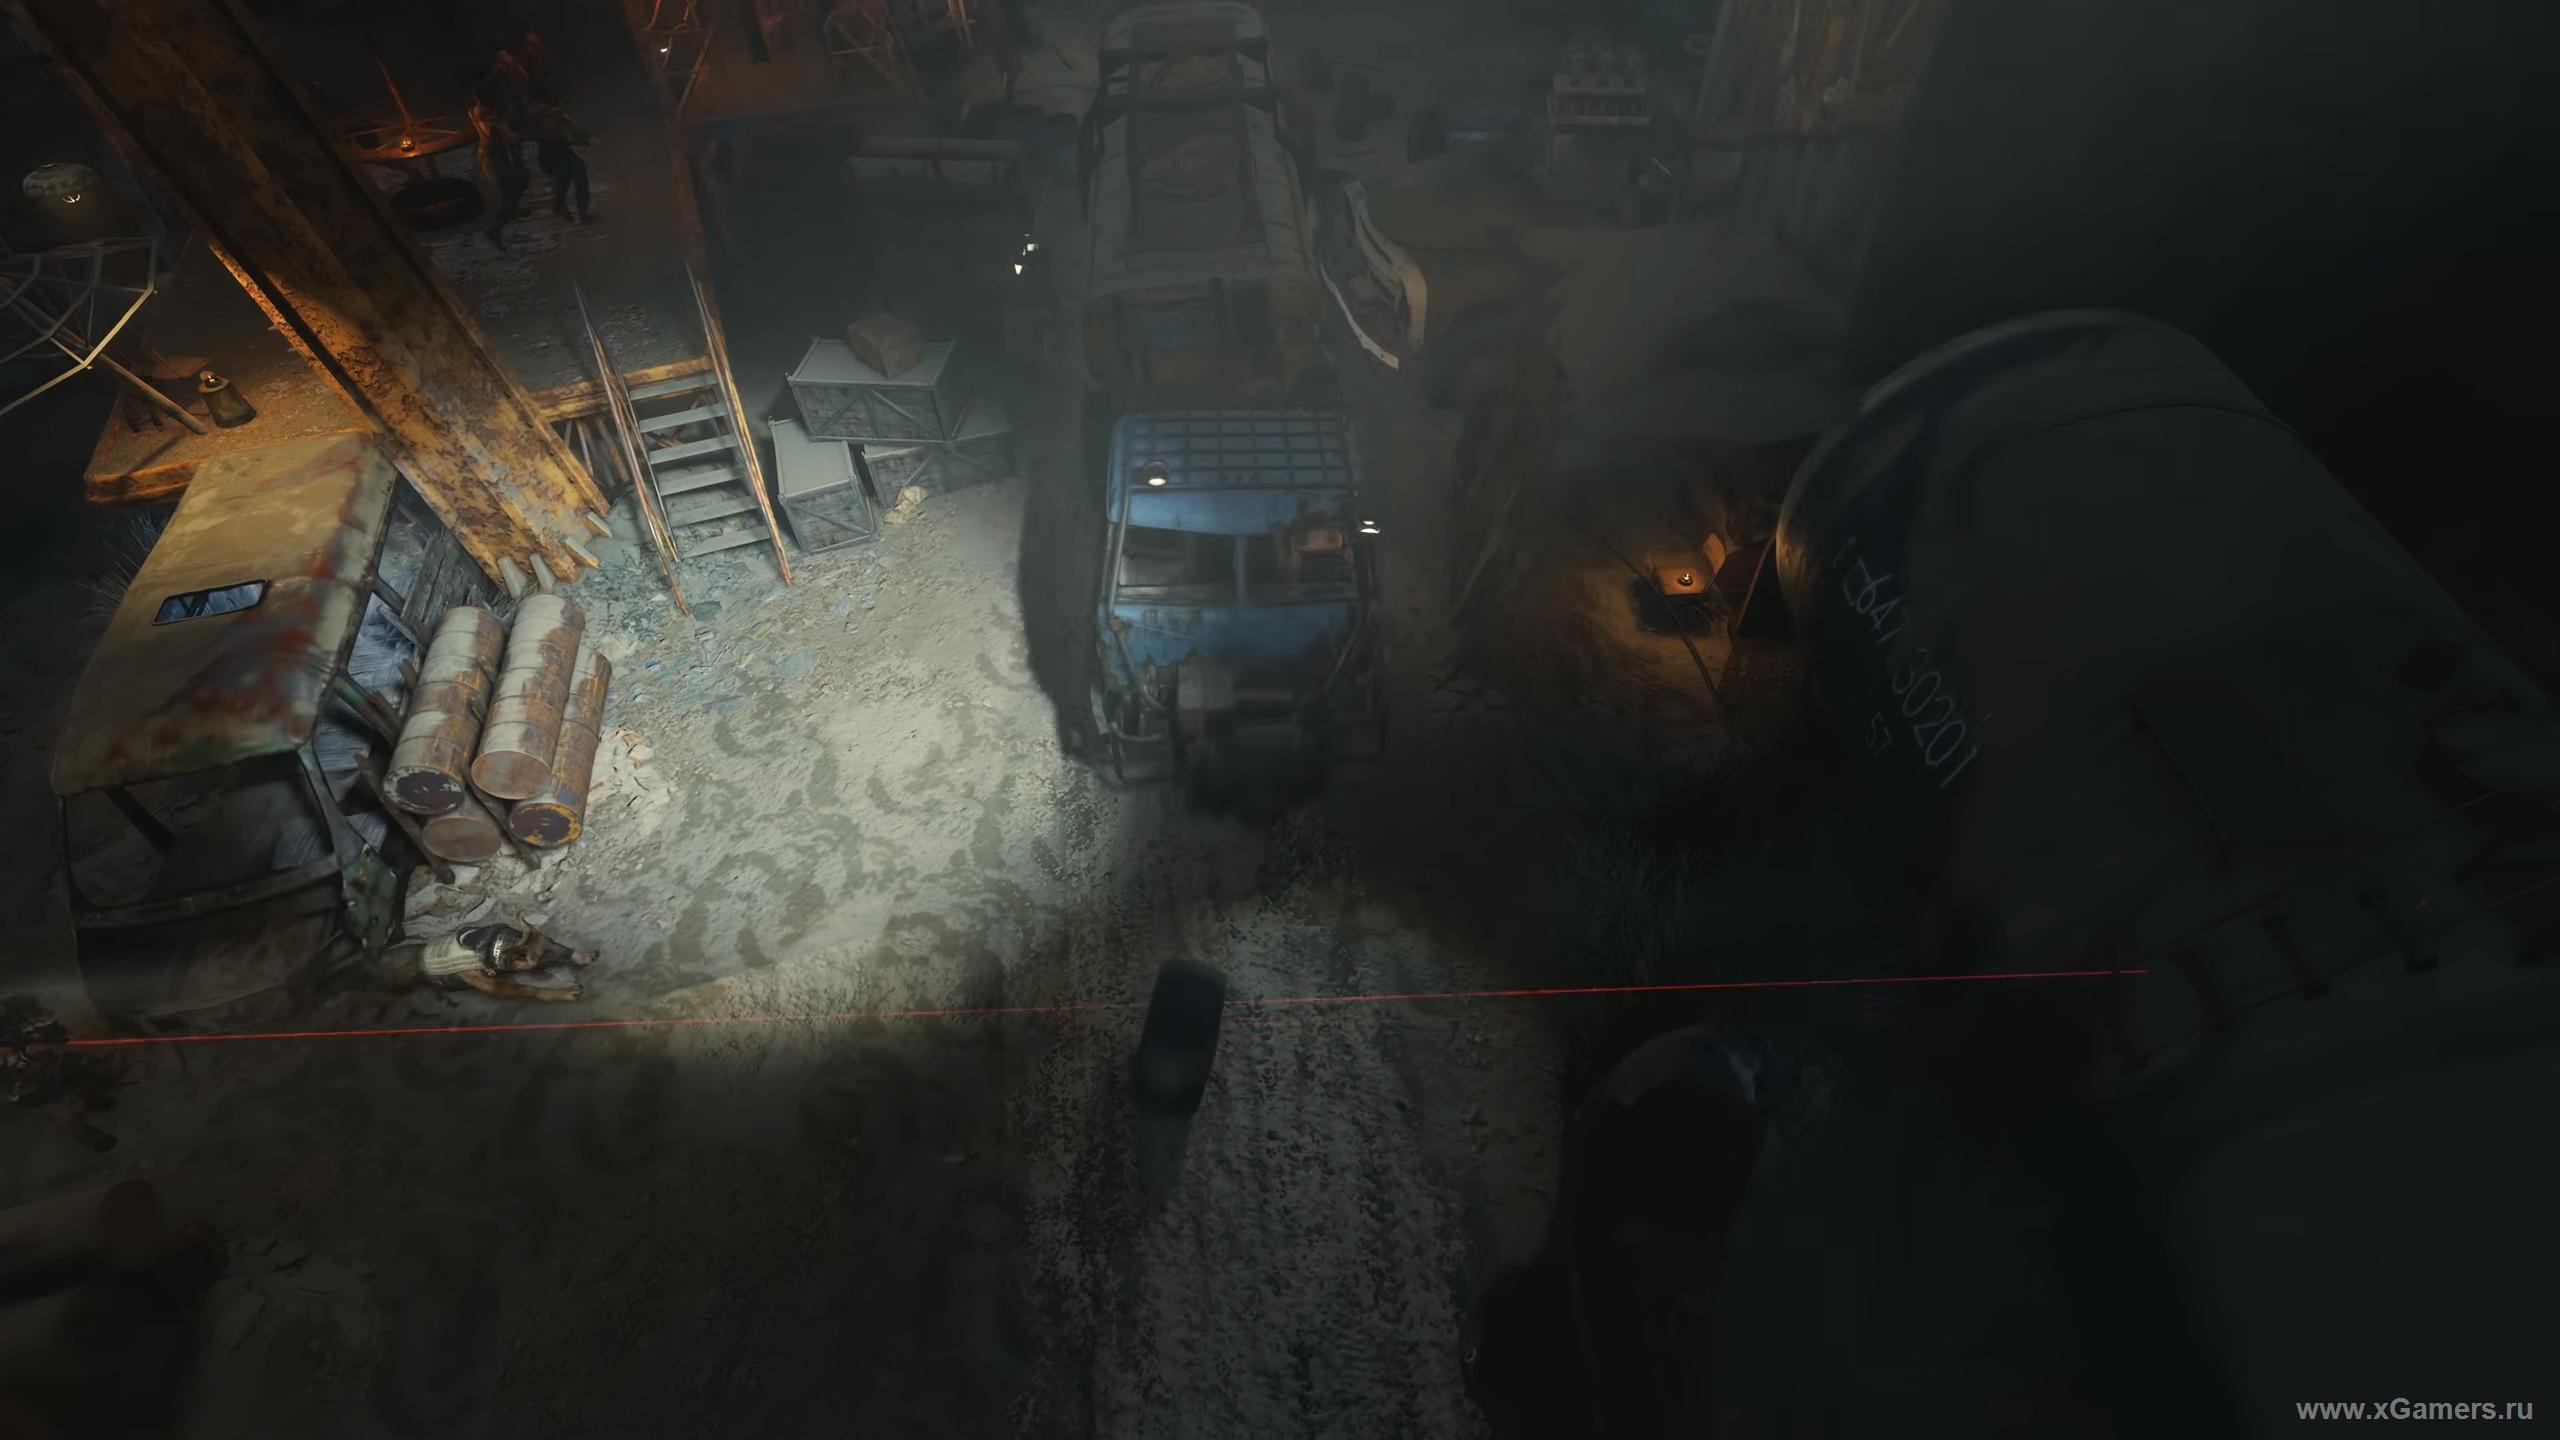
When you reach the next target, go to the deconstructed ship, which Anna told you about. Of course, the main gate is closed. Apparently, getting on board is possible only with a rope through a roadblock. If you don’t like this option, try climbing the ladder to the hole in the ship hull. On the way you will get a couple of oilmen; what to do with them - decide for yourself, it will not affect the ending.
If you decide to go through the checkpoint, do not forget to search it carefully - here you can find another note. Once you get on the deck of the ship, open the door (it’s there alone - you can’t go wrong) and go inside. Keep in mind that there are a lot of opponents here, so be extremely careful. Your goal is captain"s cabin. There are two tactics here. The first - in the forehead, according to the classics, killing everyone. The second is to play around with the knife switches, cutting off the light and walking in the style of “stealth.” On the way, grab a card from the deck, another note, carefully vacuum everything around for resources and ammunition. In addition, in one of the cabins is an upgrade for your gas mask.
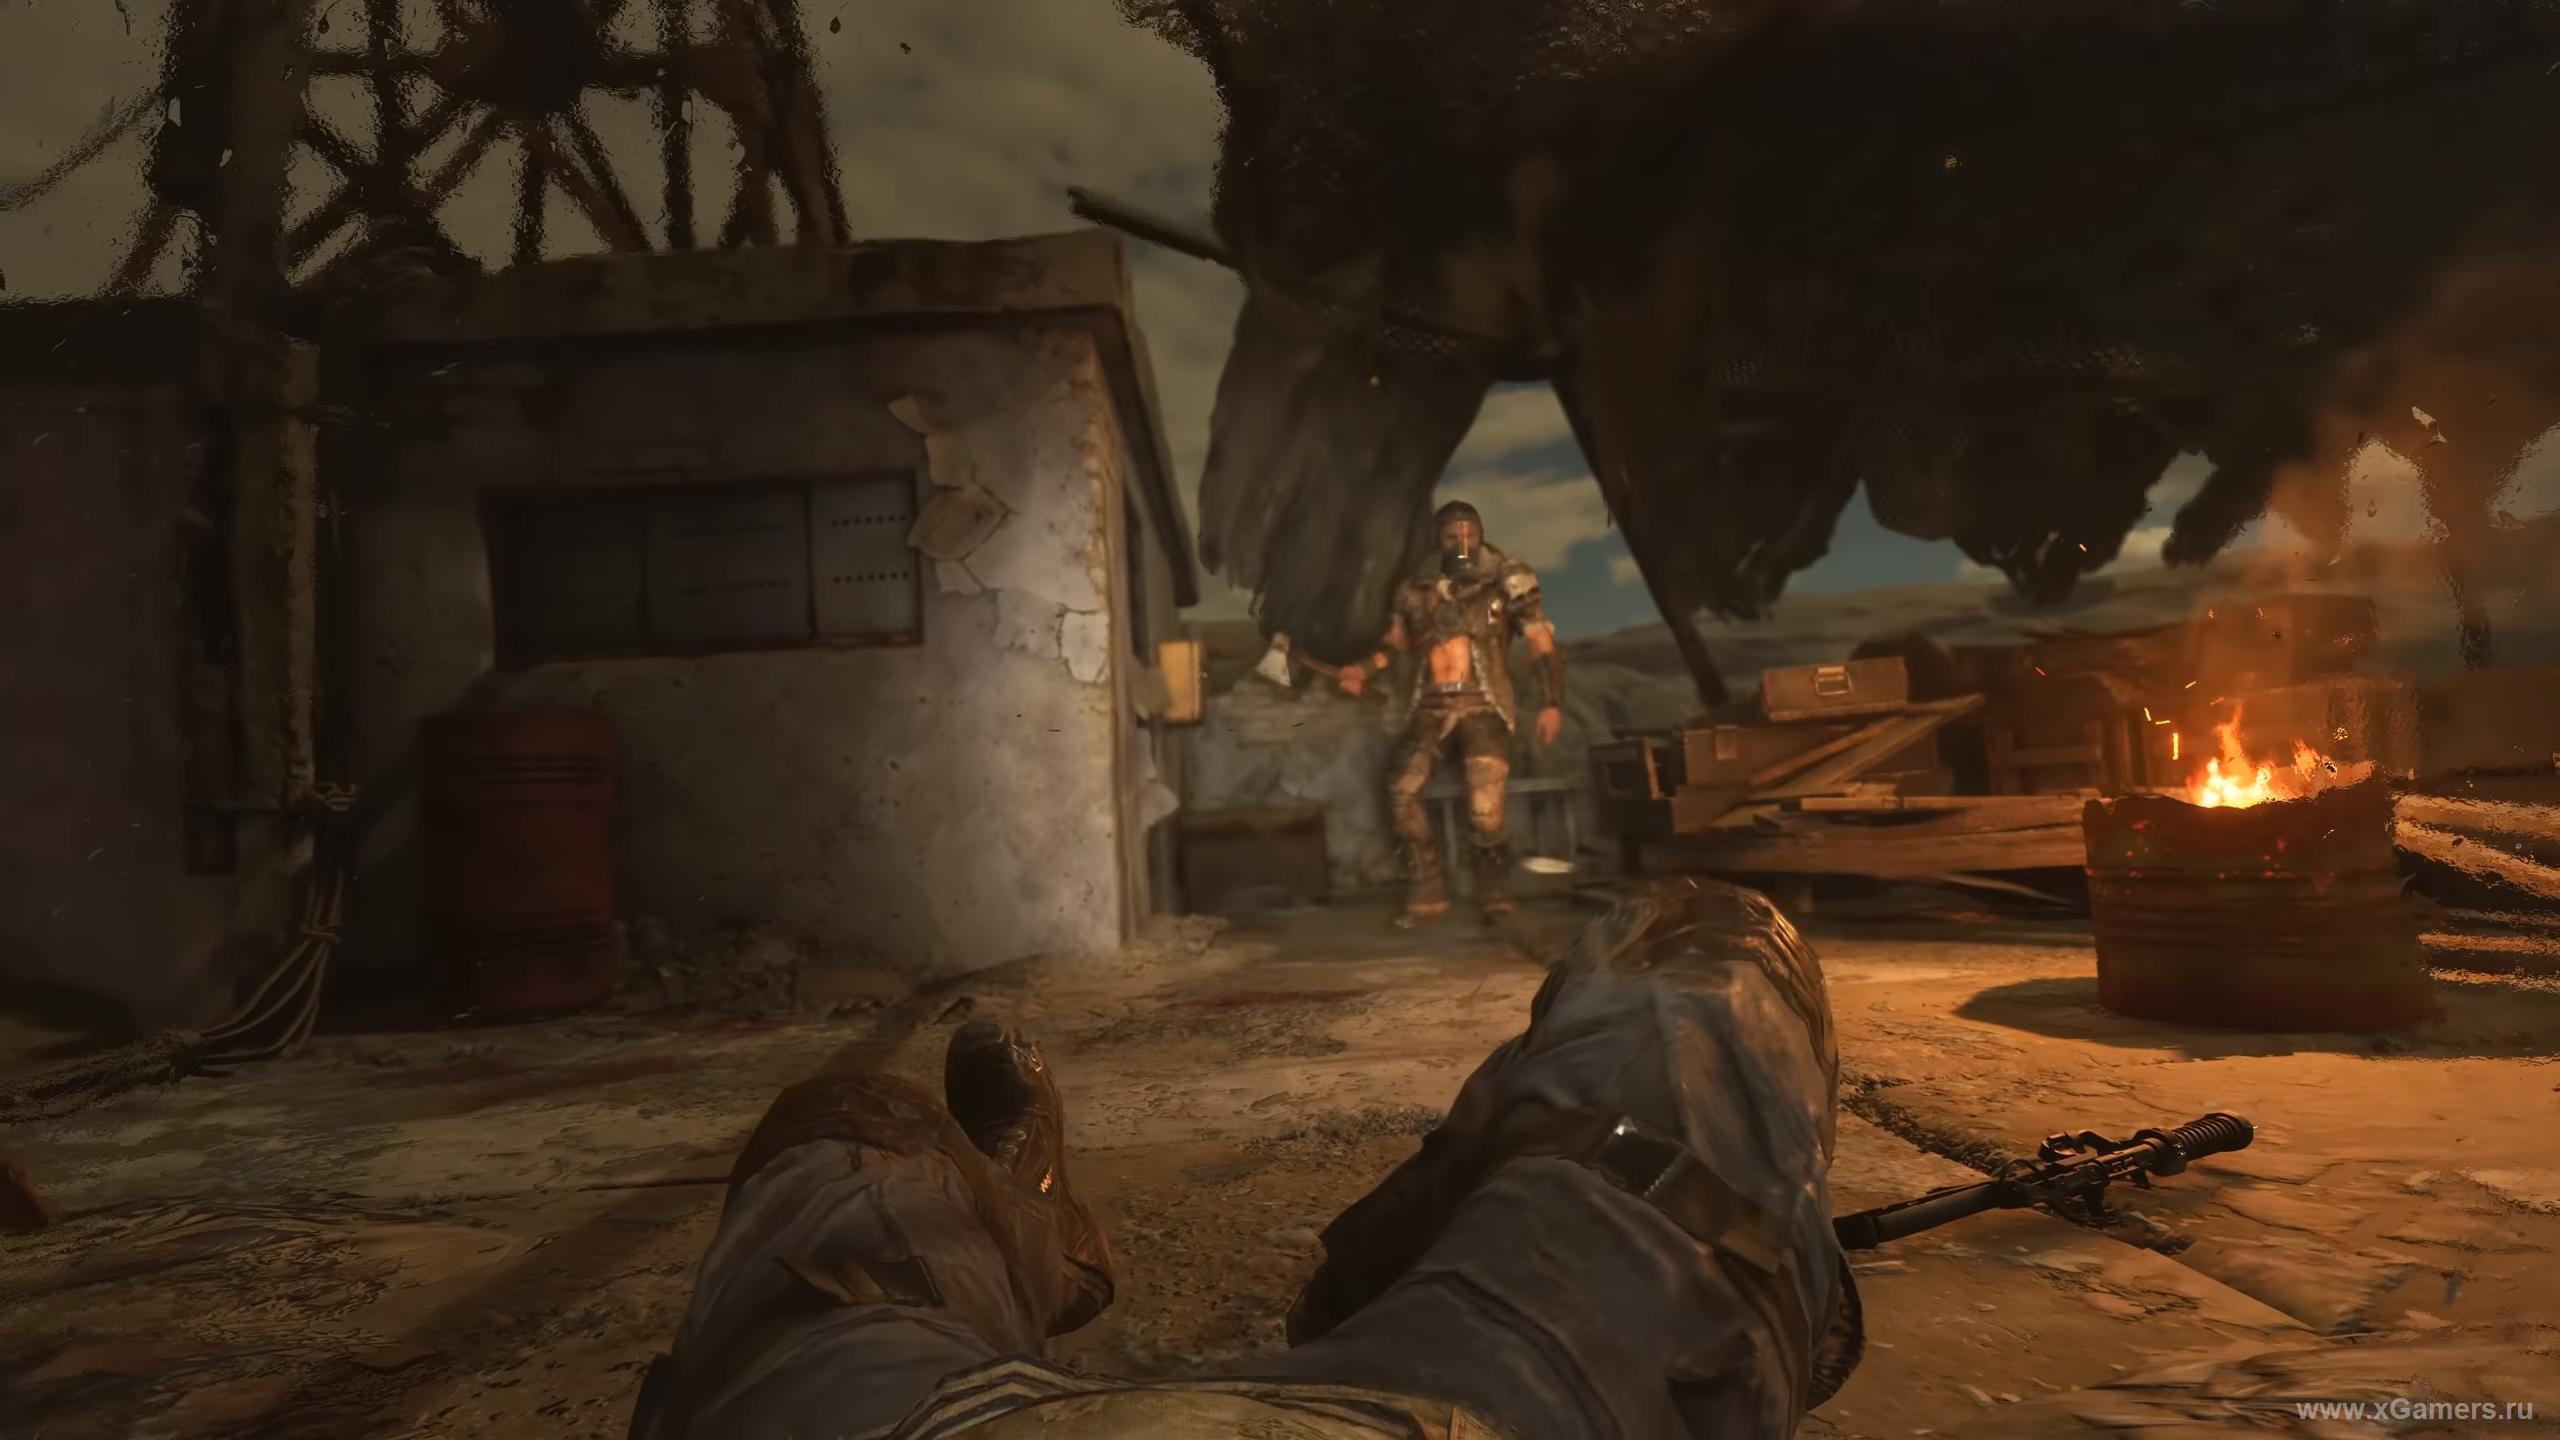
At the end of the level you will find a mini-boss armed with a machine gun and chained in good armor. With him nothing can be done except how to finish off.
This is where your business is almost over. Before leaving, open the slave cages, then use the lever located behind the captain"s cabin. Thus, you will open those gates, and at the same time you will receive another plus to karma.
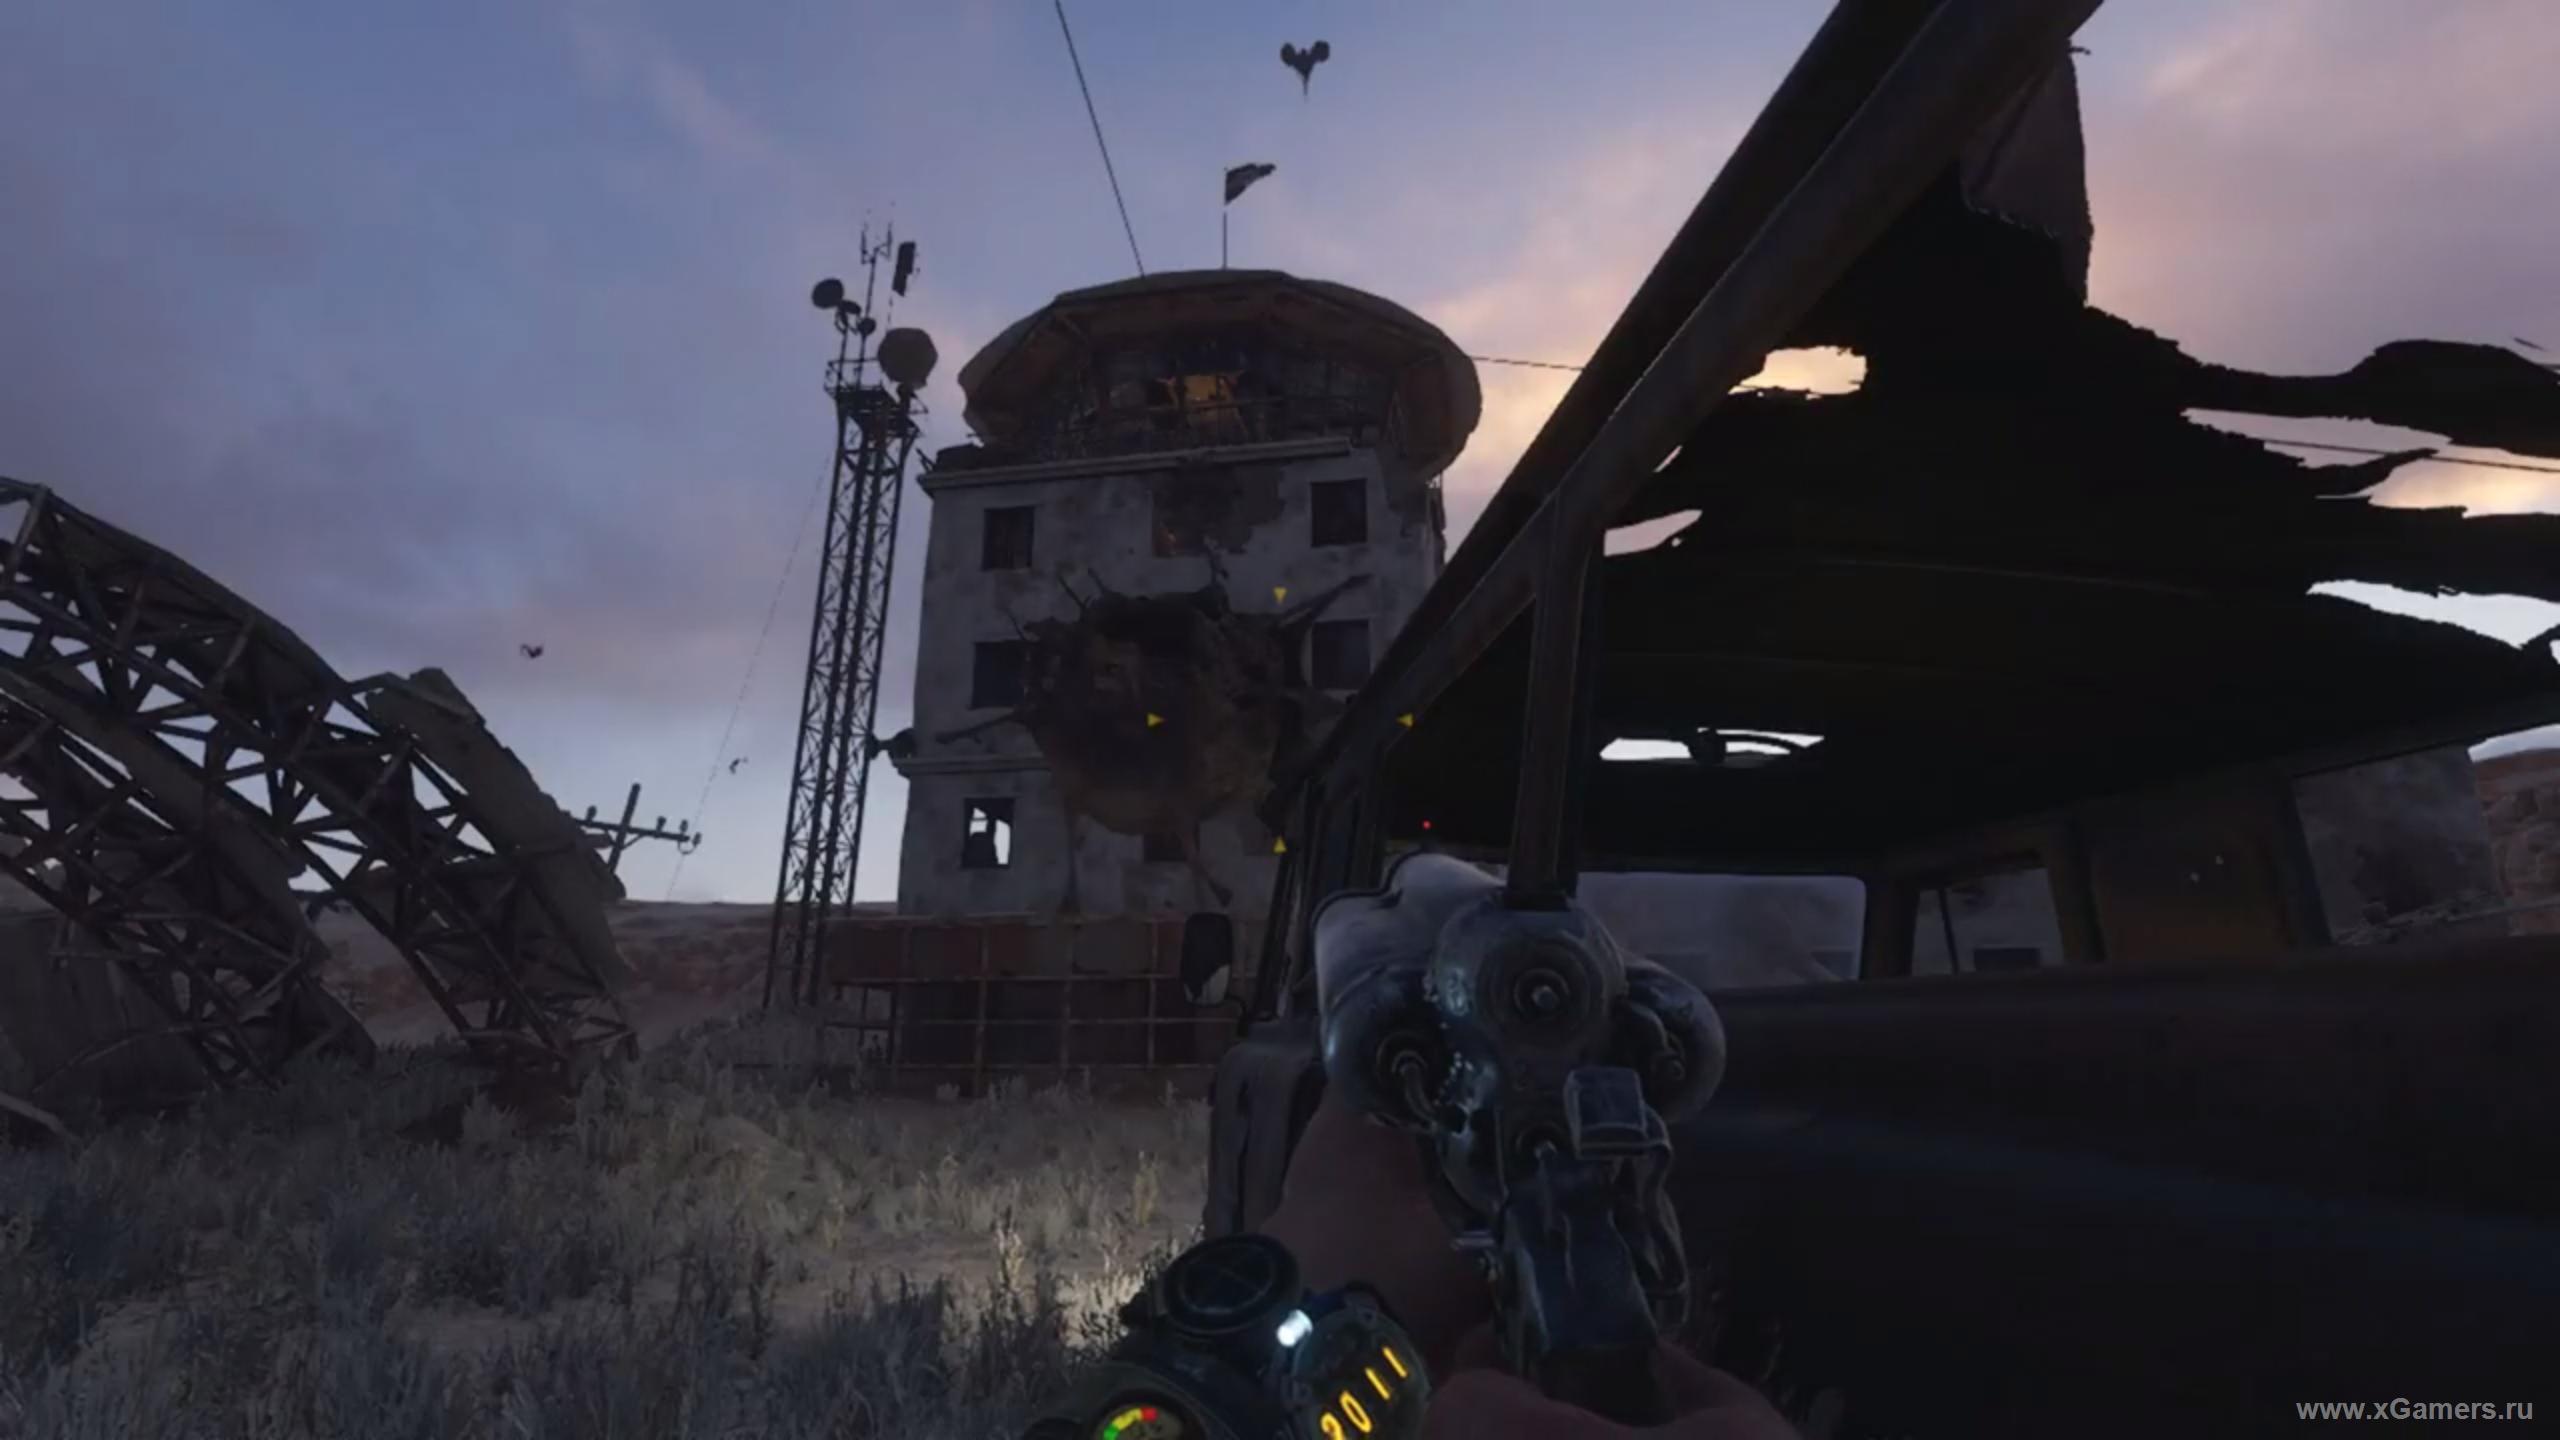
Helicopter landing pad
Your next target is located very close to the ship you have cleared. How to get there, the best solution would be to climb the tower (there is only one there.) You already have a sniper, you have not forgotten? Use it to send the Demon to the forefathers.
Having dealt with him, get into the most right hangar and search it. While you deal with mutants, there will be more savages - kill them too. Keep in mind that in their arsenal there are Molotov cocktails and grenades, so play carefully. As you deal with them, go to the control point. There you will be met by not too friendly minded beastmen mutants. The best way to deal with them is to lure them into a corner and jam them with Molotov cocktails; otherwise, you will spend too much time, bullets and nerves. It is not worth it, believe me.
When they are finished, go to the upper level. There you will find another upgrade - signal amplifier for the NVD. Also on the balcony there is a curious audio recording, which you can listen to.
Ruins
On the way to the next target, you can see the boiled bark. It is located approximately in the middle of the location. There you can find an upgrade for the flashlight, as well as relax and take a nap, if there is such a desire or need. After this, climb into the ruins. There is a chair next to the truck, on it - another note, this time - a letter from Baron. Next you need to find here an upgrade for the gas mask, but to achieve it will not be so easy - here you will find a pack of aggressive dogs. Kill them, but it is better not to kill other opponents here - just send them to the knockout. After this, pass along the stairs, which leads into the small grotto. Here the last gangster will commit suicide, and you can familiarize yourself with his suicide note and pick up the armored glass for the gas mask.
Slave of slaves
Well, you are already close to the final chapter. Just on the way from the ruins to Aurora, perhaps, the last interesting place in this location is located - a broken vessel of slaves. They are teeming with her around her - do not harm them if you do not want to spoil the karma.
One of them is sitting on a chair. Talk to him - he will report that their owner is somewhere above. Well, go there and go straight down the stairs. On the way there will be several gangsters, and if you hit them without killing, then another plus in karma awaits you.
When you reach the captain"s cabin, take a note to the right of the table. Also inside the cabin there is an upgrade for the armlet, namely a motion detector. You can install it right on the spot - the workbench is right there. There is nothing more to do here, so move back to the locomotive.
Humanitarian water delivery mission
When you return to Aurora, another storm will begin. Sit down next to Melnik in the building to get the next mission. And so, after talking with him, you learned that your next goal is located next to the ruins, where you were just recently.
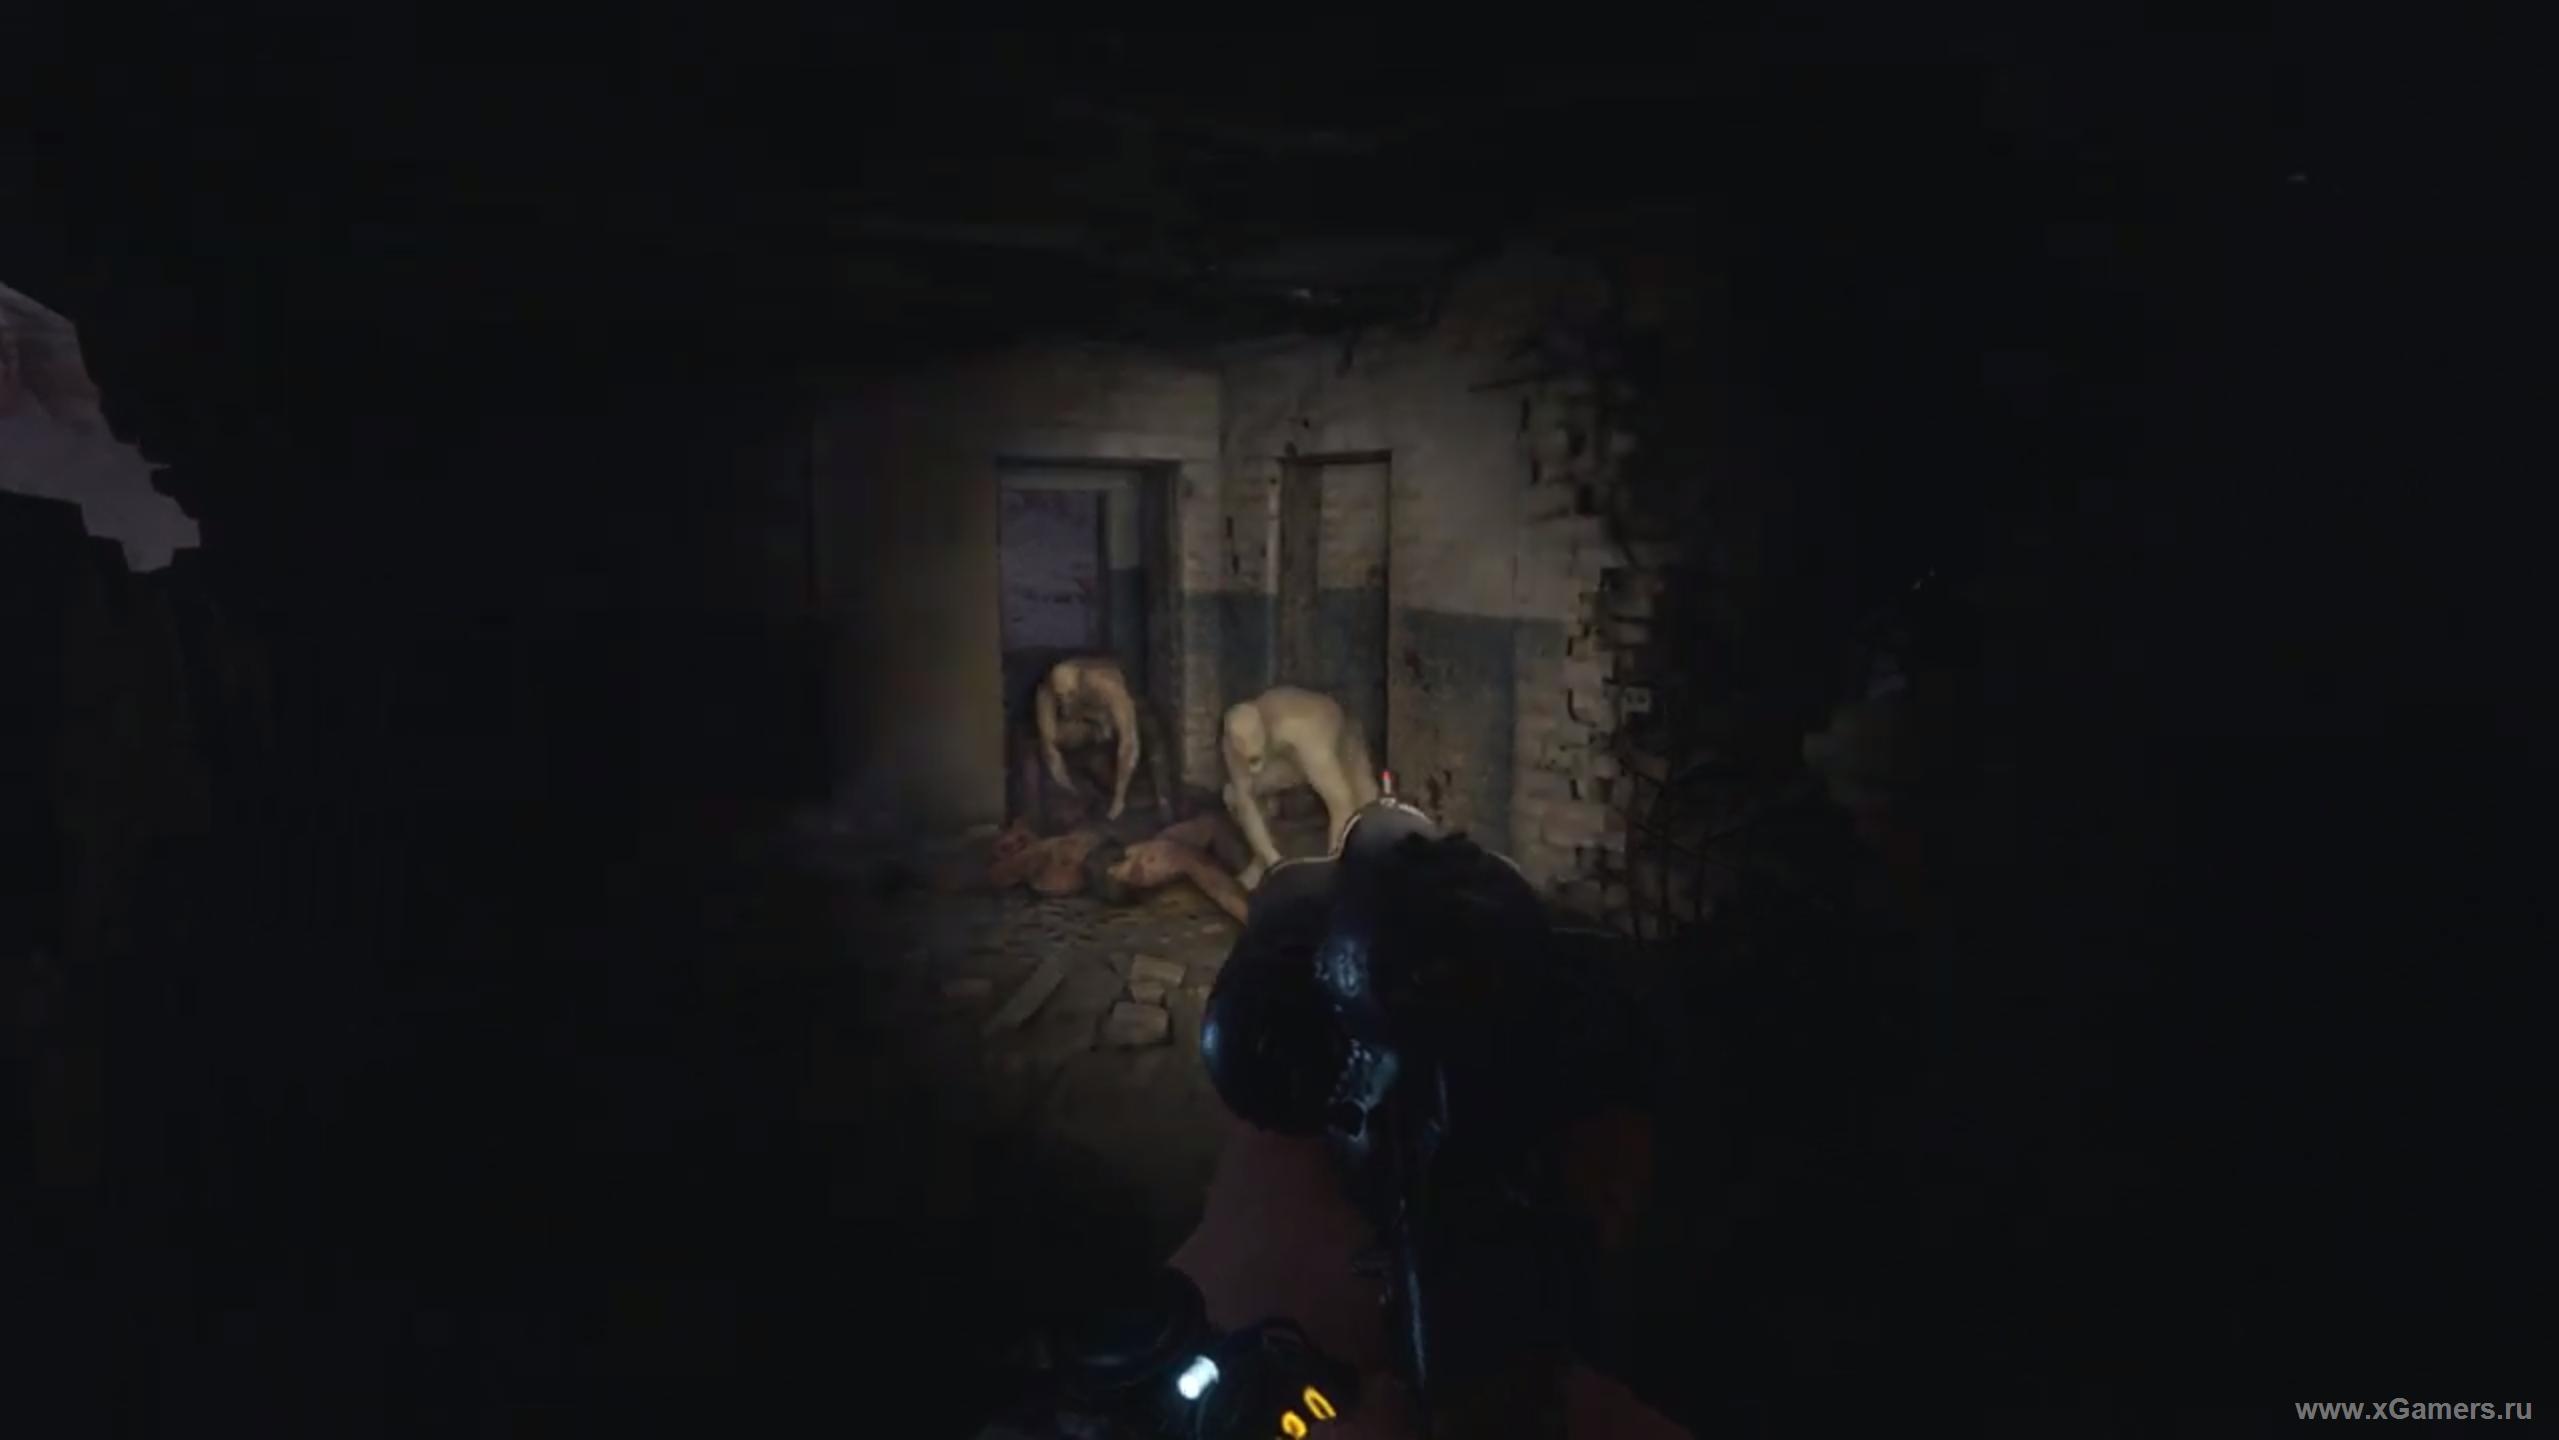
On the way savages will certainly attack you. However, there will be nothing there. As soon as you kill a few, the rest will immediately raise a white flag. When you get there, you will see Damir - talk to him. Together you will track down the entrance. Do not forget to fasten a gas mask and move through the cave. Here the beastmen will attack you, but the battle will be simple - interrupt them as you like.
Having penetrated into the abode of the oil industry, try to avoid bloodshed, especially with regard to slaves. This can be done in many ways, nothing complicated here, but a couple of people still have to incapacitate. Once at the pumping station, sneak under the platform and dispose of the pump guard. After this, get down and move along the right edge in order not to stray from the path. Rise up the stairs, deal with two sentries - the third can be bypassed. After that use the lever. In case you managed not to kill anyone here, the reward will be another plus in karma. And, of course, colorful cutscene!
It remains only to refuel
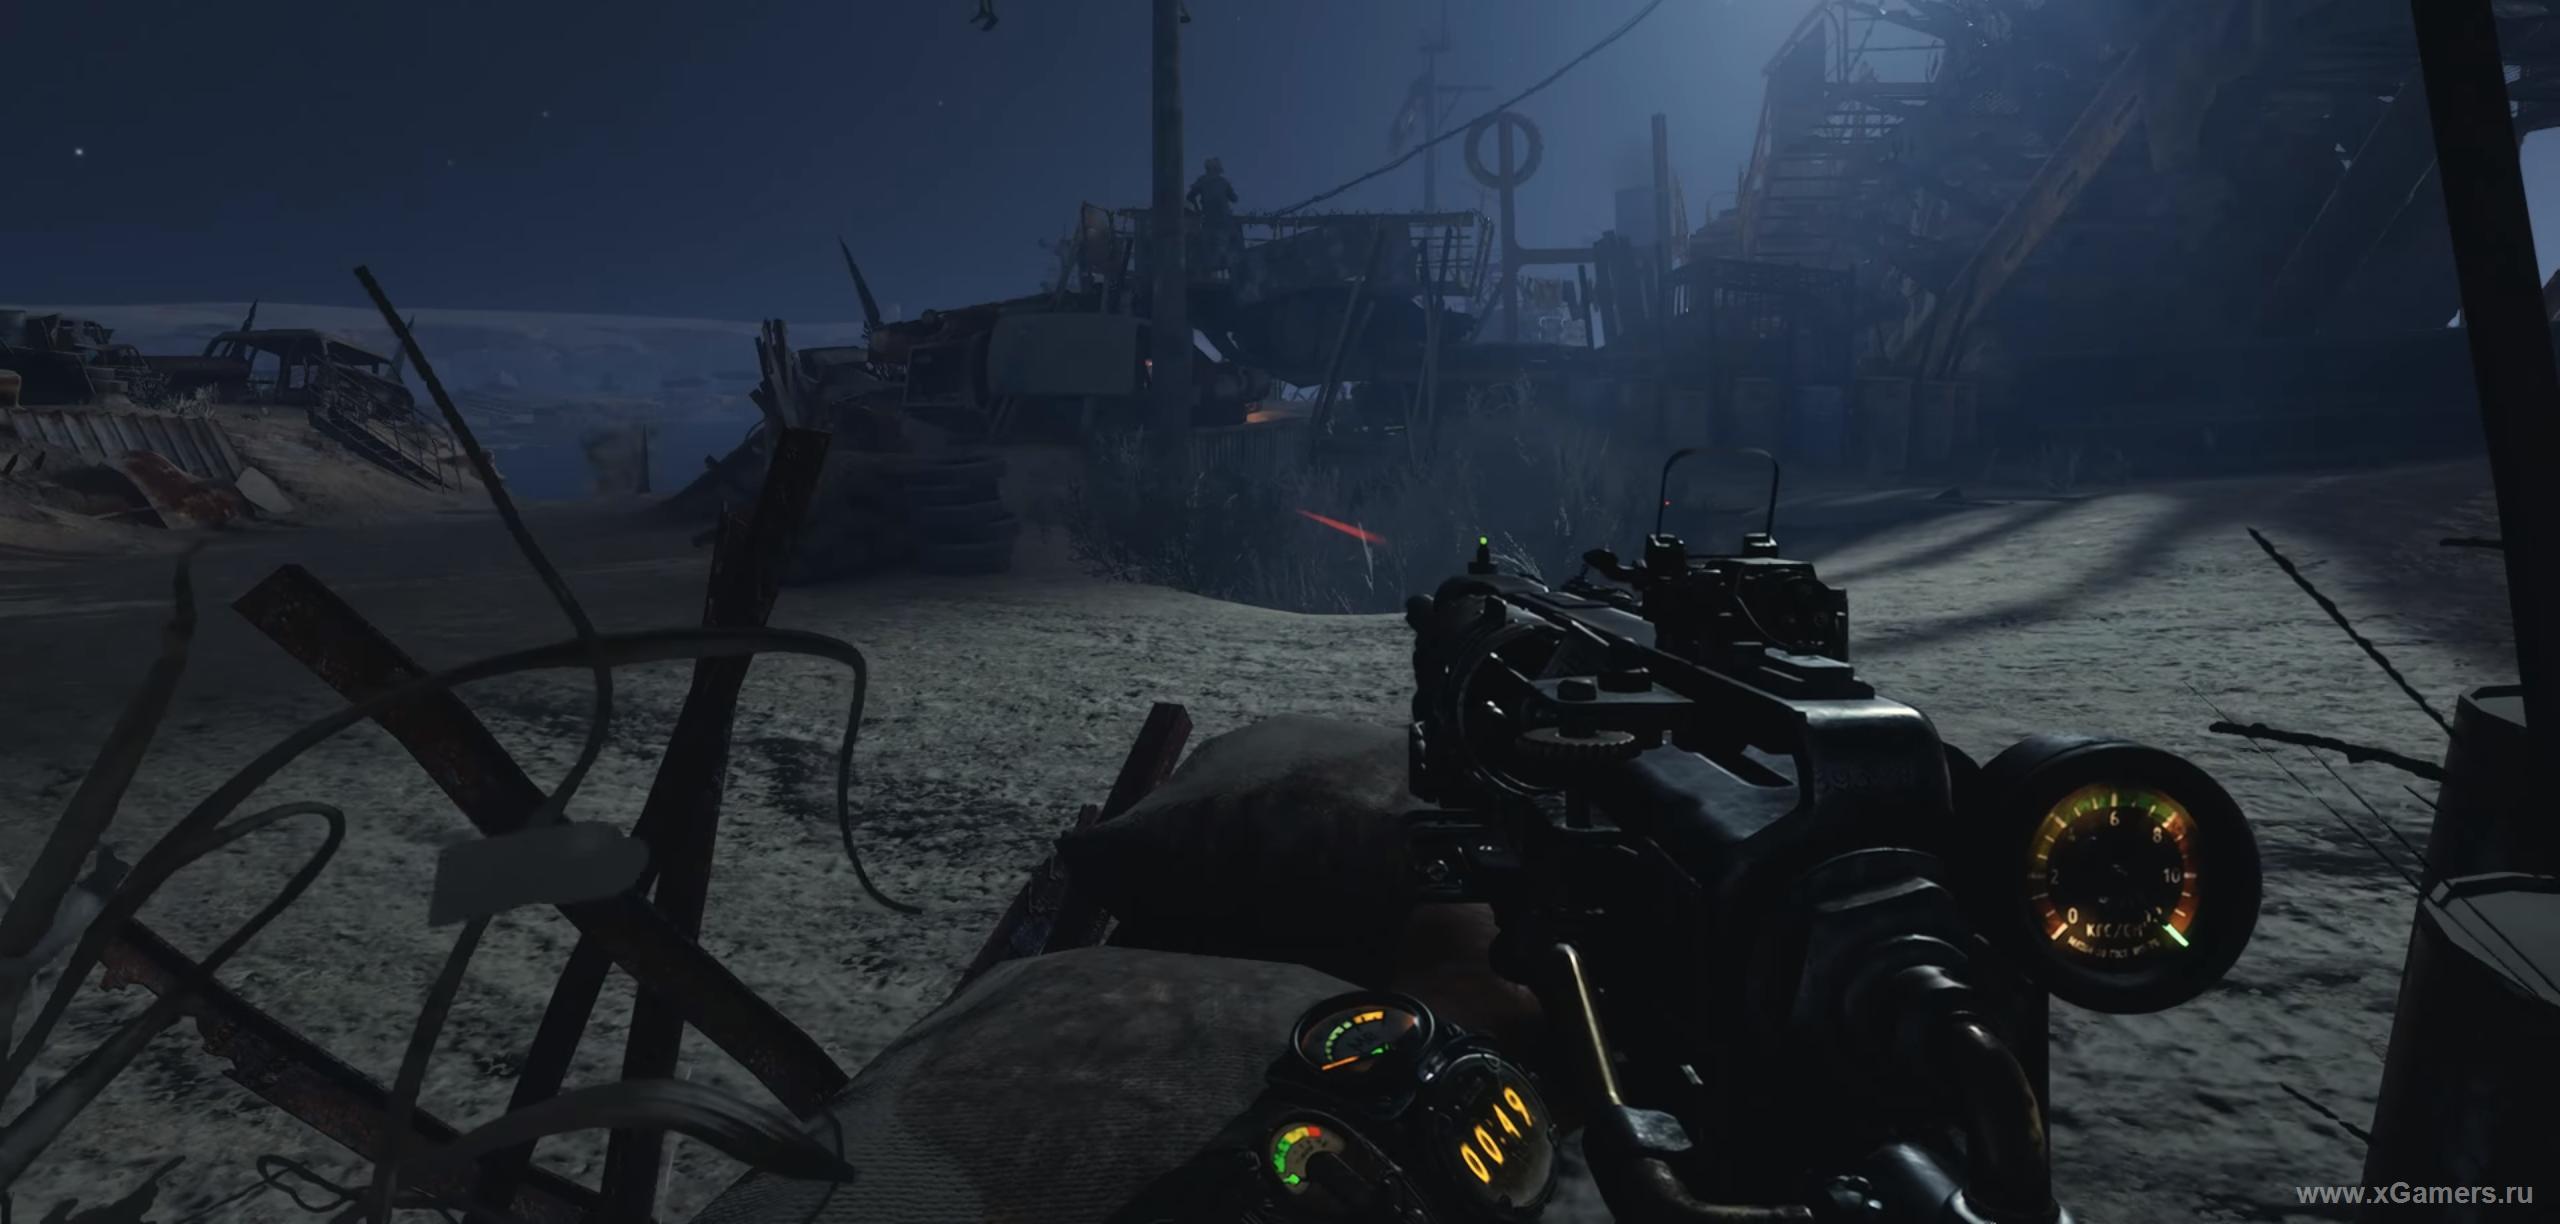
Immediately after this, it will be necessary to fight off the savages, and this fight is not an easy one. First of all, pay attention to the reinforced fighters, armed with machine guns. They can not be allowed close - probably, it is clear why. Once the firefight is over, rummage around the corpses and get out of there, then move to the marked place on the map, riding a car.
Listen to the dialogue with Gul Damir, then go inside the cave. It is better to pass this place in stealth, not touching anyone. Wait for the moment when the savage in the aisle departs, then go up the stairs without touching the sentry. Turn right. Extinguish the lamp in the kennel, then go out.
As in the previous location, it is better to avoid confrontations here too. Go right and follow the wall. Your task - methodically and in time to extinguish the lights and torches. Do not touch the sleeping - they can with fright can make an extra noise. When you get out, listen to Damir. At the end of the conversation the Baron will invite you to visit his lair. Be sure to hide the weapon and move up. On the way, you will meet a dark scene of beating a slave - if you send a savage as a knockout, you will get a plus for karma.

If you can not wait to resolve the issue through aggressive negotiations, then just hit the guard who beats the girl. For this, too, add karma. Well, if you still want to talk with the Baron, then do not touch anyone and ignore everyone. Go through the harem straight to him. The heartfelt monologue of the Baron will soon be interrupted by the brave Gul. The final battle for this location begins. As soon as you finish off a few savages, another mini-boss will seem. It is best to feed him with explosives, and then return to the methodical shooting of weaker opponents. As soon as you finish with them, meet Damir and enjoy the final cutscene of the chapter. If you did everything as written in this passage, he will suddenly die, and Gul will make a loud statement about the beginning of the struggle for the freedom of his people. In case you still killed slaves, our comrade Damir will decide to stay and the main character will not follow the train, so be careful.
If everything is done as it should be, then Damir will go down with Artyom to meet Anna and continue the journey with their group.