
The World-Eater's Eyrie in Skyrim: All Skuldafn Puzzle Solutions and Nahkriin
Skyrim The World-Eater's Eyrie walkthrough: how to free Odahviing, all three Skuldafn puzzle solutions (pillars, rings, Diamond Claw) and how to beat Nahkriin.

In this article (0 sections)
Updated October 2026. The World-Eater's Eyrie is one of the last main quests in Skyrim. Odahviing flies you to Skuldafn, an ancient dragon temple, and you have to fight through it and solve three puzzles to reach Alduin's portal to Sovngarde. Below are all three puzzle solutions and how to beat the dragon priest Nahkriin.
Quick answer
First pillar puzzle: turn the outer pillars so they face their wall pictographs (west = Whale, east = Snake). With your back to the lever you want Eagle, Snake, Eagle to open the door to the rest of the temple.
Second puzzle: Whale, Snake, Eagle (upper left, lower middle, upper right).
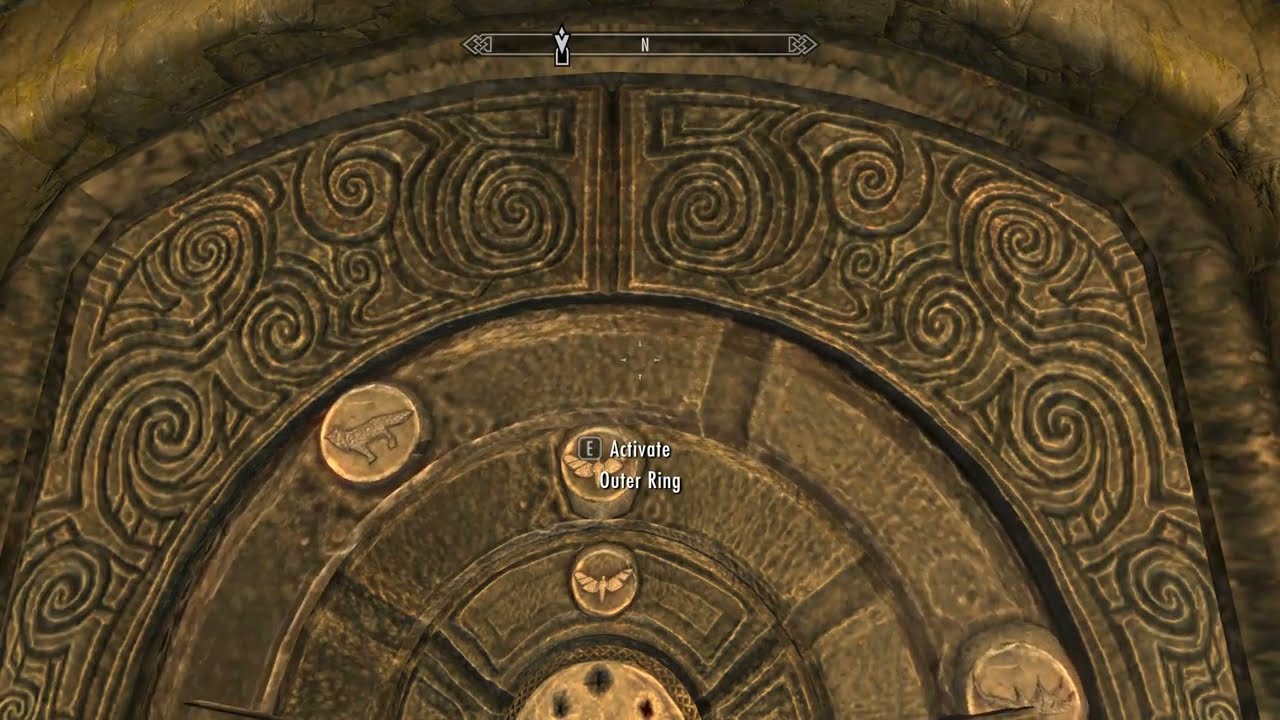
Diamond Claw door: Fox, Moth, Dragon from top to bottom.
Reward: the Storm Call word, Nahkriin's mask and staff, then Sovngarde.
| Detail | Info |
|---|---|
| Quest type | Main quest |
| Quest giver | Odahviing |
| Location | Skuldafn |
| Previous quest | The Fallen |
| Next quest | Sovngarde |
| Reward | Nahkriin (mask), word for the Storm Call shout |
Pack light and finish everything first. You cannot bring followers and you can never return to Skuldafn, so grab the loot you want in one visit and bring enough healing.
Set Odahviing Free
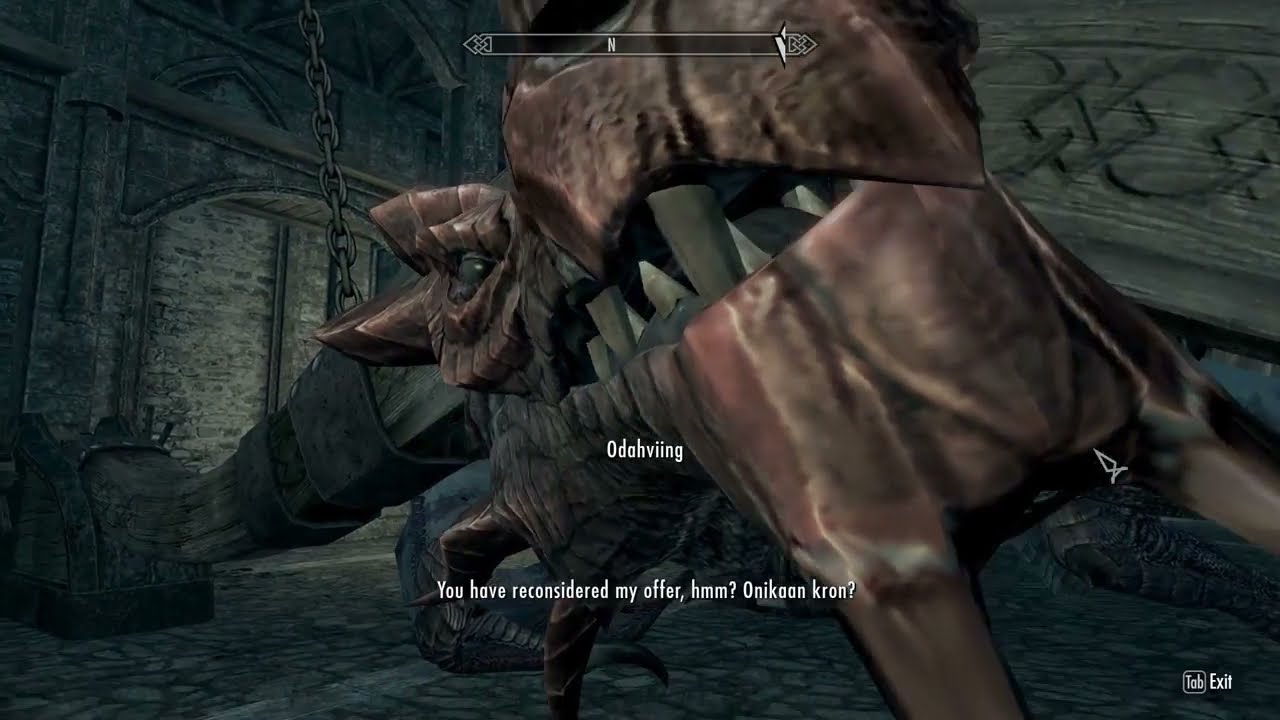
In Dragonsreach, talk to the Whiterun guard on the upper floor (up the stone stairs near the Jarl) and he releases Odahviing. If the guard is dead or stuck repeating a line, pull the chain yourself. Tell Odahviing you are ready and he flies you straight to Skuldafn.
Skuldafn Courtyard
You land among draugr and two dragons. Fight them or sneak past to the temple. The North and South towers only have minor loot and don't lead anywhere.
Puzzle 1: The Three Pillars
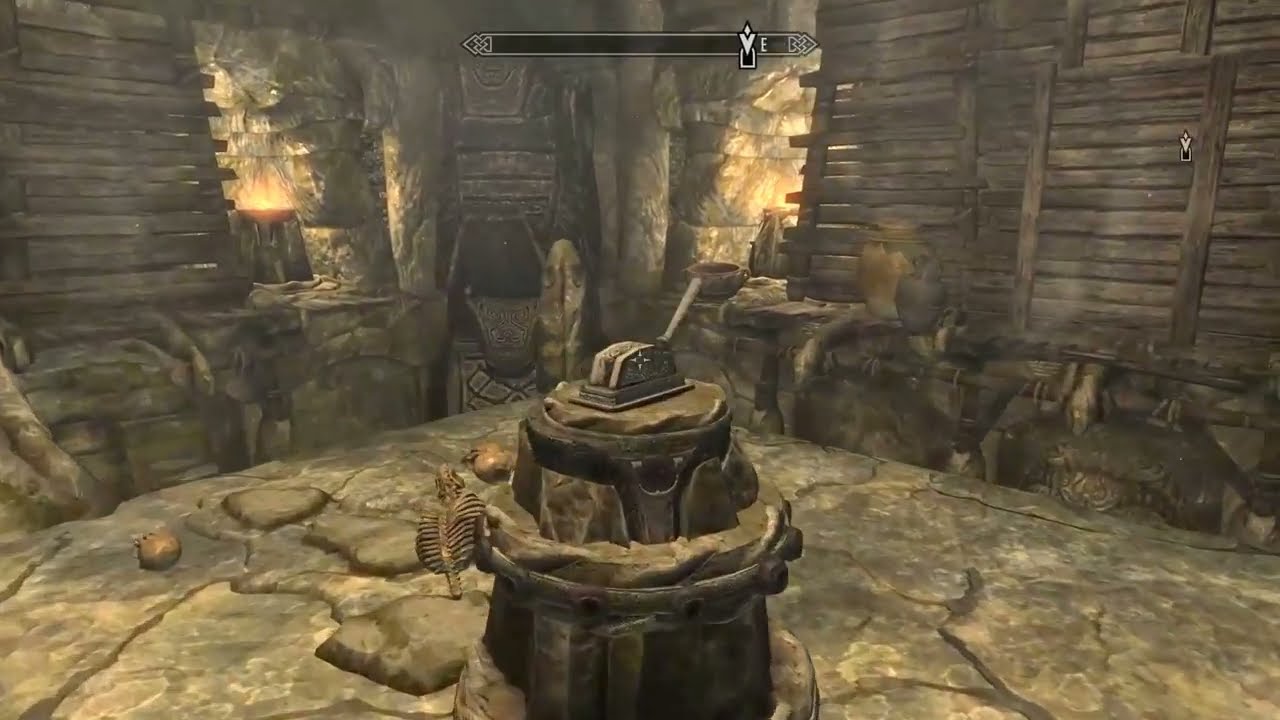
Inside the temple you reach three rotating pillars, each showing an Eagle, a Snake or a Whale, with a lever in front of two doors.
- Turn the west pillar to Whale and the east pillar to Snake so they match the pictographs on the walls next to them.
- The door with a Snake above it leads on; the Eagle door is a dead end with a chest.
- With your back to the lever you should see Eagle, Snake, Eagle. Pull the lever.
Only one door can be open at a time, so close the Eagle door first if you opened it for the chest.
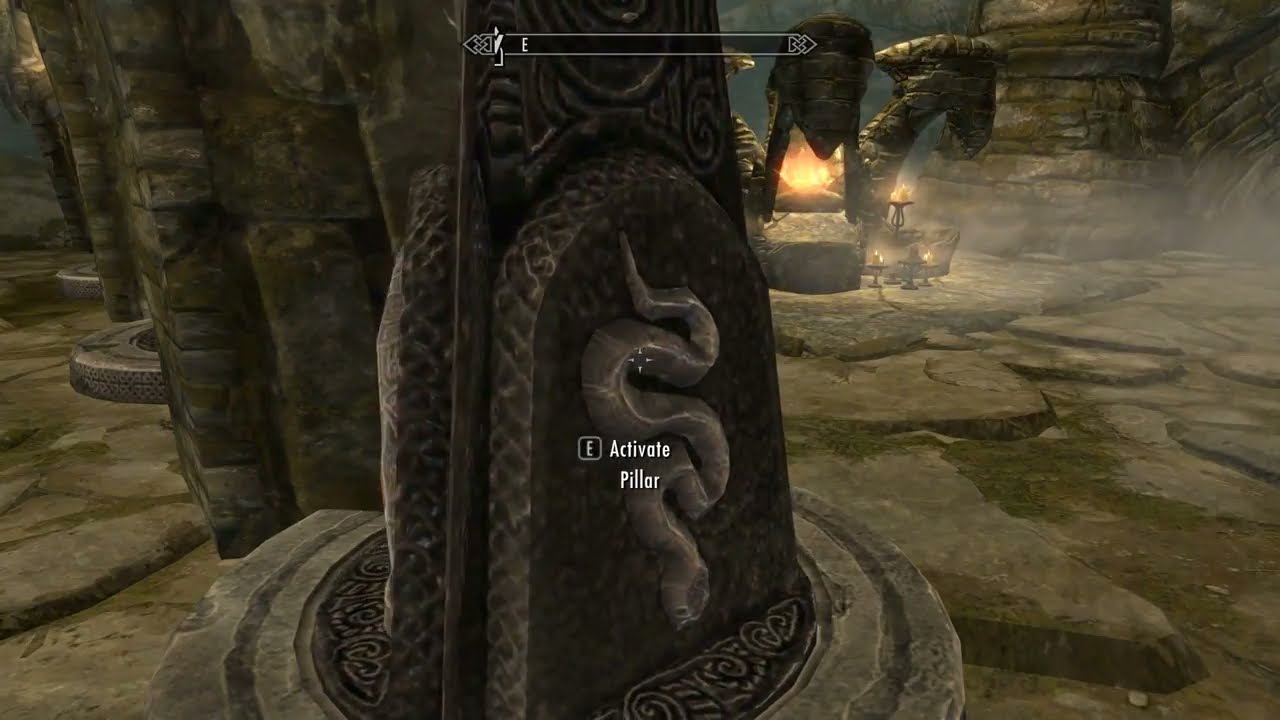
In short: the outer pillars face their matching wall pictographs, and the middle pillar shows the Snake towards the doors.
Puzzle 2: The Upper Platform
After a room of draugr and some frostbite spiders, you reach a second puzzle room. The solution is Whale, Snake, Eagle: upper level left, lower level middle, upper level right. The first and third answers are carved above their pillars and the second is behind the platform, where there is also a chest. Pull the lever to lower the bridge. You can also skip it with Whirlwind Sprint from the platform.
Puzzle 3: The Diamond Claw Door
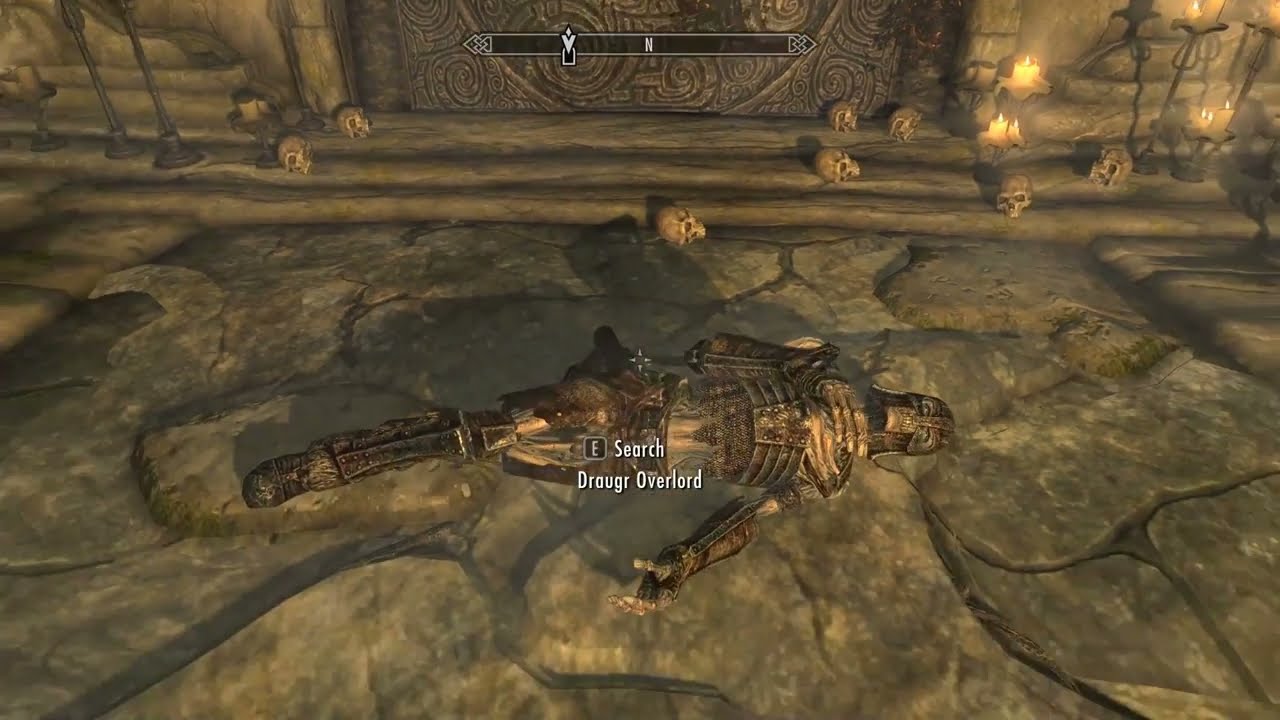
Watch out for pressure plates and the oil slicks with hanging lanterns along the way; you can lure draugr into them. Before the big claw door, a draugr or dragon priest carries the Diamond Claw. Take it and set the rings to Fox, Moth, Dragon from top to bottom (the combination is also shown on the claw in your inventory).
Behind the door is a word wall with a word for Storm Call. Just before the exit, a side room has a pot on a shelf with a flawless emerald, a ruby and a diamond.
Nahkriin and Alduin's Portal
You come out on a high platform above where you landed. Clear the draugr, then climb to the portal guarded by the dragon priest Nahkriin and two perched dragons. Attack him straight away: he does not fight until he pulls his staff out of the portal, and his staff hits hard with shock damage, so shock resistance helps. You can also knock him off the ledge.
After he dies, take his mask and staff, put the staff back into the Dragon Seal to reopen the portal, and step through to Sovngarde. If you kill him before he grabs the staff, you can walk straight in.
Common Problems
- Odahviing turns hostile: this happens if you talk to the guard before Farengar finishes. On PC, select Odahviing in the console and type
stopcombat. - Guard won't release him: pull the chain yourself.
- Pillars or rings won't turn: for the second puzzle you can use Whirlwind Sprint to reach the platform instead.
Video: Skuldafn Puzzle Solution
Frequently Asked Questions
QWhat is the solution to the first Skuldafn puzzle?
Set the west pillar to Whale and the east pillar to Snake, then make the row read Eagle, Snake, Eagle with your back to the lever.
QWhat is the Skuldafn claw door combination?
Fox, Moth, Dragon, from top to bottom. The Diamond Claw is carried by the draugr or dragon priest guarding the door.
QCan you go back to Skuldafn?
No. Once you enter the portal to Sovngarde you cannot return, so loot everything first.
QHow do you free Odahviing?
Talk to the guard on the upper floor of Dragonsreach, or pull the chain yourself if the guard is dead or stuck.
QCan you bring a follower to Skuldafn?
No. Followers cannot come on the final two quests.
Quest details checked against the UESP Skyrim wiki in October 2026.
Kai Mercer covers game news, free games, release calendars and guides for xGamerss.
More from Kai Mercer →
Comments (0)
No comments yet. Be the first!
Sign in or create an account to earn karma — or comment as a guest.