
Metro Exodus walkthrough - Novosibirsk | Mystery Institute
Walkthrough of the final mission: Novosibirsk final trip to Metro Exodus. Again, underground - almost like home, The light in the darkness and the mysterious institution.
In this article (0 sections)
Here we are, the final part of the game. Your journey's almost over - just one thing left to do: save your wife and get out of here alive.
Novosibirsk, or When Hell Freezes Over
You've probably already gathered from the cutscenes and dialogue that the radiation in Novosibirsk isn't something to joke about. Stay extremely careful, and keep that gas mask on whenever you can.
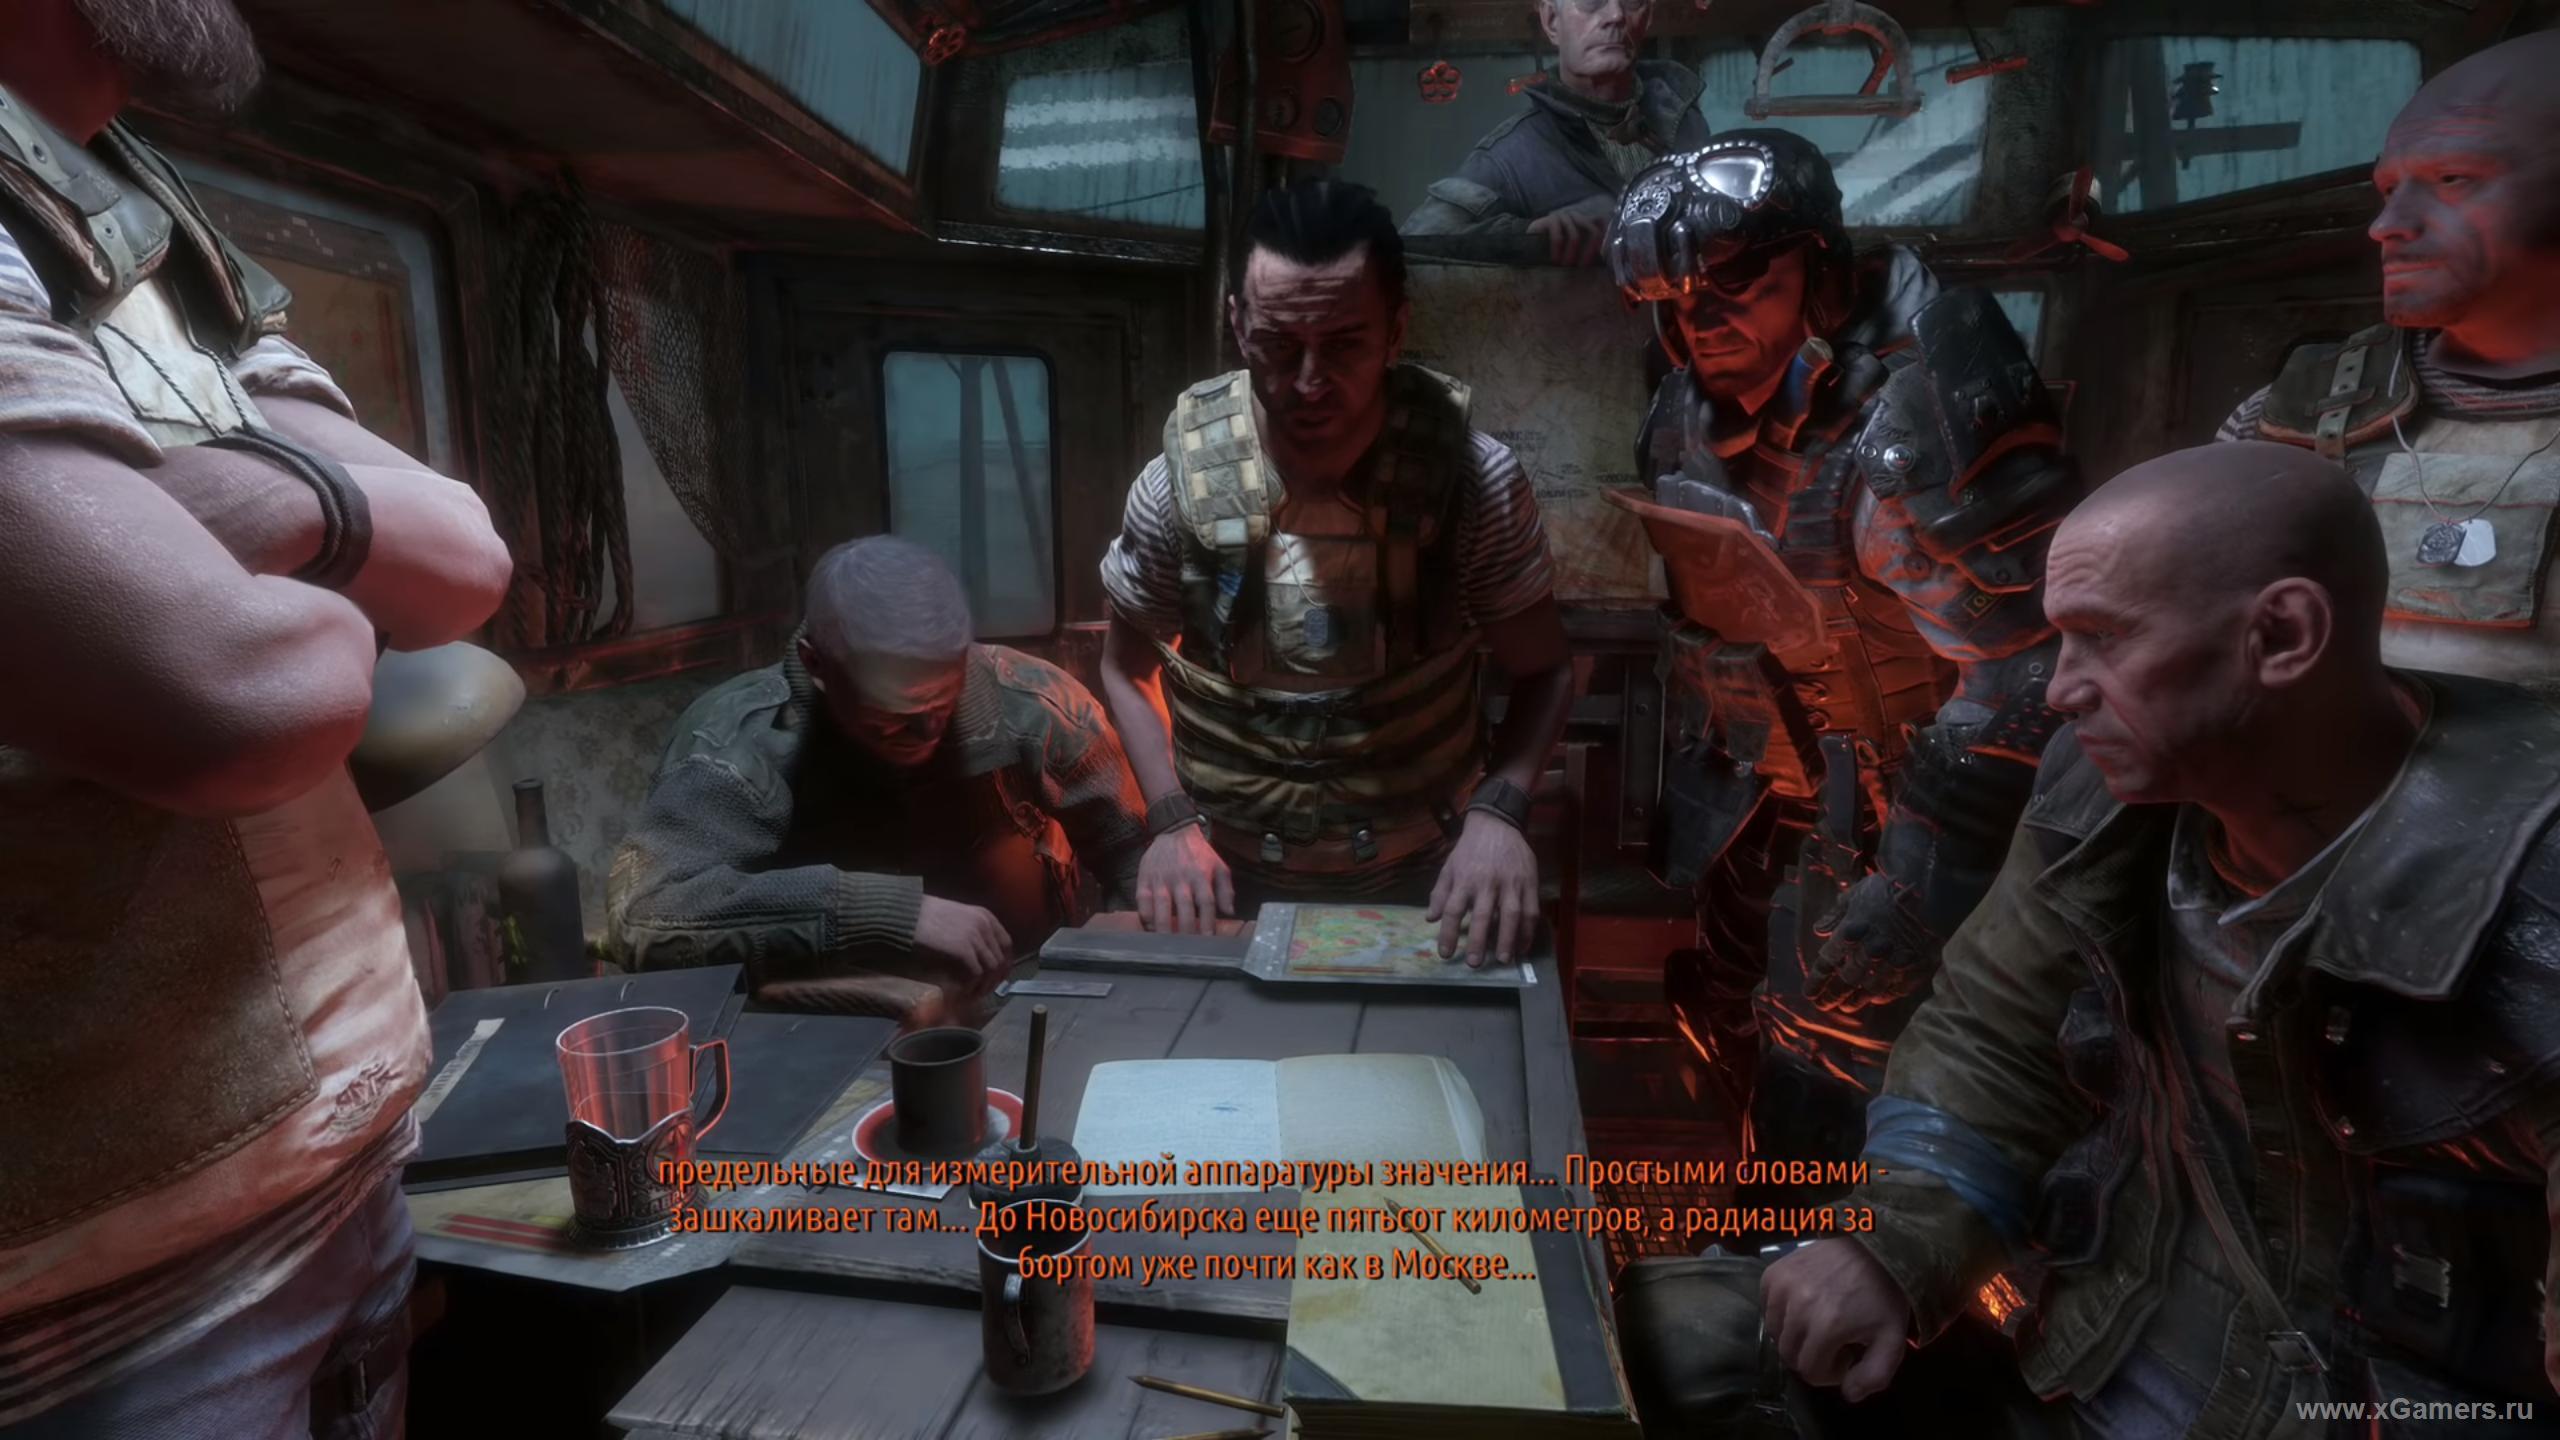
After a short briefing, you and Melnik head to the institute to find medicine for Anna.
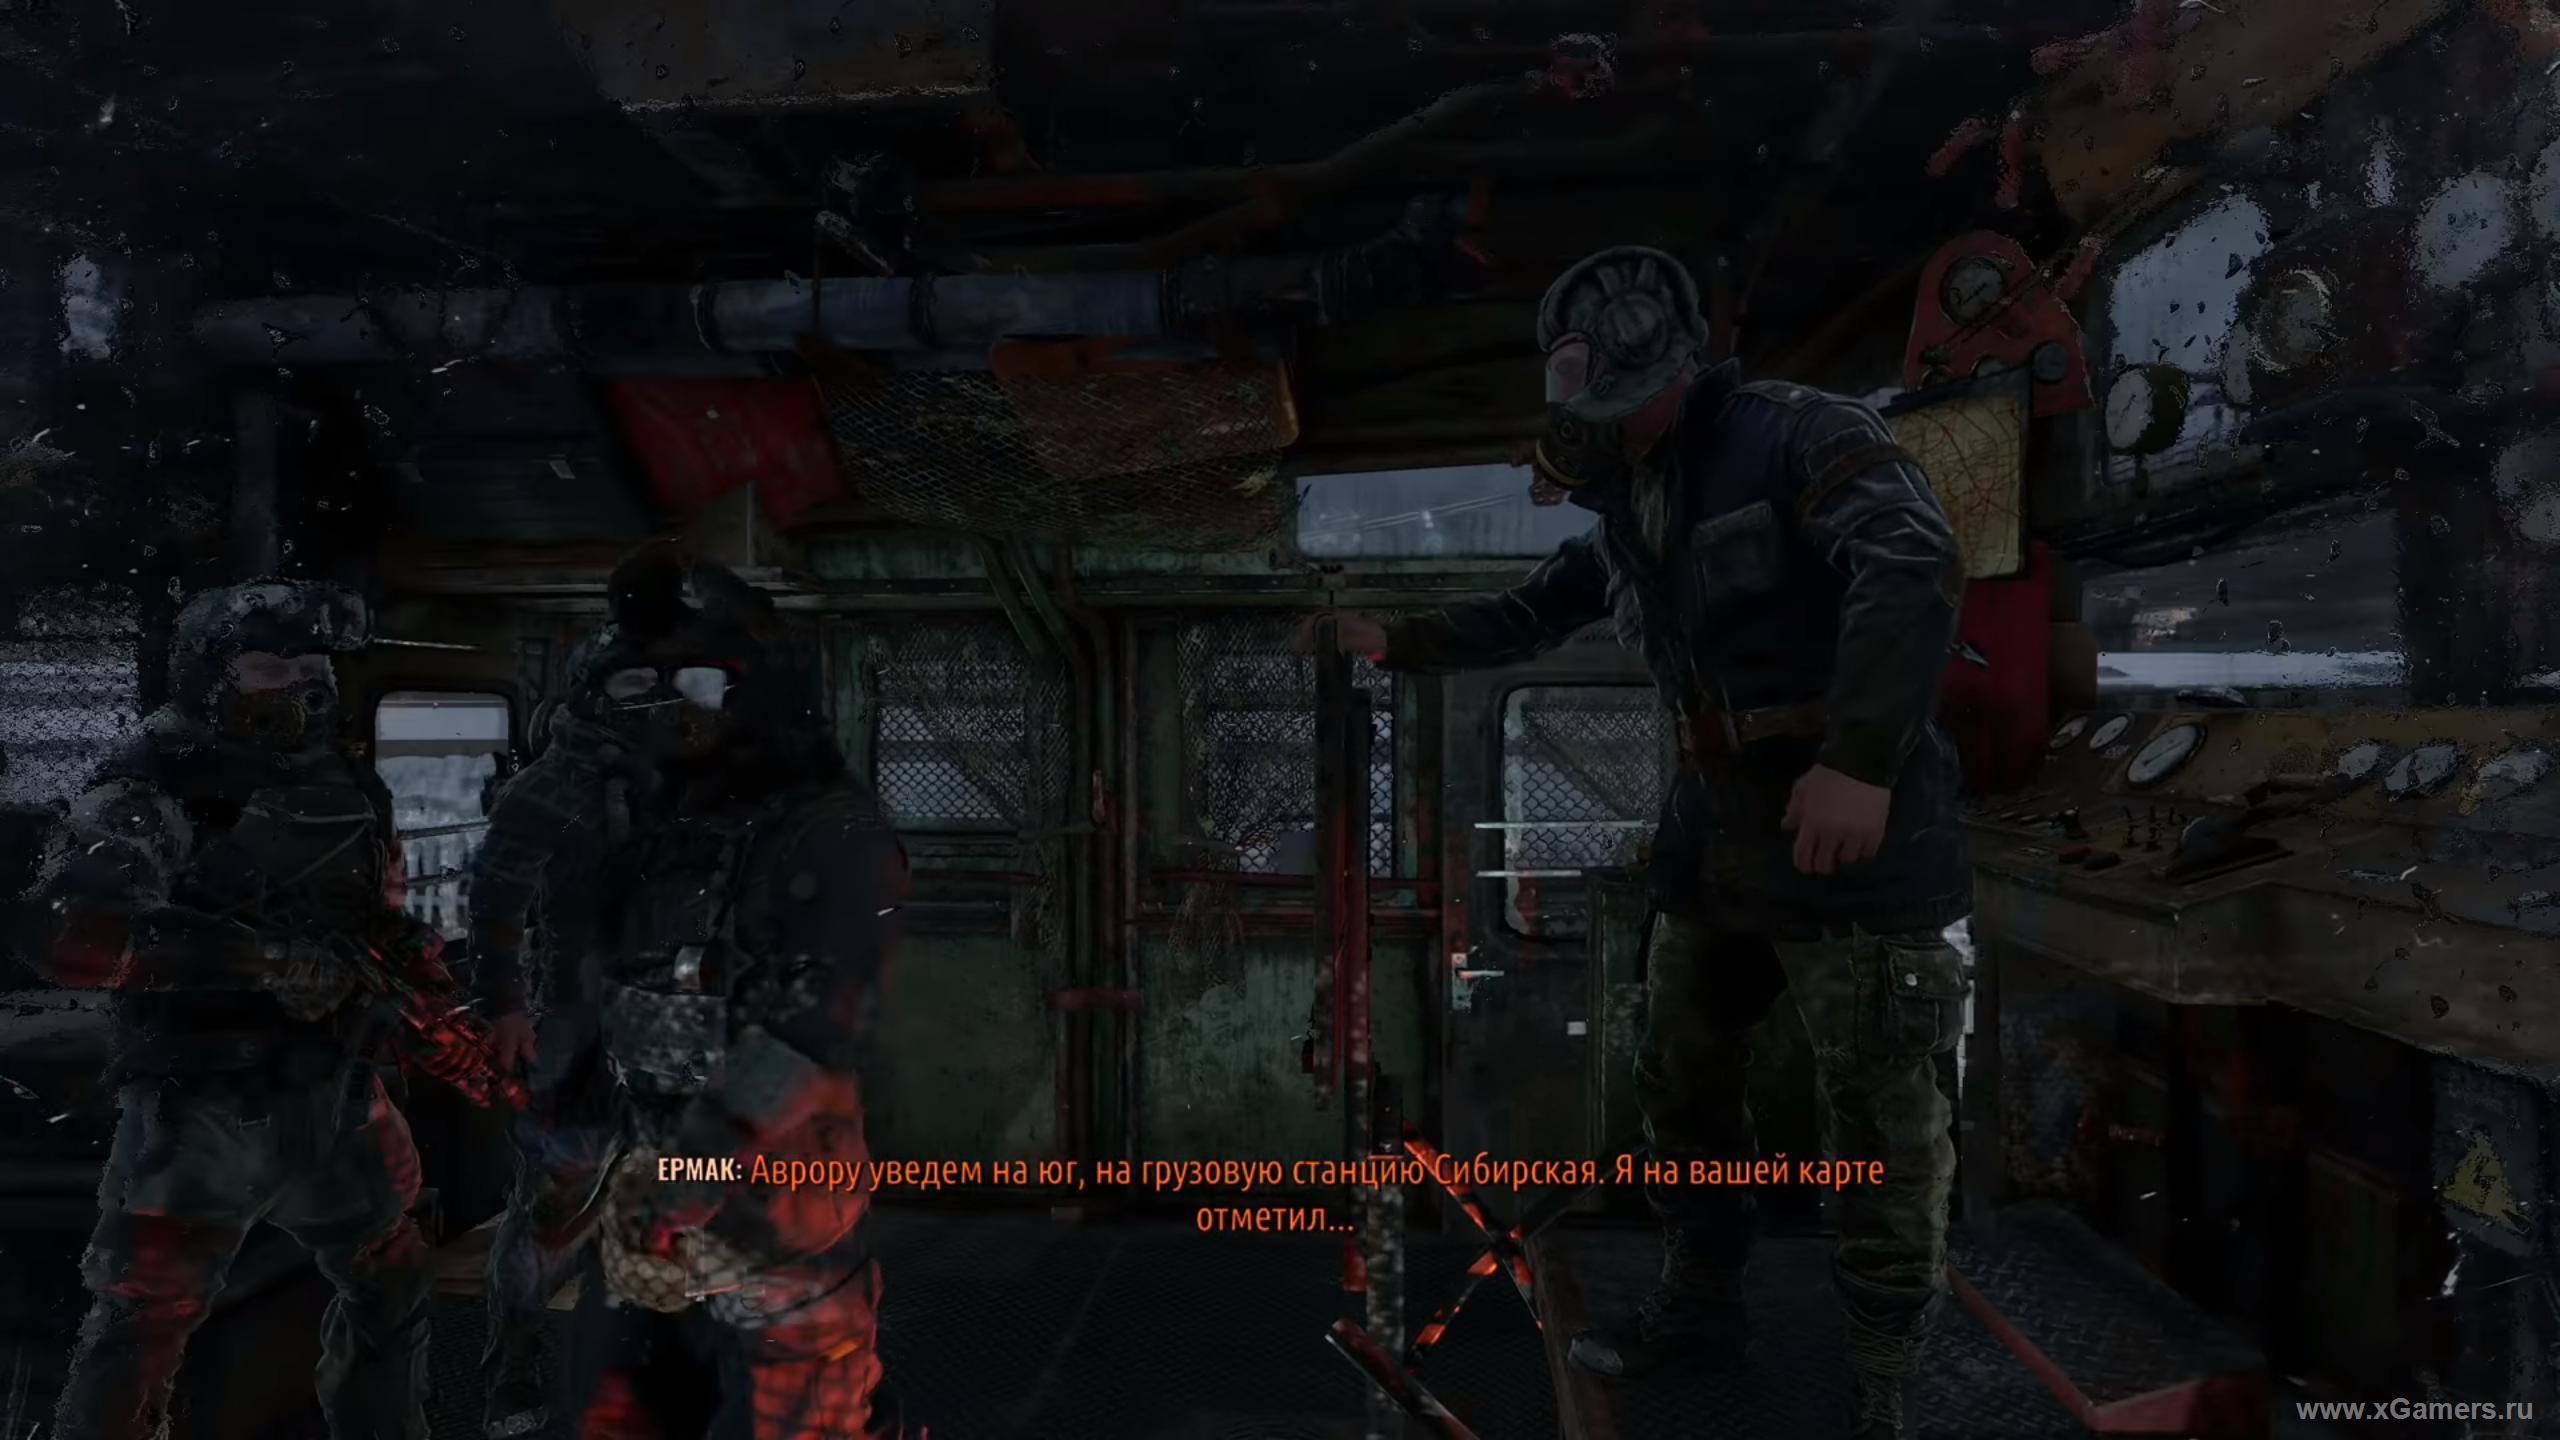
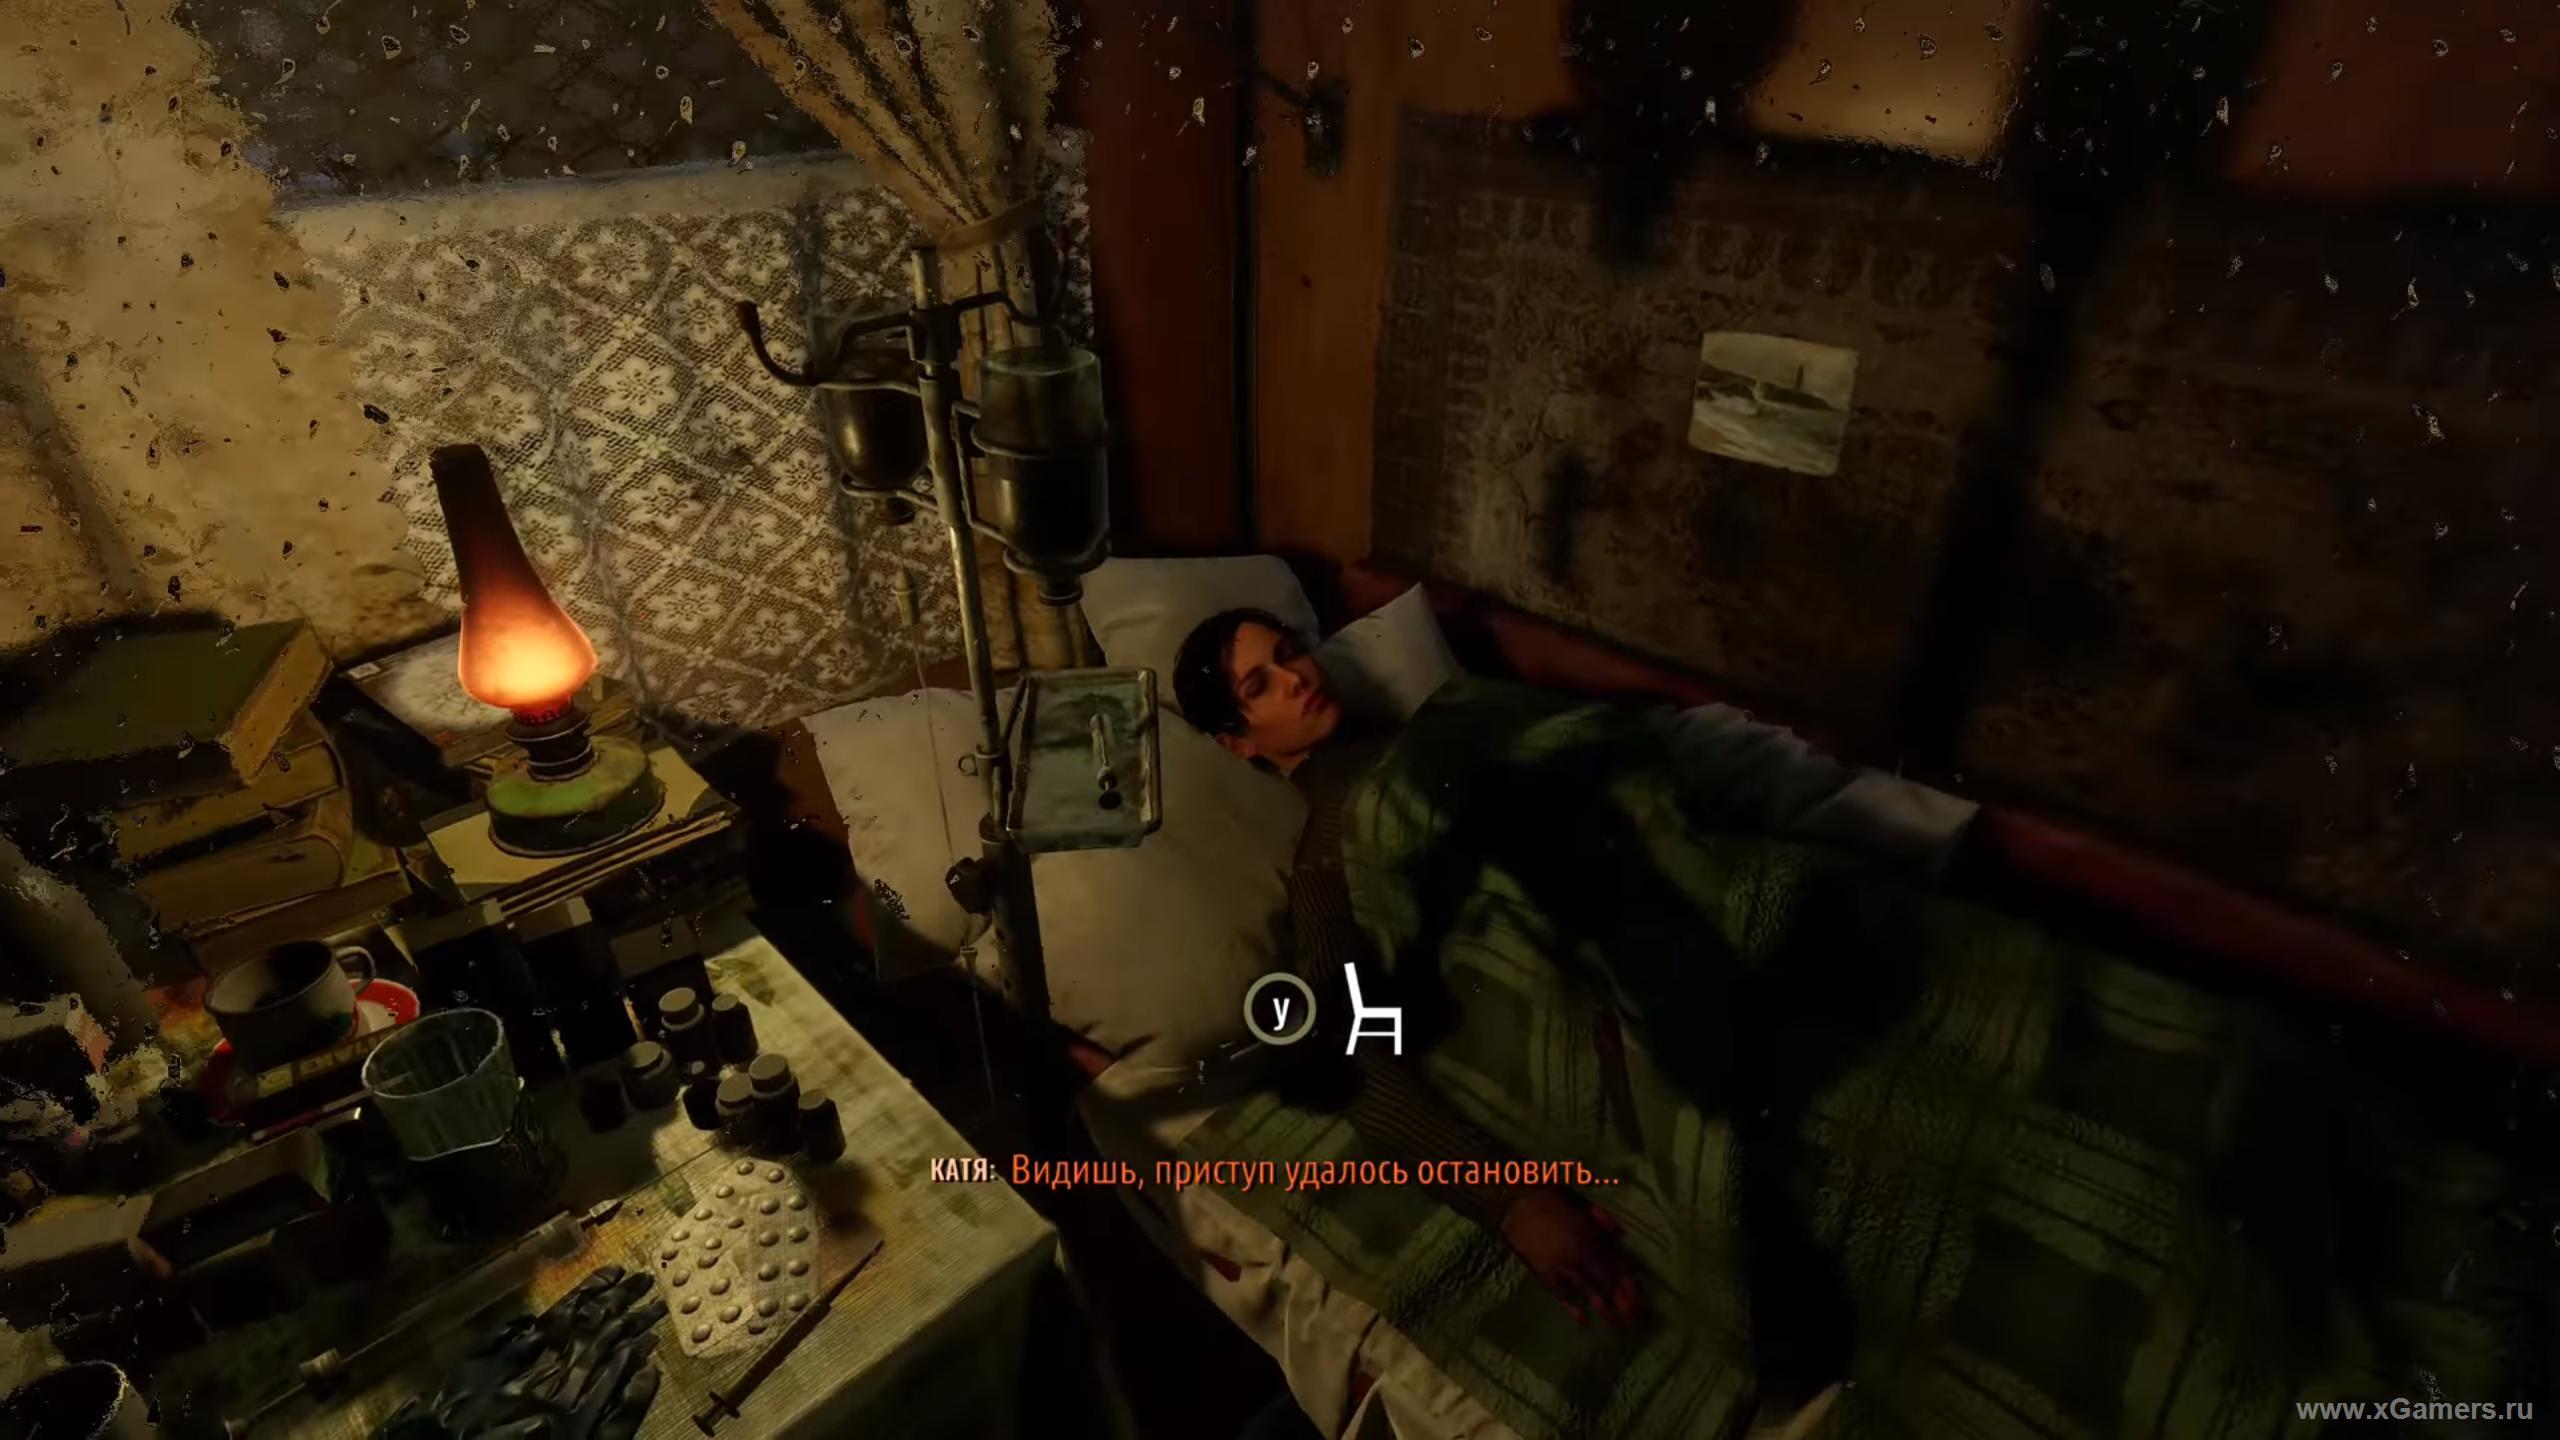
If you want a bit more story, check in on Anna before you leave. Also make sure to use any workbench you find here - you won't get many chances at this stage of the game.
Once you get in the car, a long cutscene kicks off. To reach the institute, you'll need to find the subway - back to basics, in a way. That's exactly what you're about to do.
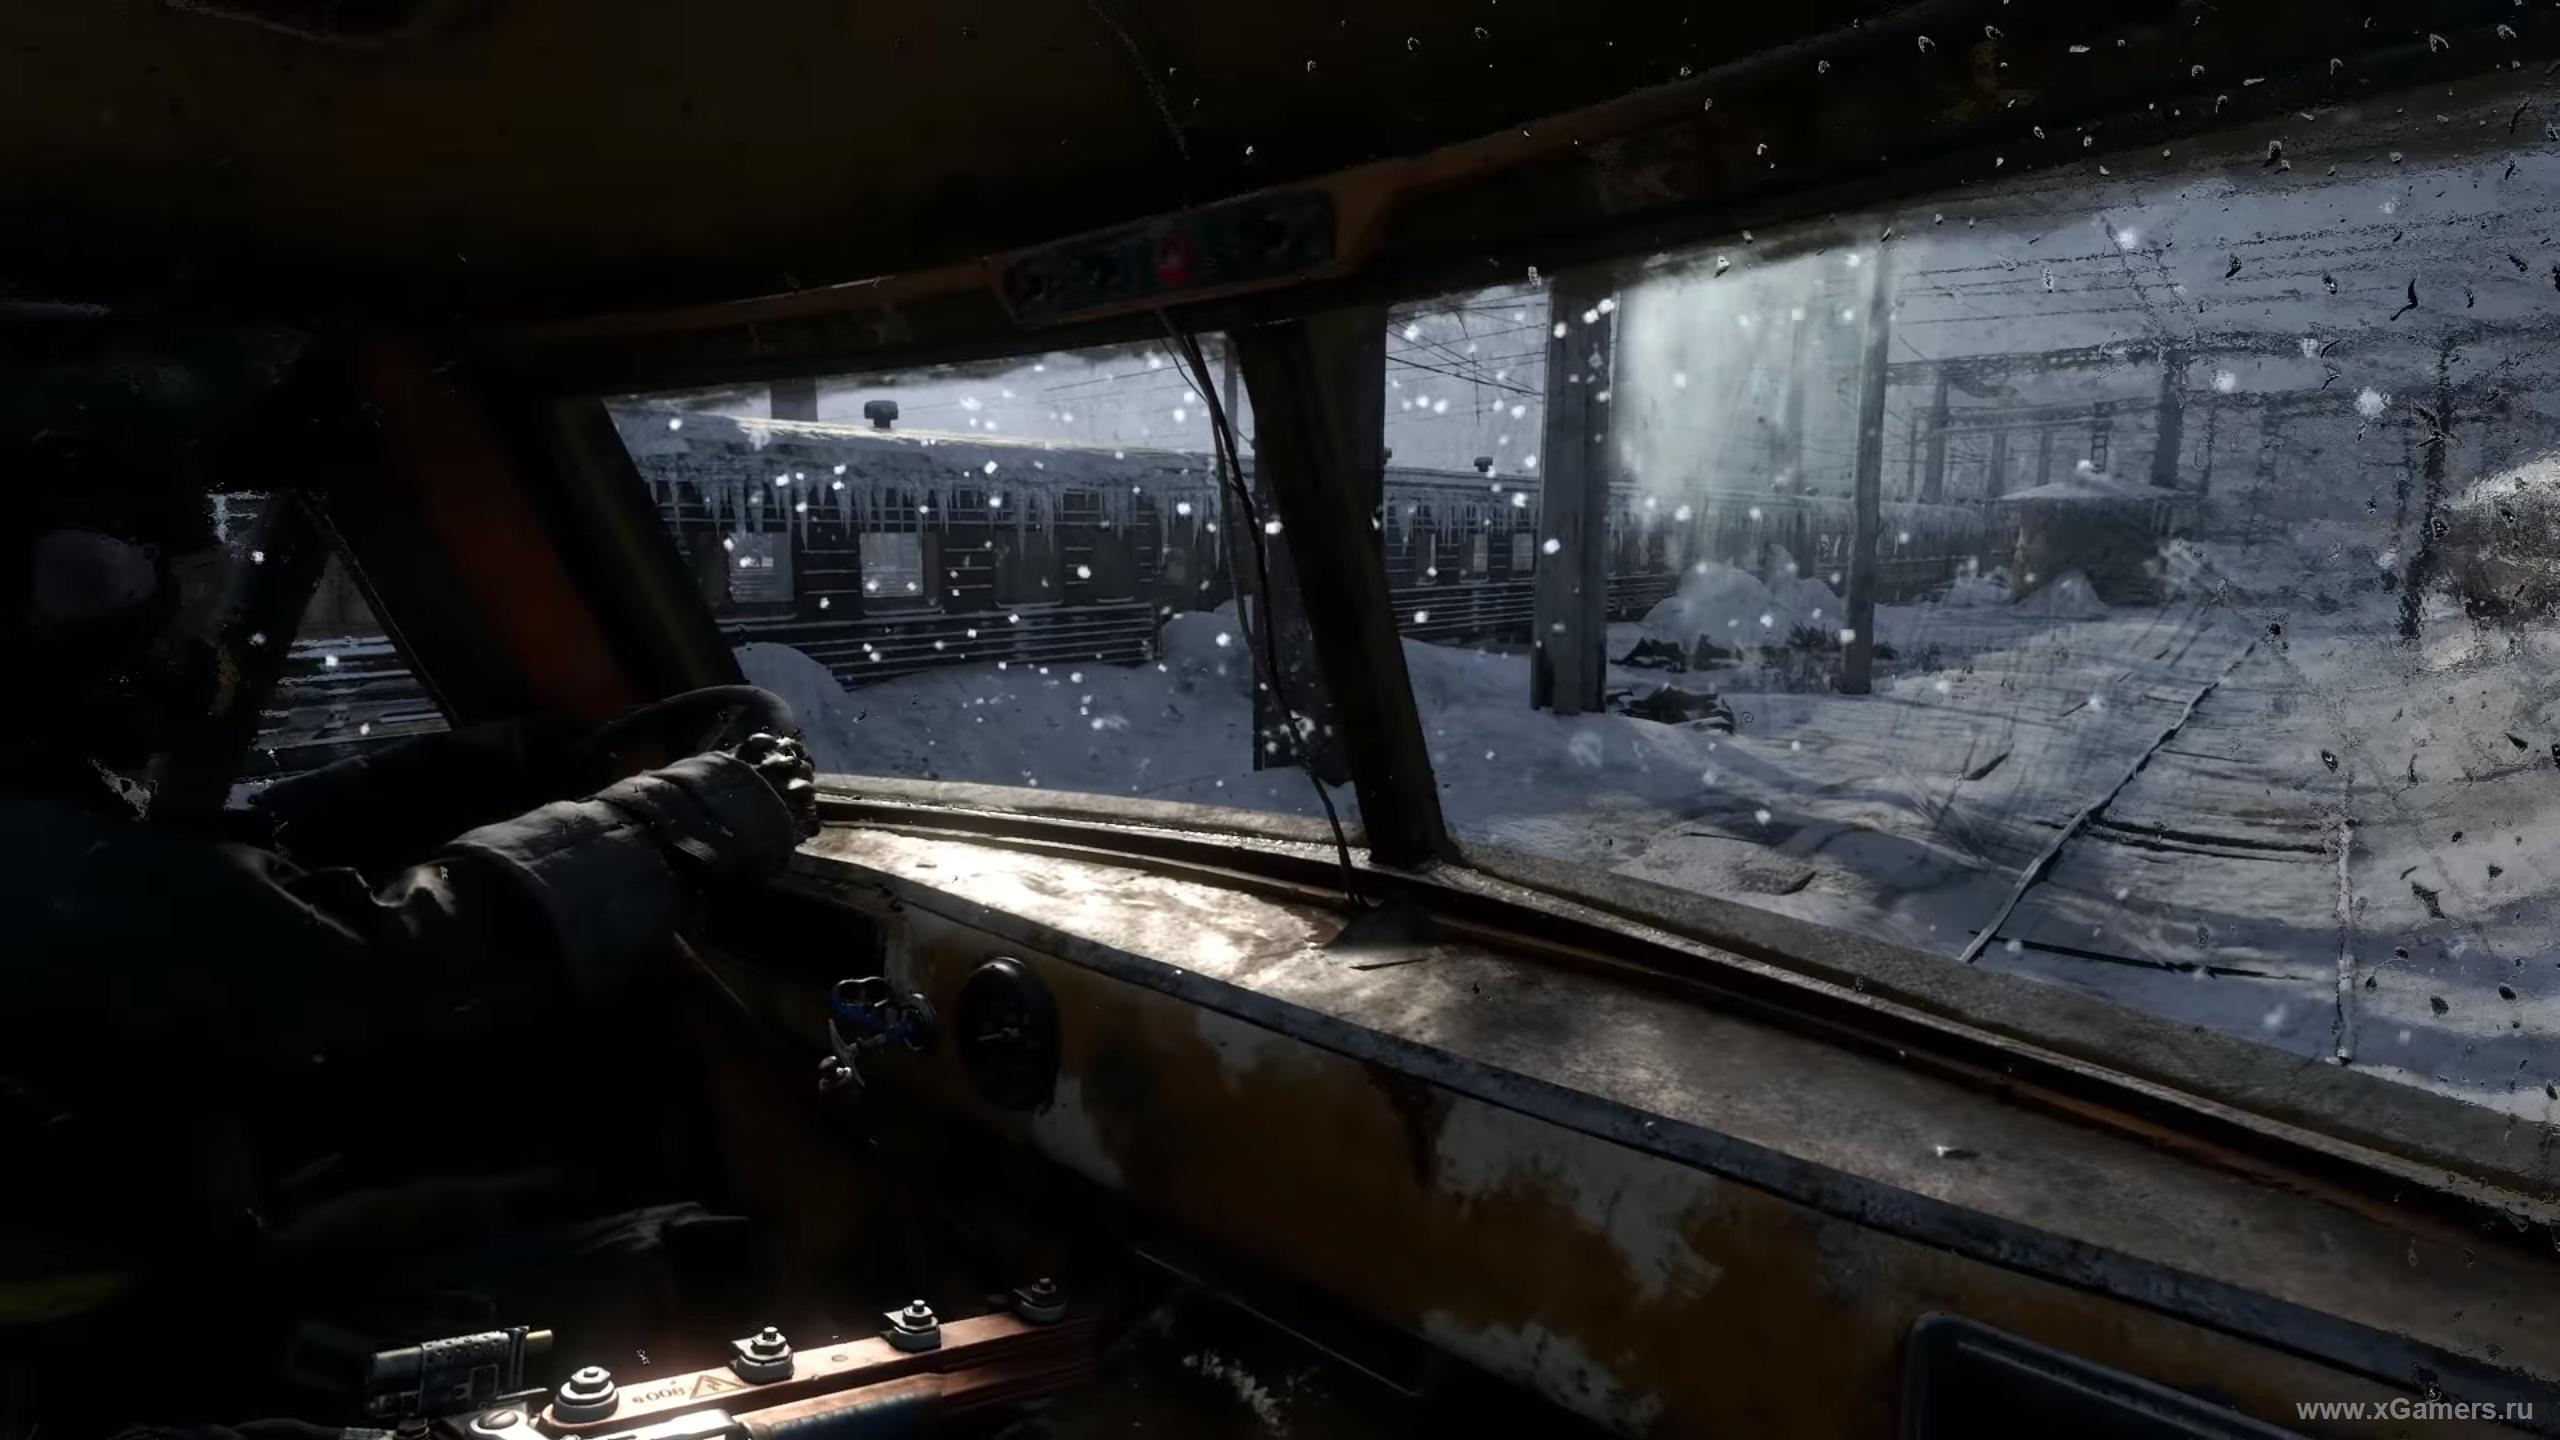
When you reach the sunken entrance down into the metro, you'll get to drive. It's simple here - there's really nowhere wrong to go.
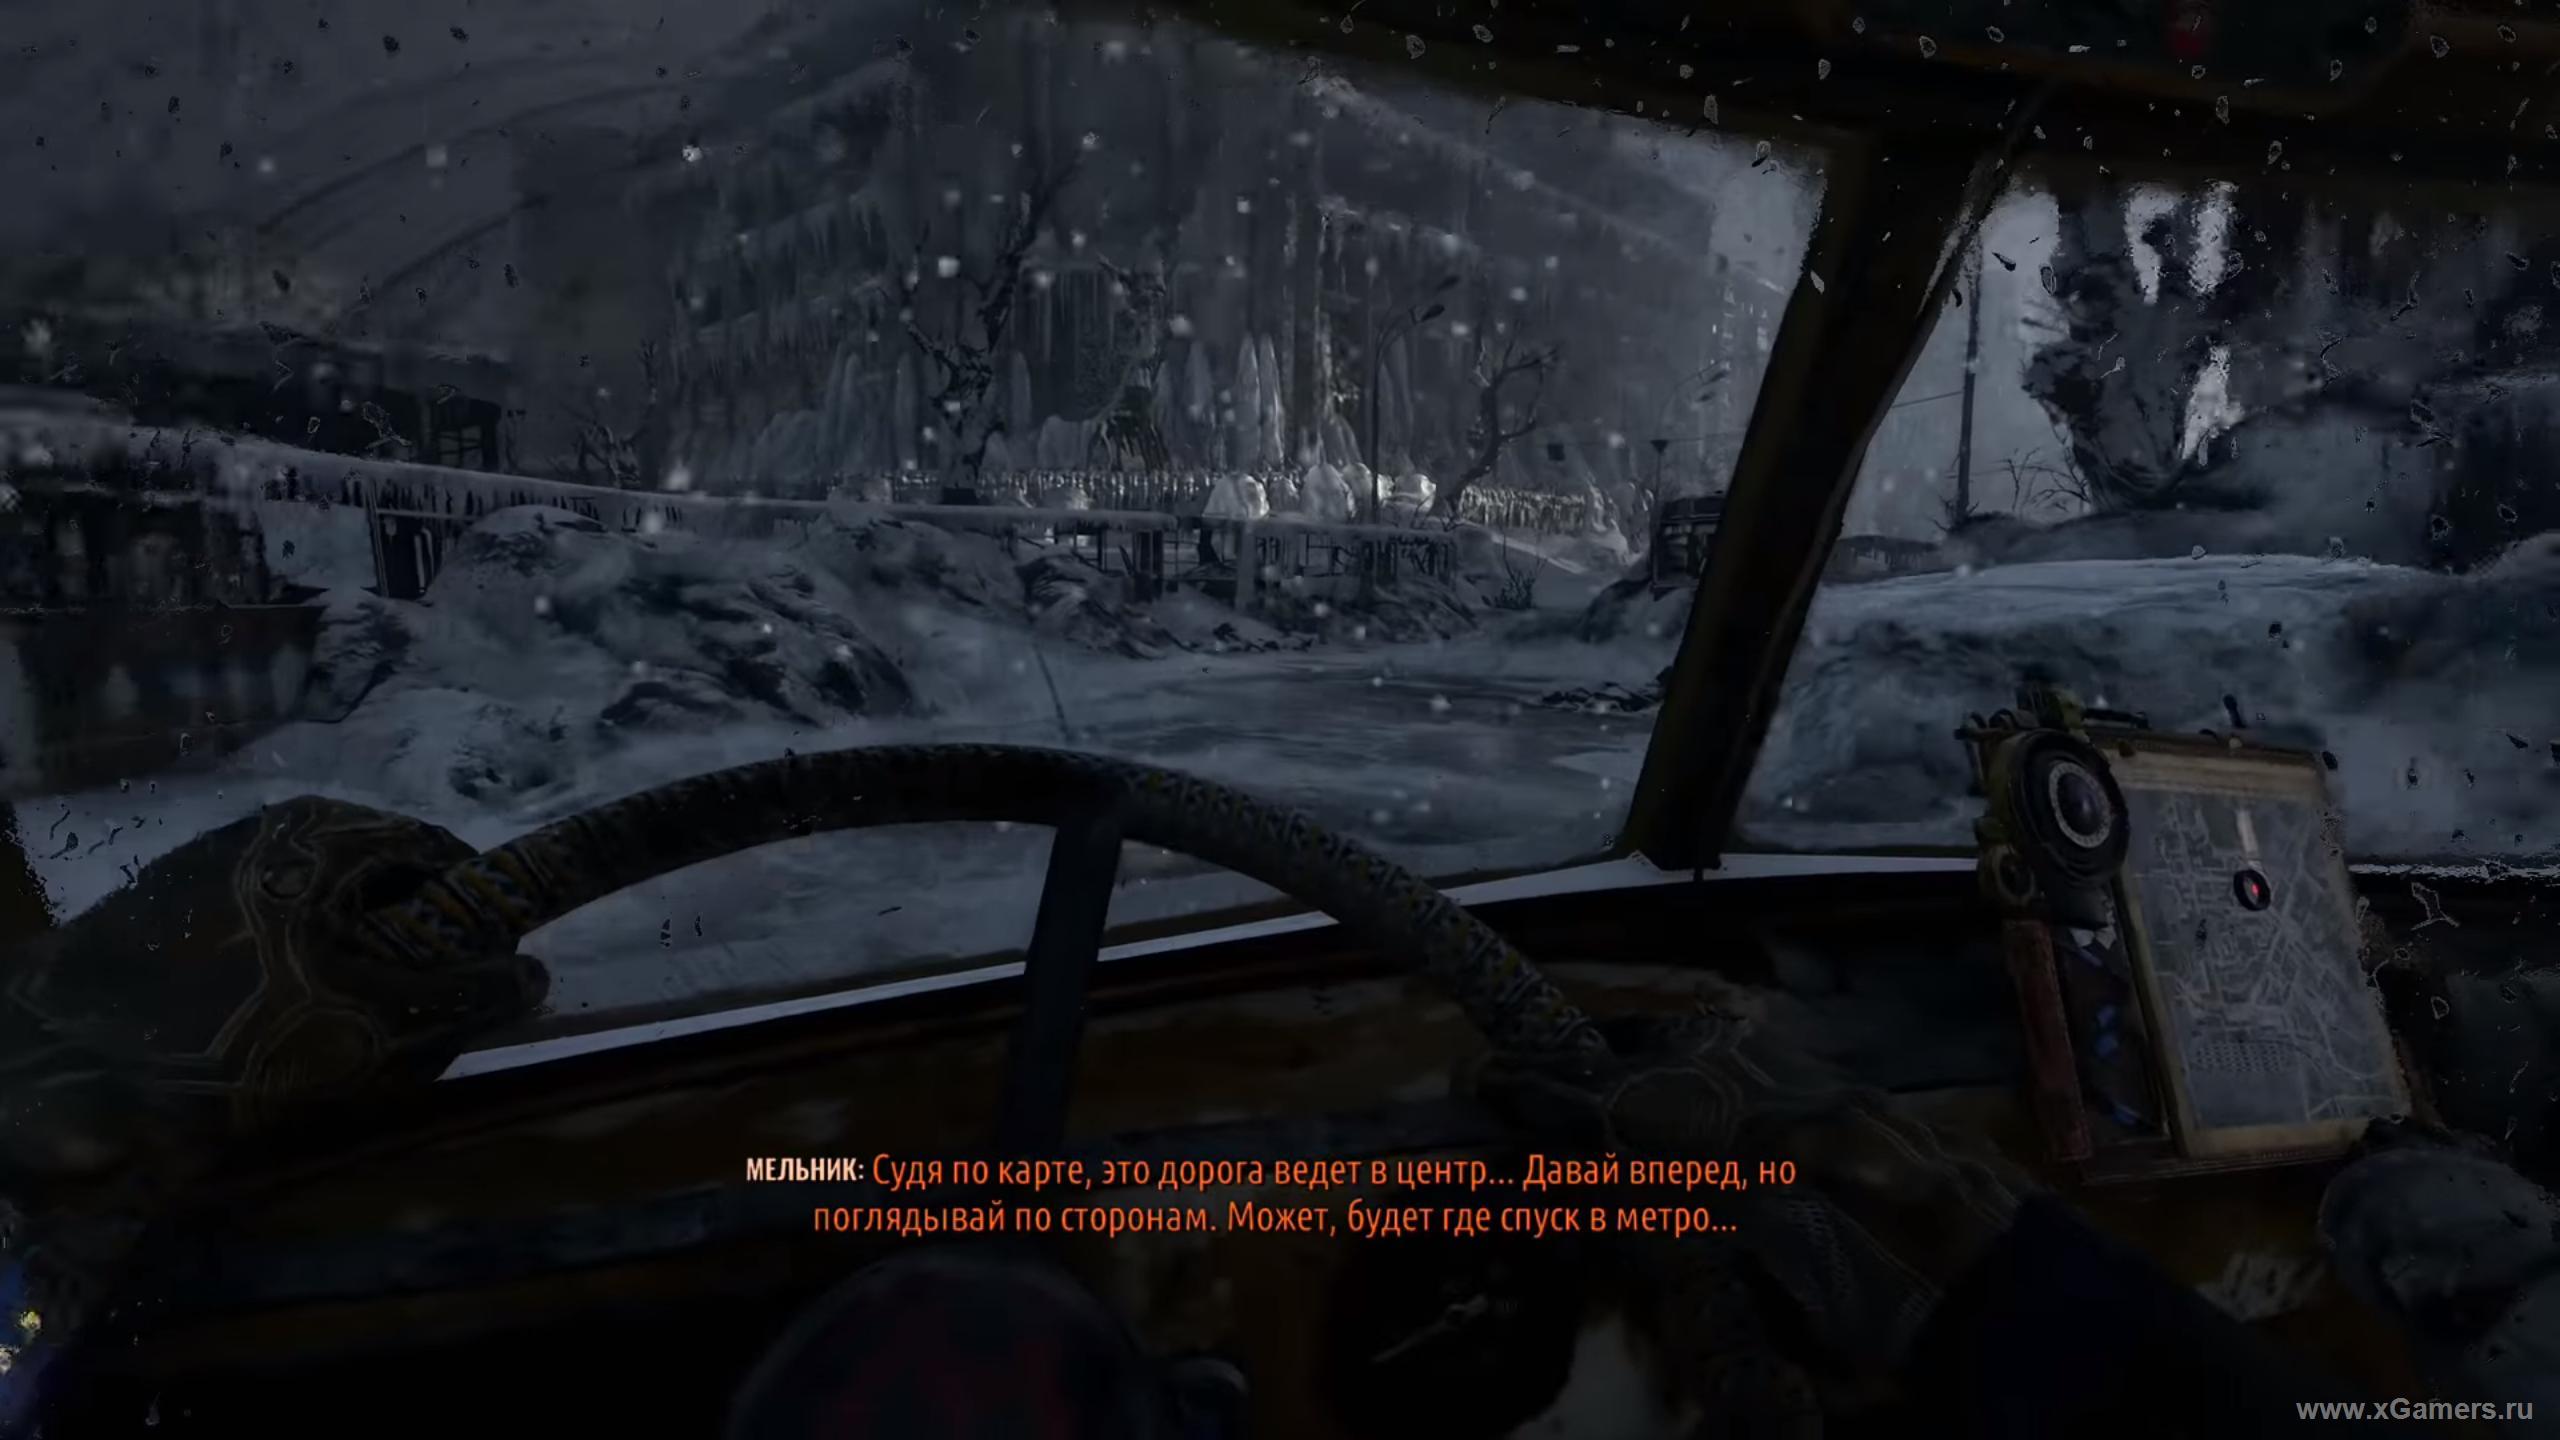
When you hit a dead end and get out of the car, head toward a large crater. Climb inside the bus and pass through it to reach your goal.
Underground Again, Almost Like Home!
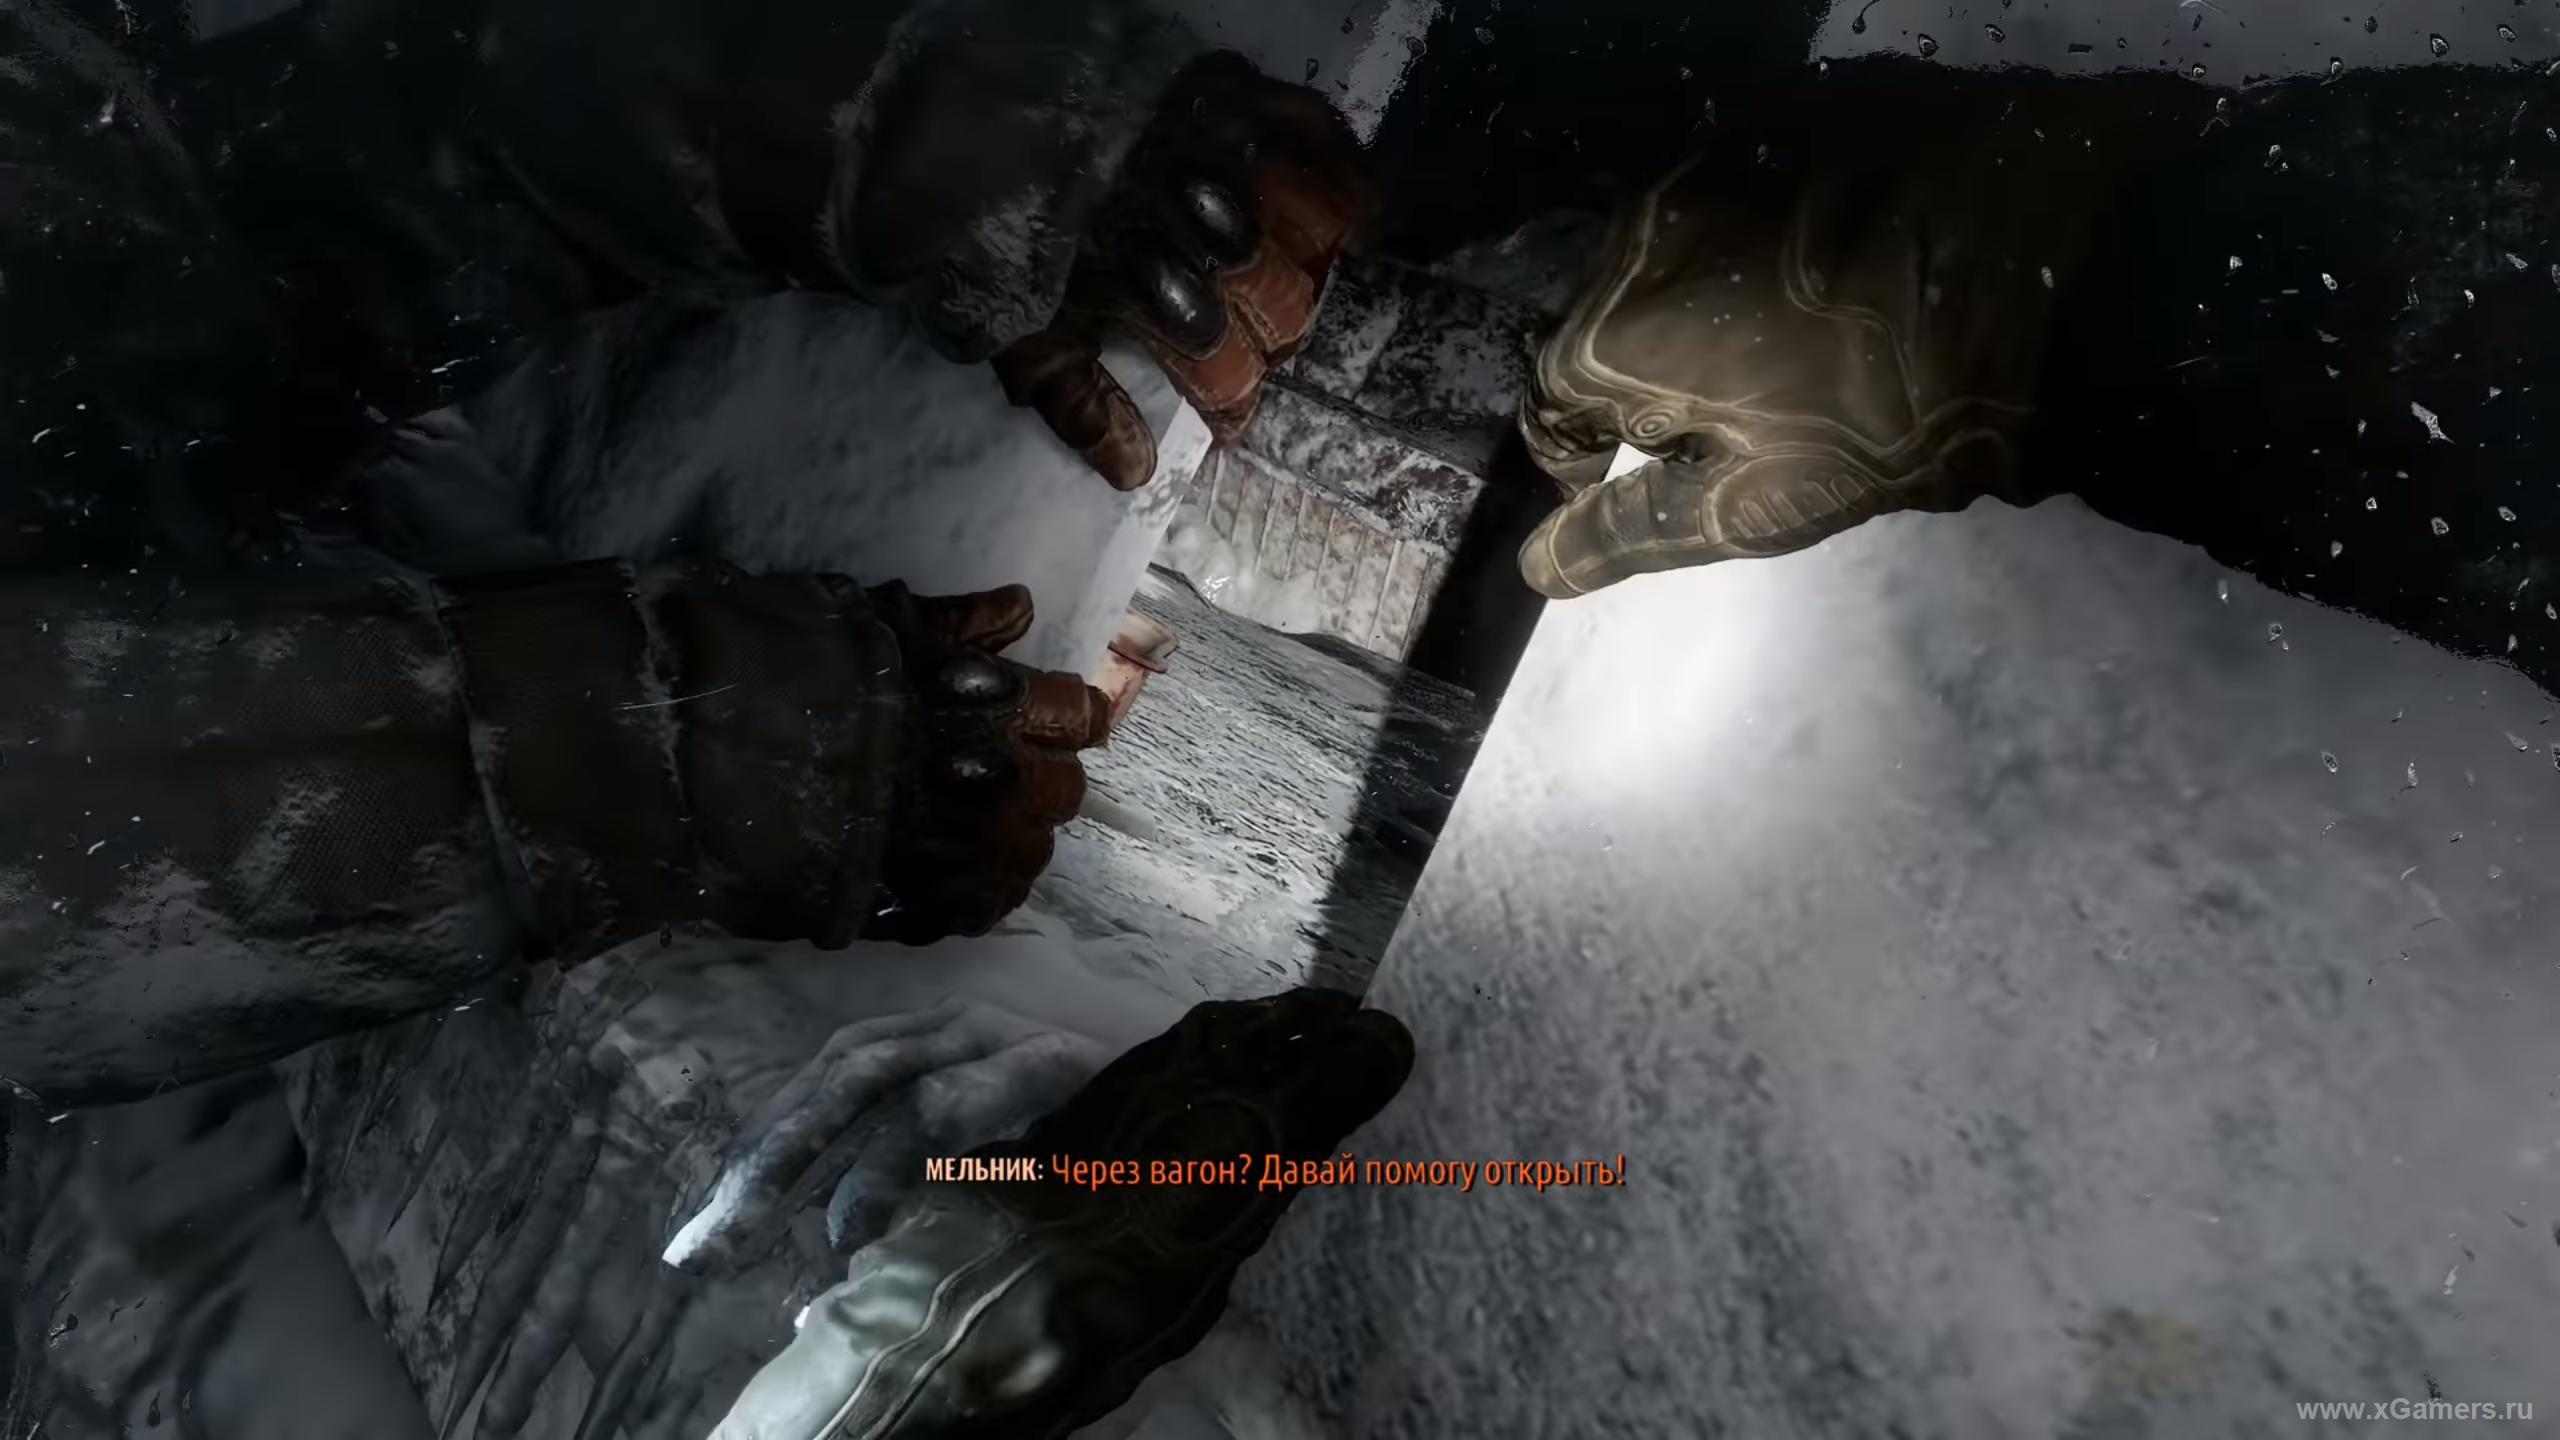
Open the car door on the right side of where you entered. Once you're in the subway, feel free to take off your gas mask - just like in Moscow, the air down here is clean. Follow Melnik.
As usual, you'll hit a dead end and need to find a side passage. There's an opening to a parallel tunnel right beside you - go carefully, though. As soon as you get there, giant moles will attack.
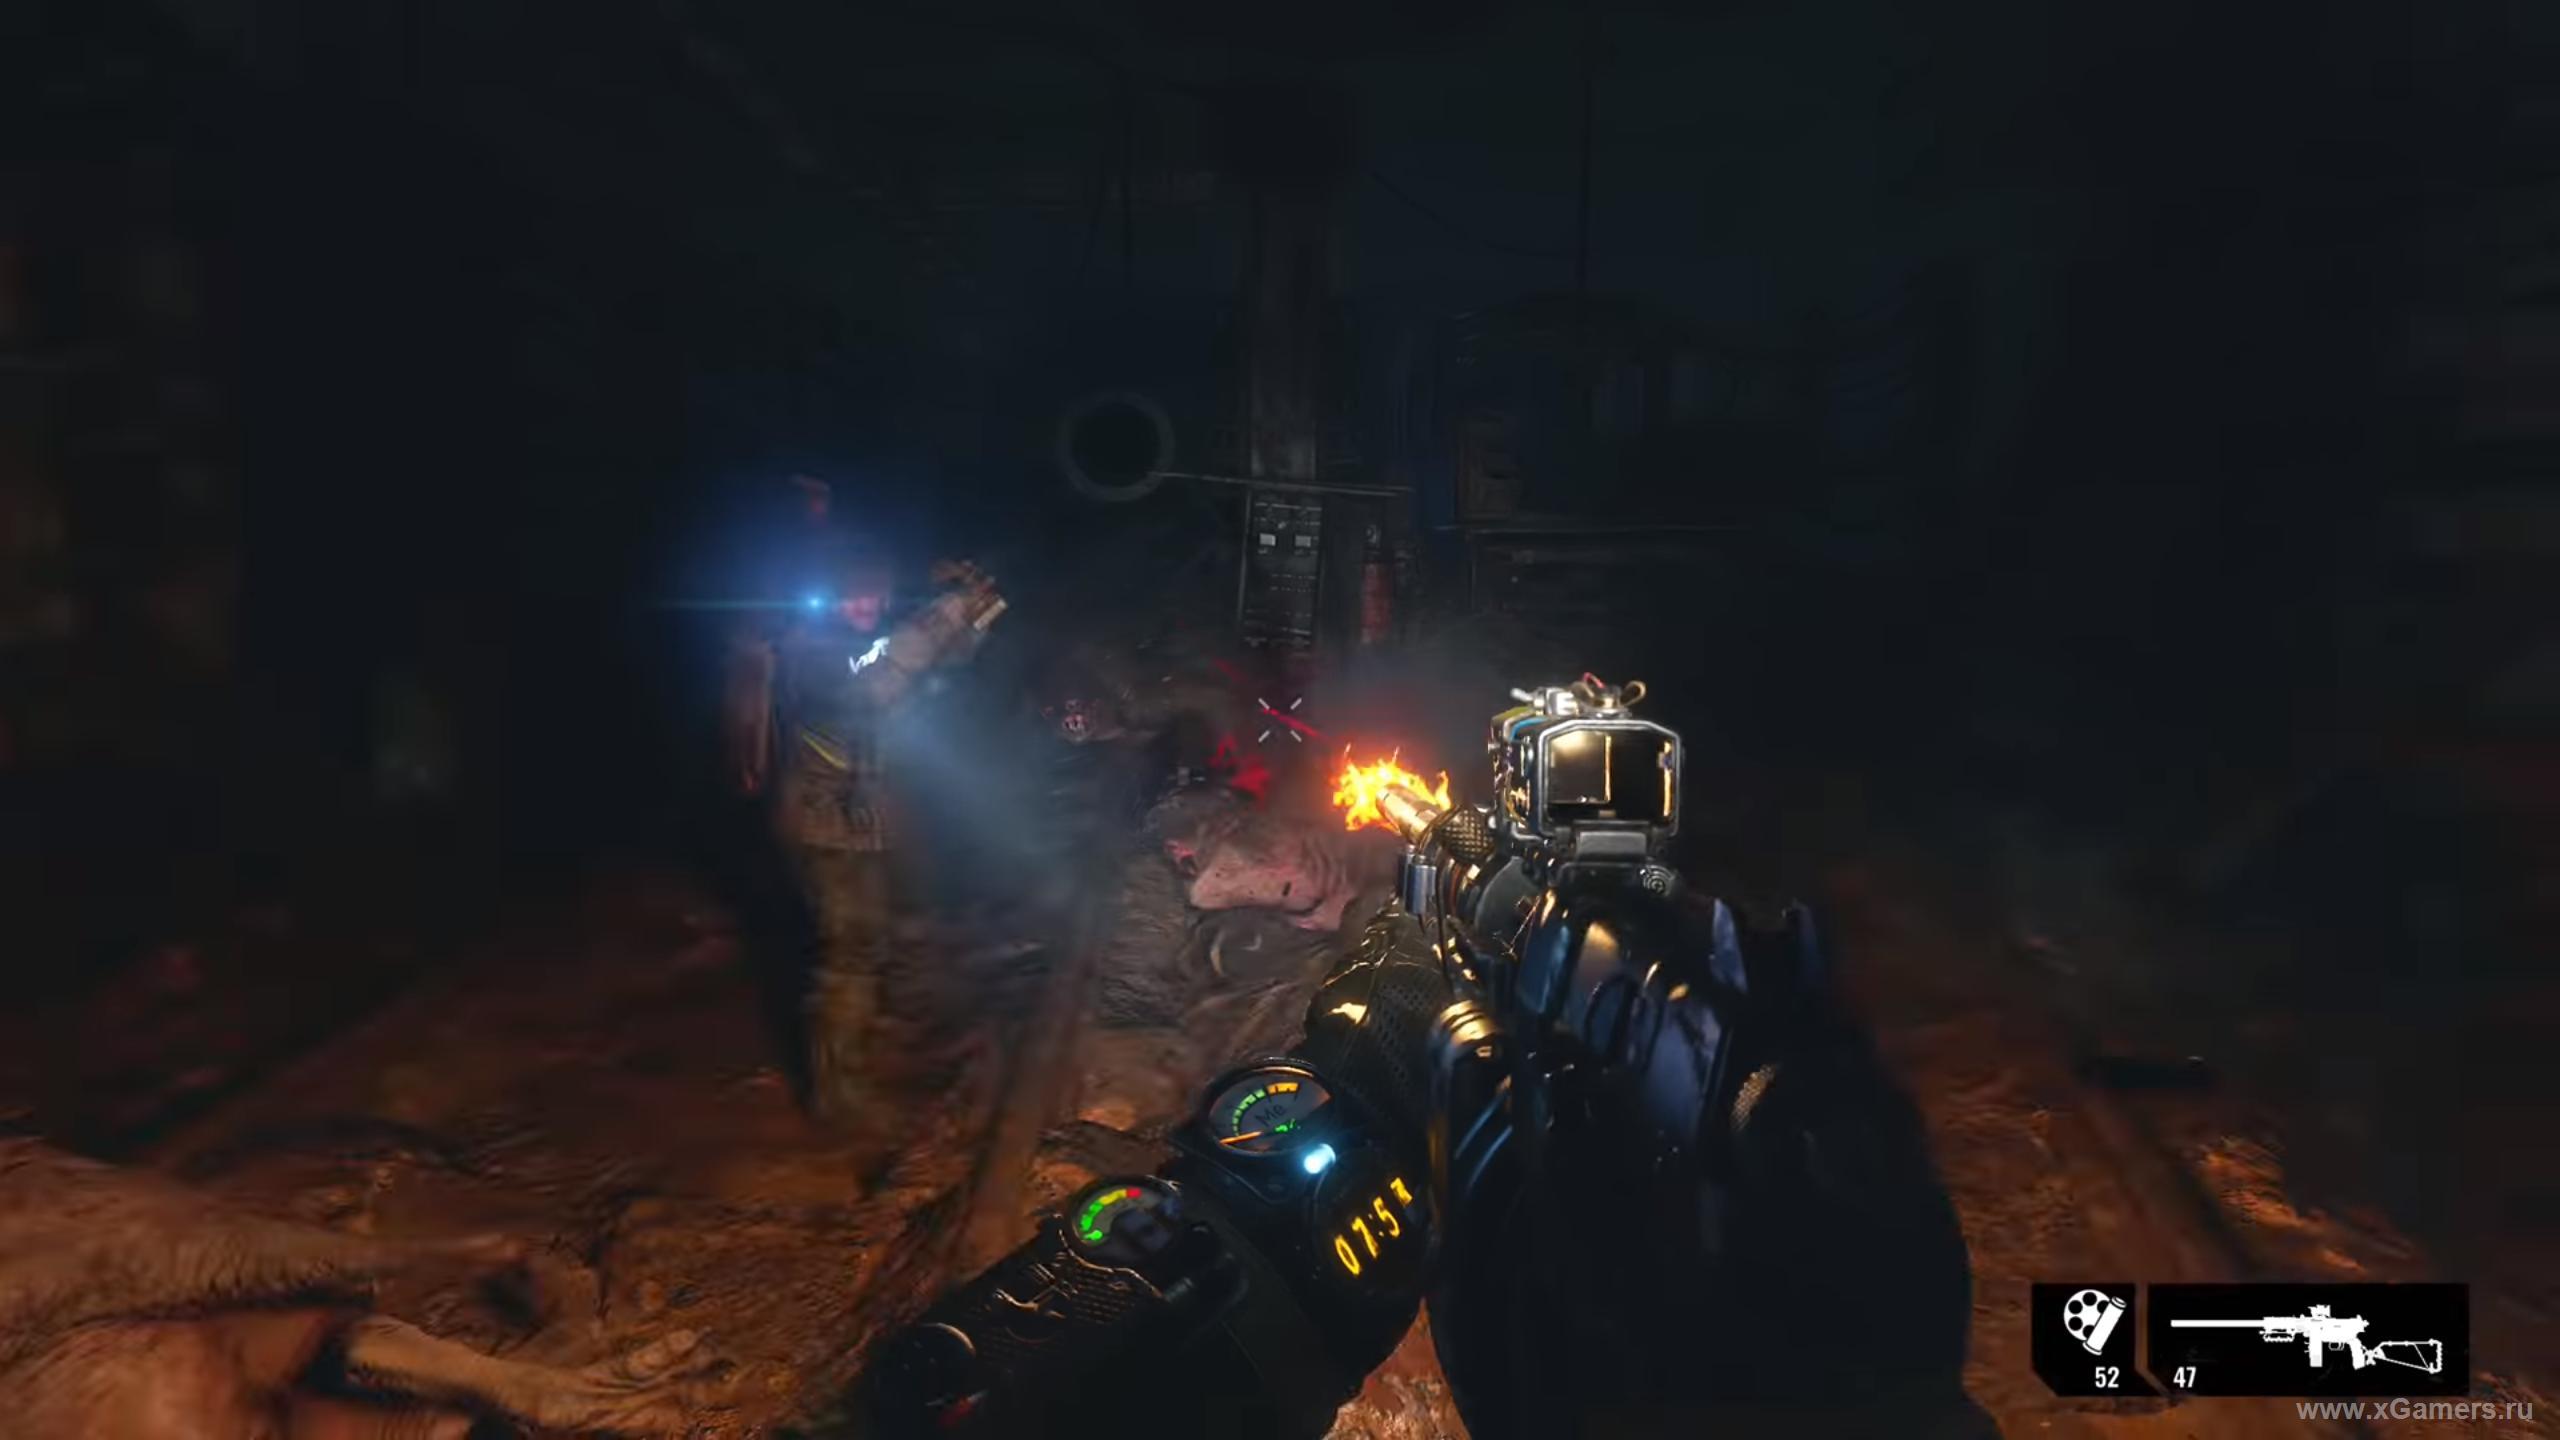
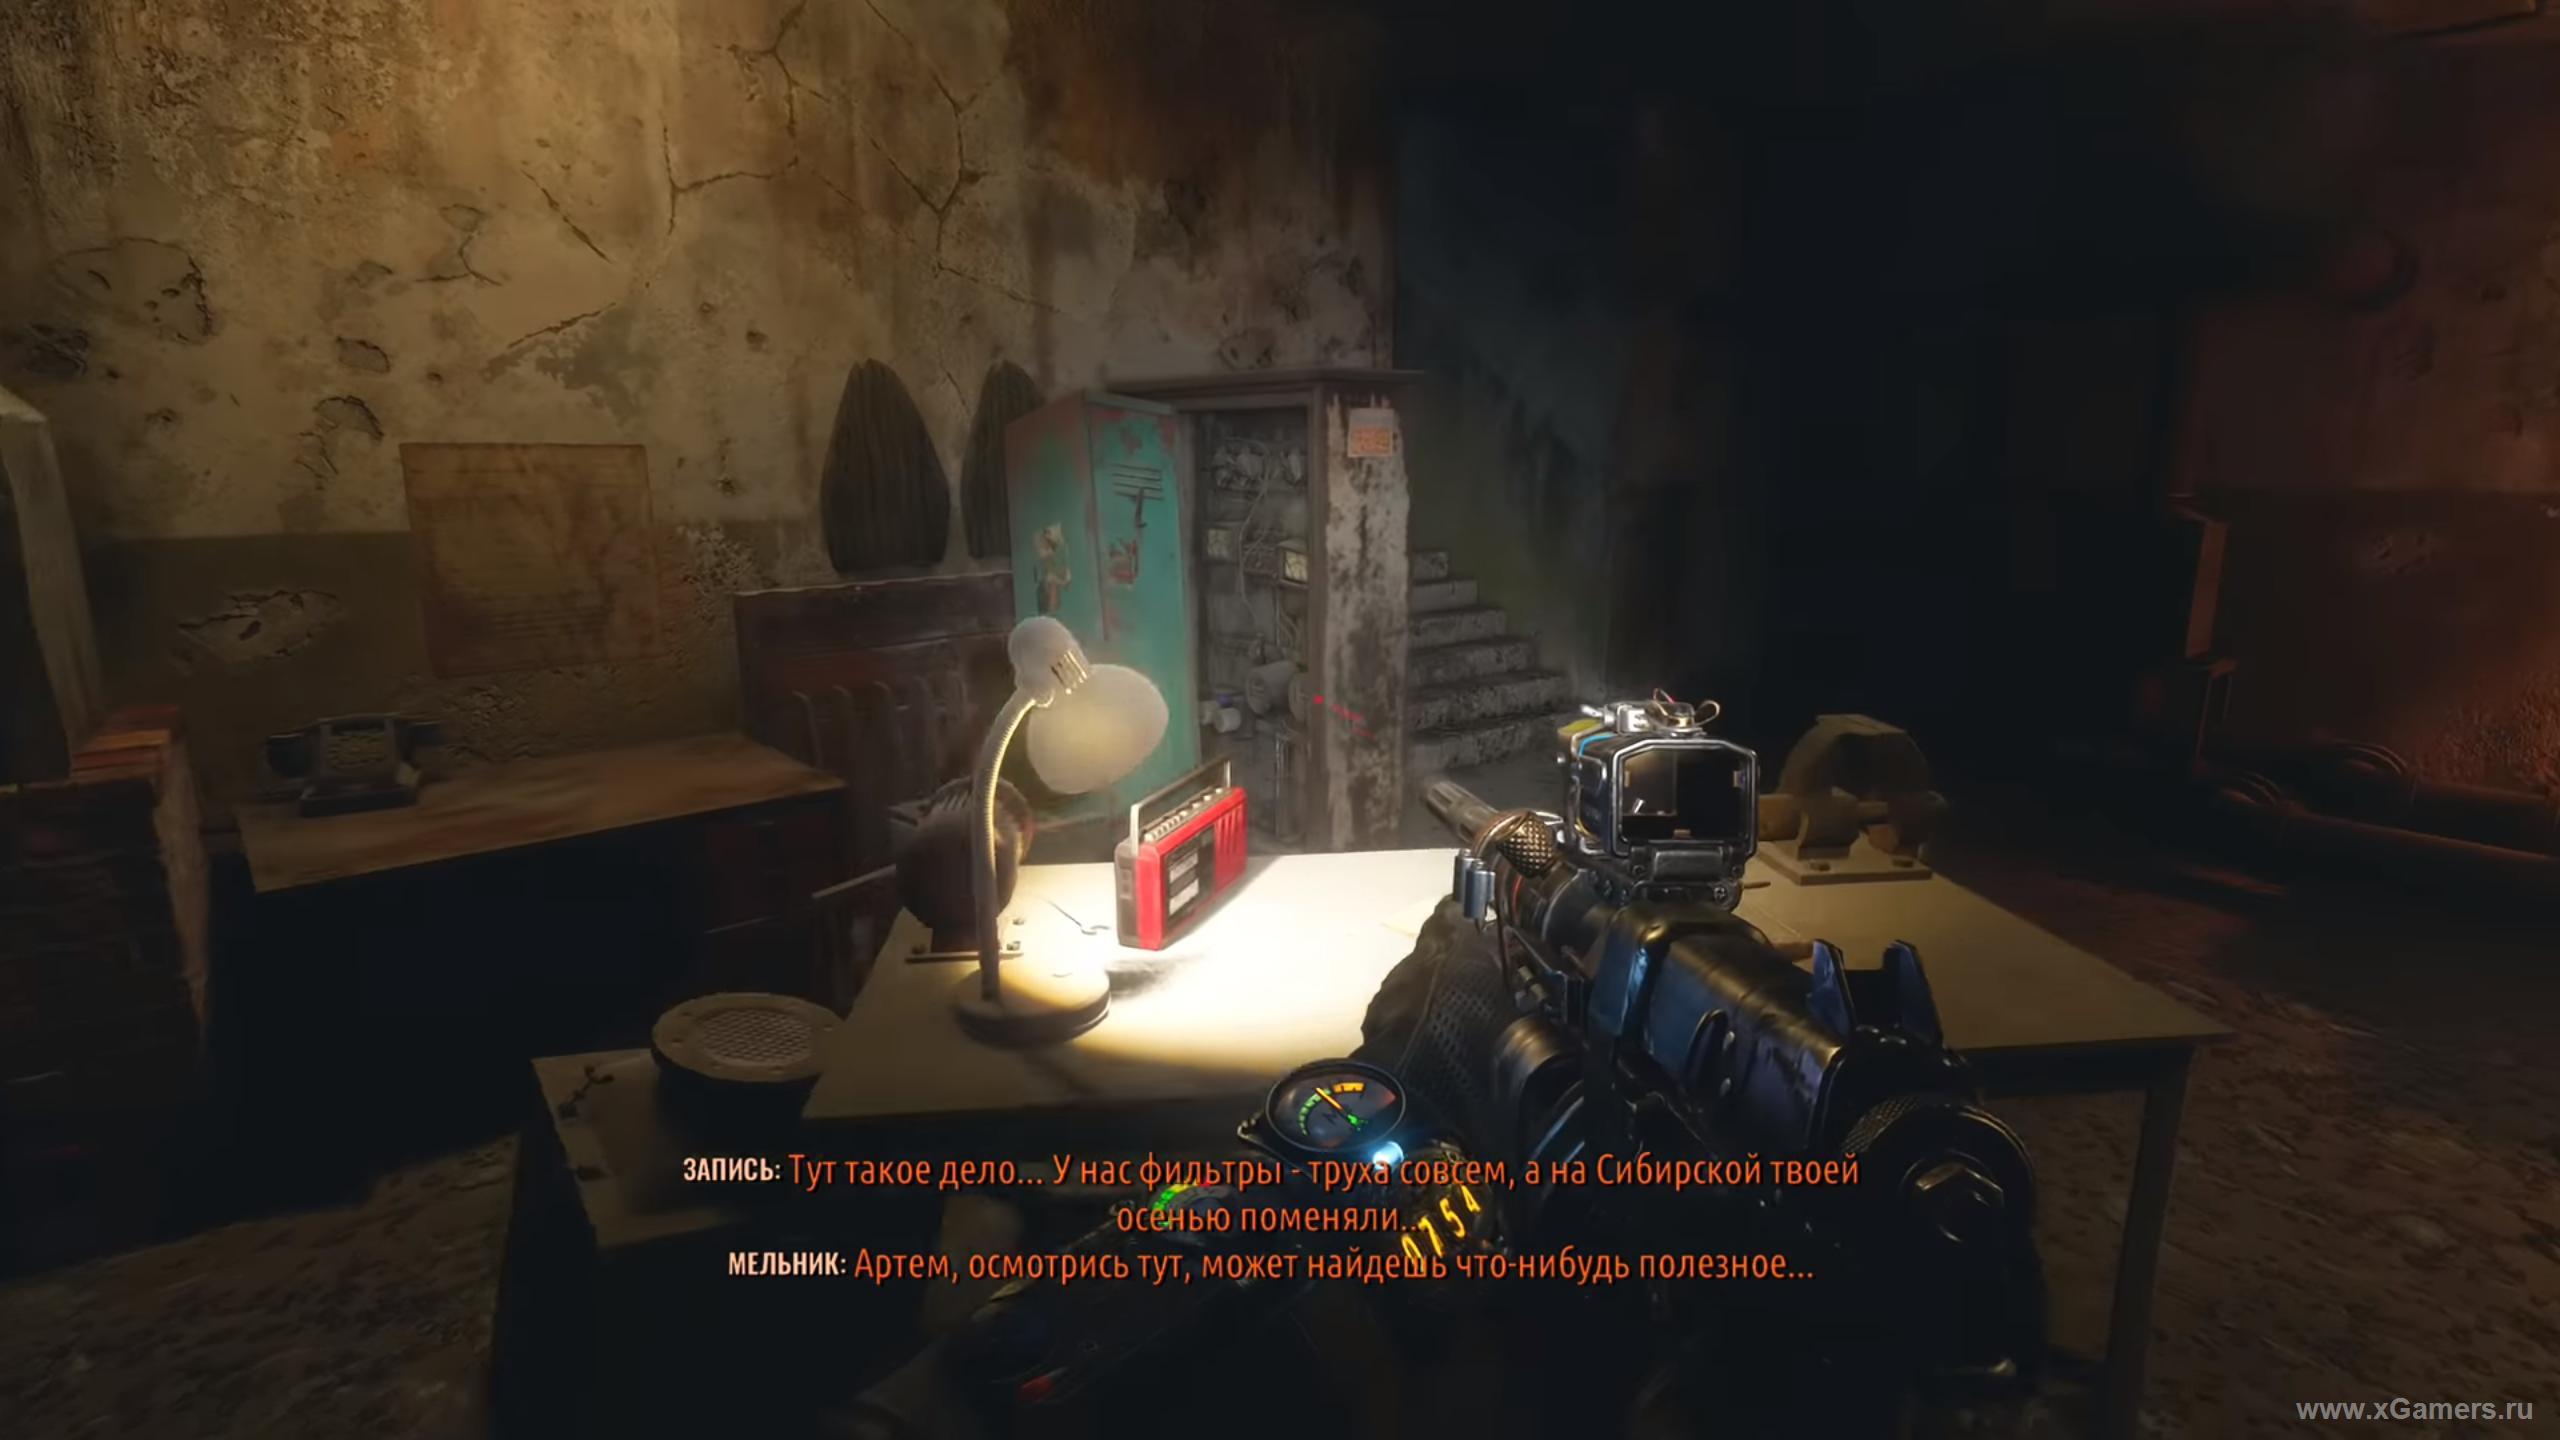
They'll come at you in waves. The easiest way to deal with them is your AK - just don't let them get close. Once you've cleared them out, keep following Melnik. In the room ahead, flip the switch on the wall to turn on the lights. There's a postcard next to the lockers, and a curious audio recording nearby too. Once you're done here, head into the next tunnel.
Another dead end - this time, wade around through the water. Don't worry, nothing will attack you here.
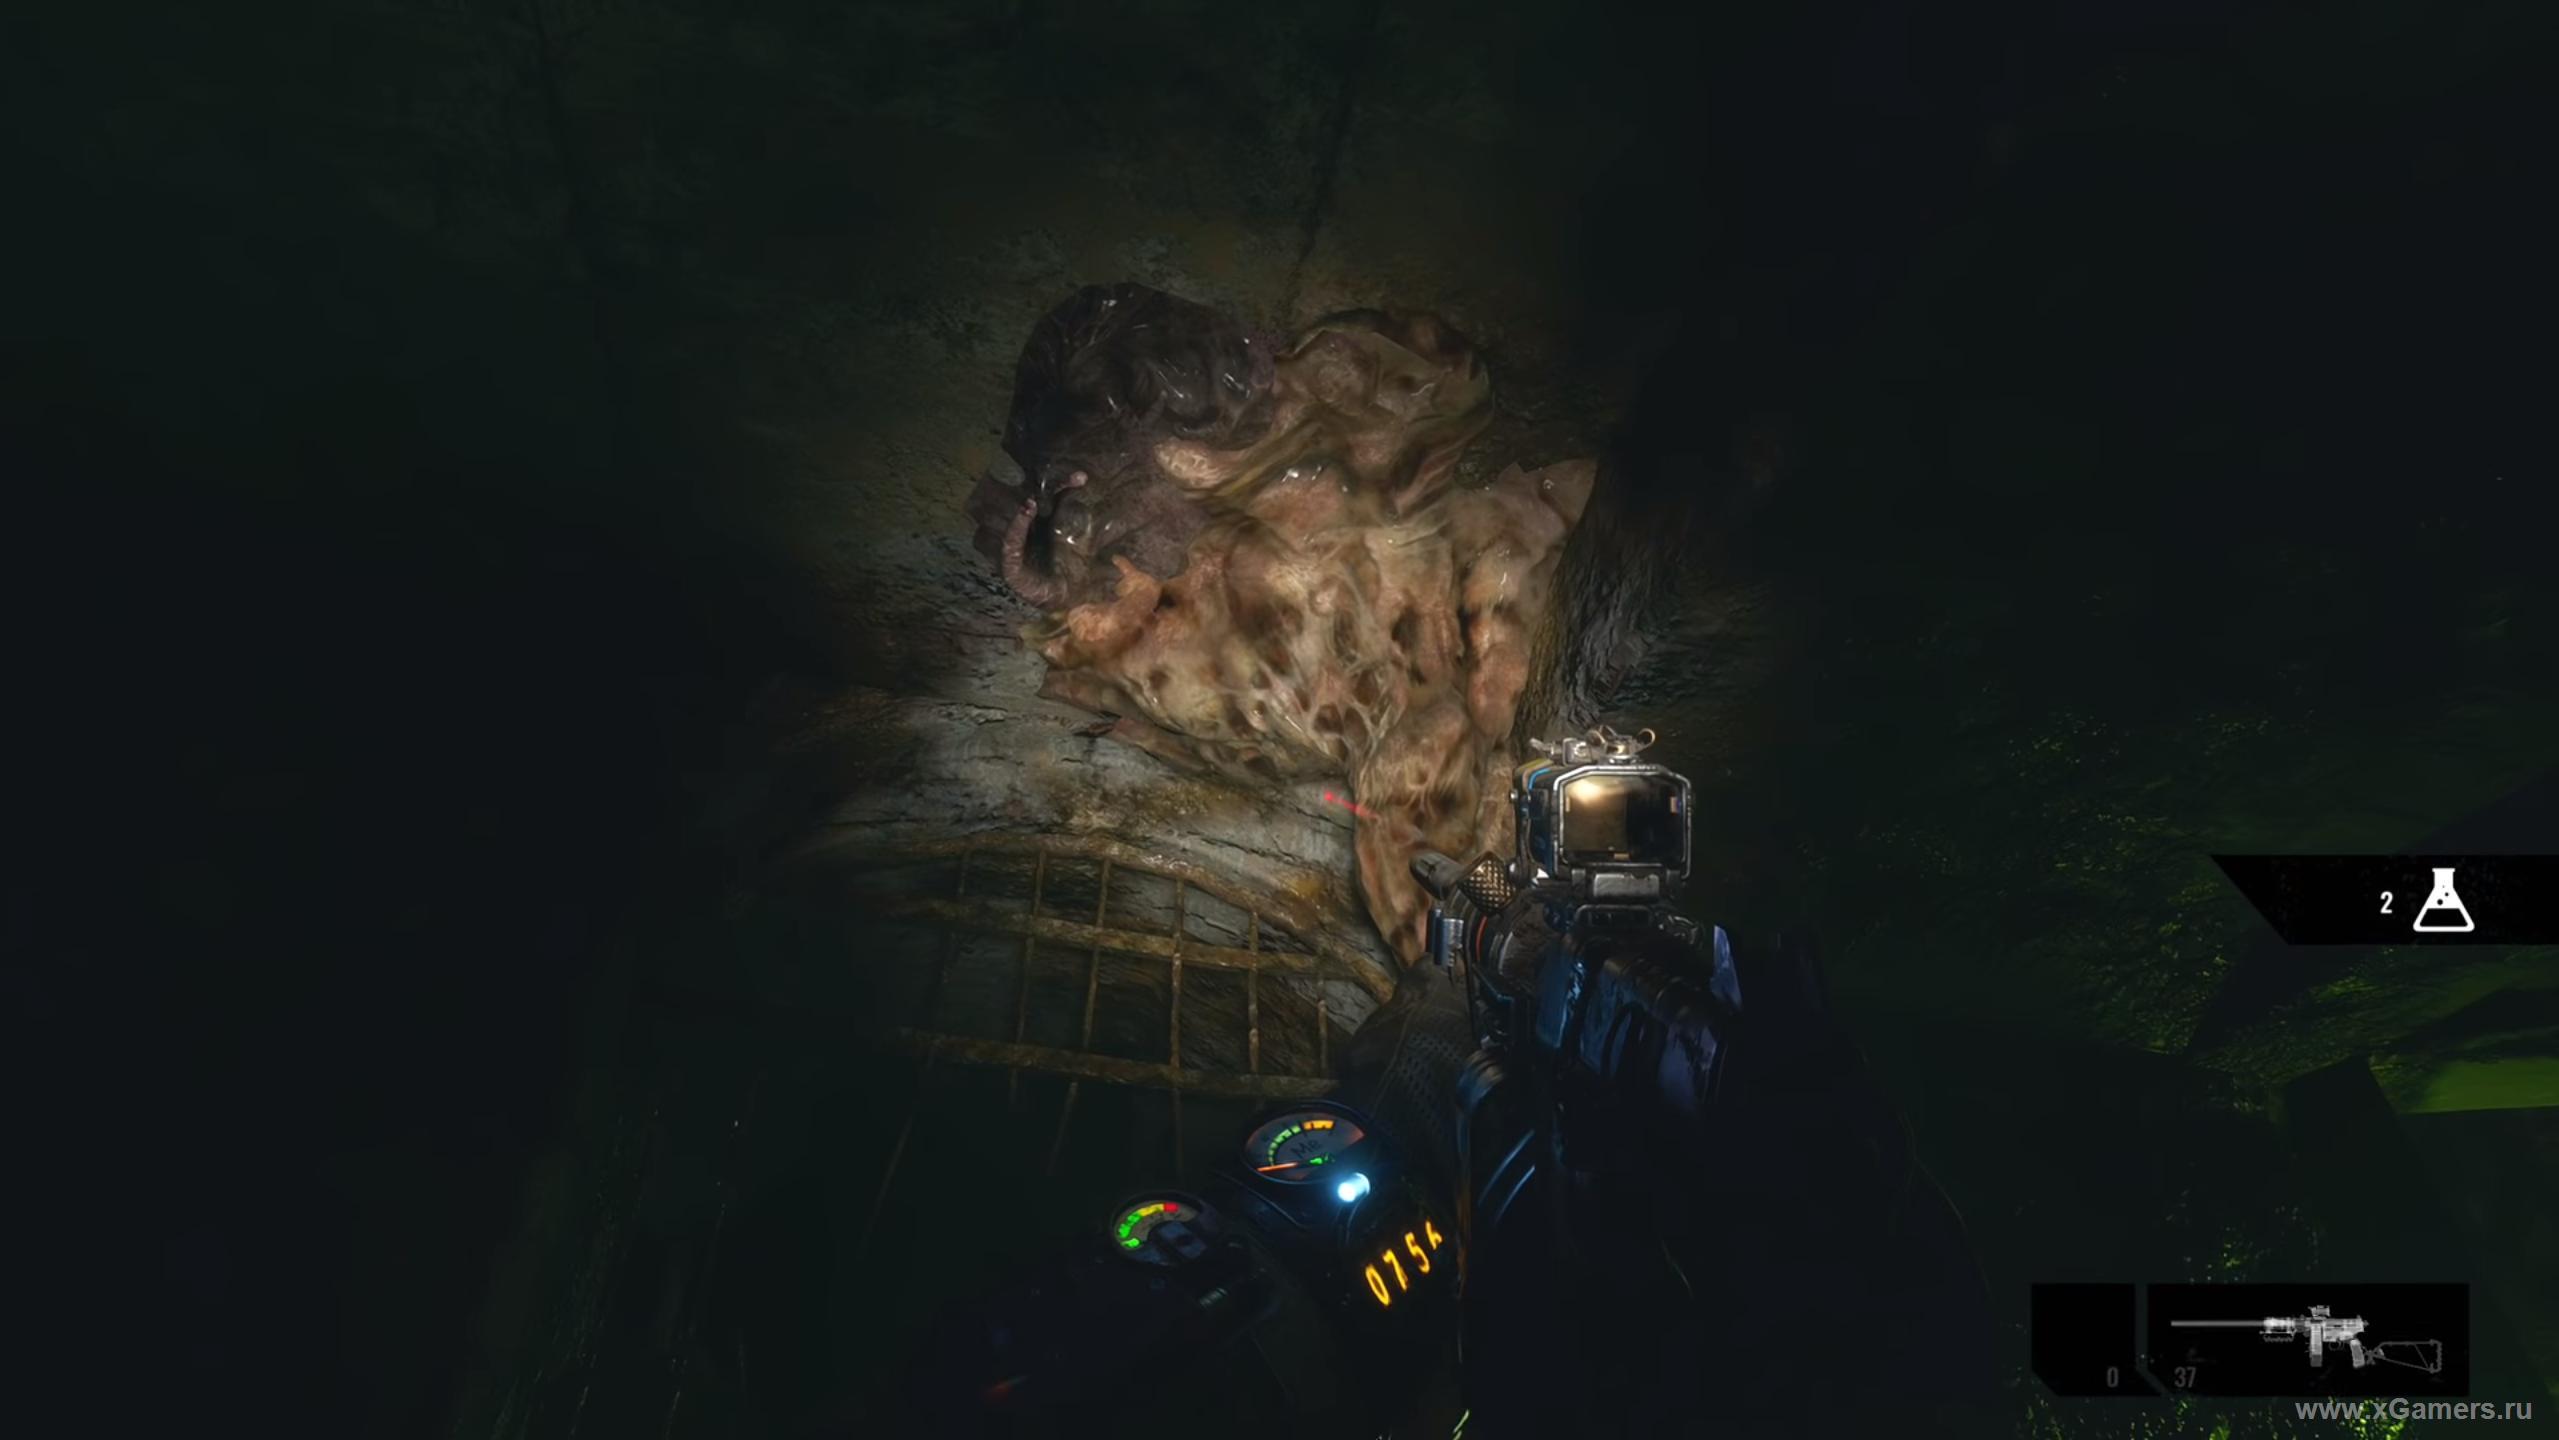
To reach the pit ahead, climb up and turn right. Grab the radiogram text off the table on your right, then keep following the colonel.
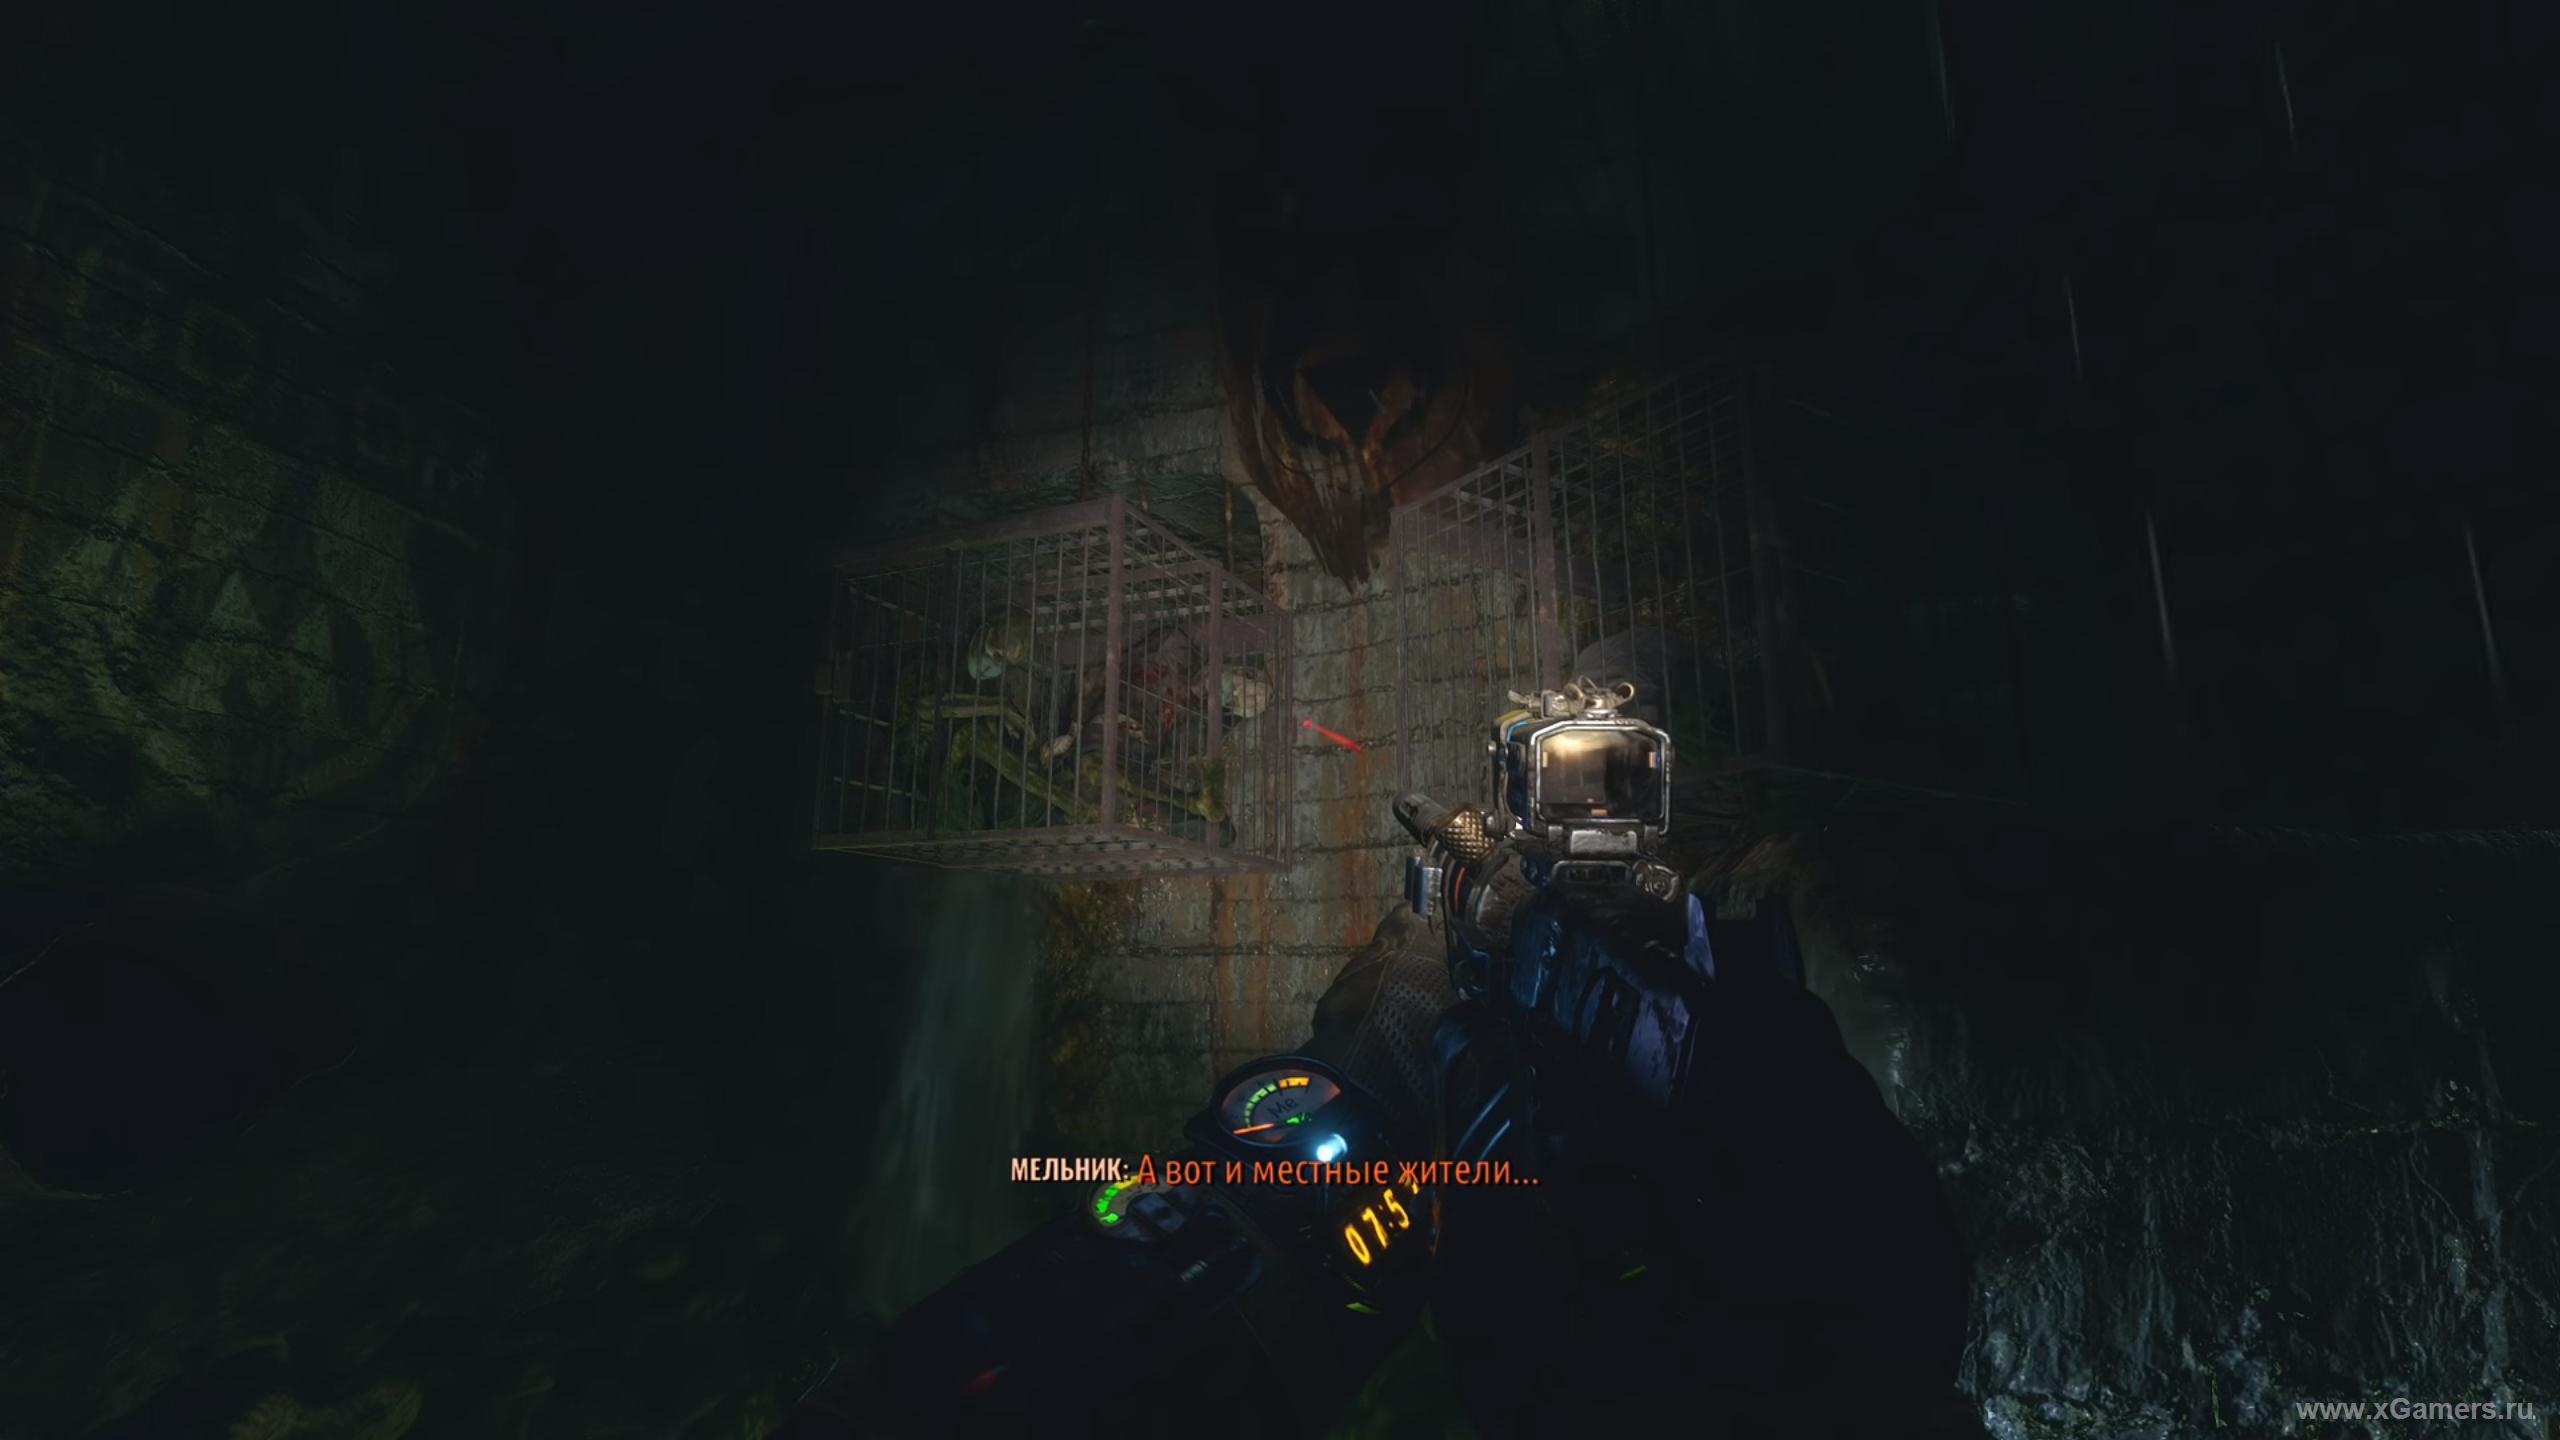
Watch your step here - don't step on the grates, or you'll fall through.

Keep moving forward and listen to the test story as it plays out. No enemies here again - nothing to worry about, just soak in the atmosphere for a bit.
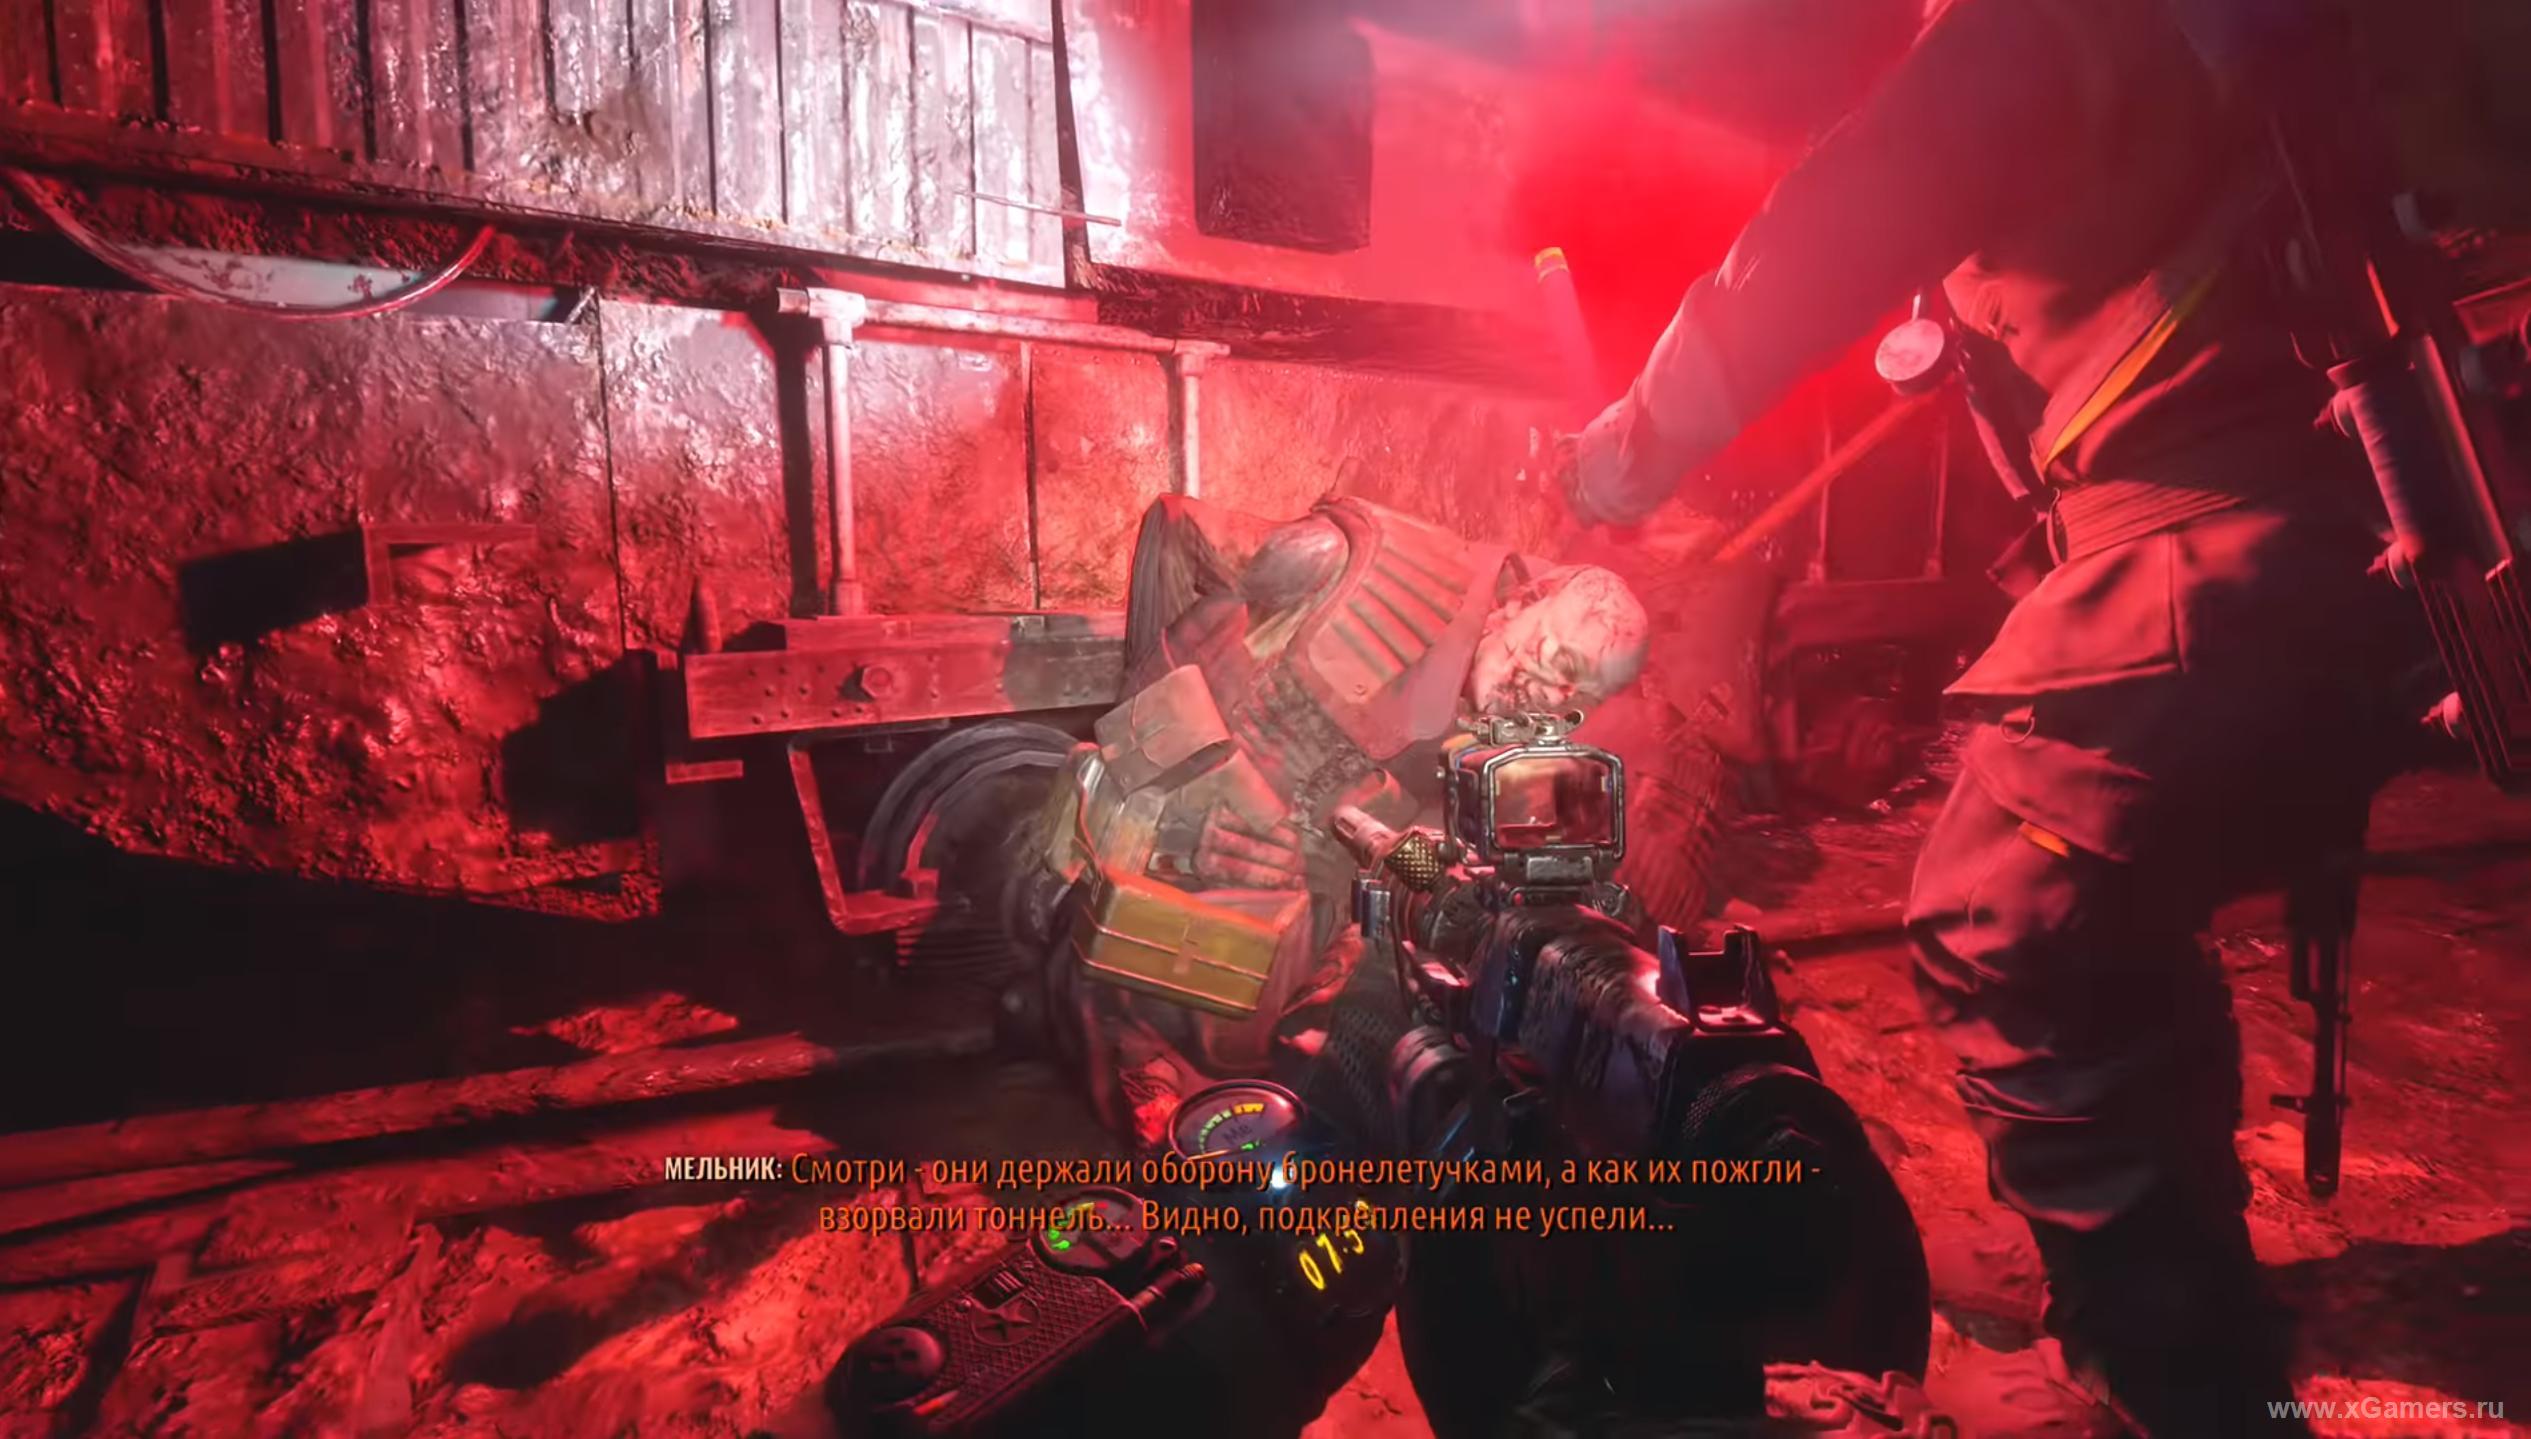
After you leave the train and reach the pressurized section, keep an eye on the pile of corpses nearby. Mutants will attack from there again, so be ready.
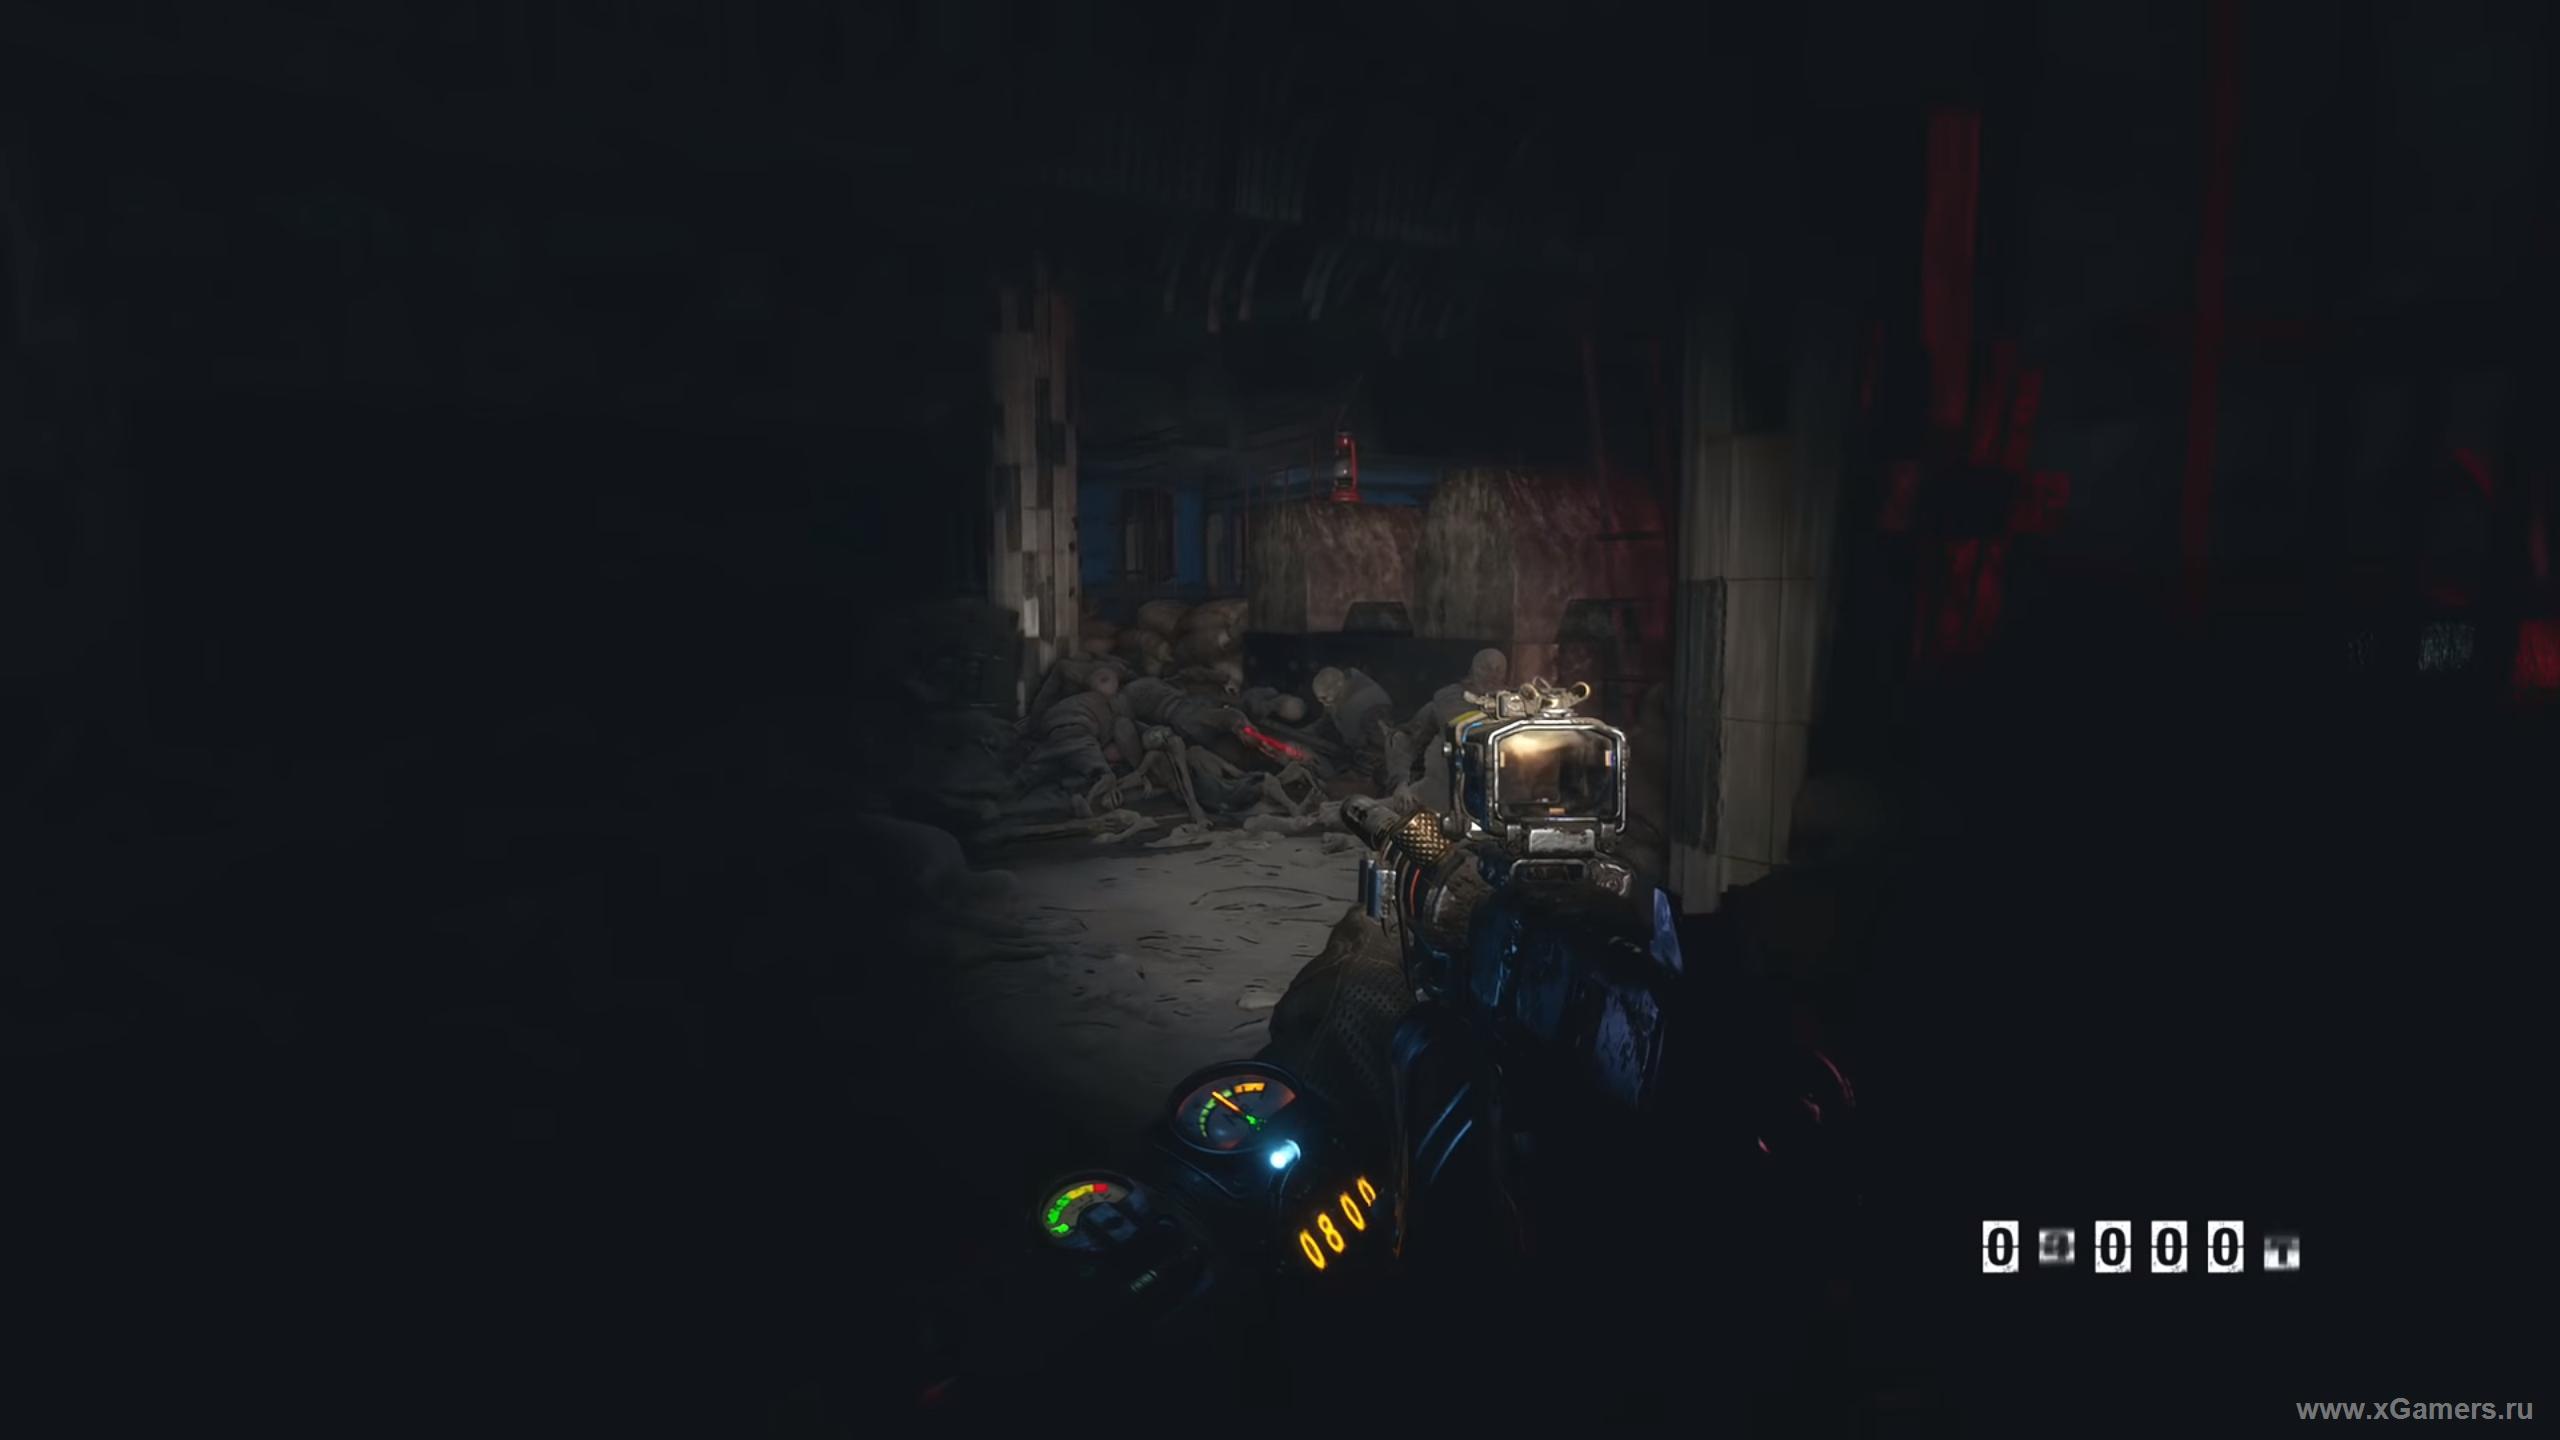
After that, push through the sealed doors and stay alert - several more waves of enemies are coming.
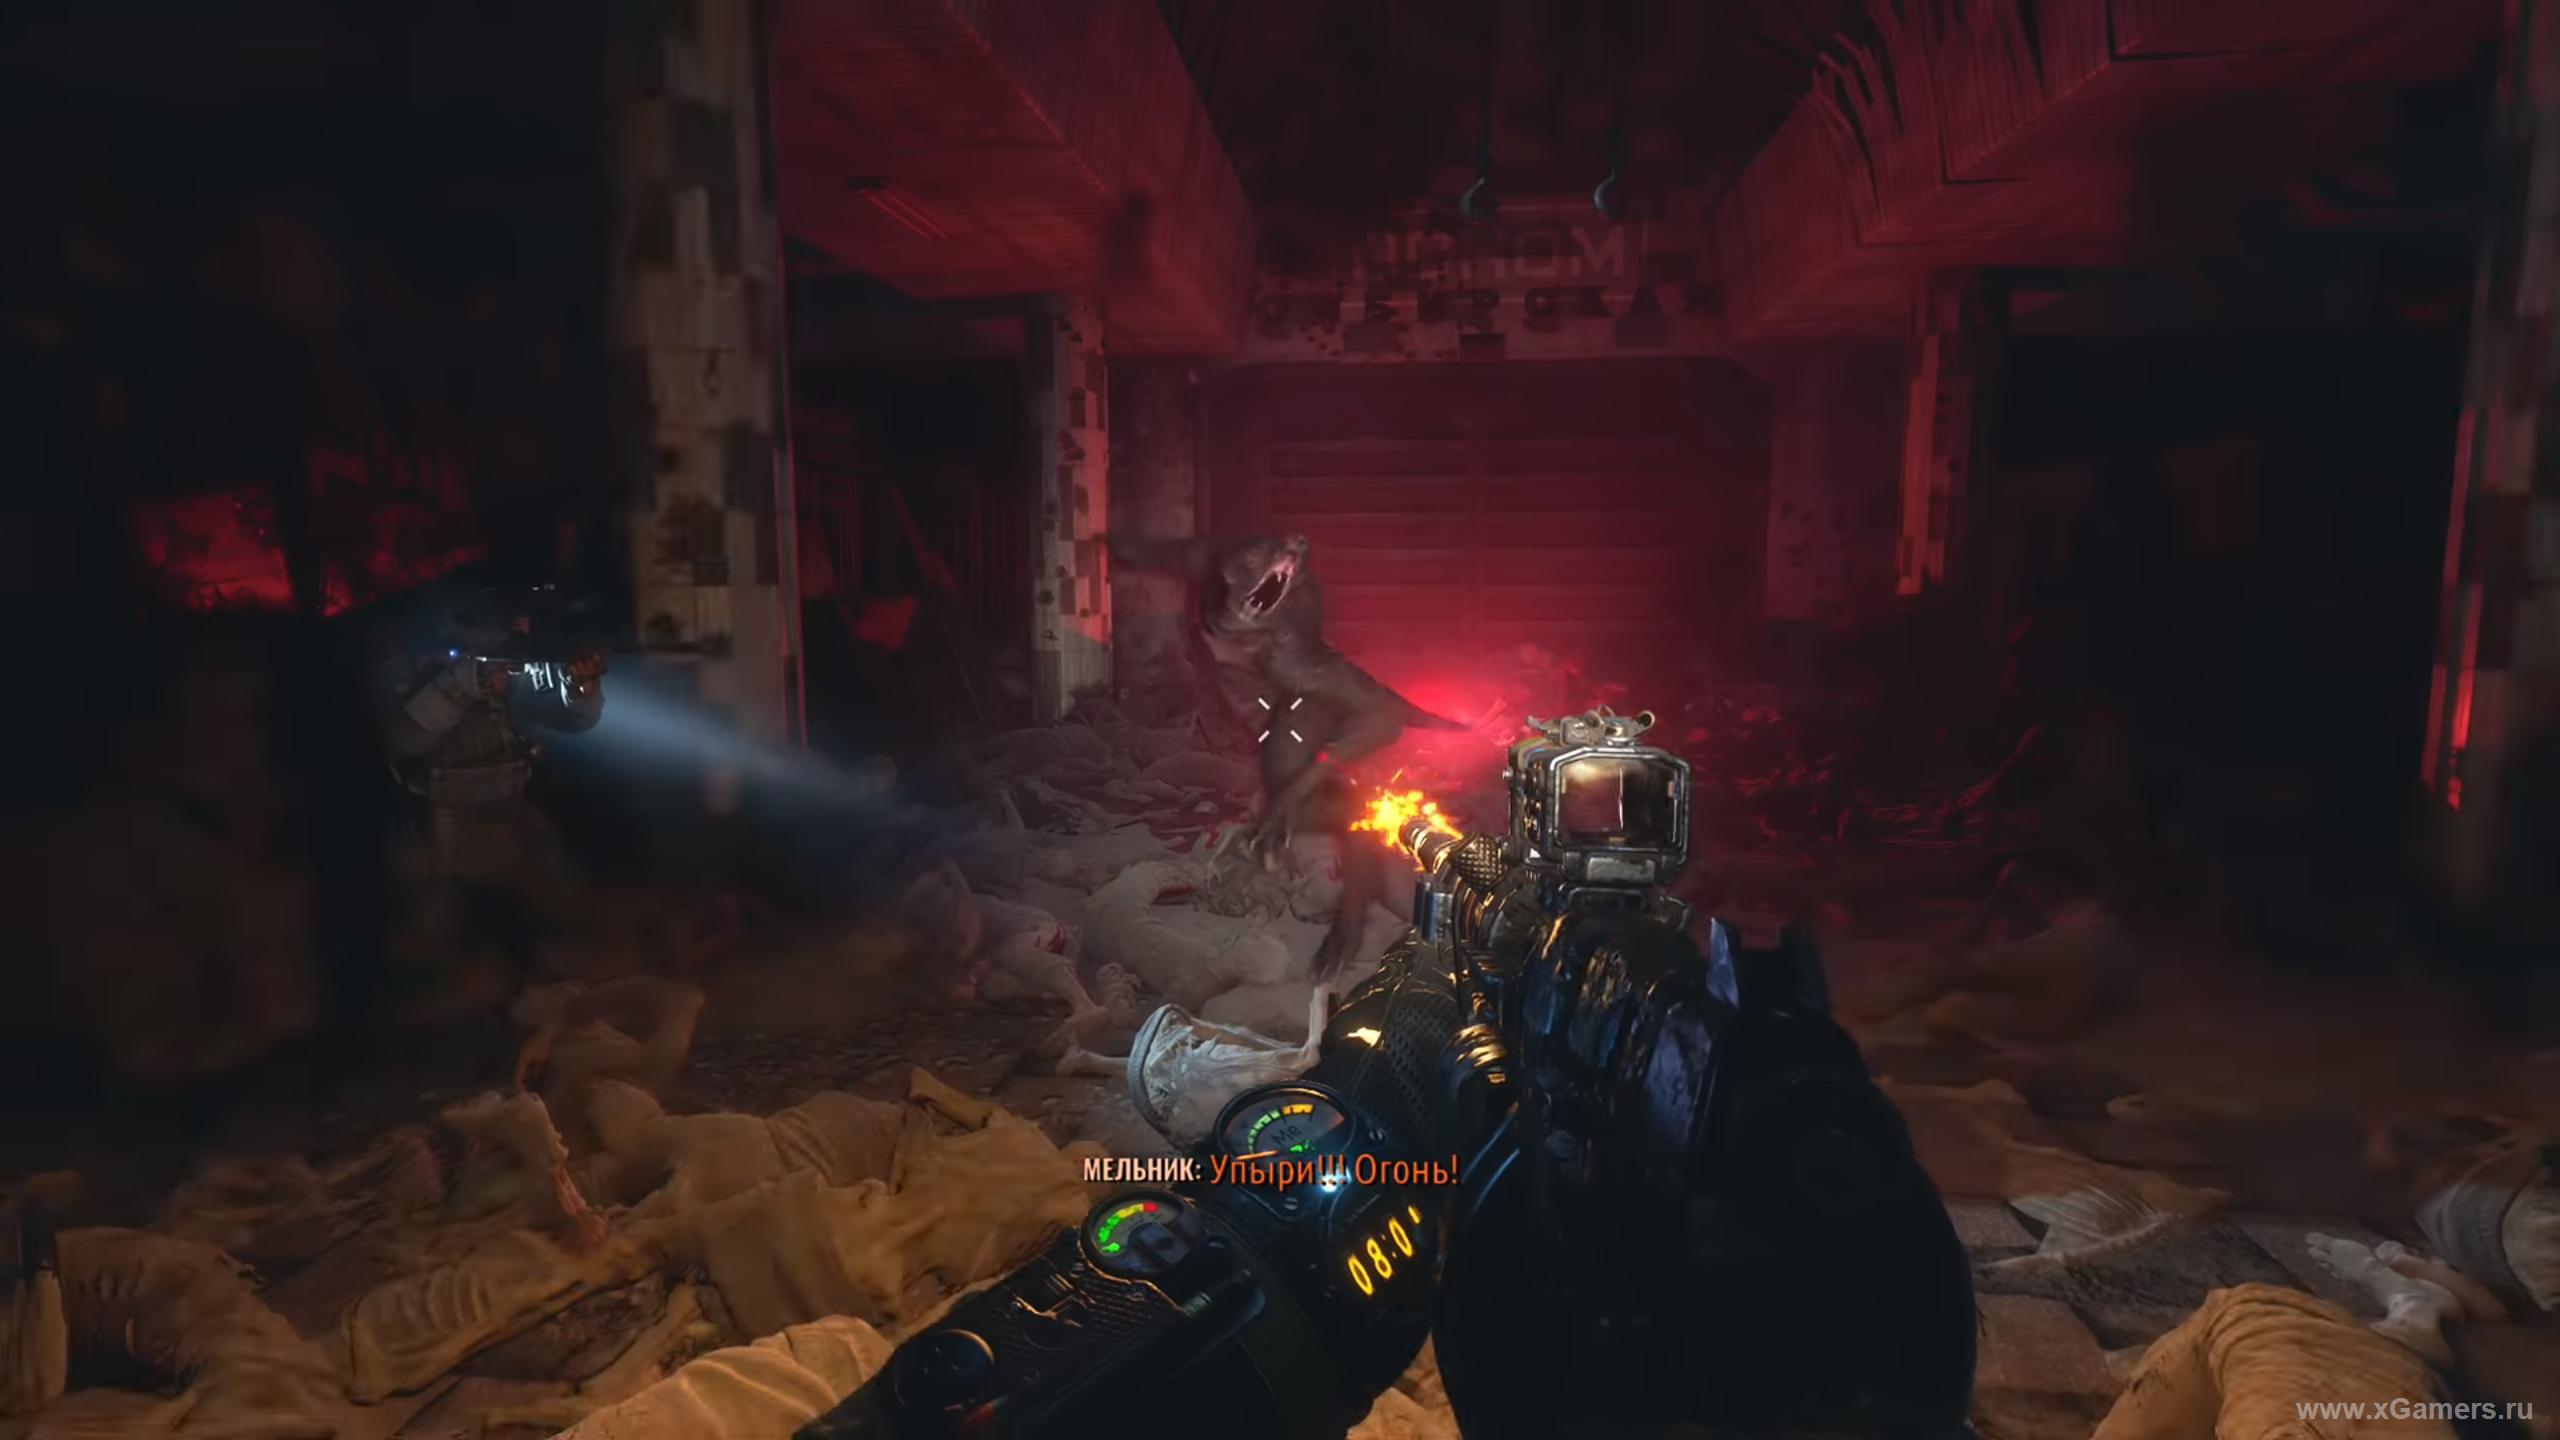
Once the monsters are down and the gate's open, head upstairs with Melnik to the station entrance. You can't get outside from here, so once you reach the top of the escalator, go left and take the door out.
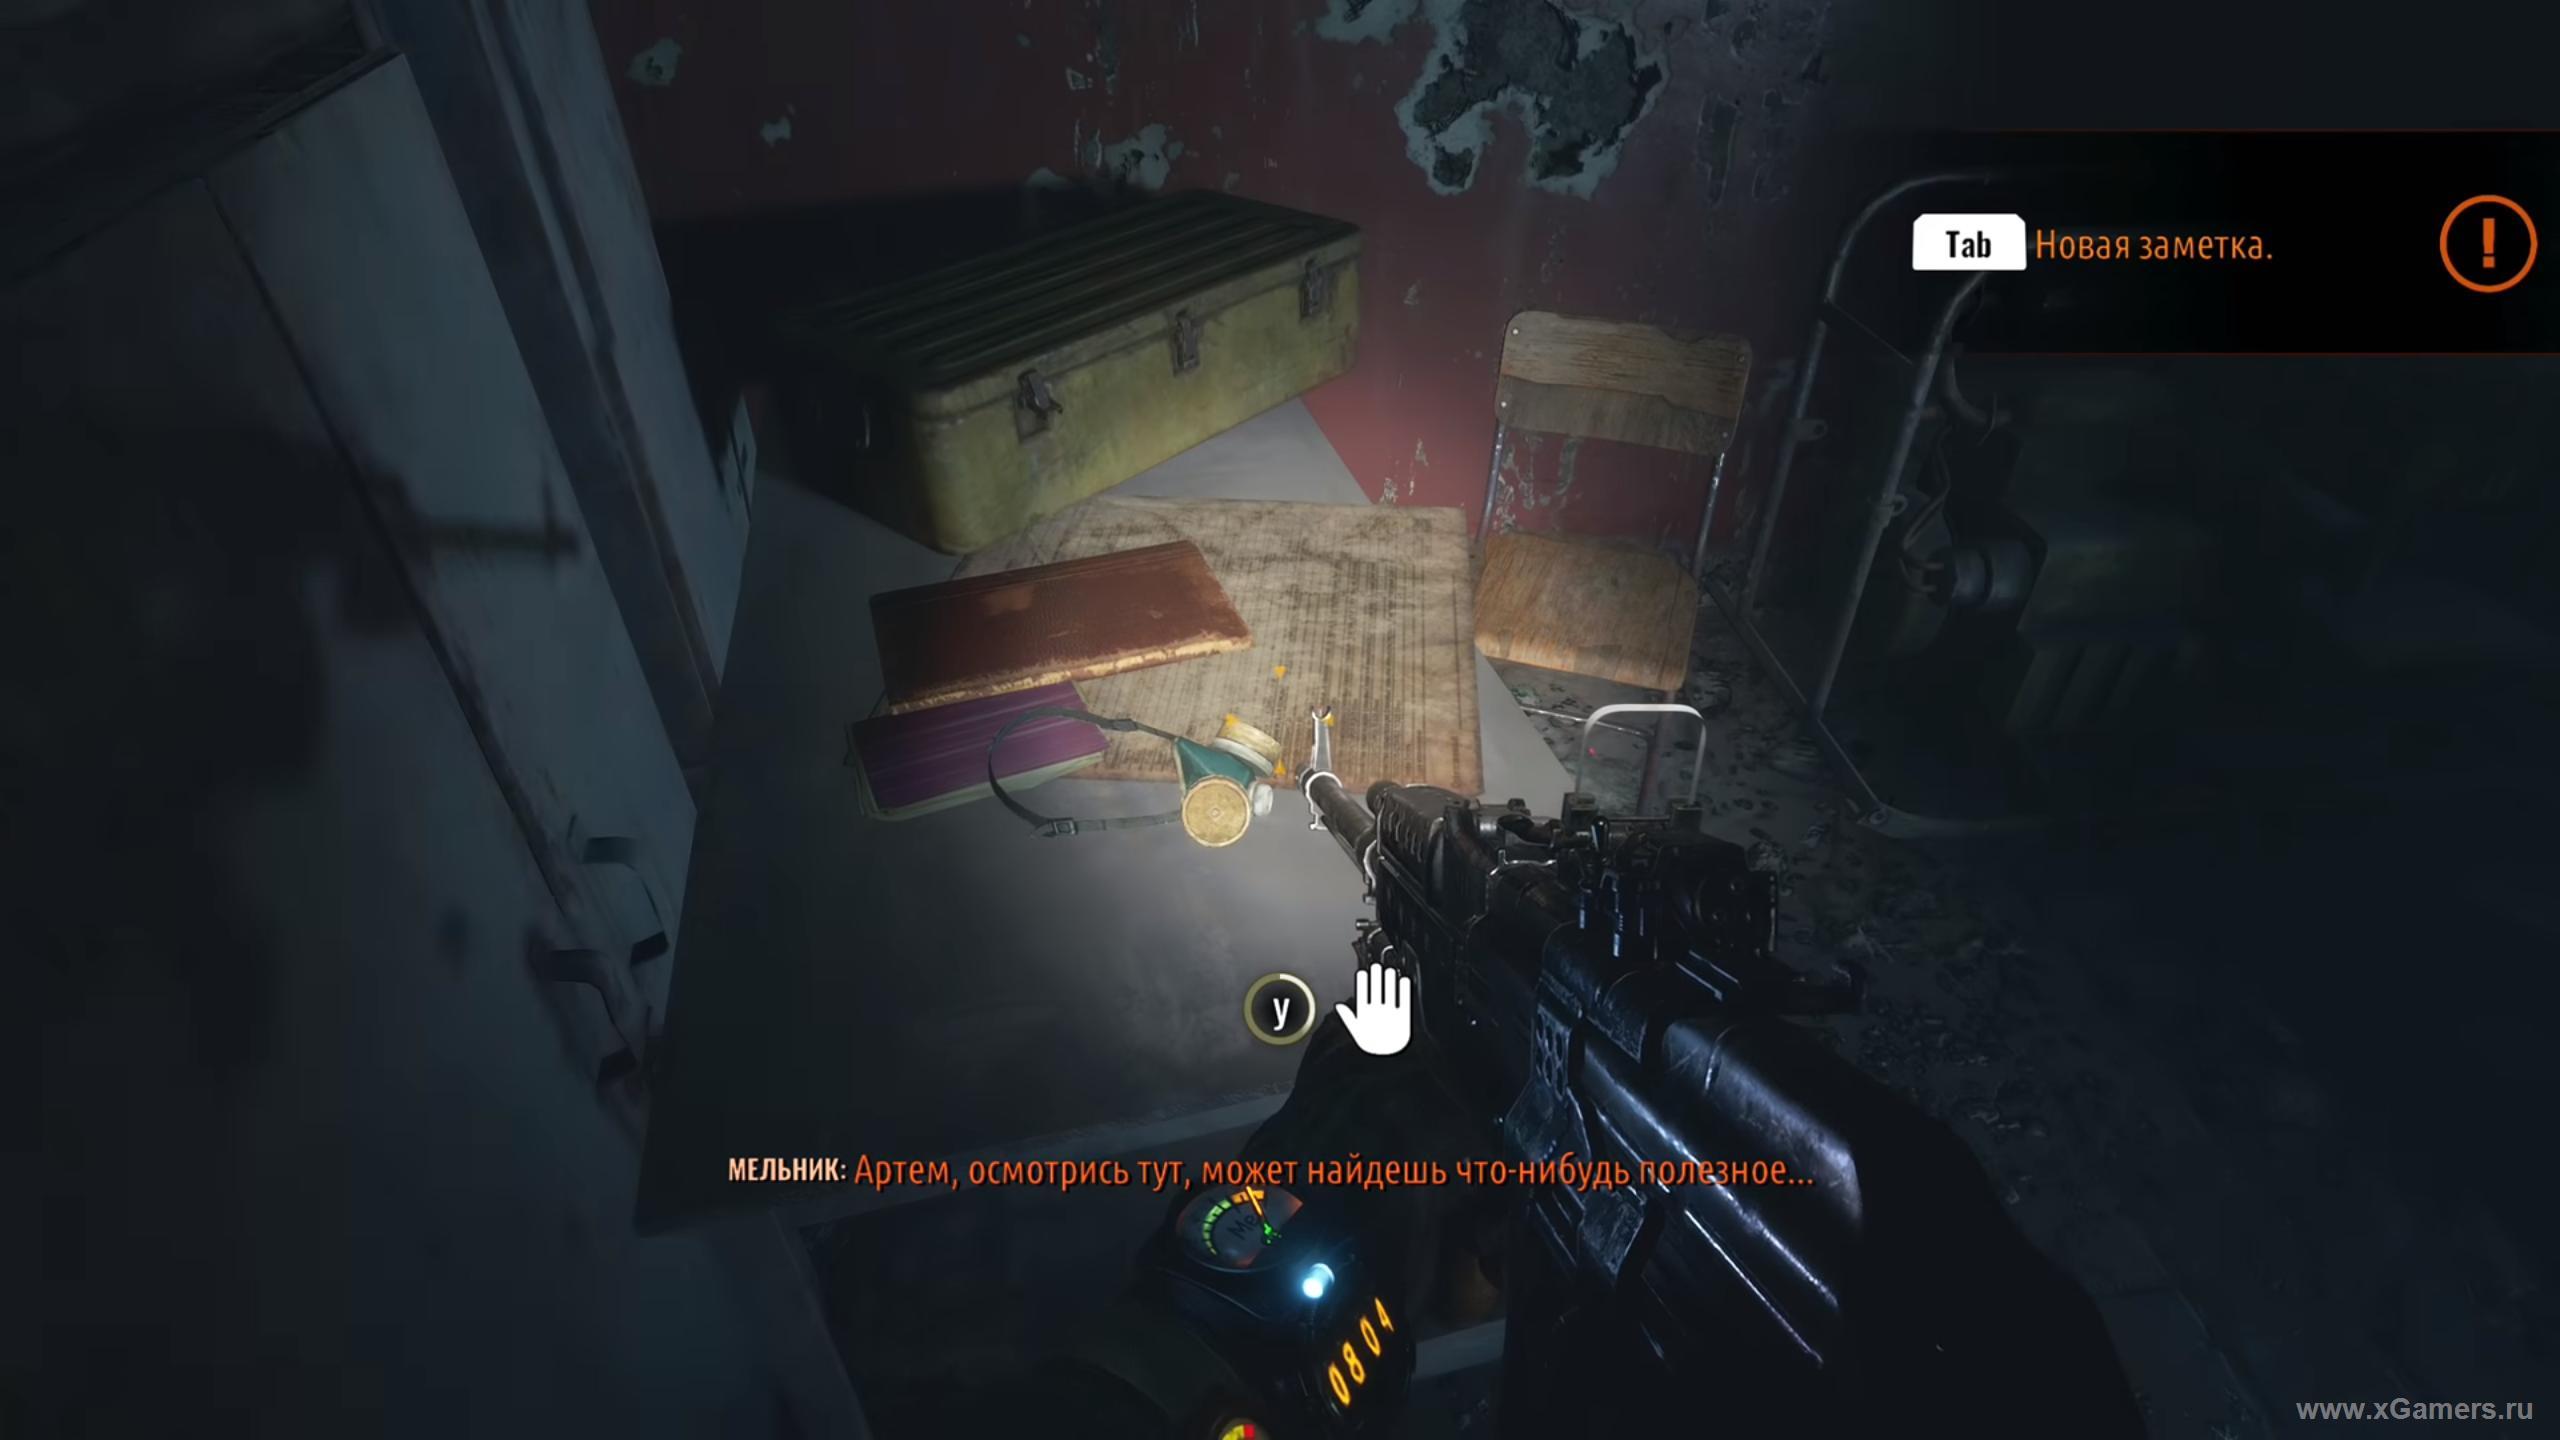
You'll find some ammo and small items scattered around, plus a battered report on a table in one of the rooms. Once you've grabbed everything worth taking, follow the colonel back downstairs.
You'll hear strange sounds - slide the hatch cover open. Turns out a little boy has been hiding here! You'll chase after him, but don't worry - this is a scripted sequence, and he can't actually escape you.
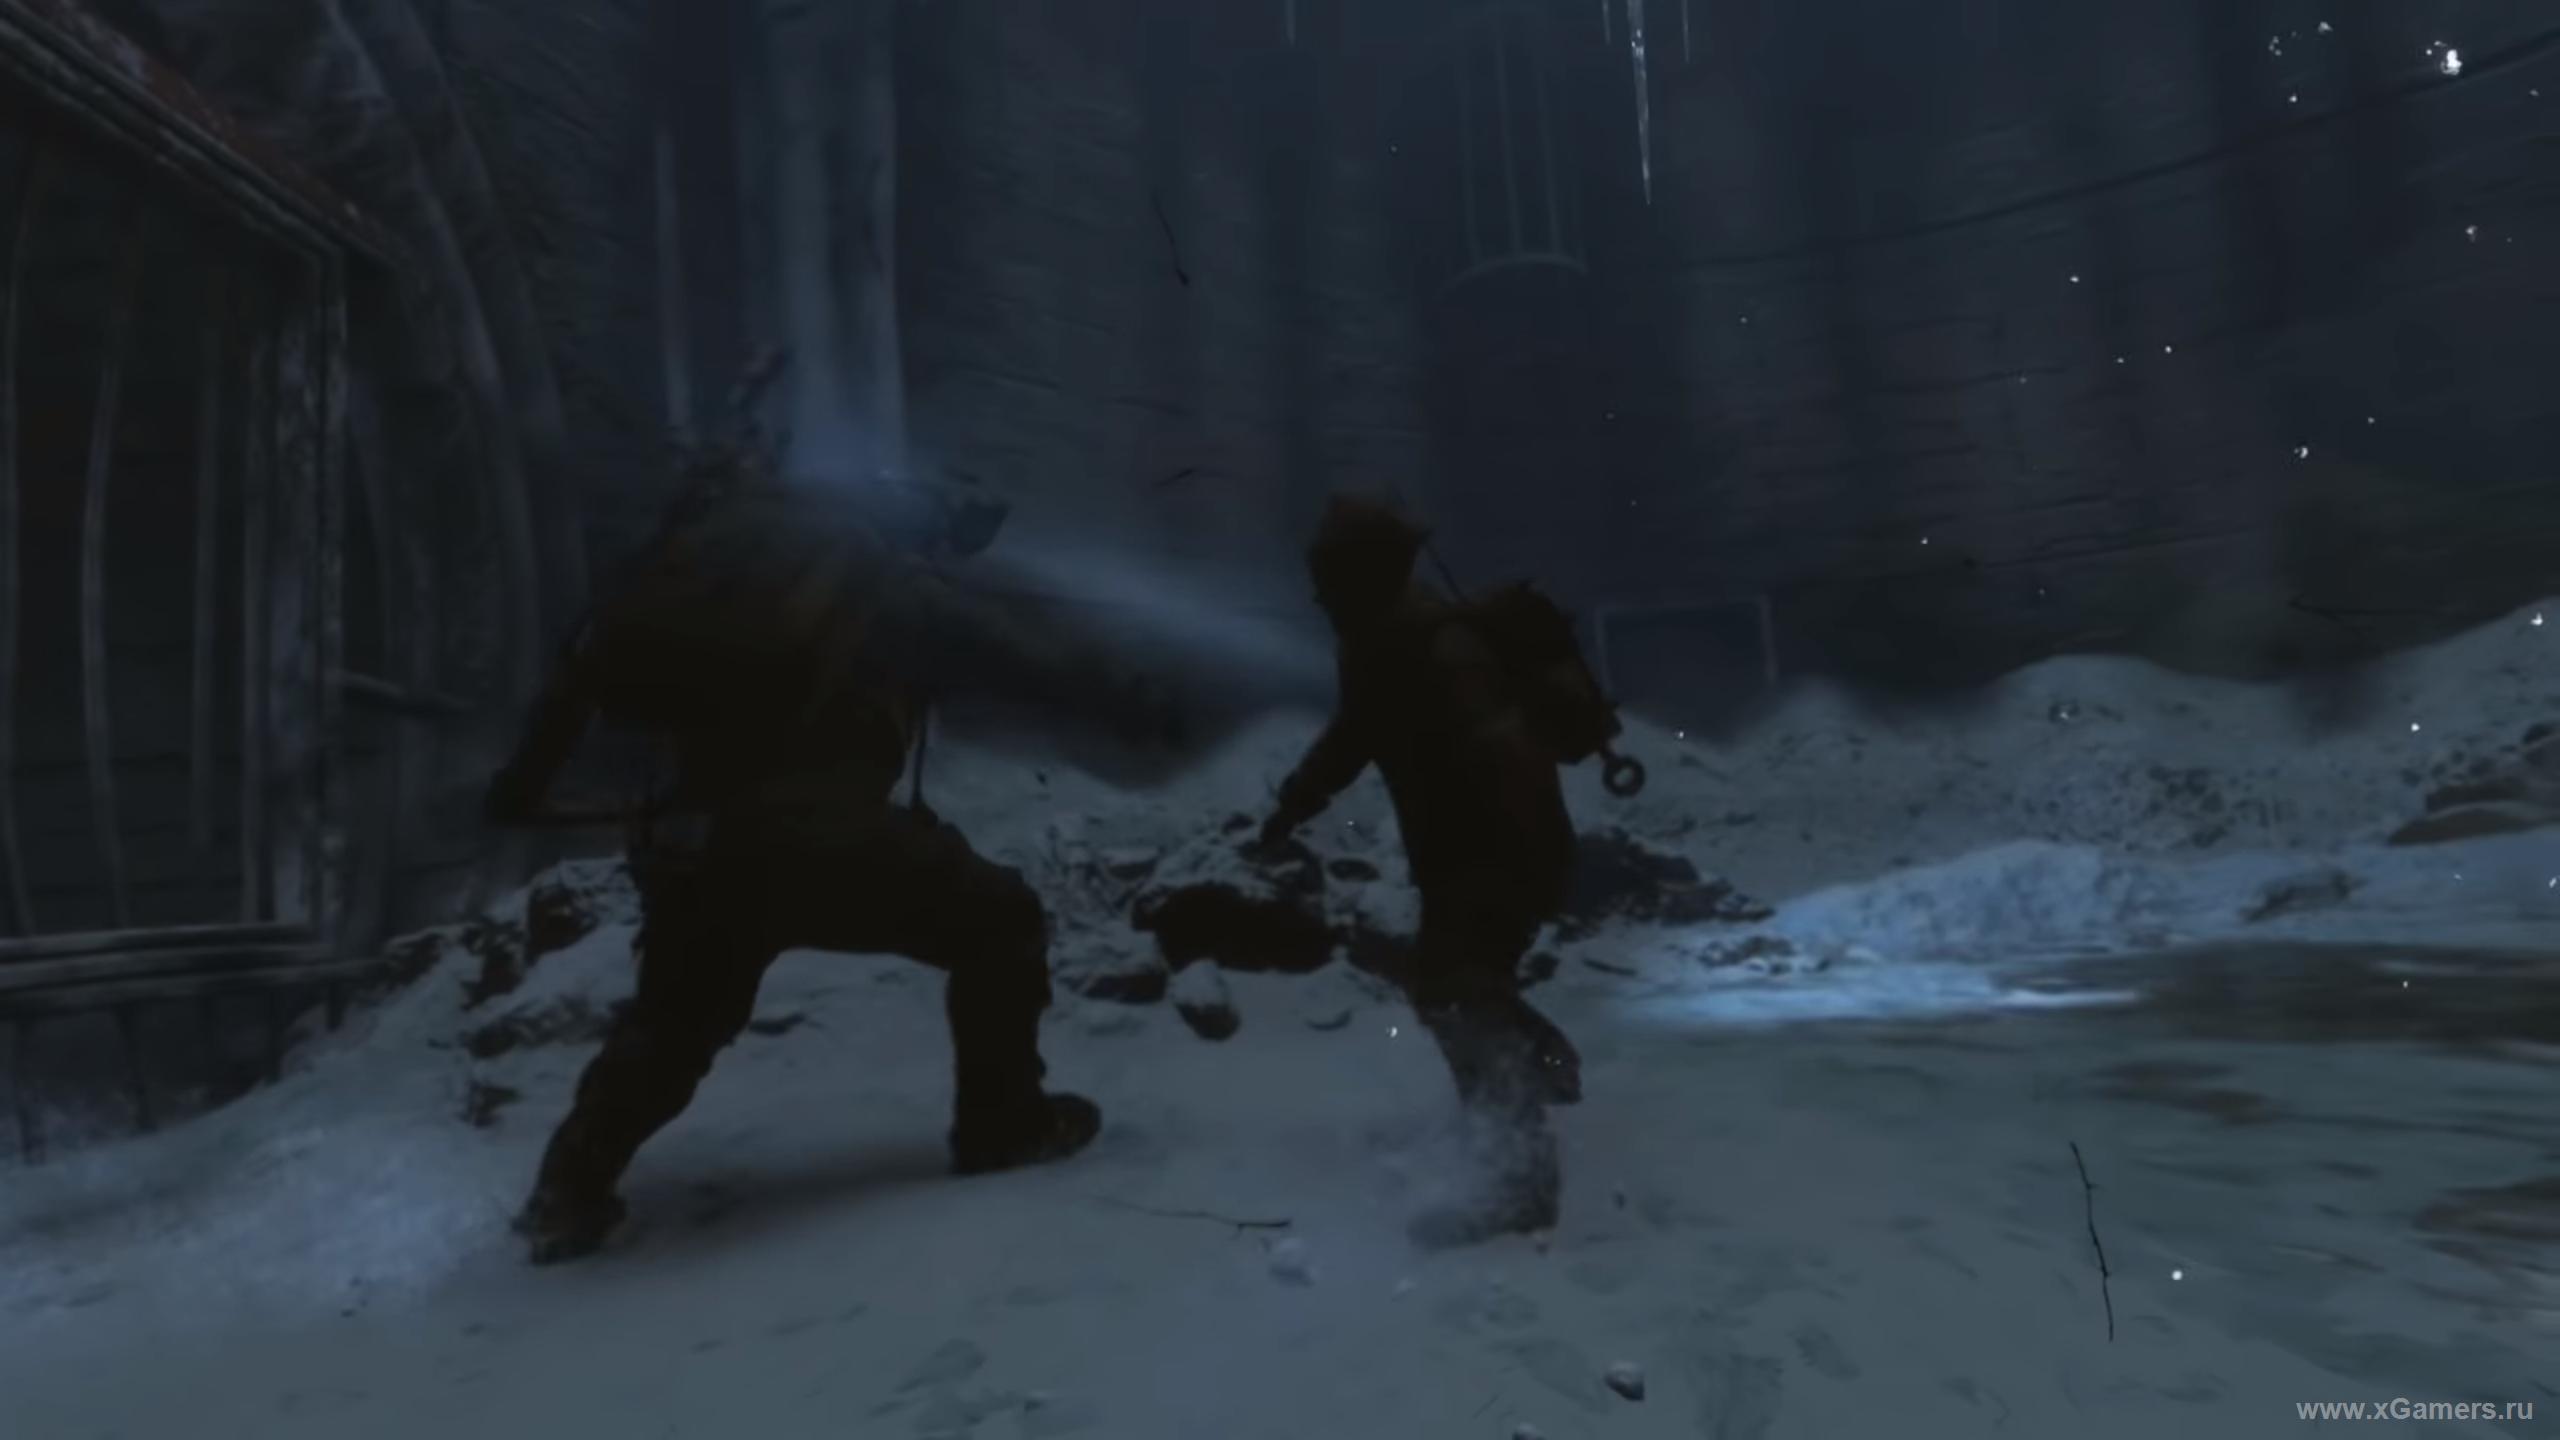
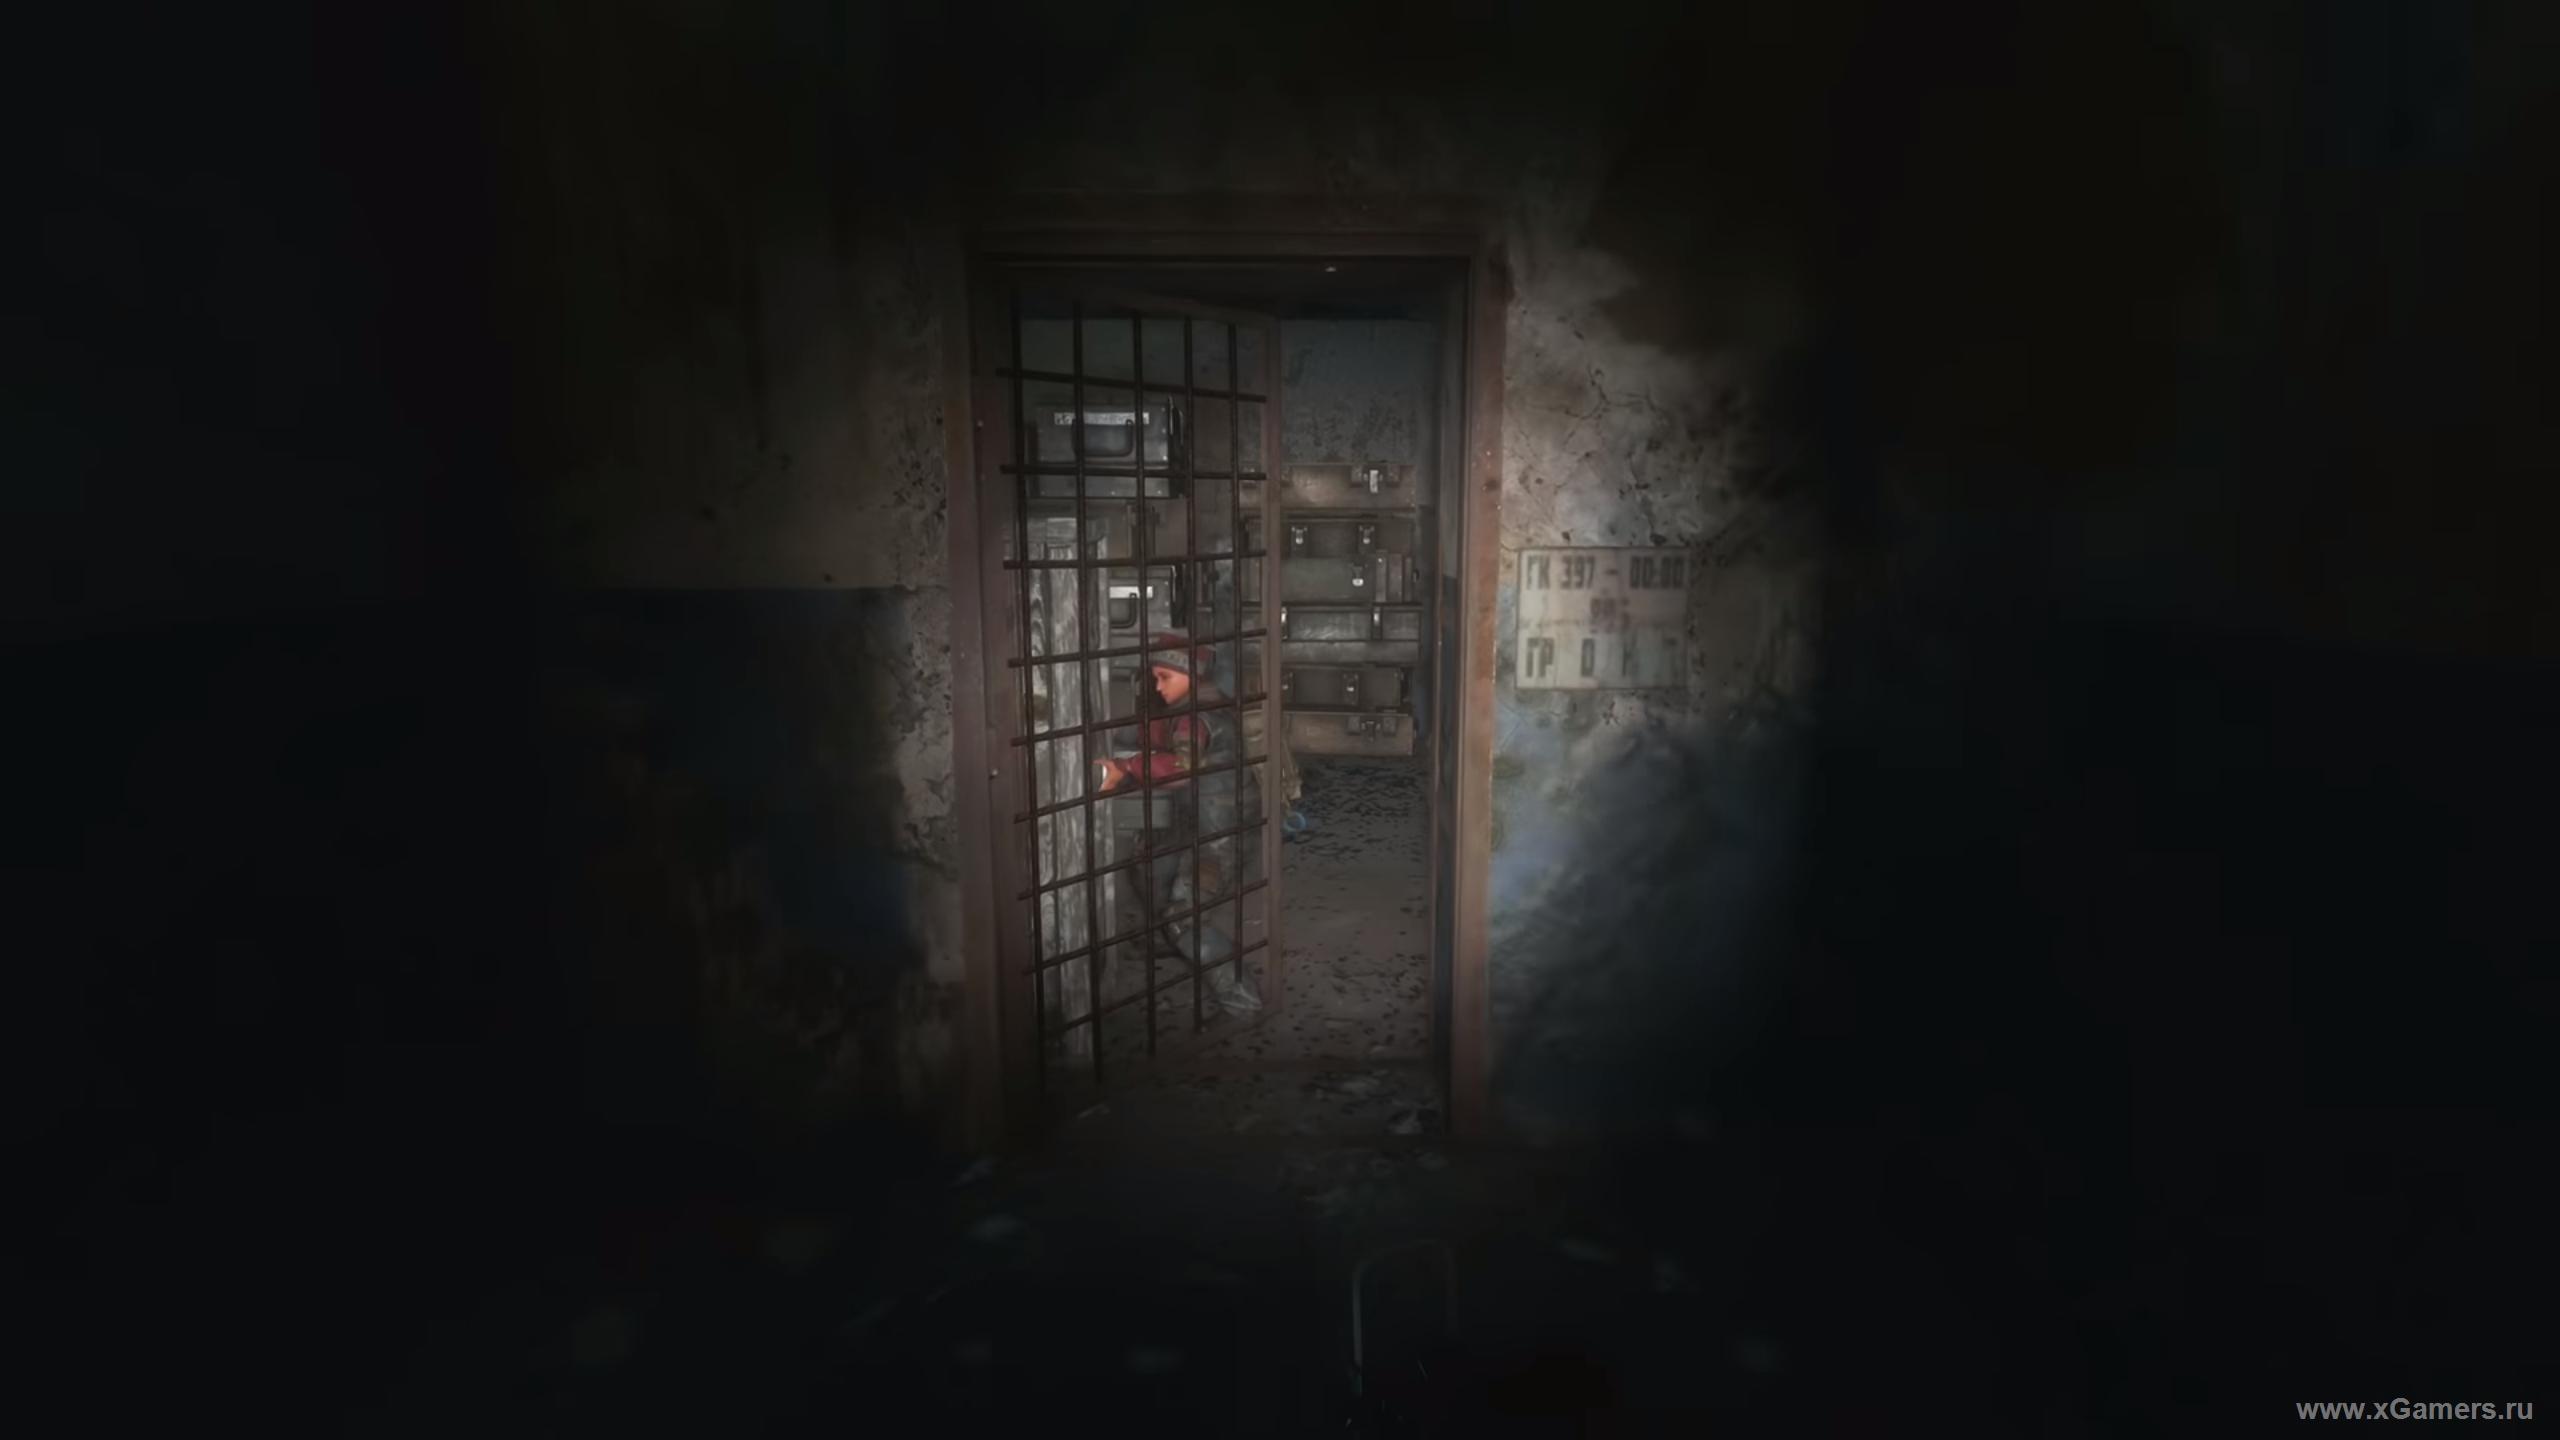
You and Melnik end up split apart in the same room. Still, you manage to catch the boy - he's hiding under a trash can.
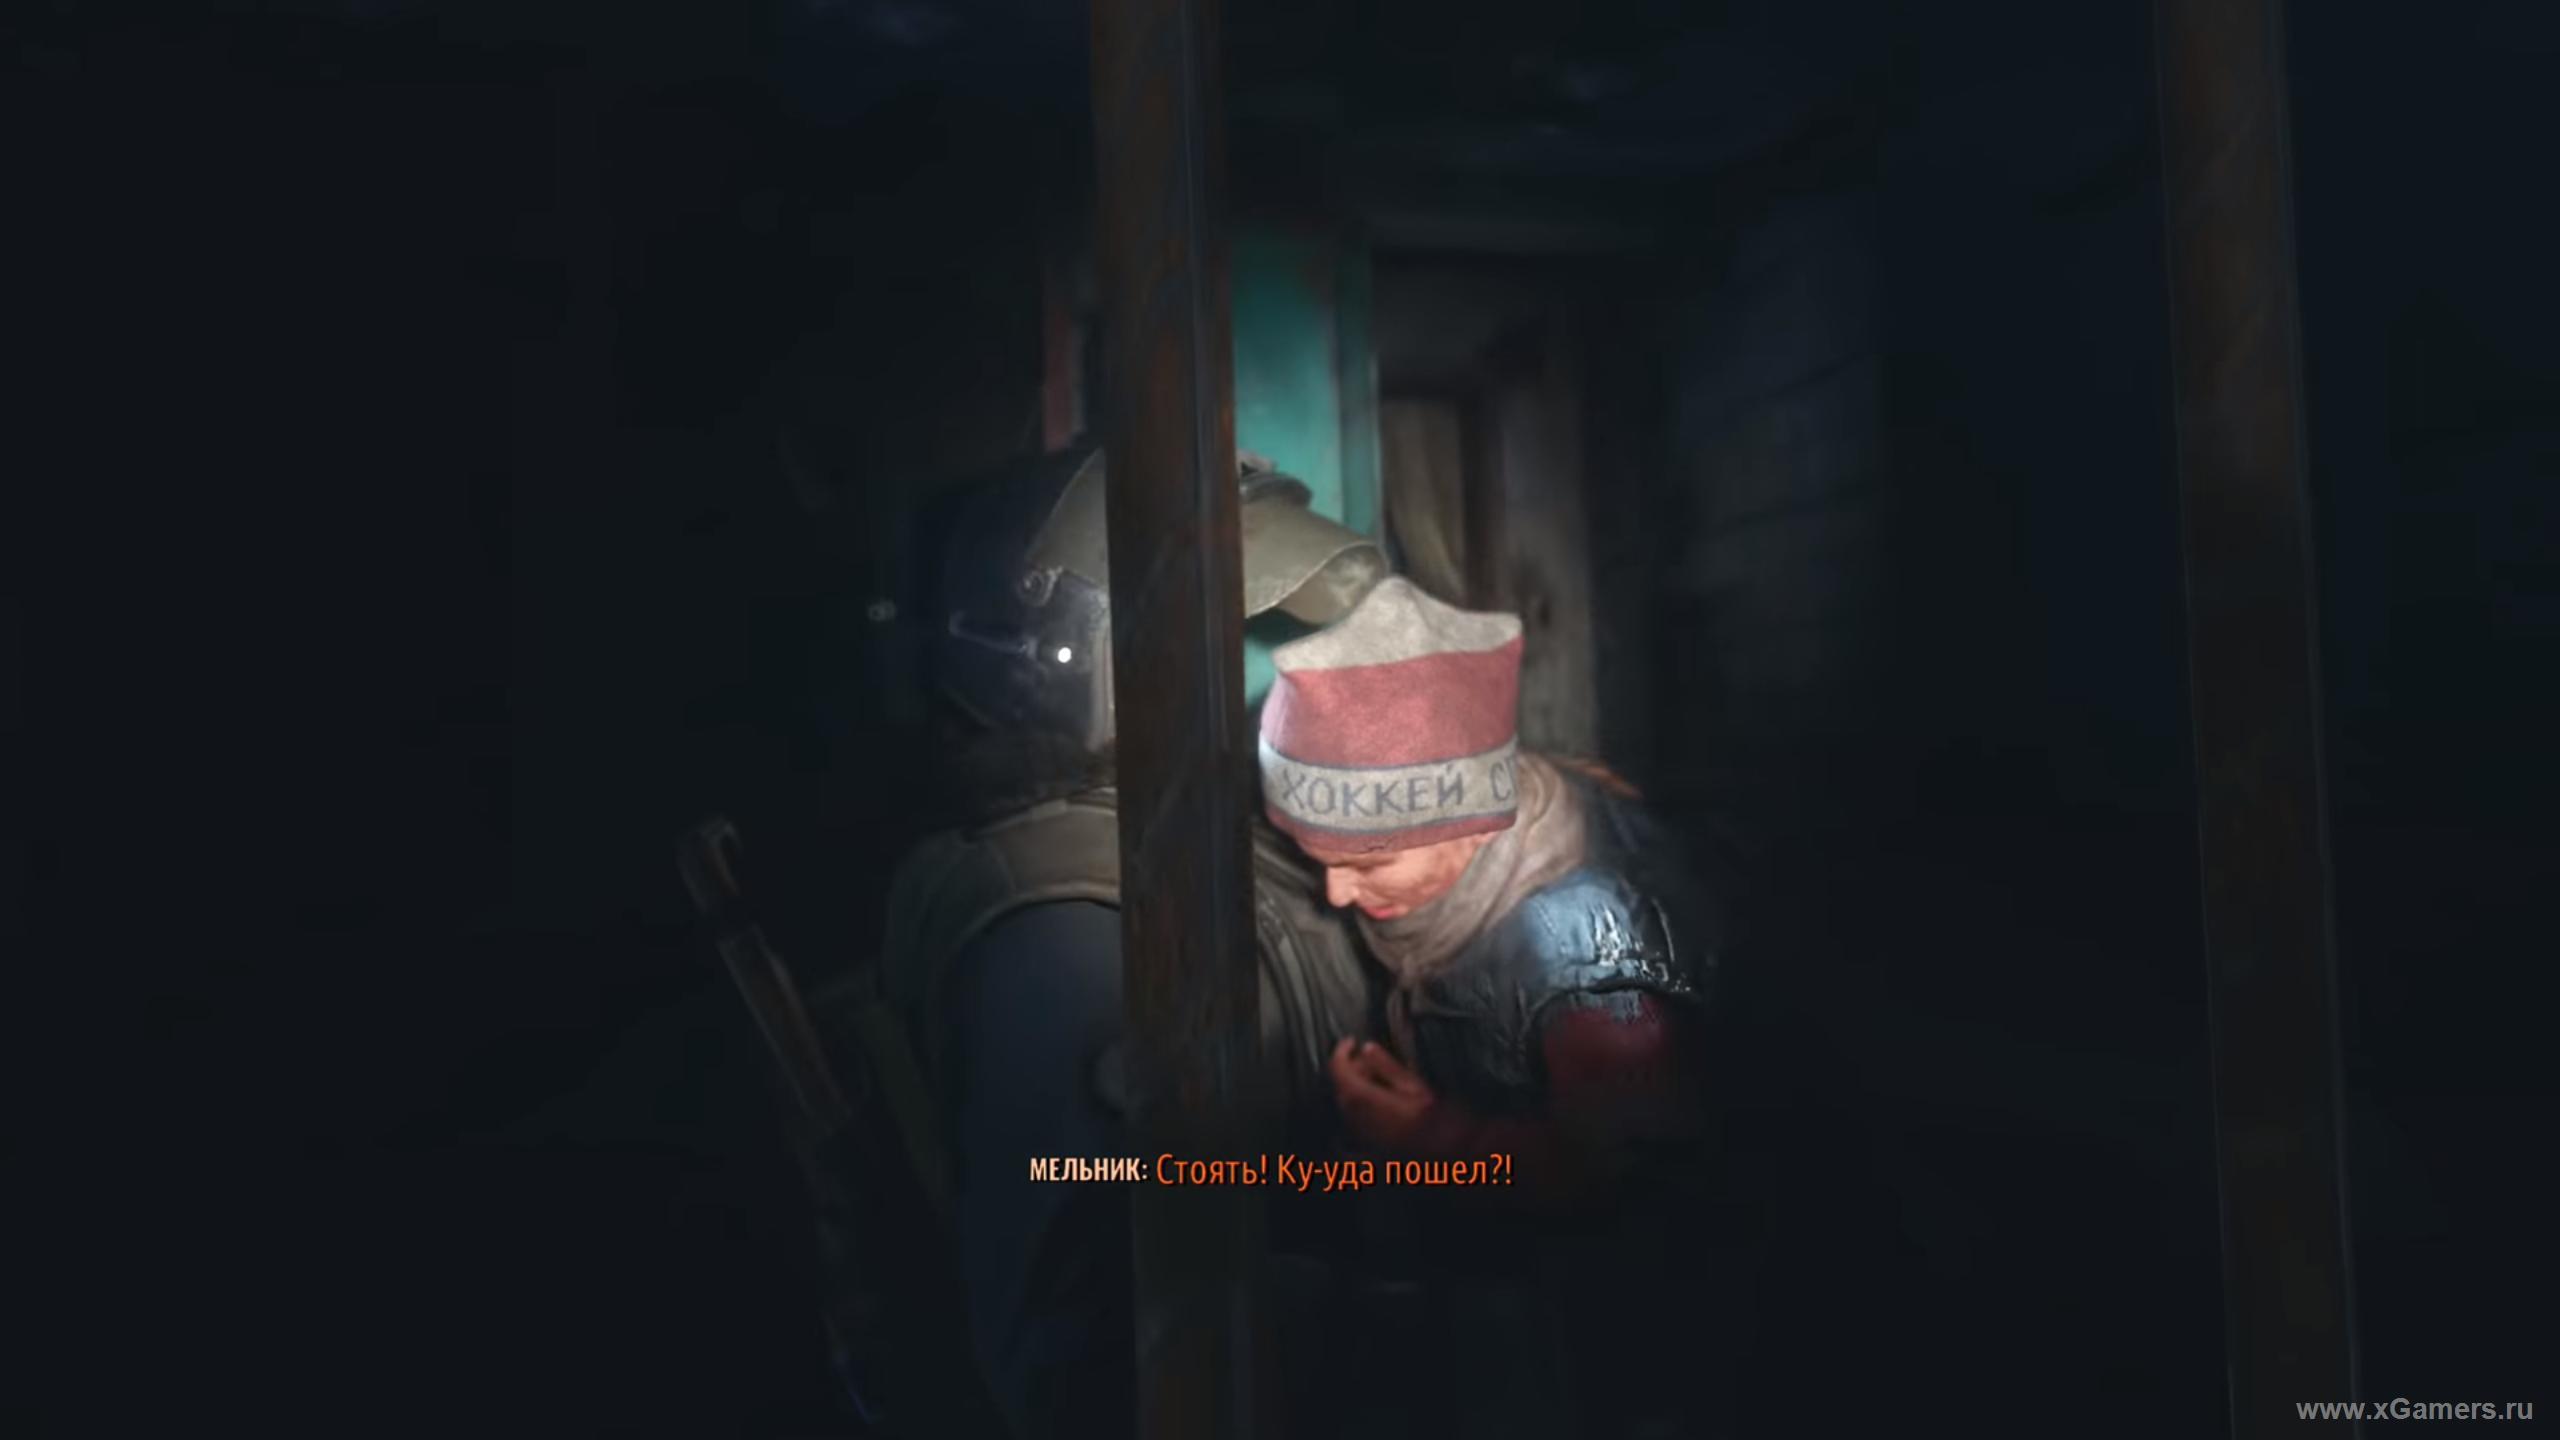
Talk to Cyril and hear him out. After Melnik explains things, Cyril agrees to help and takes you to meet the rest of the metro's residents.
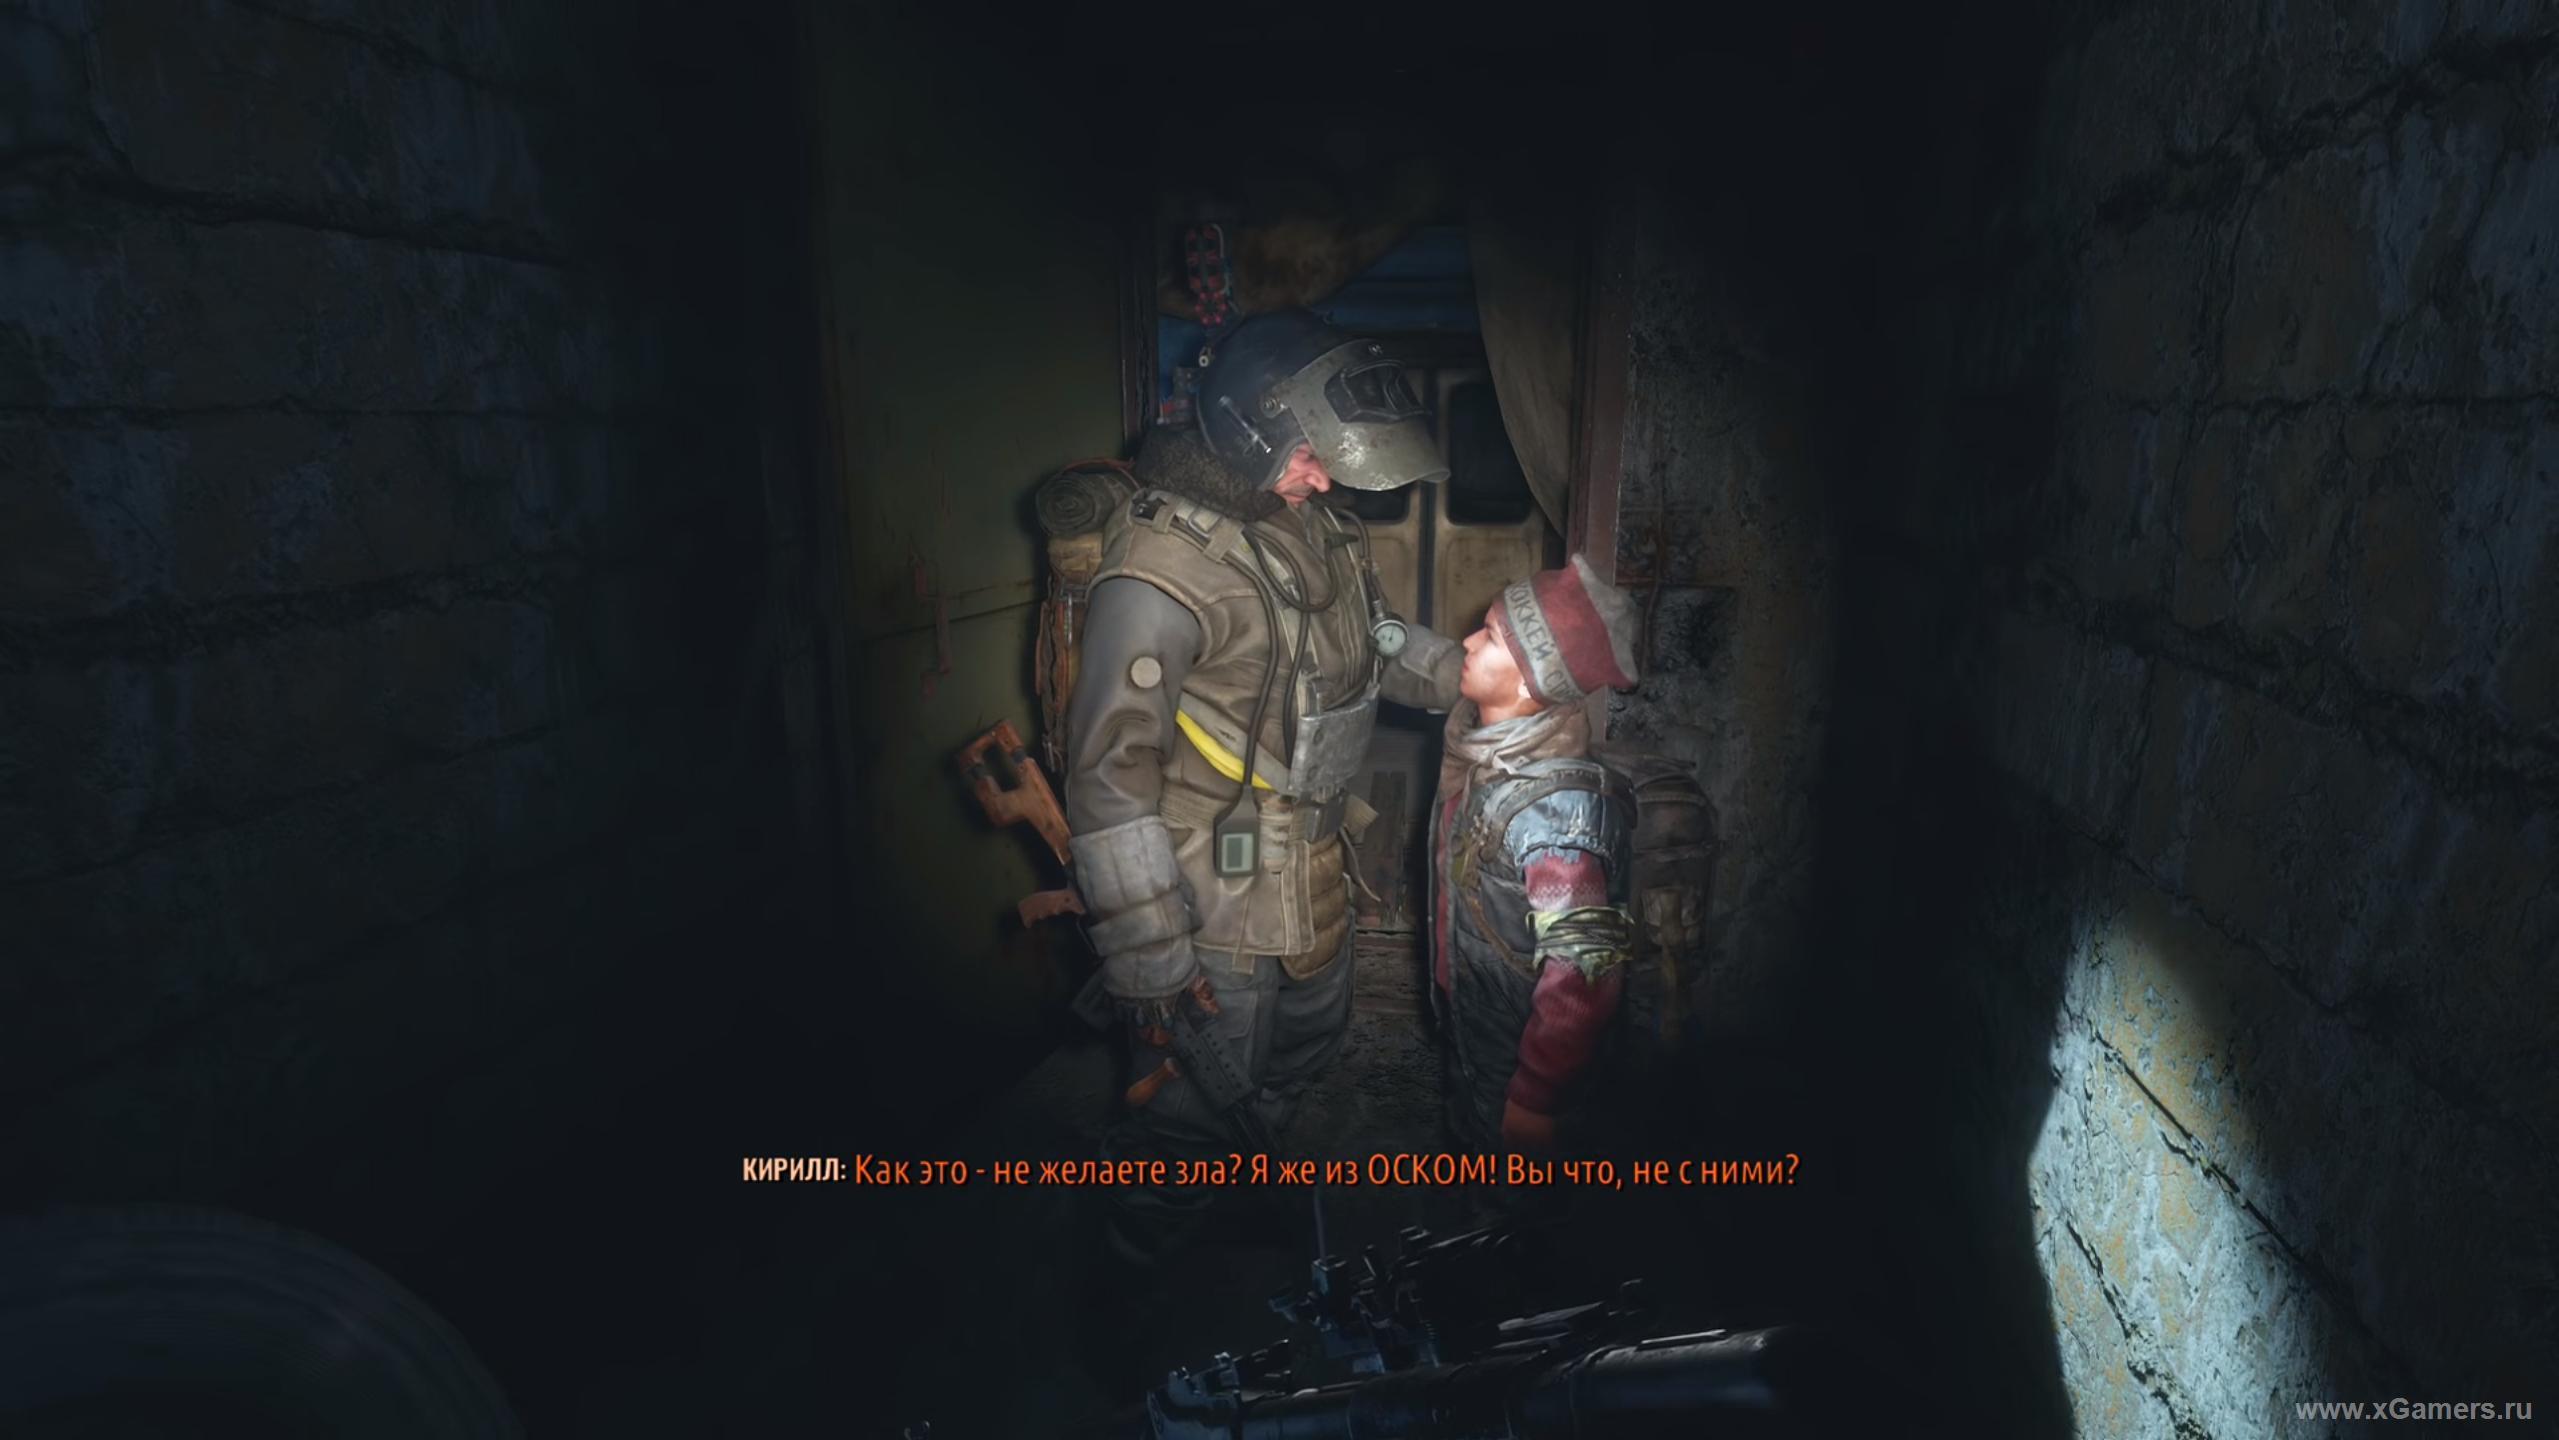
Follow them until you reach the locals' settlement. You've barely had time to meet everyone before an attack signal sounds - time to fight back.
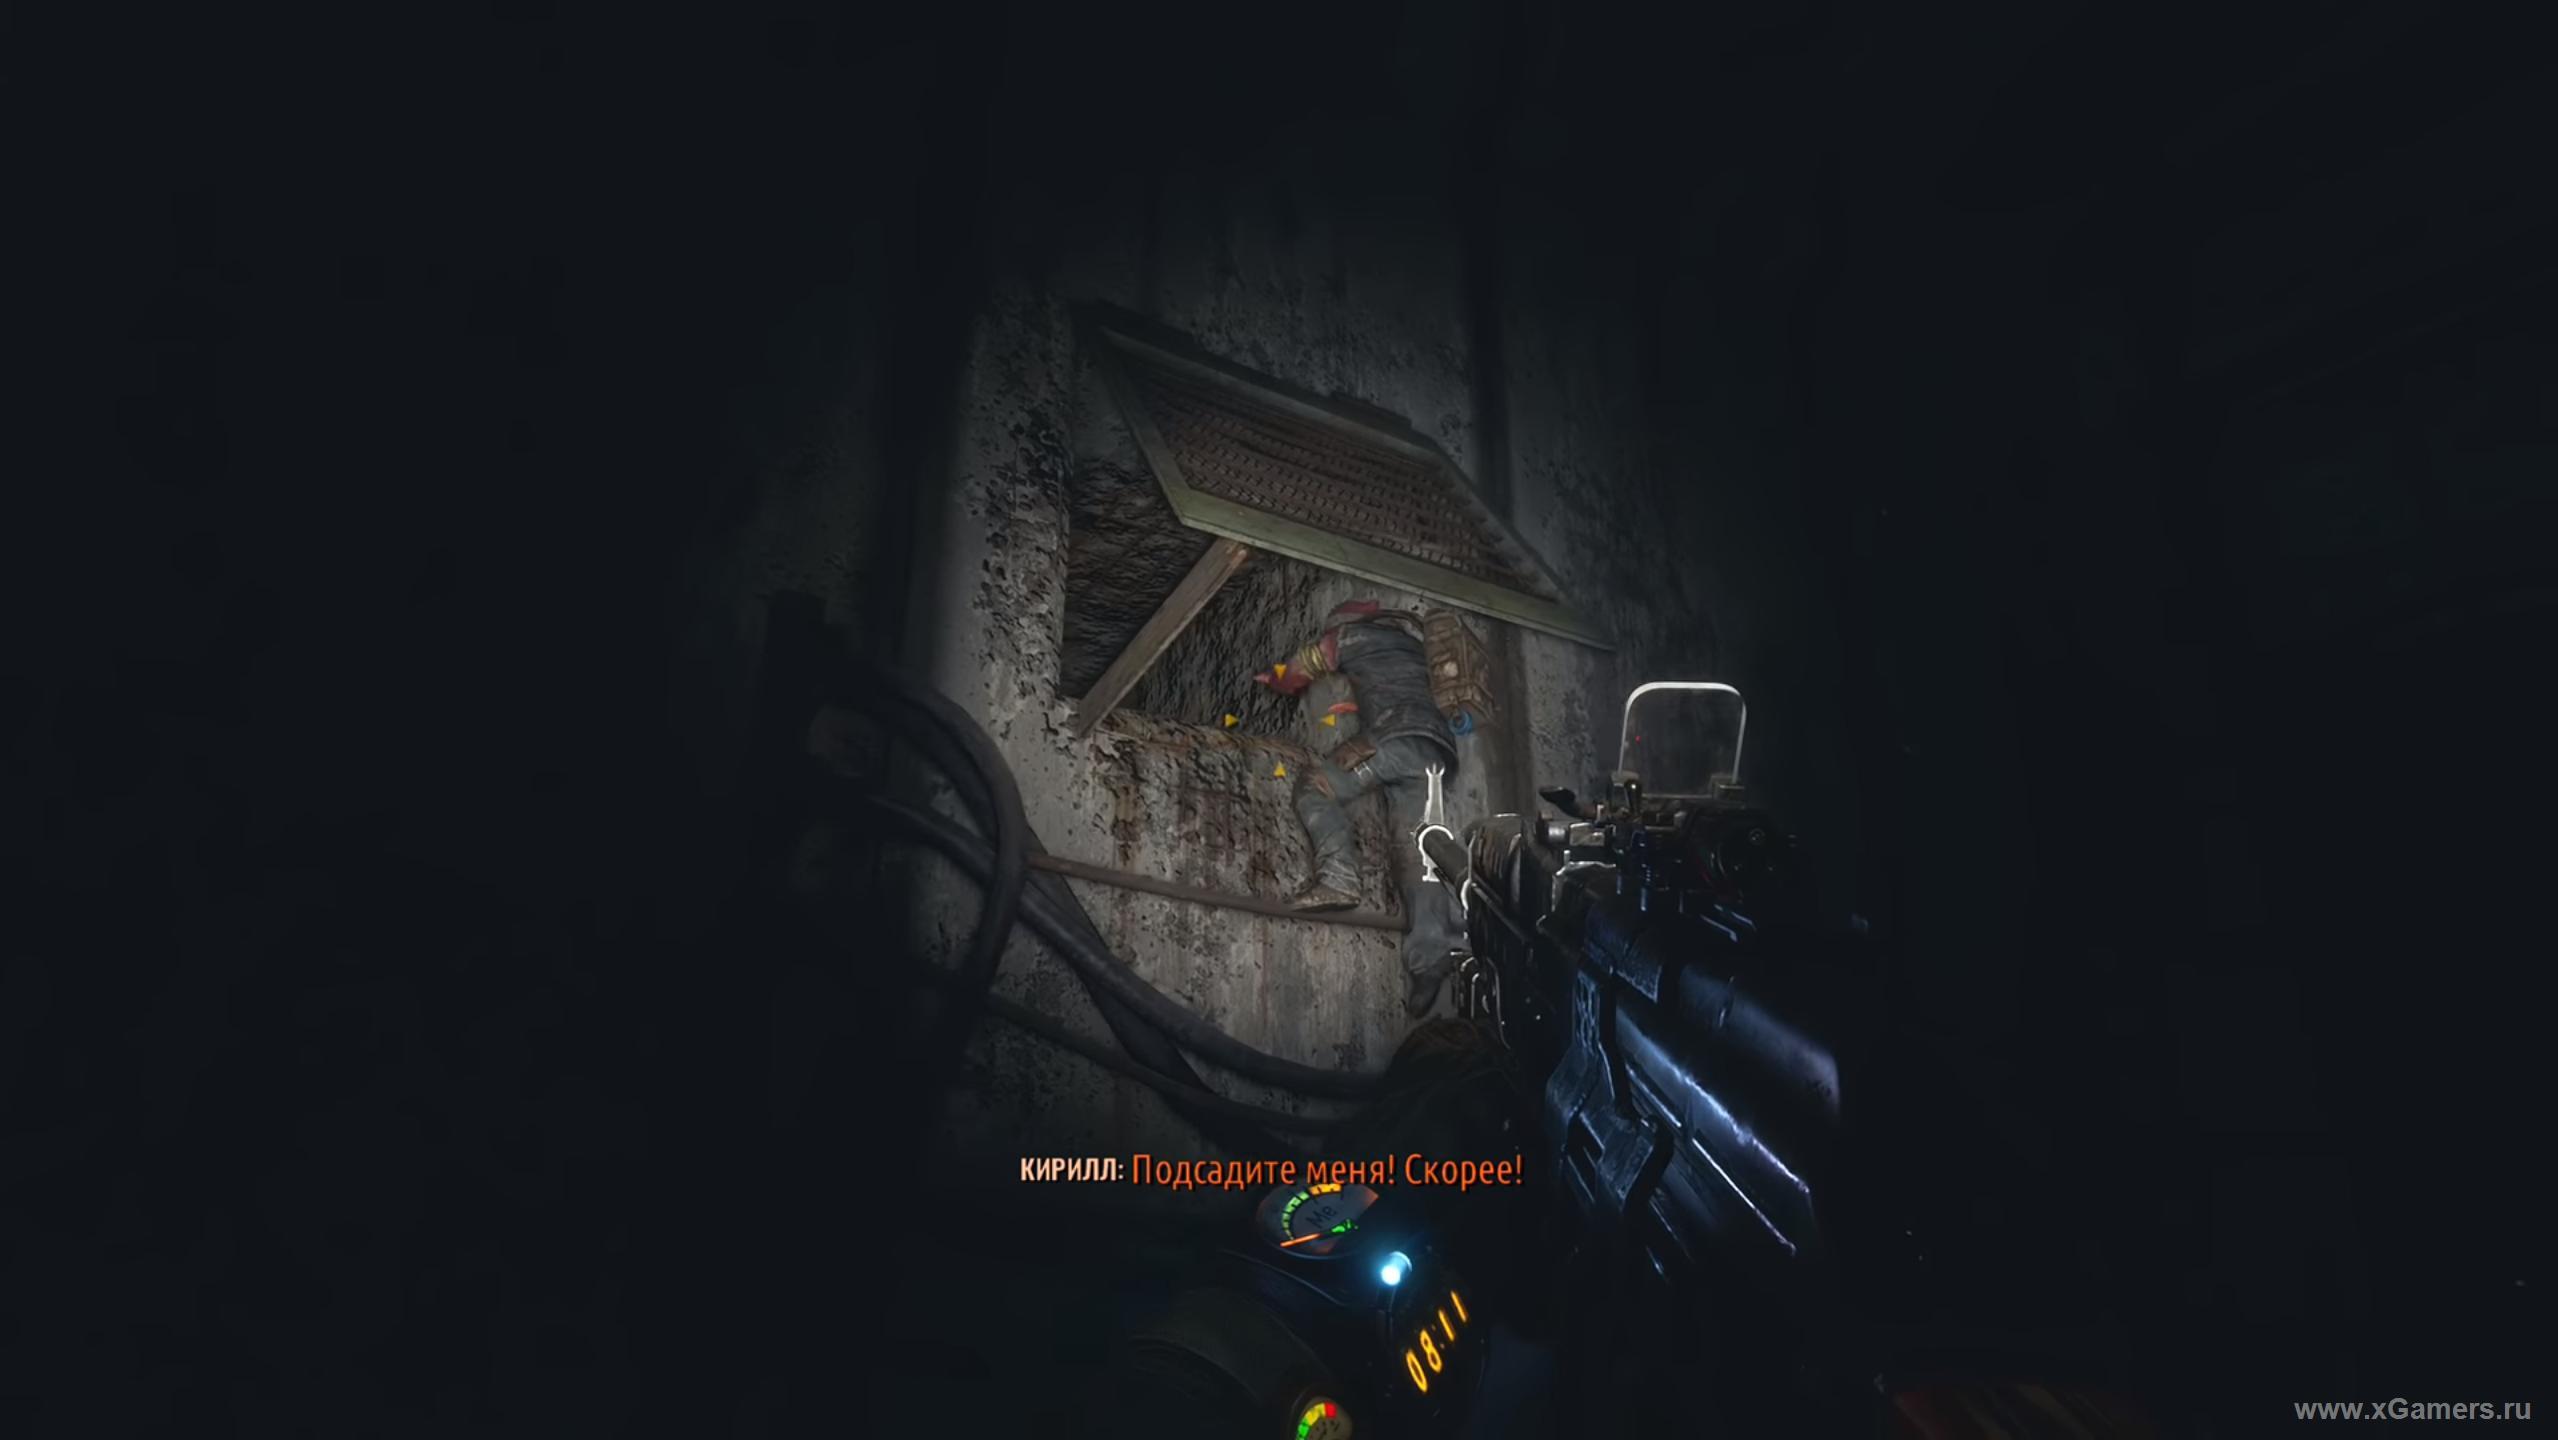
This fight is easier than the earlier ones since the mutants all come from the same direction. That said, unless you've got a weapon with night vision sights, don't waste shots blind - wait for enemies to get close before firing. A shotgun works great here. Clear them out and you'll be let through to the base.

Take a look around. Melnik ends up leaving you here temporarily to gather intel.
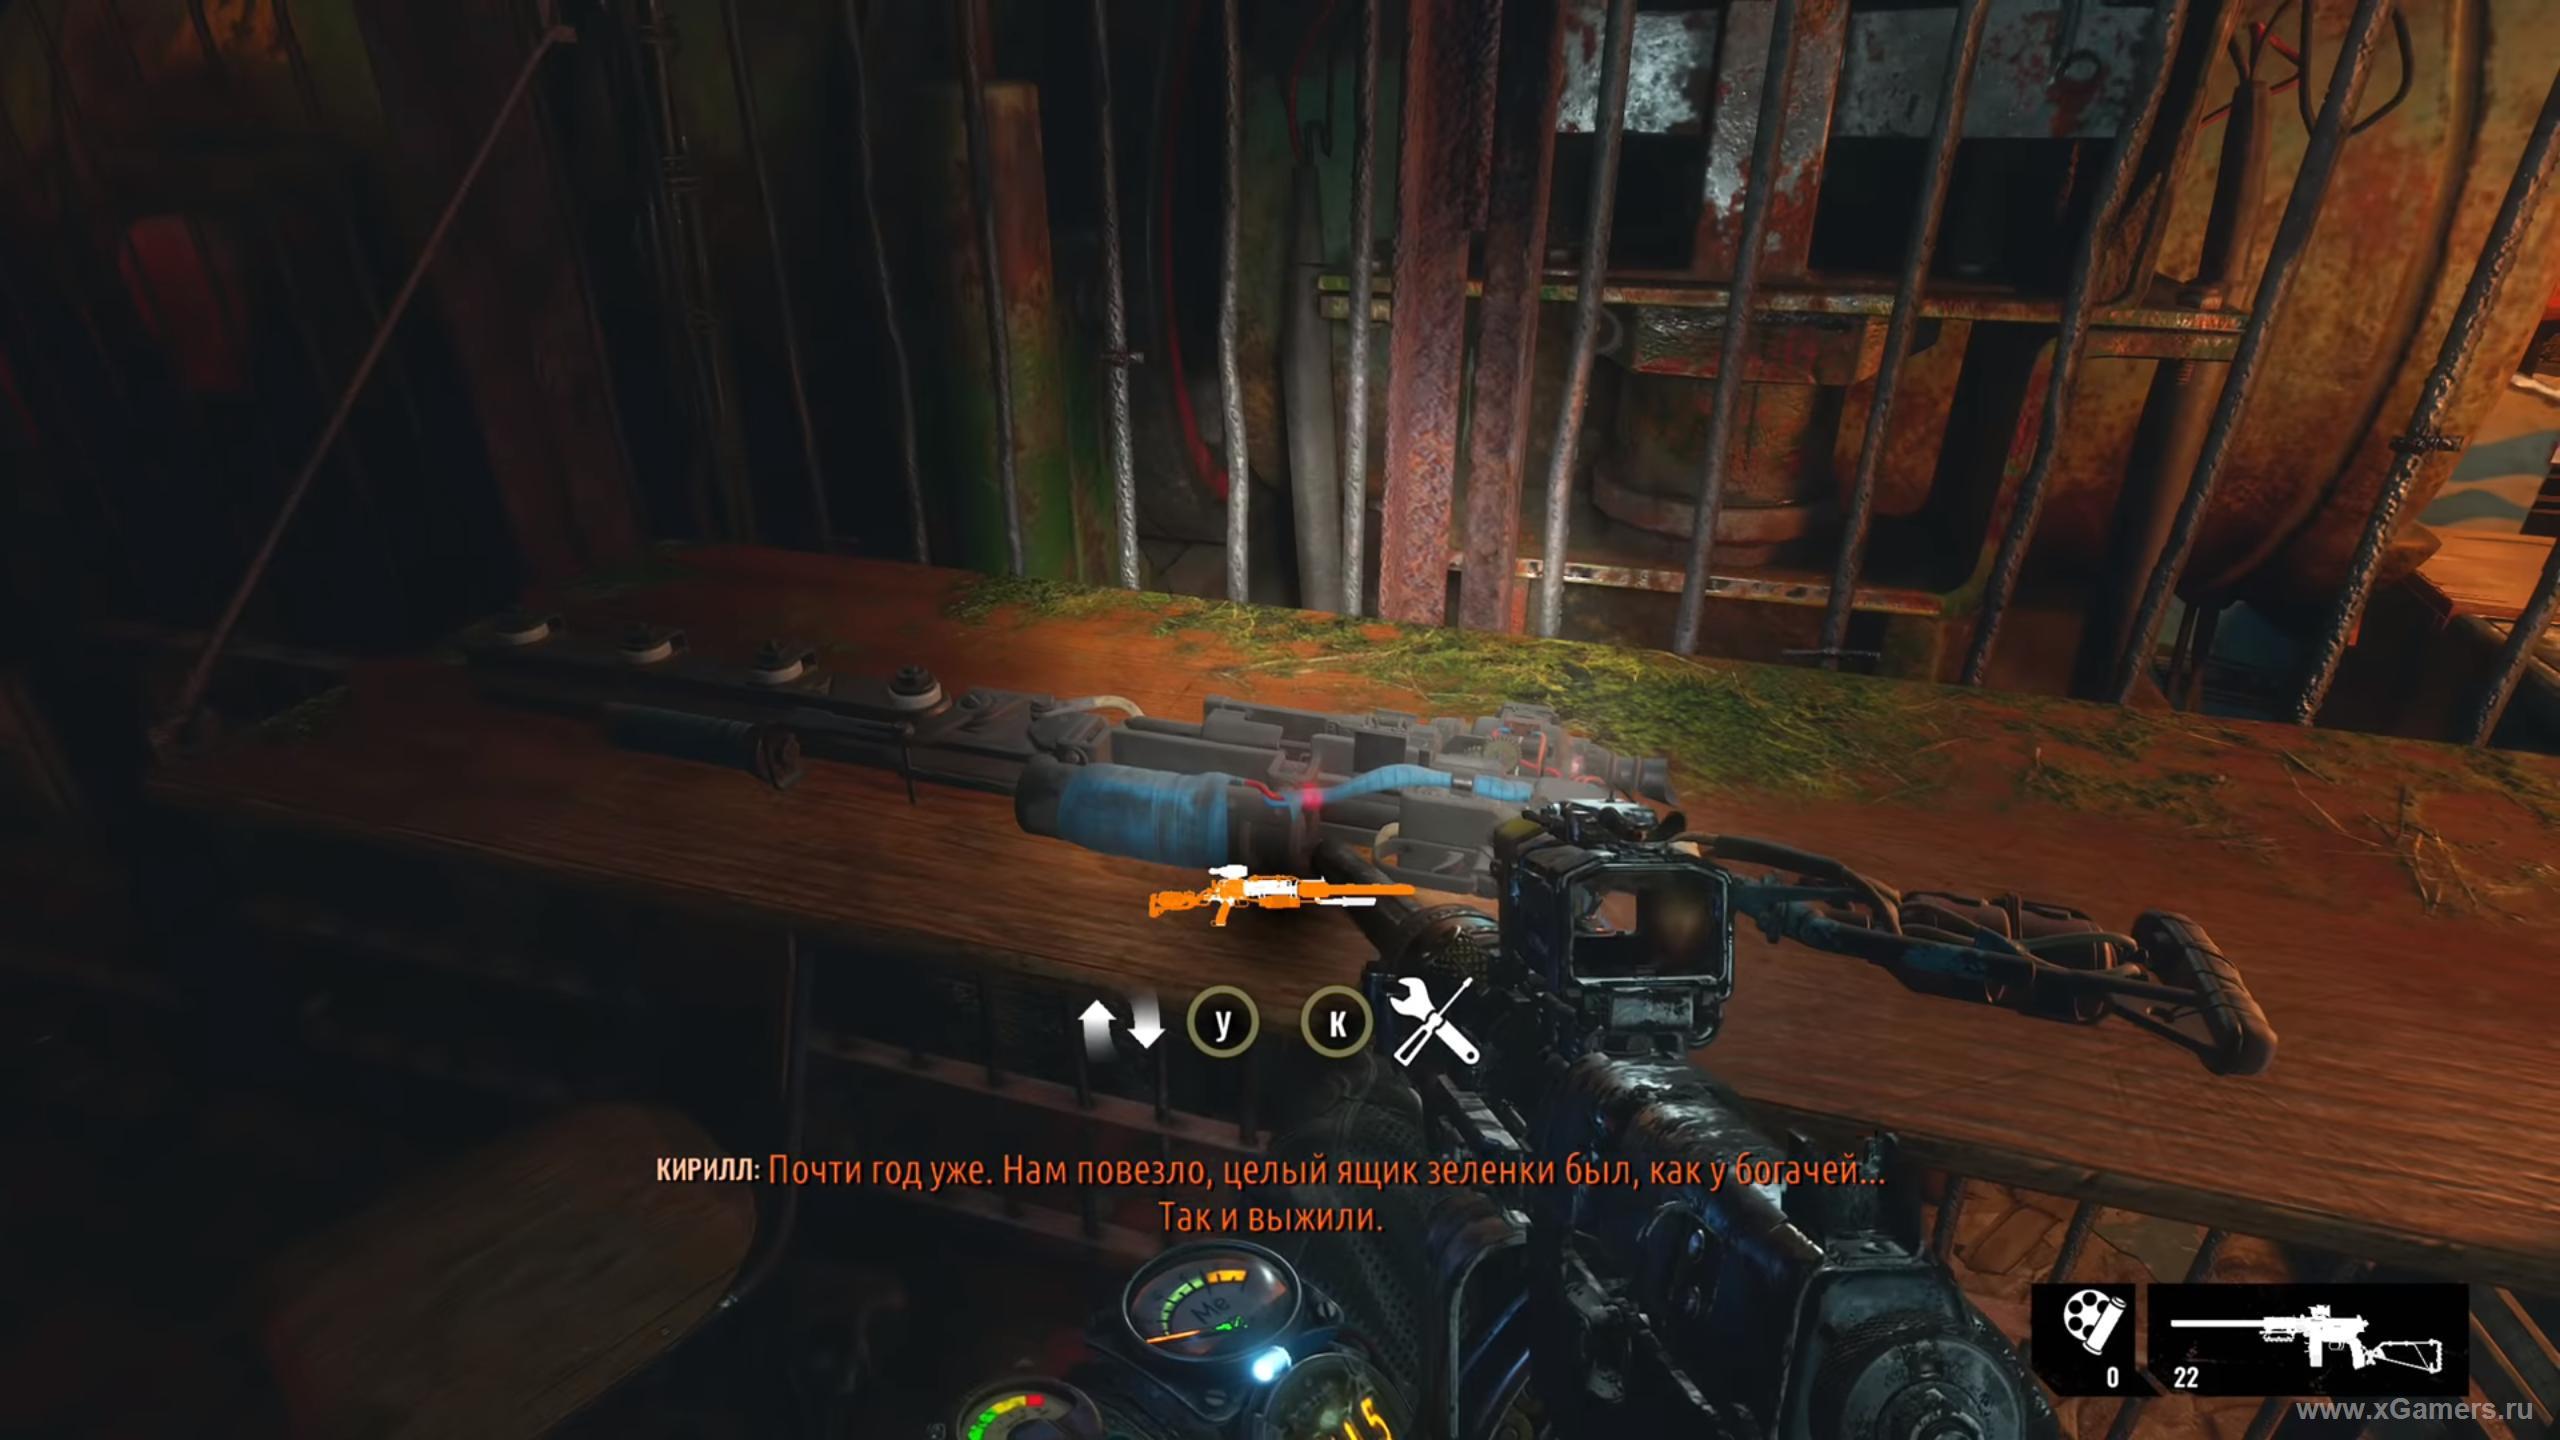
Now you're on your own again. No turning back now - time to go find that medicine.
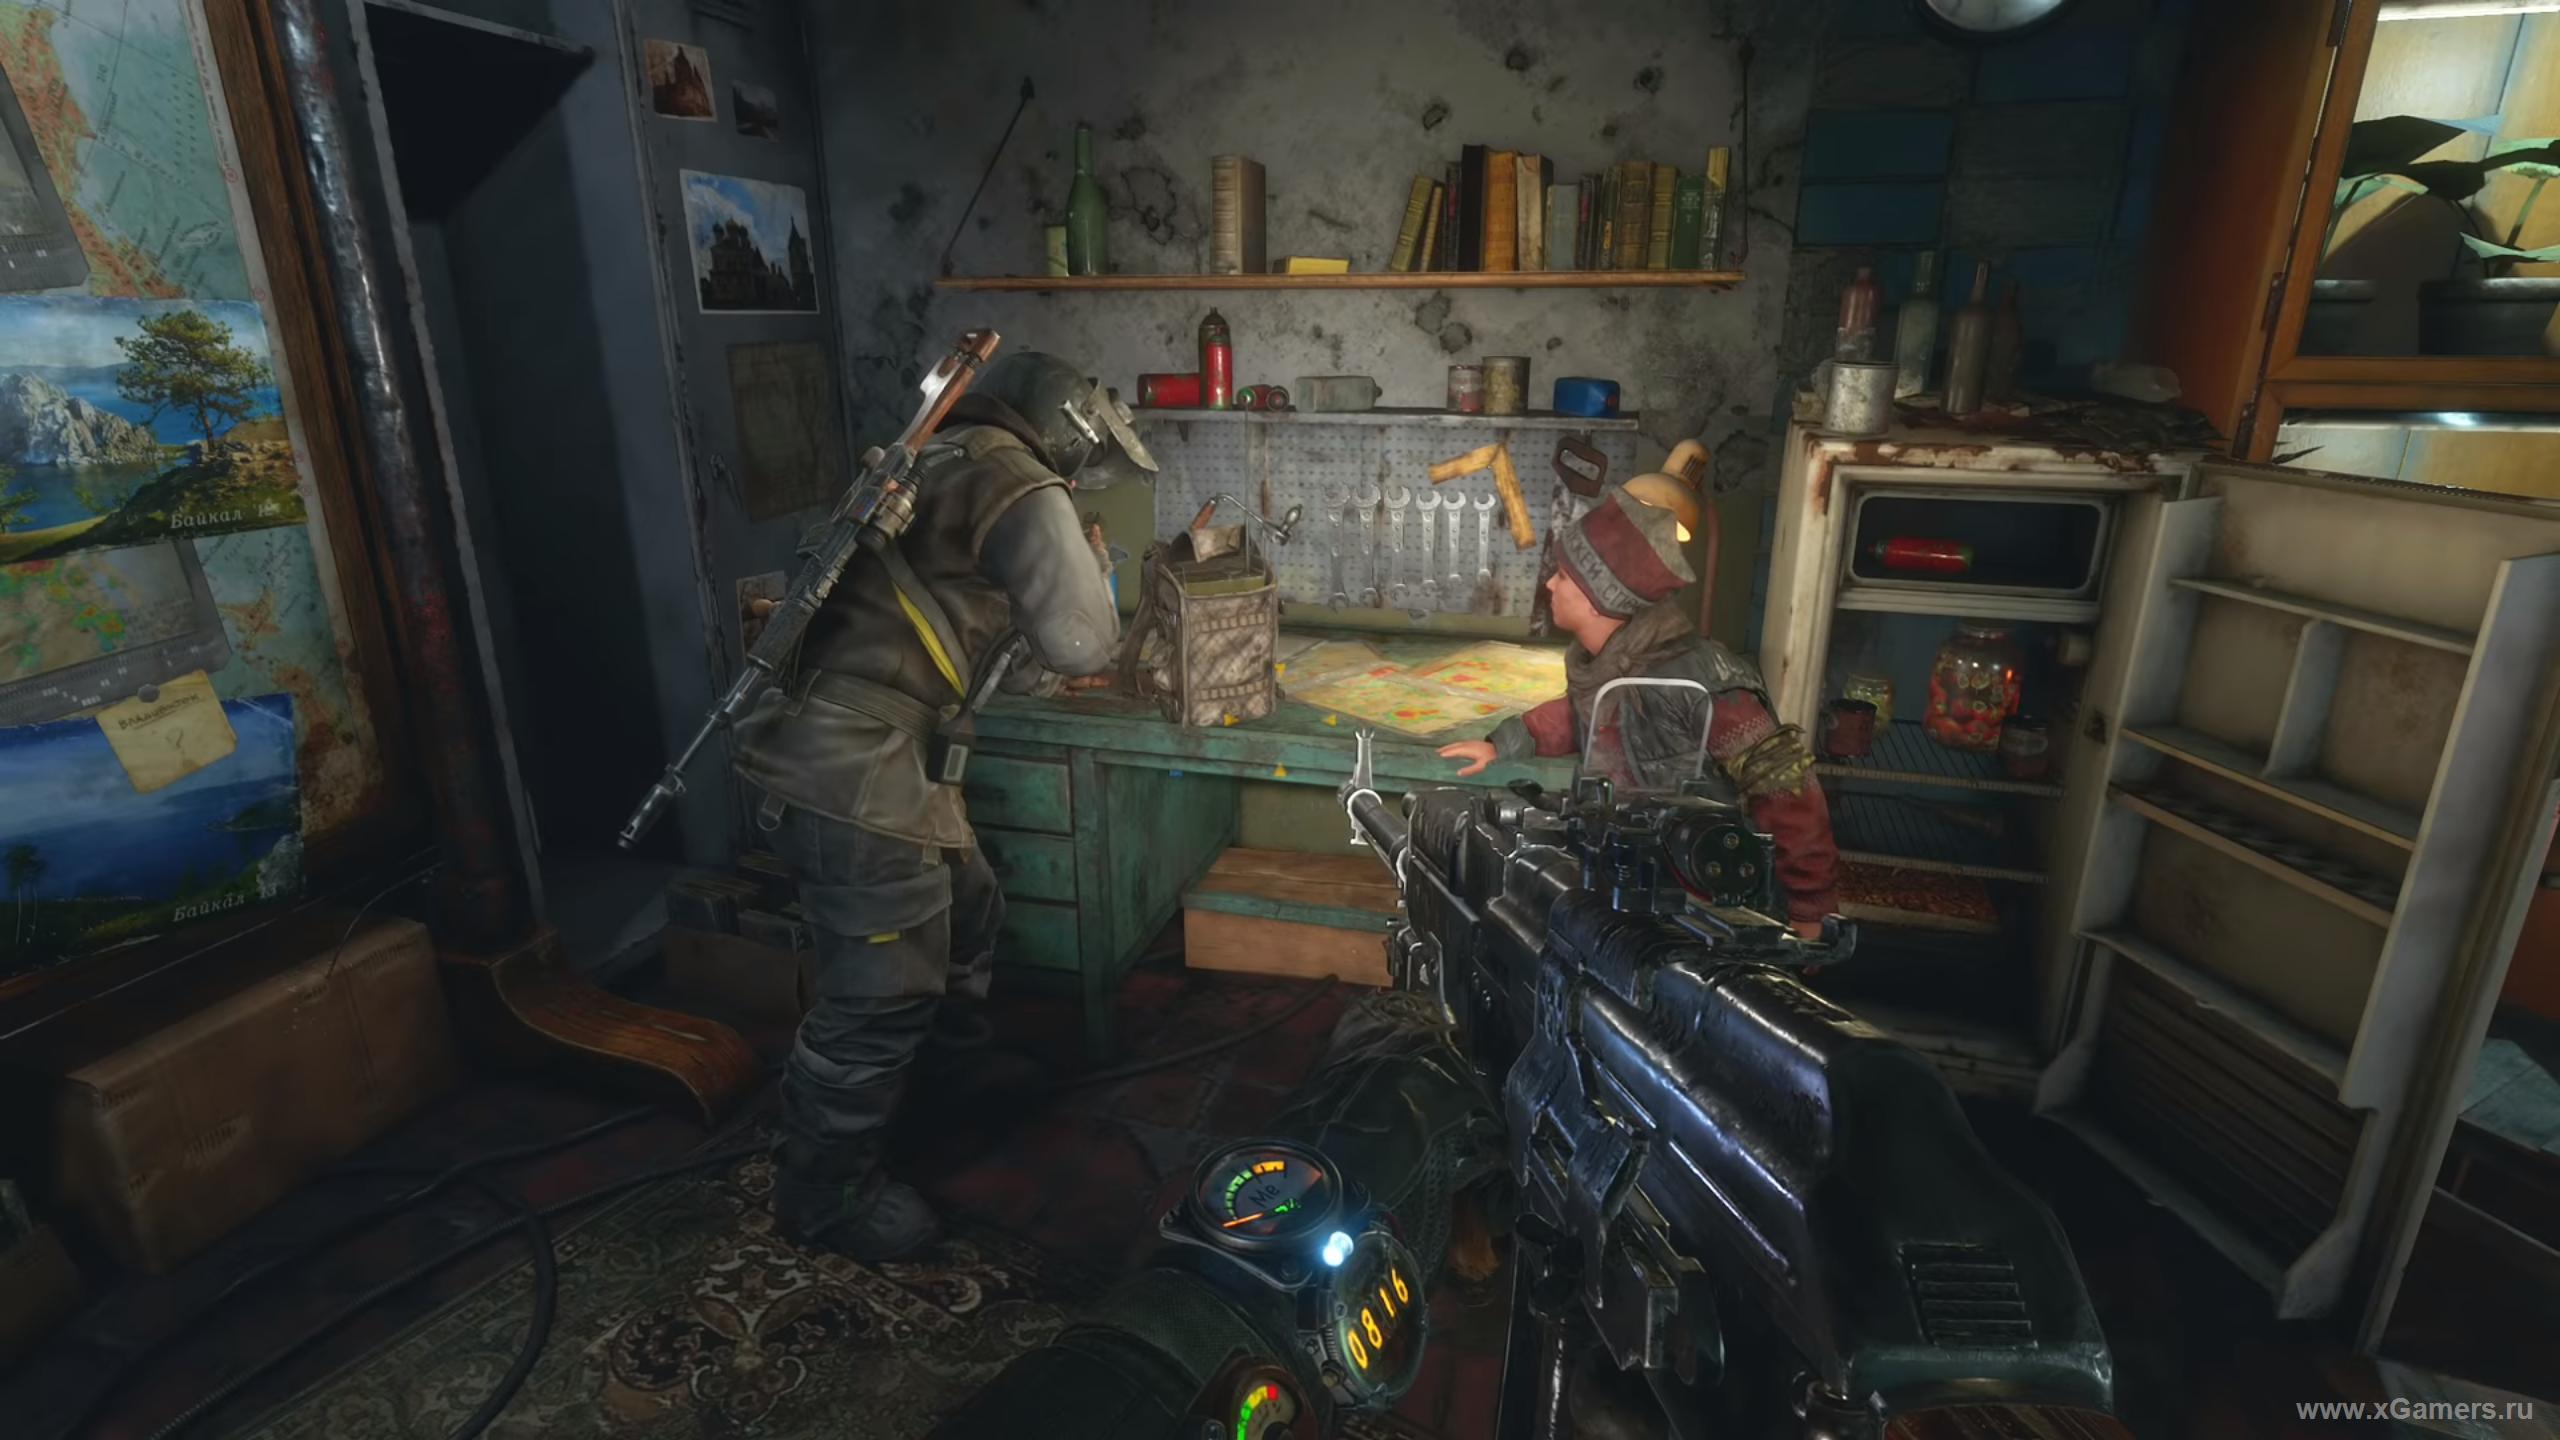
Before you leave, Melnik hands you the "rail" - a powerful weapon sitting on the table by the entrance, meant to keep your spirits up for what's ahead. There's also a postcard next to the cannon on the column, and a workbench nearby - use it, because the road gets tough from here.
A Light in the Darkness
You're alone now on a station that's safe but completely empty. Grab everything you find here, then head up the central staircase.
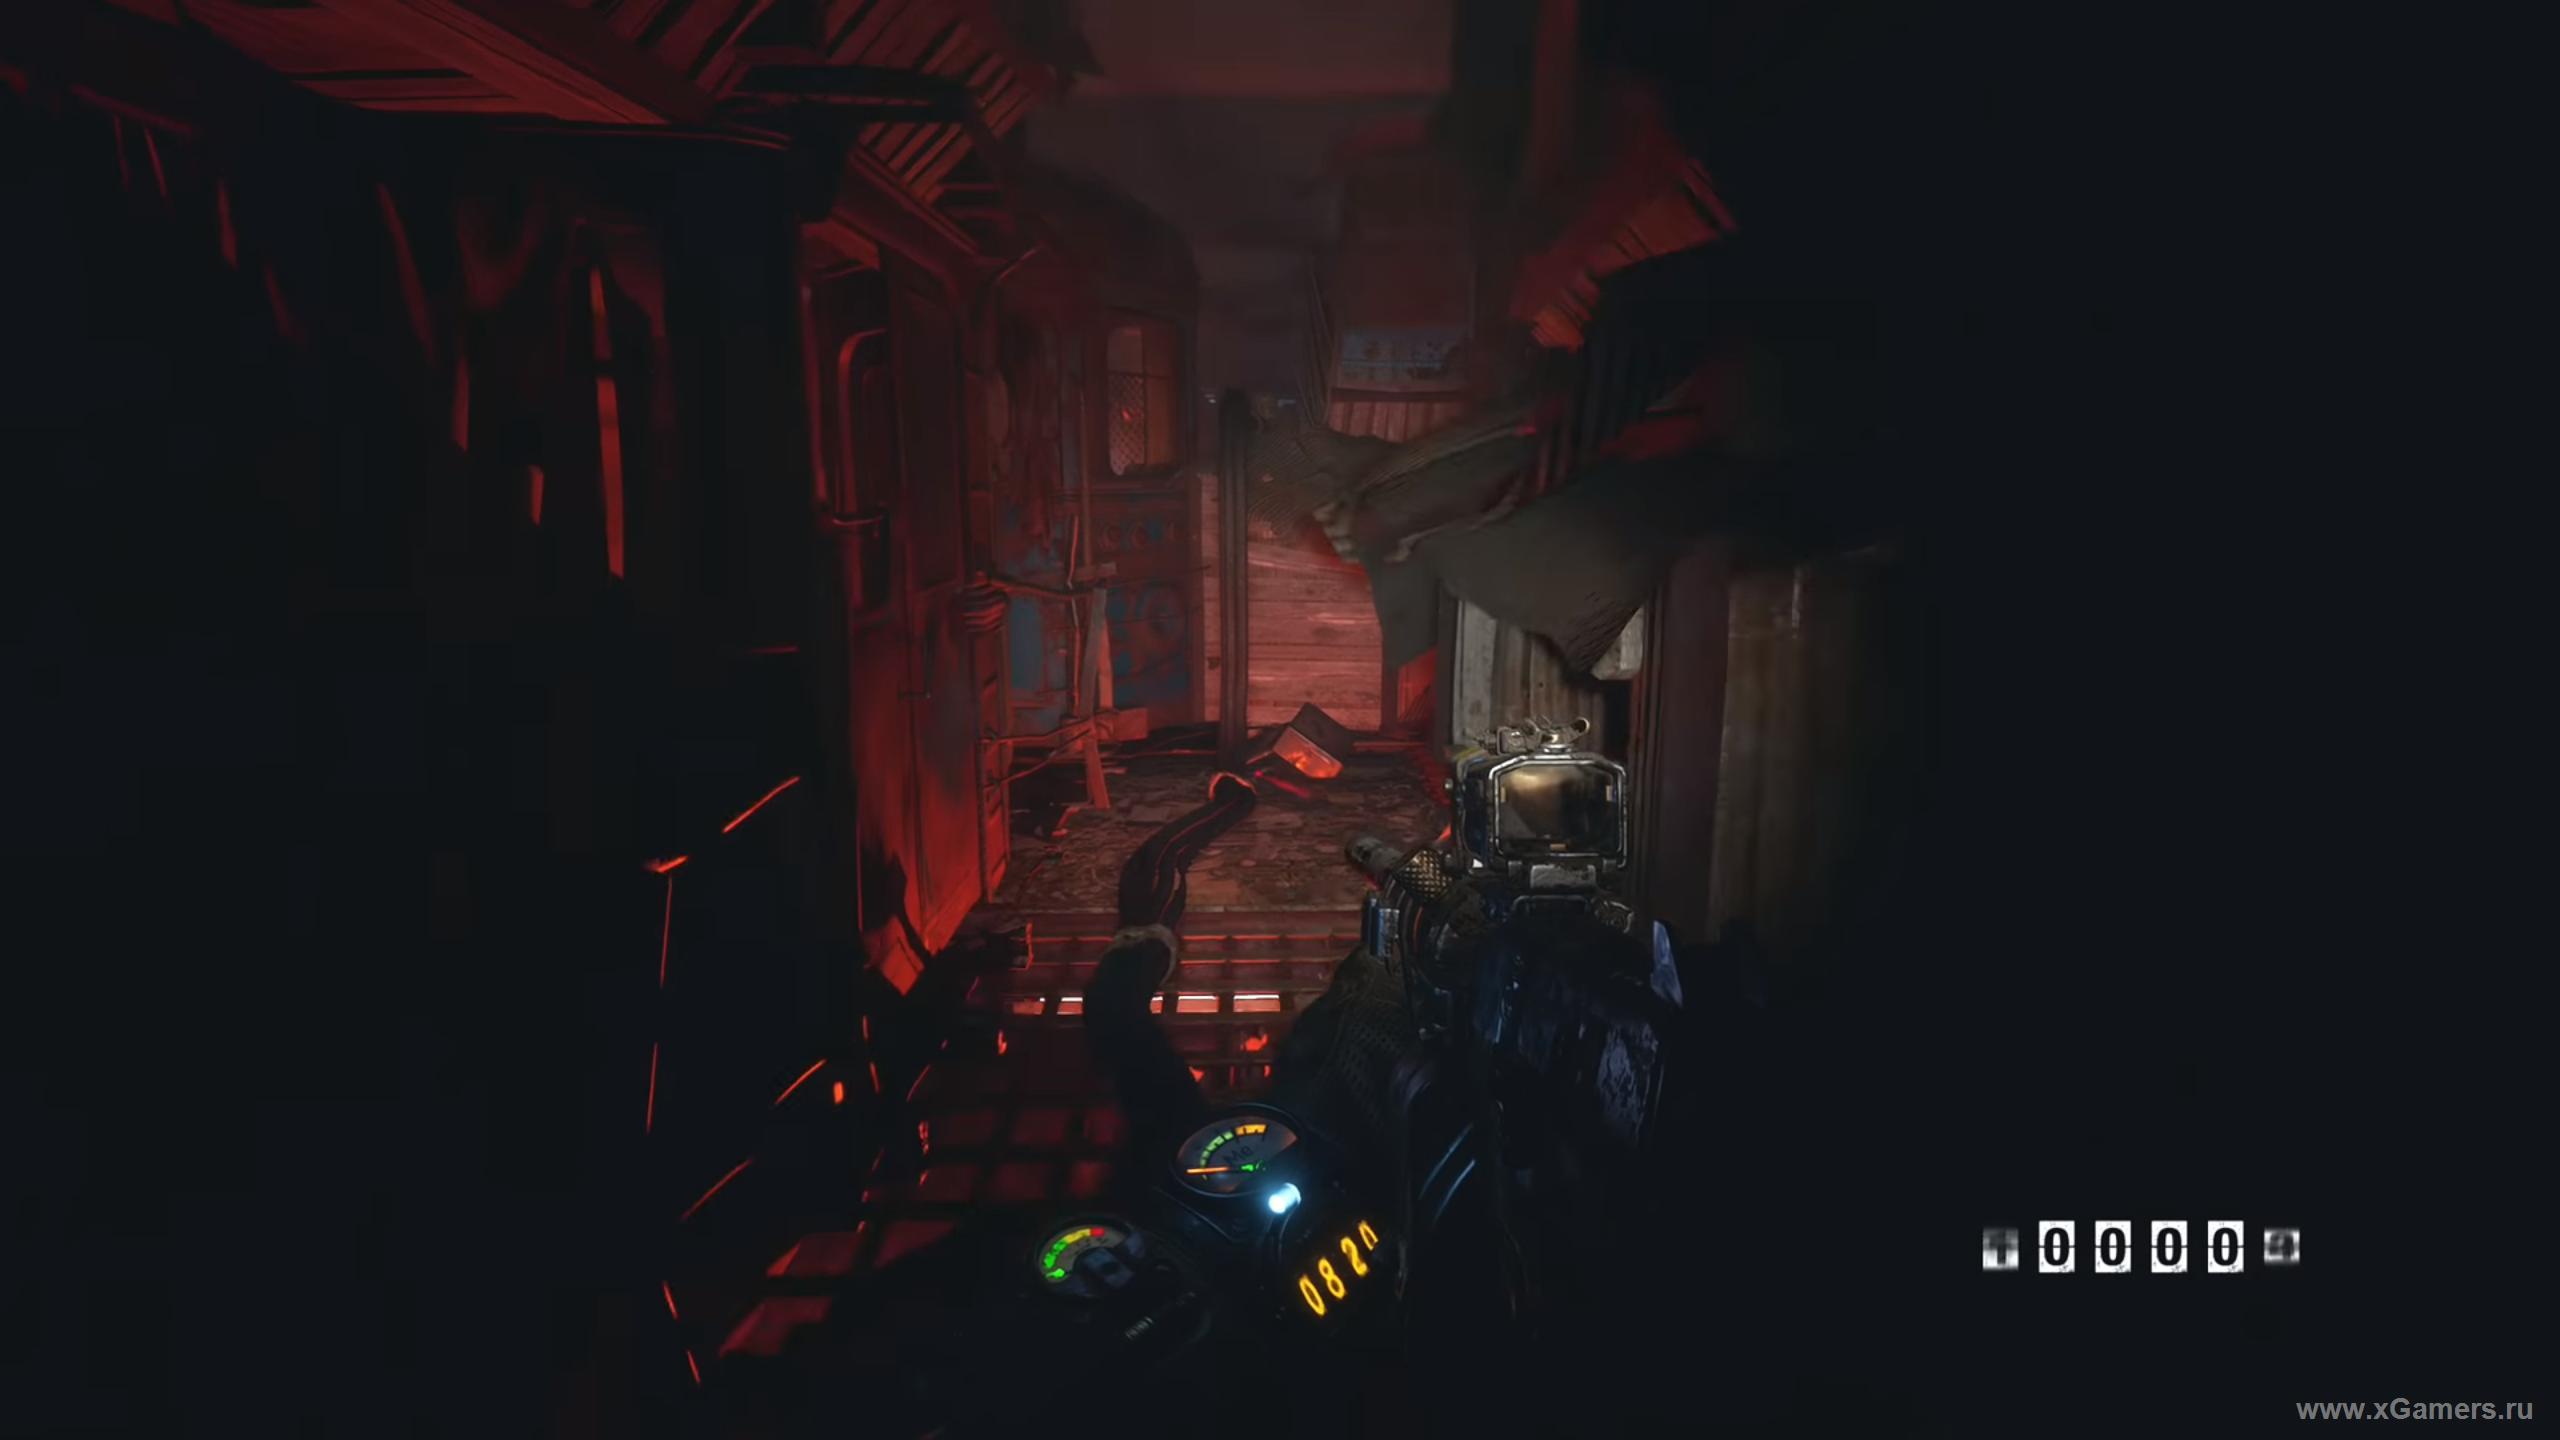
There's more loot scattered around here too, so stay alert. Your target is the train car hanging from the ceiling. Grab the notebook on the seat to the right, then scan the station below from up here. Take out all the creatures you can see from this safe vantage point - there should be four total. Once they're down, jump down to the floor.
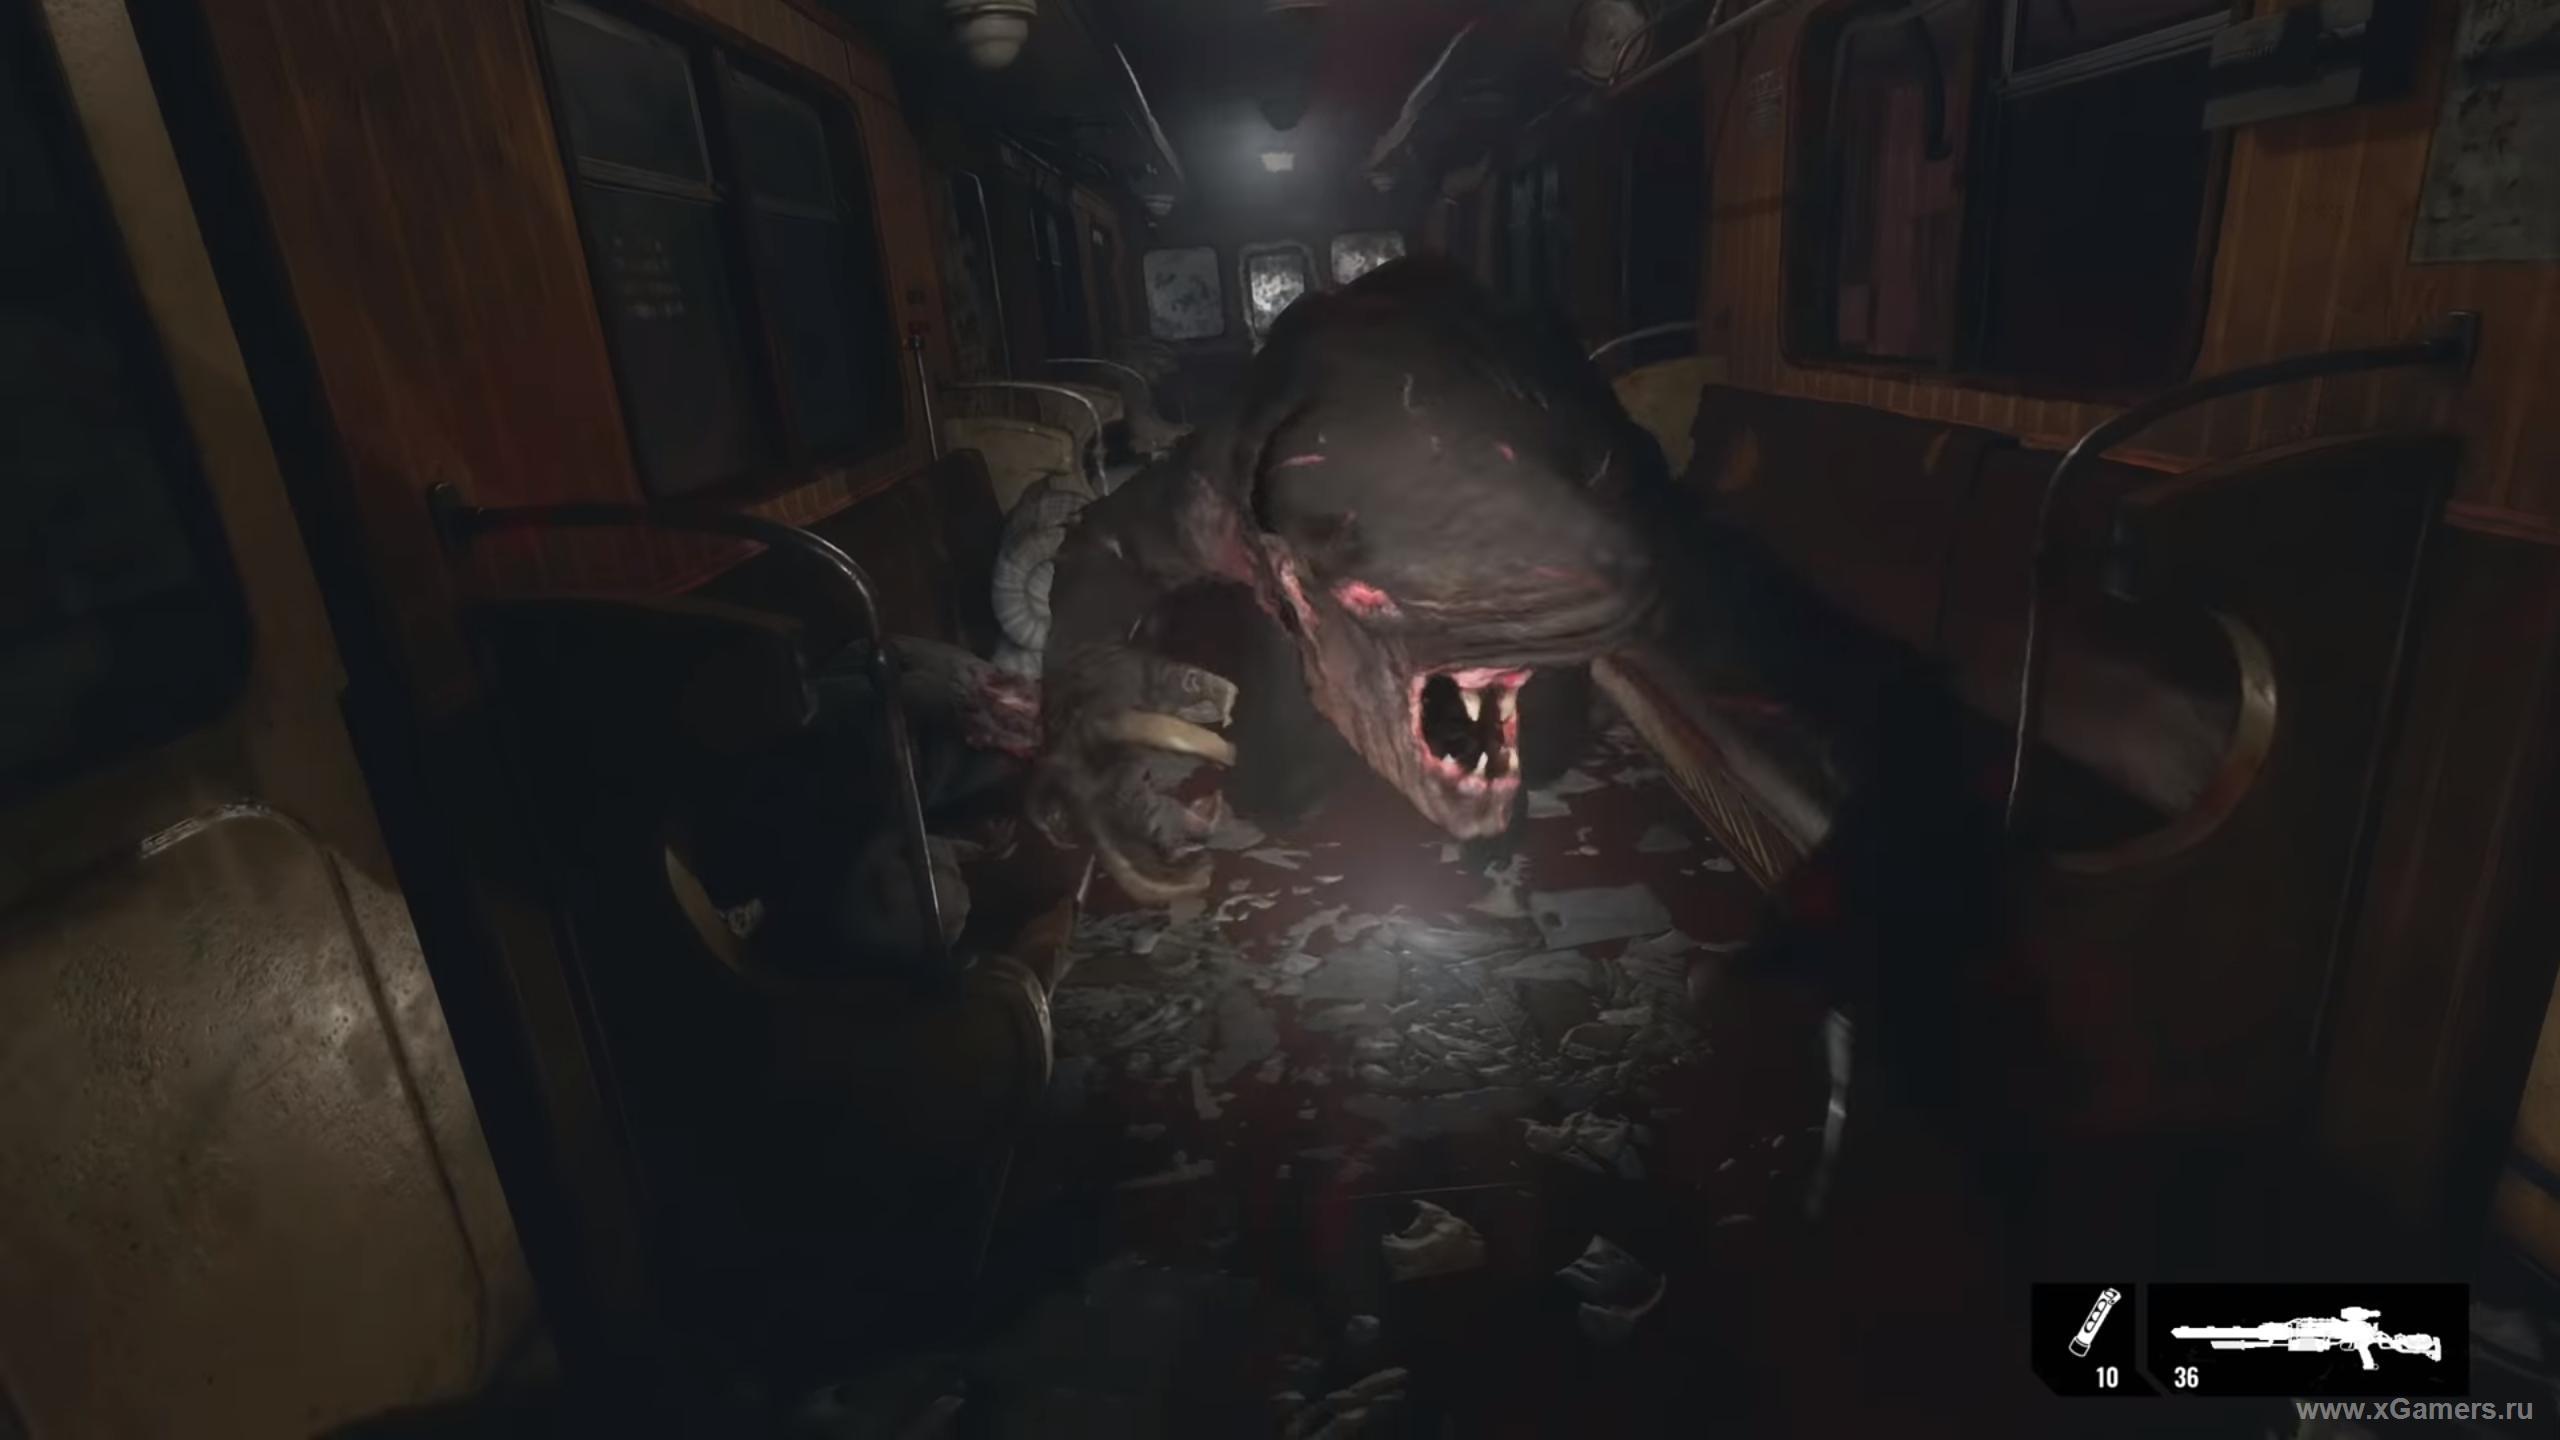
Head up the stairs to another car hanging from the ceiling nearby. No enemies here, so take your time.

You'll find two Molotov cocktails and AK ammo here. From there, turn left twice to reach the way down into the large hall.
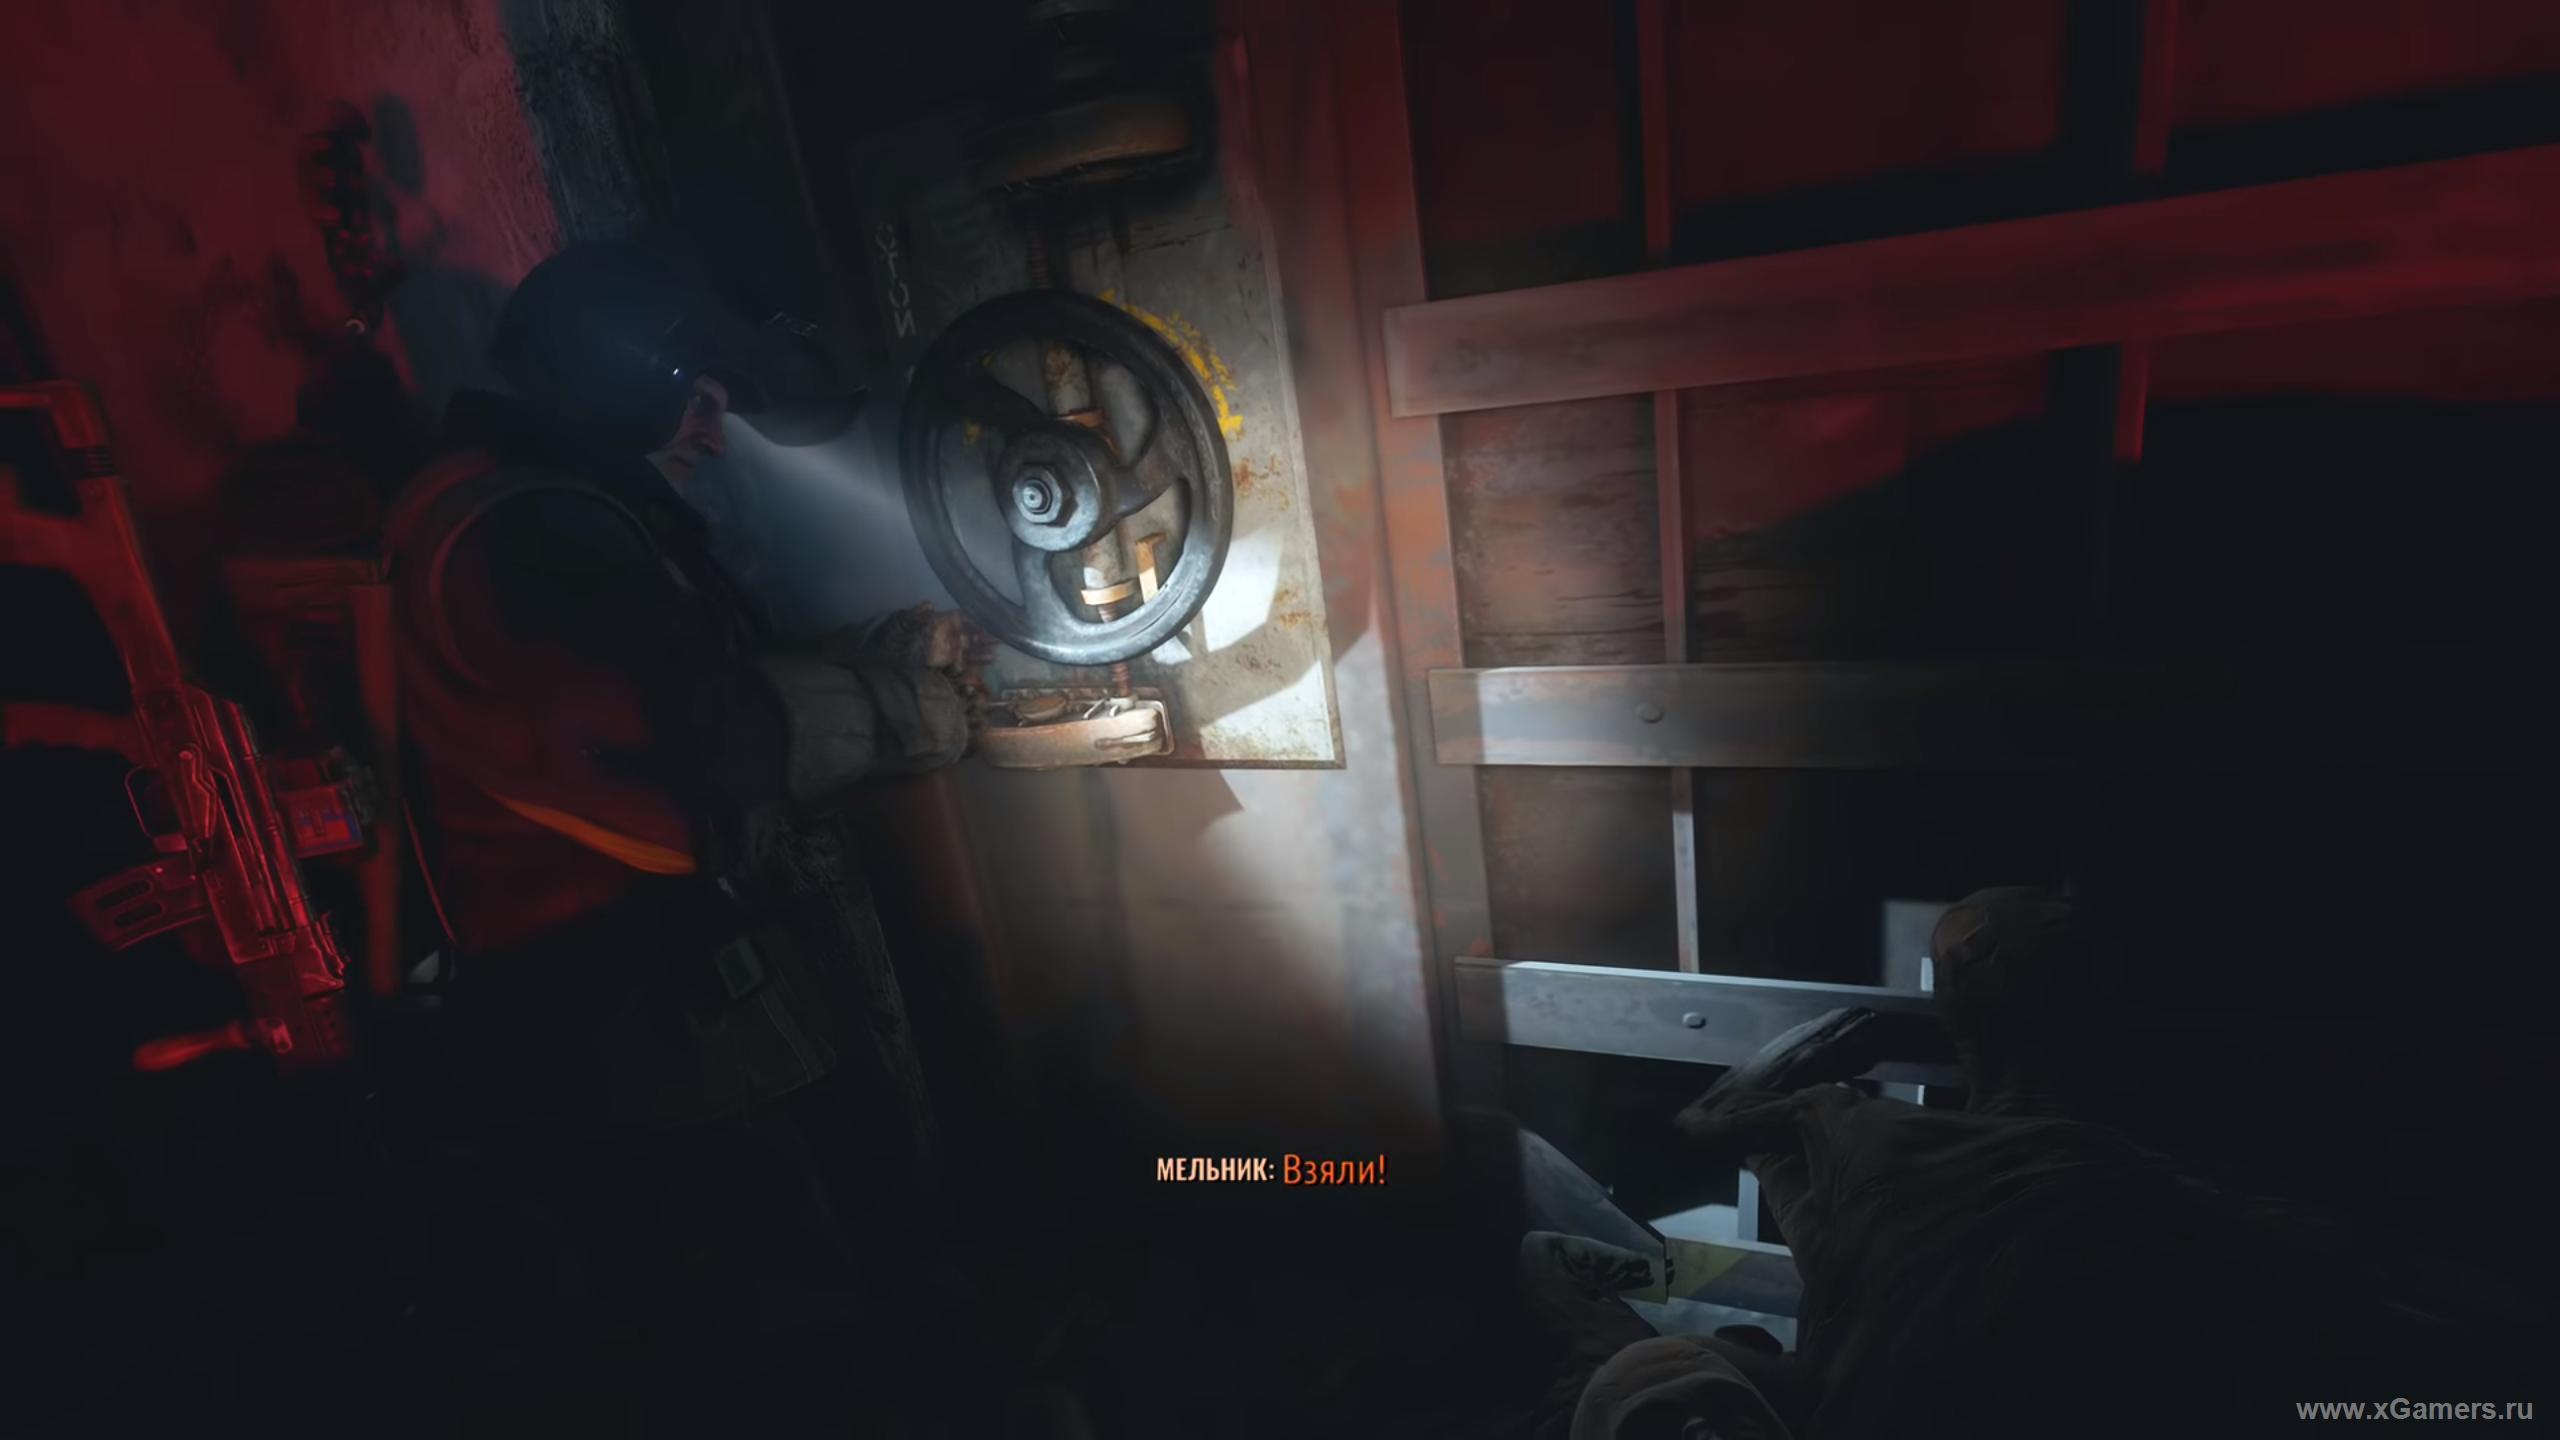
The path ahead is blocked by a grate like the one you saw earlier. The moment you try opening it with the valve, a pack of mutants will attack.

They'll come in waves, so it's best to back up against a wall and mow them down as they approach. Before moving on, wait a bit - the last wave can take a while to show up. If nothing new appears after ten seconds or so, go ahead and turn the valve. Once the passage opens, head to the pier in the sewer, where you'll find a boat waiting. No rush to hop in though - there's plenty of useful loot to grab first.
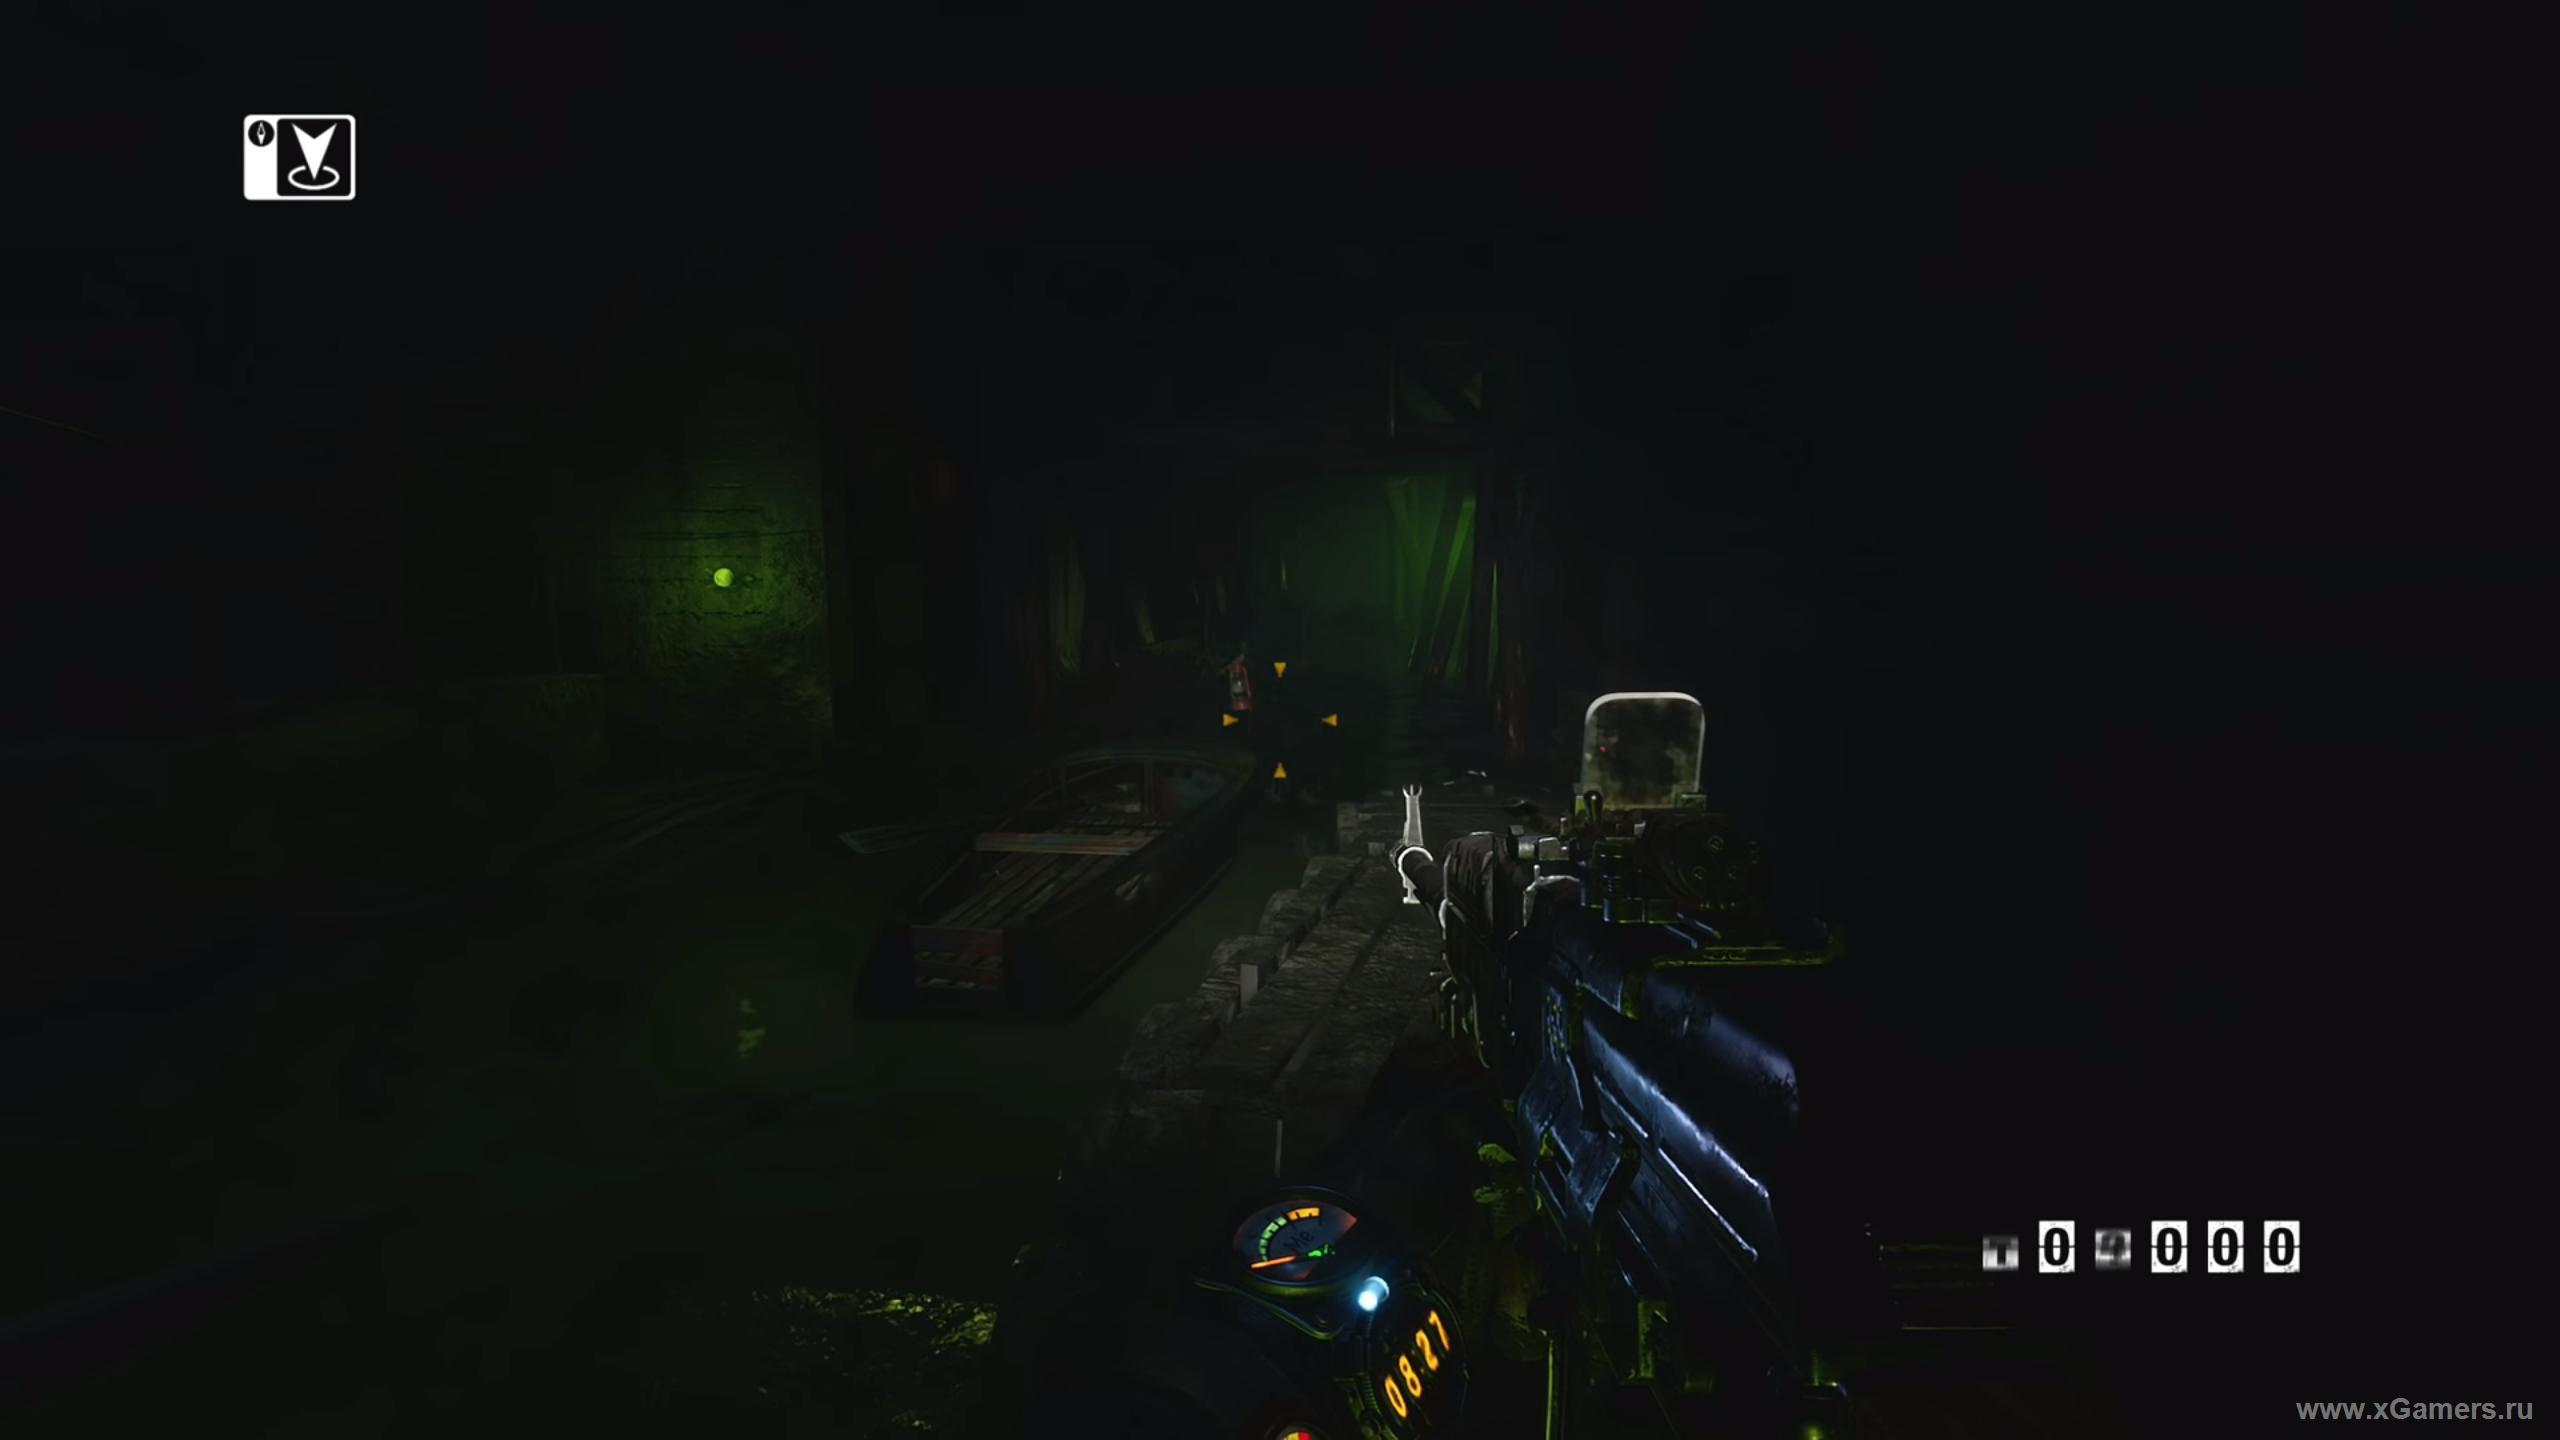
(The next section is optional - you don't need to do this to finish the game.) If you want to explore the local catacombs, dock at the other pier on the left. Move forward carefully, watching for leeches on the walls and ceiling - they die easily to almost anything, so don't skip clearing them out. You'll find another grate to your left - head that way.
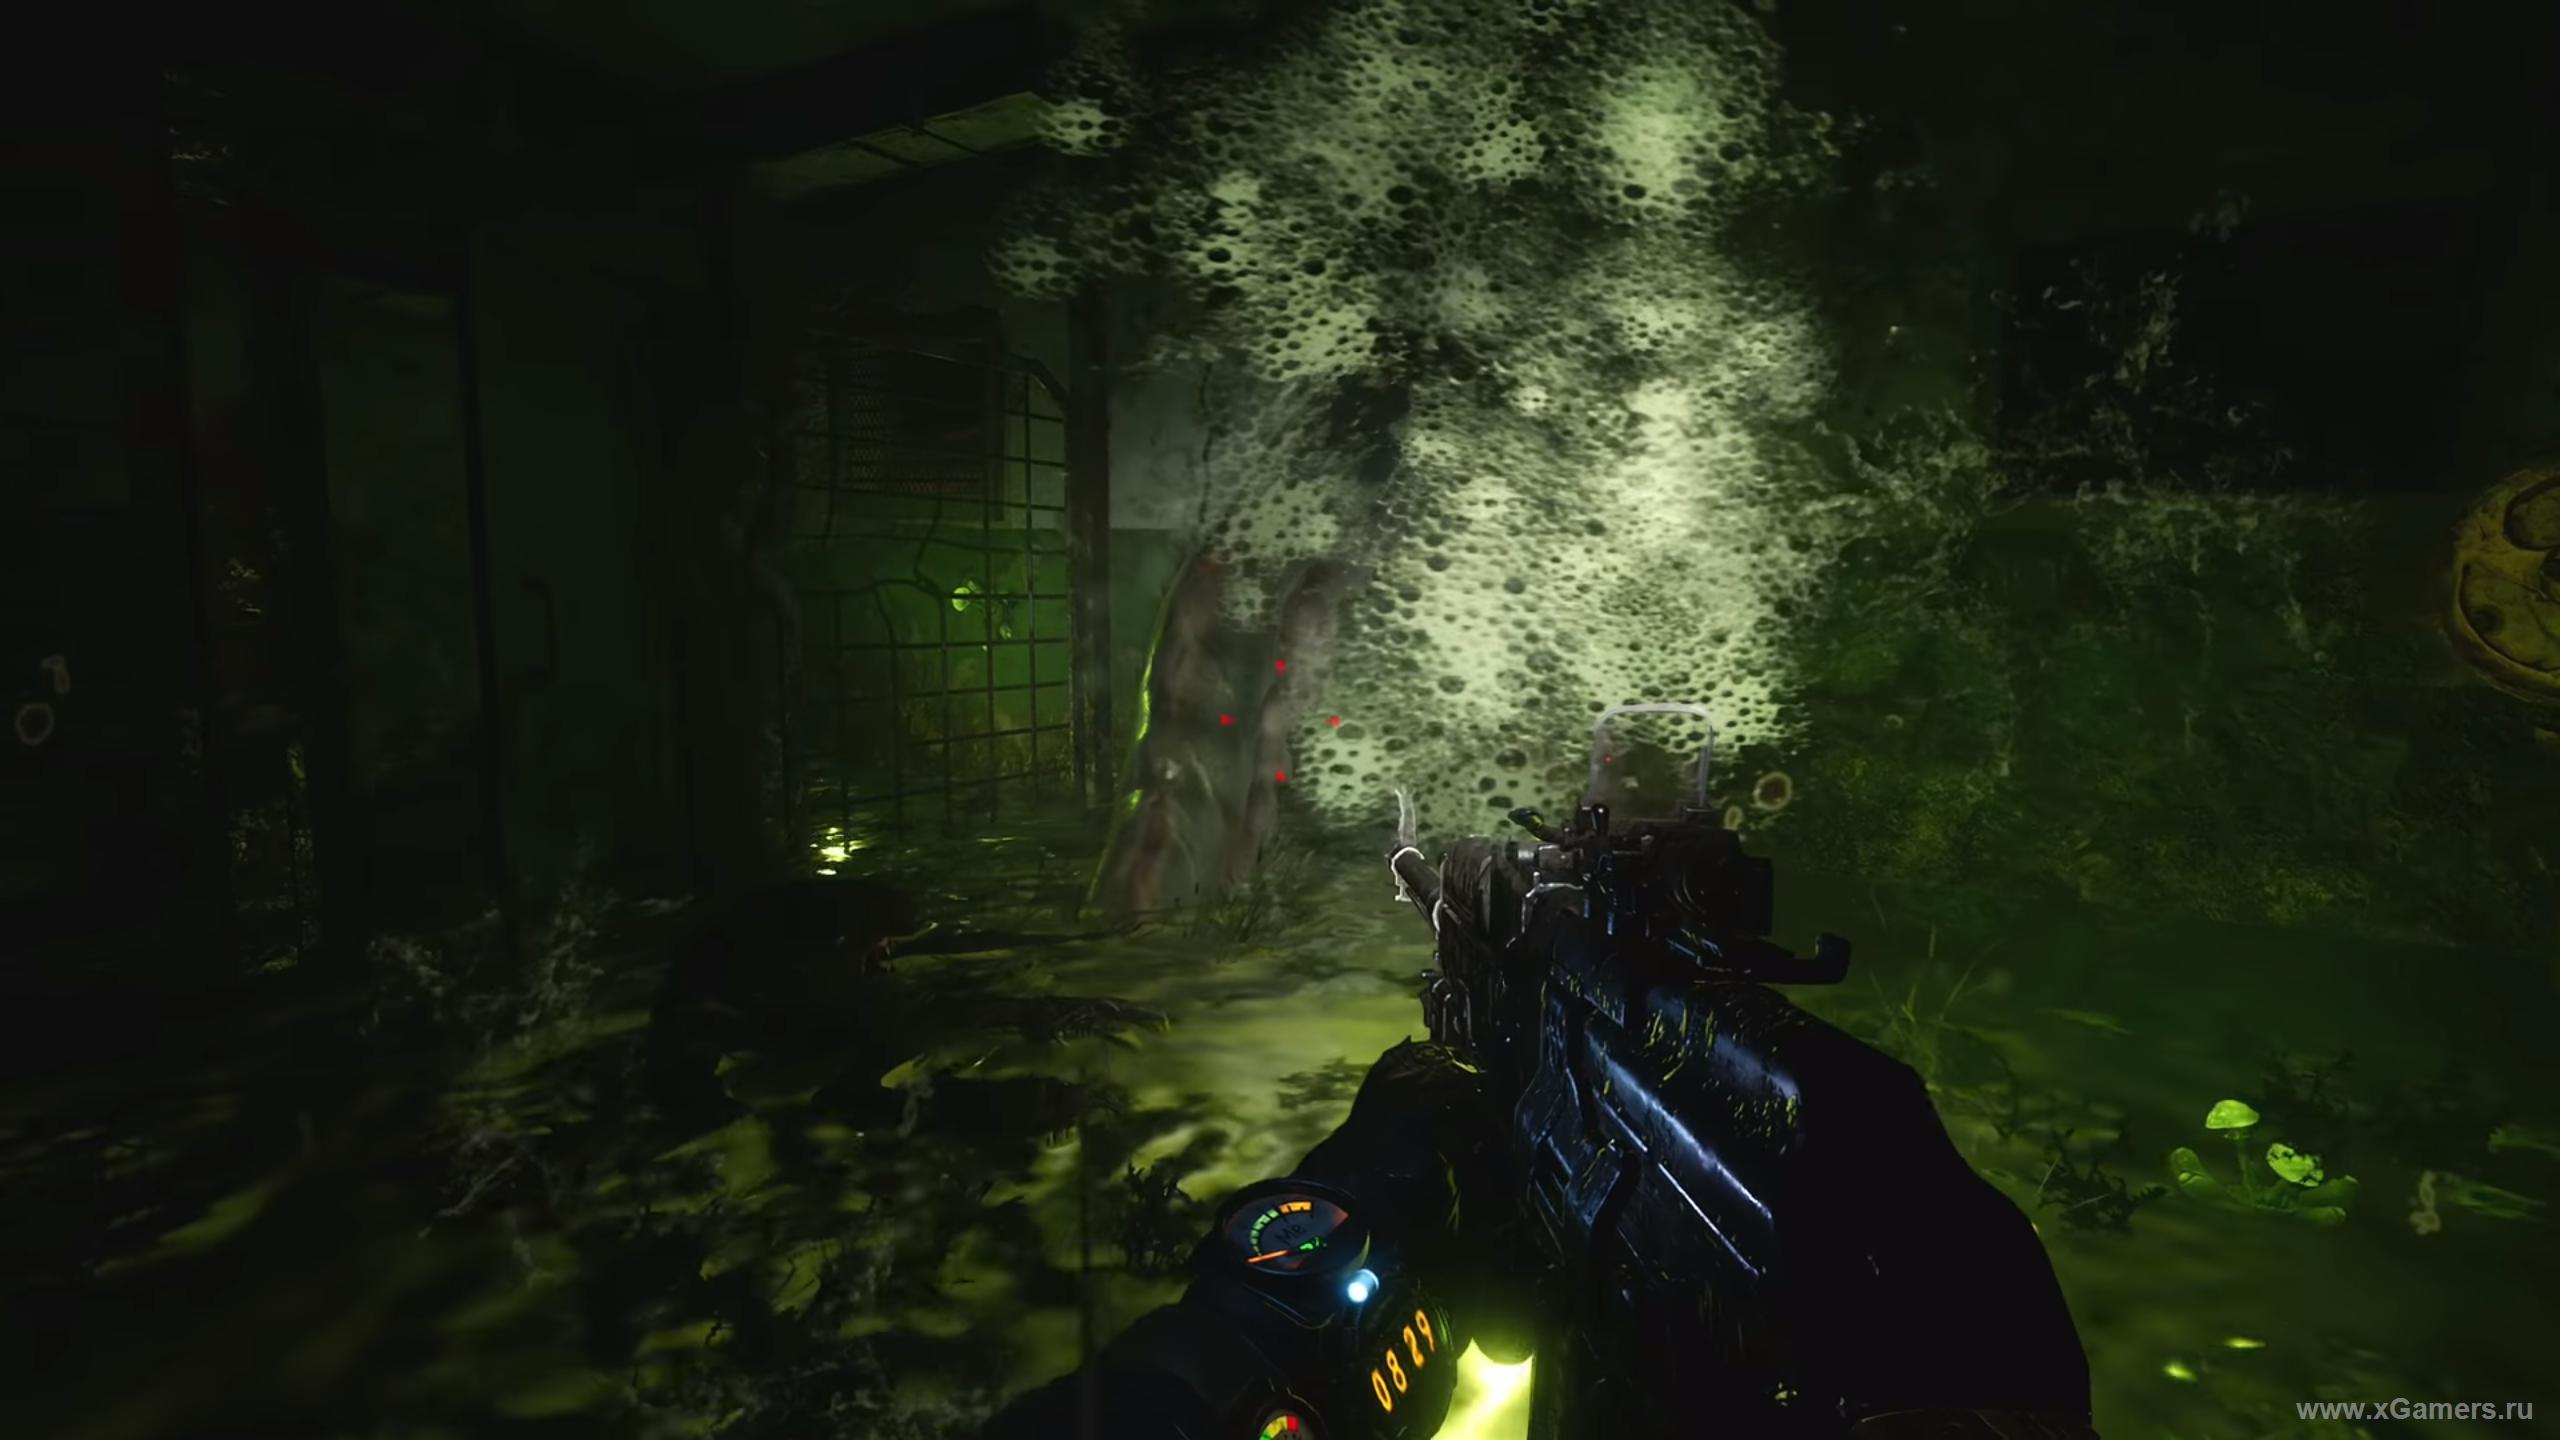
Before turning, check the room on the right for ammo. Then head to the next room, where you'll spot a door left ajar - go through it and you'll end up behind that same grate. Kill the two mutants here; they won't put up much of a fight.
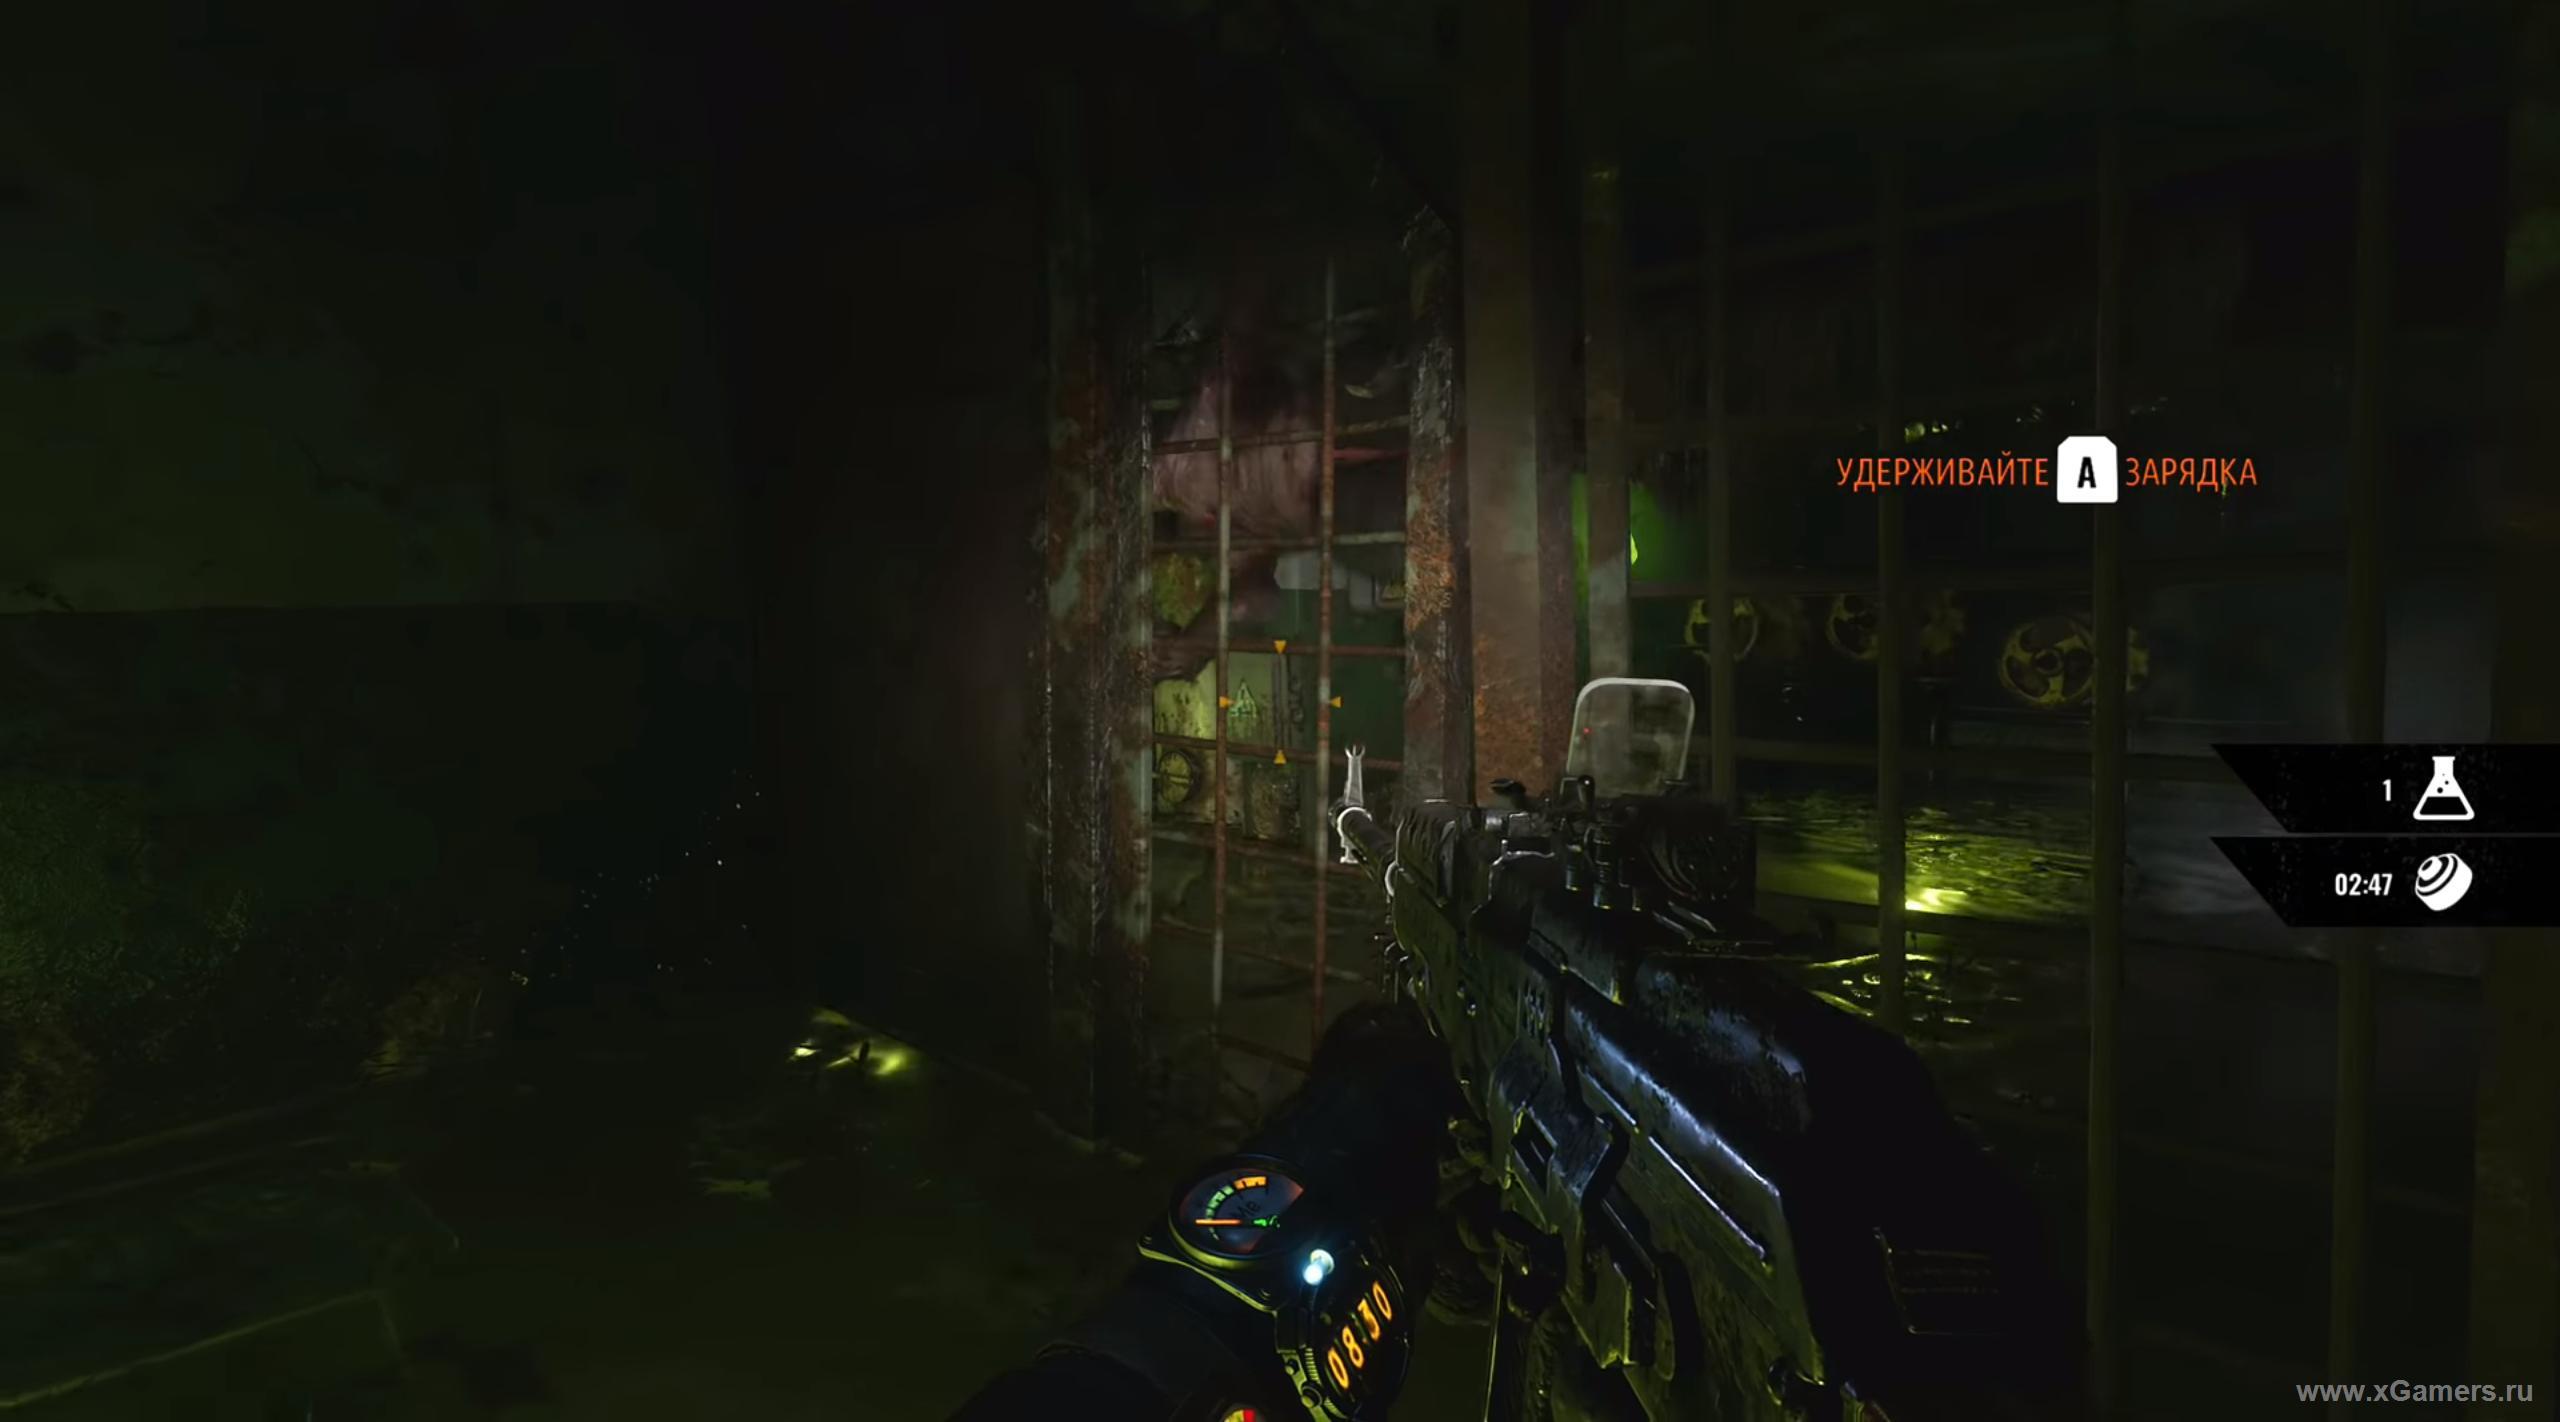
Grab the battered diary from the table, along with a shotgun mod. There are also gas mask filters in the locker here. Got everything? Head back. You'll get attacked again on the way, but it's nothing serious - easy to handle.
(Optional section complete.)
As you keep swimming, shoot down the leeches you're already used to dealing with.

Before you exit the tunnel into the next large hall, put your gas mask back on. As soon as you're inside, giant worms will attack and knock you out of the boat. Swim to the surface and shoot them down as fast as you can.
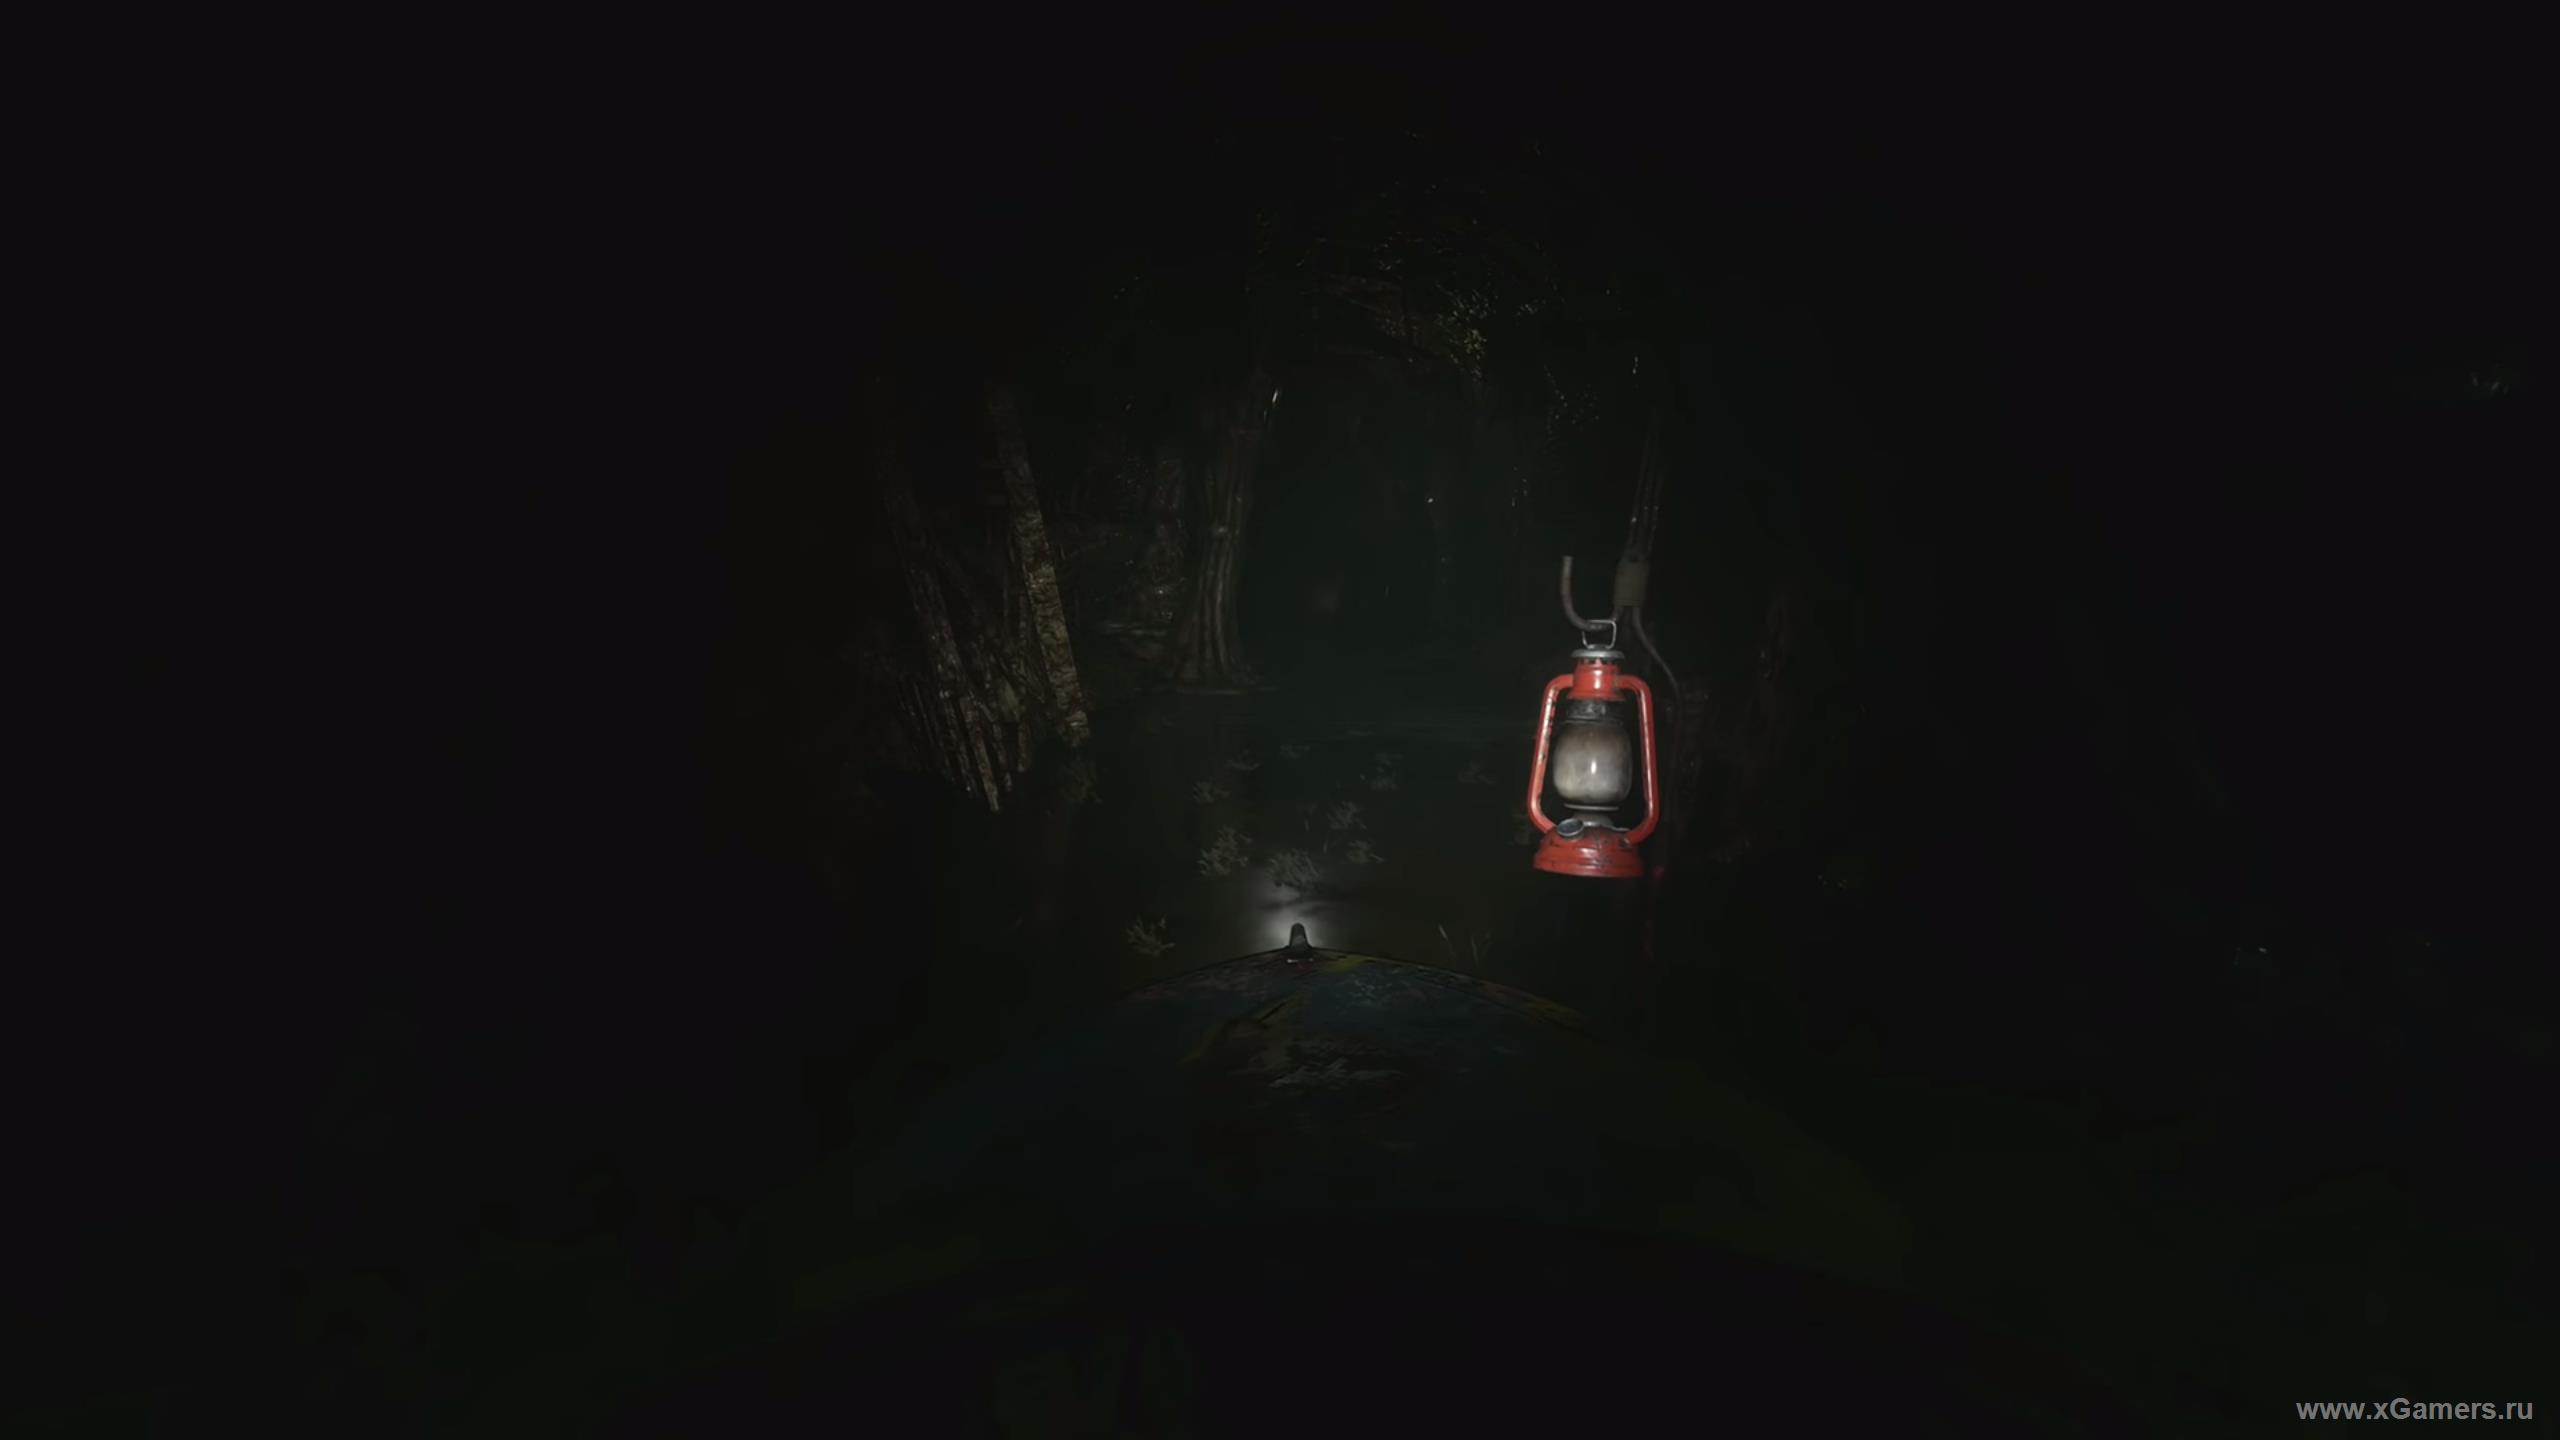
Climb back into the boat and paddle toward the lit-up green area. You'll find plenty of leeches there - you already know the drill. Once you're done, head to the flooded stairs and climb out.
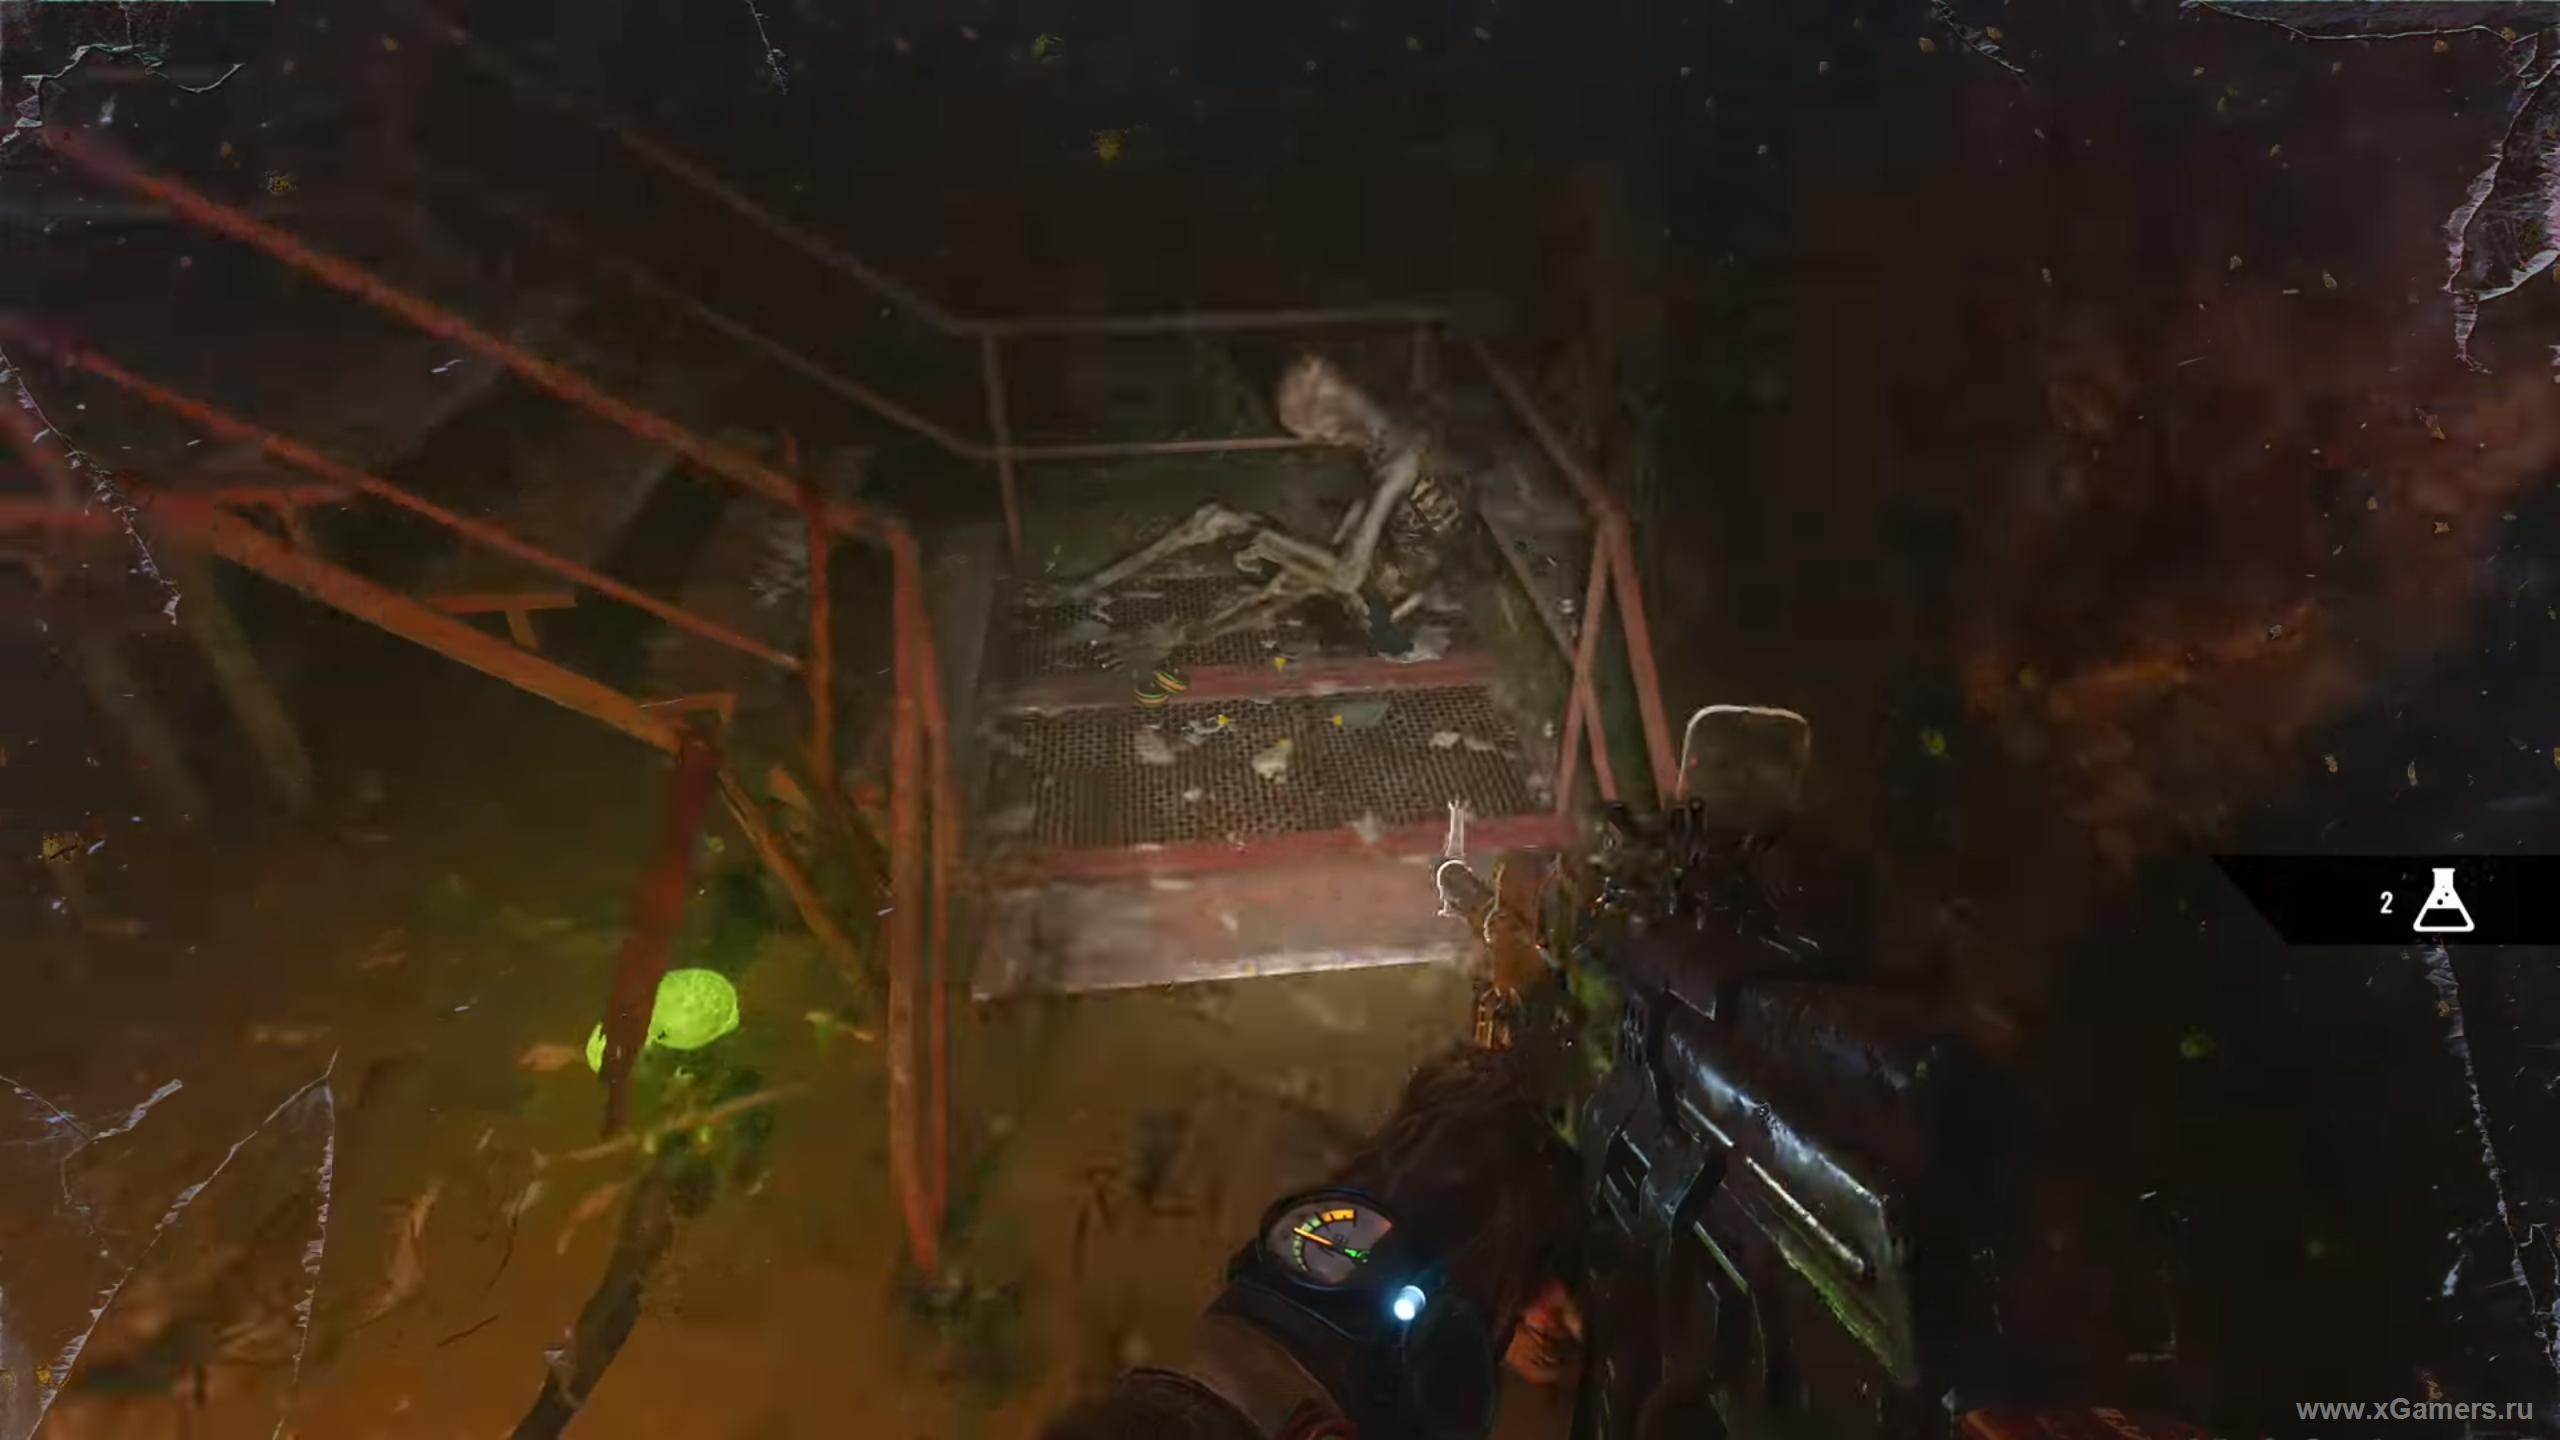
Climb onto the metal structure and follow the platform to the train on the far side. Don't dawdle here, or the worms will come after you again. There are more leeches inside the train cars - clear them out methodically, then head for the exit on the left.
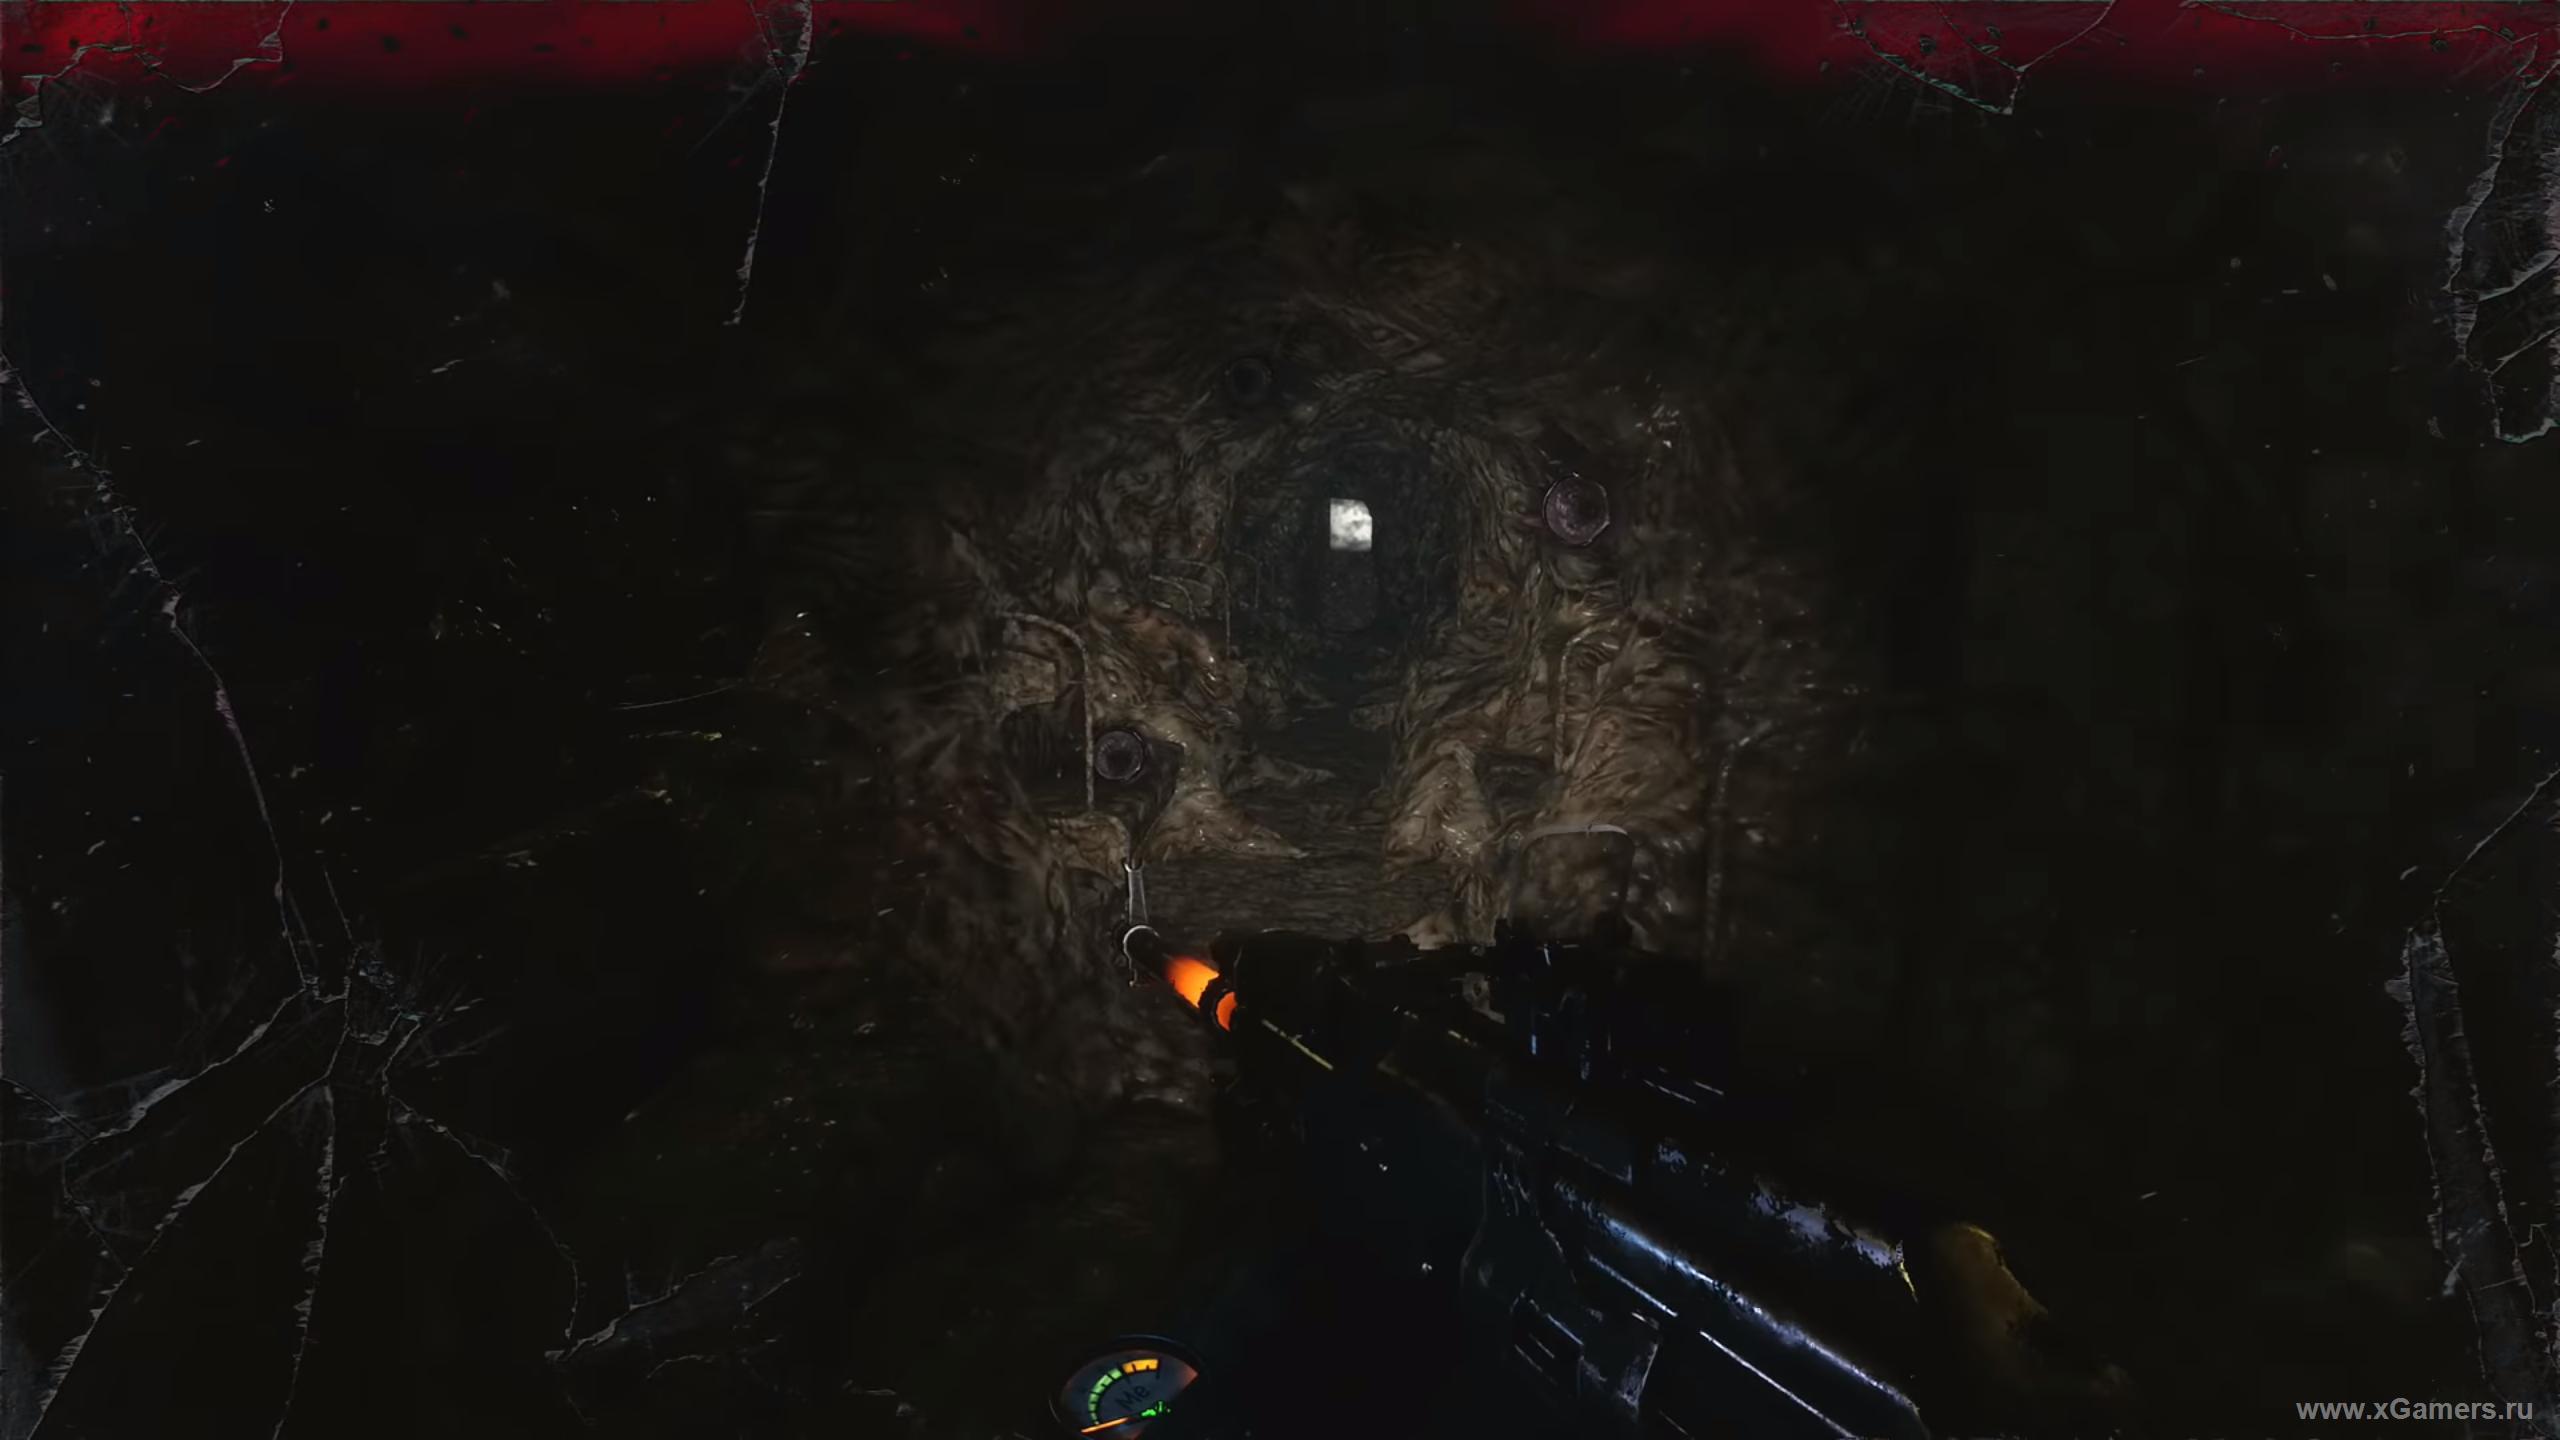
Head up the stairs to the control room. There are leeches on the walls - clear them out. Grab everything you find here, then head out and pull the lever to lower the ladder to the pier. There's a boat fixed above it that you'll need. Getting to it means passing through corridors full of leeches, unfortunately.

Don't waste ammo on a worm that's busy eating a corpse - it won't bother you.
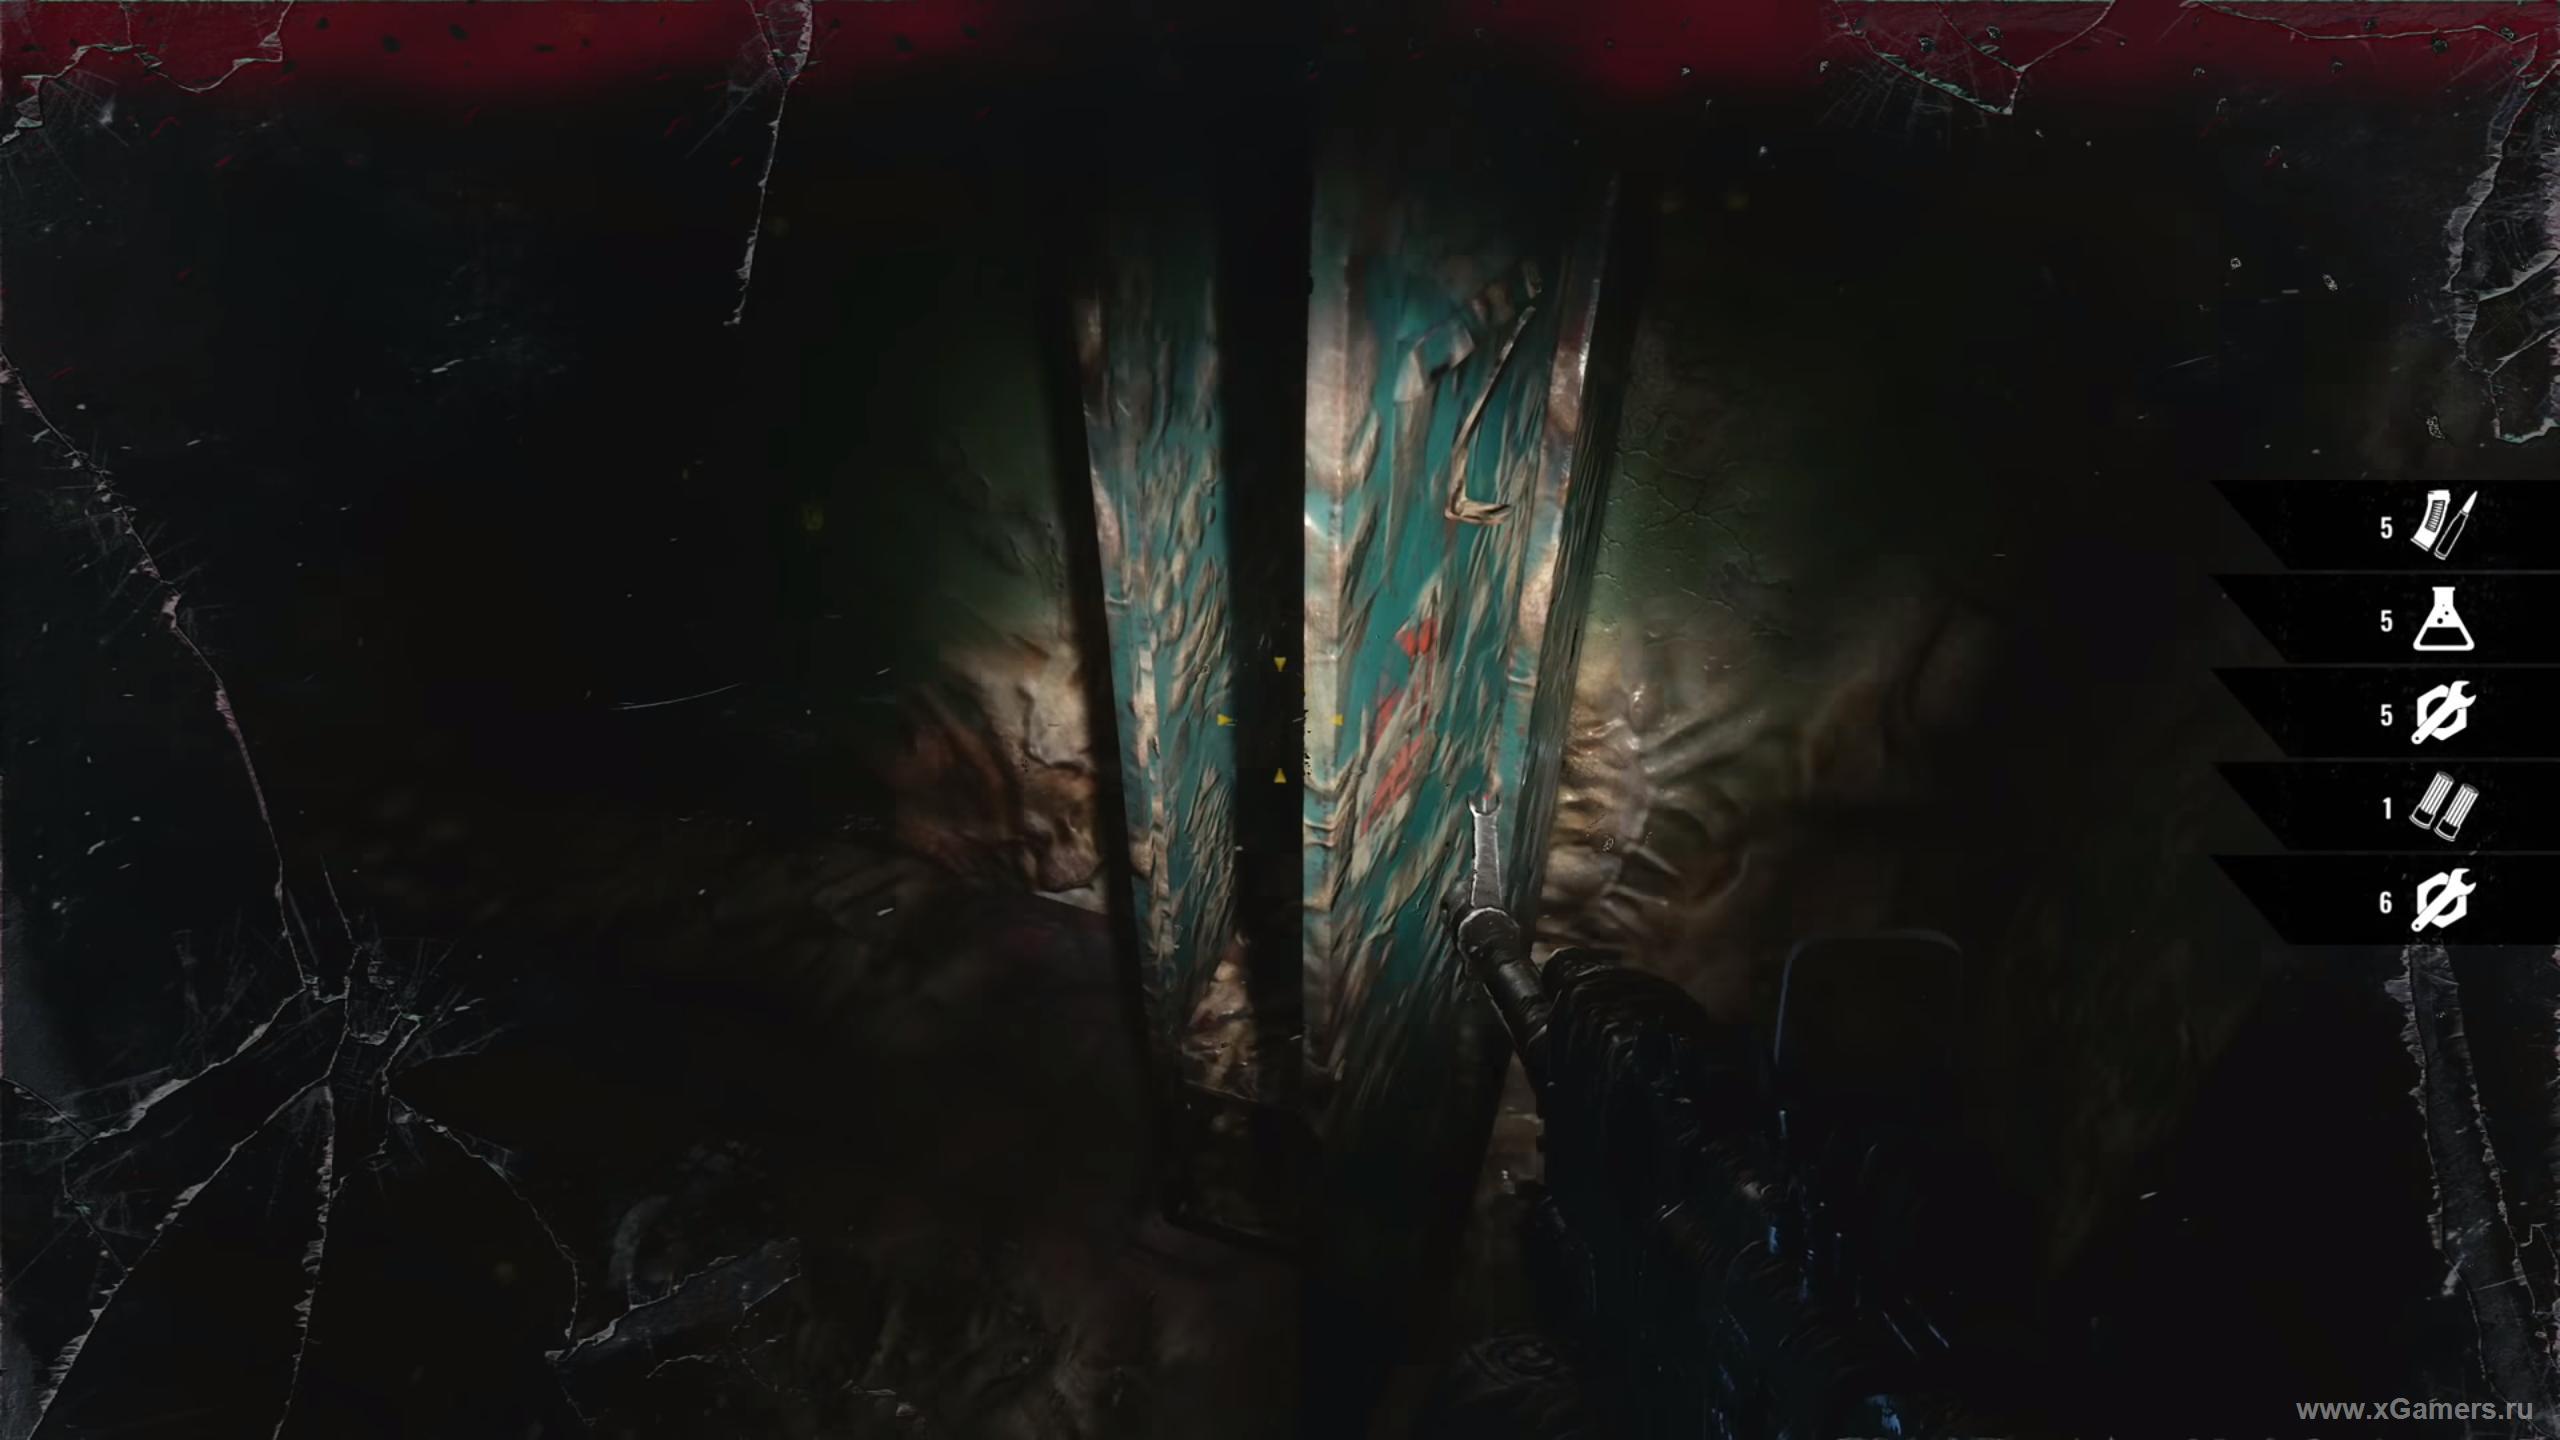
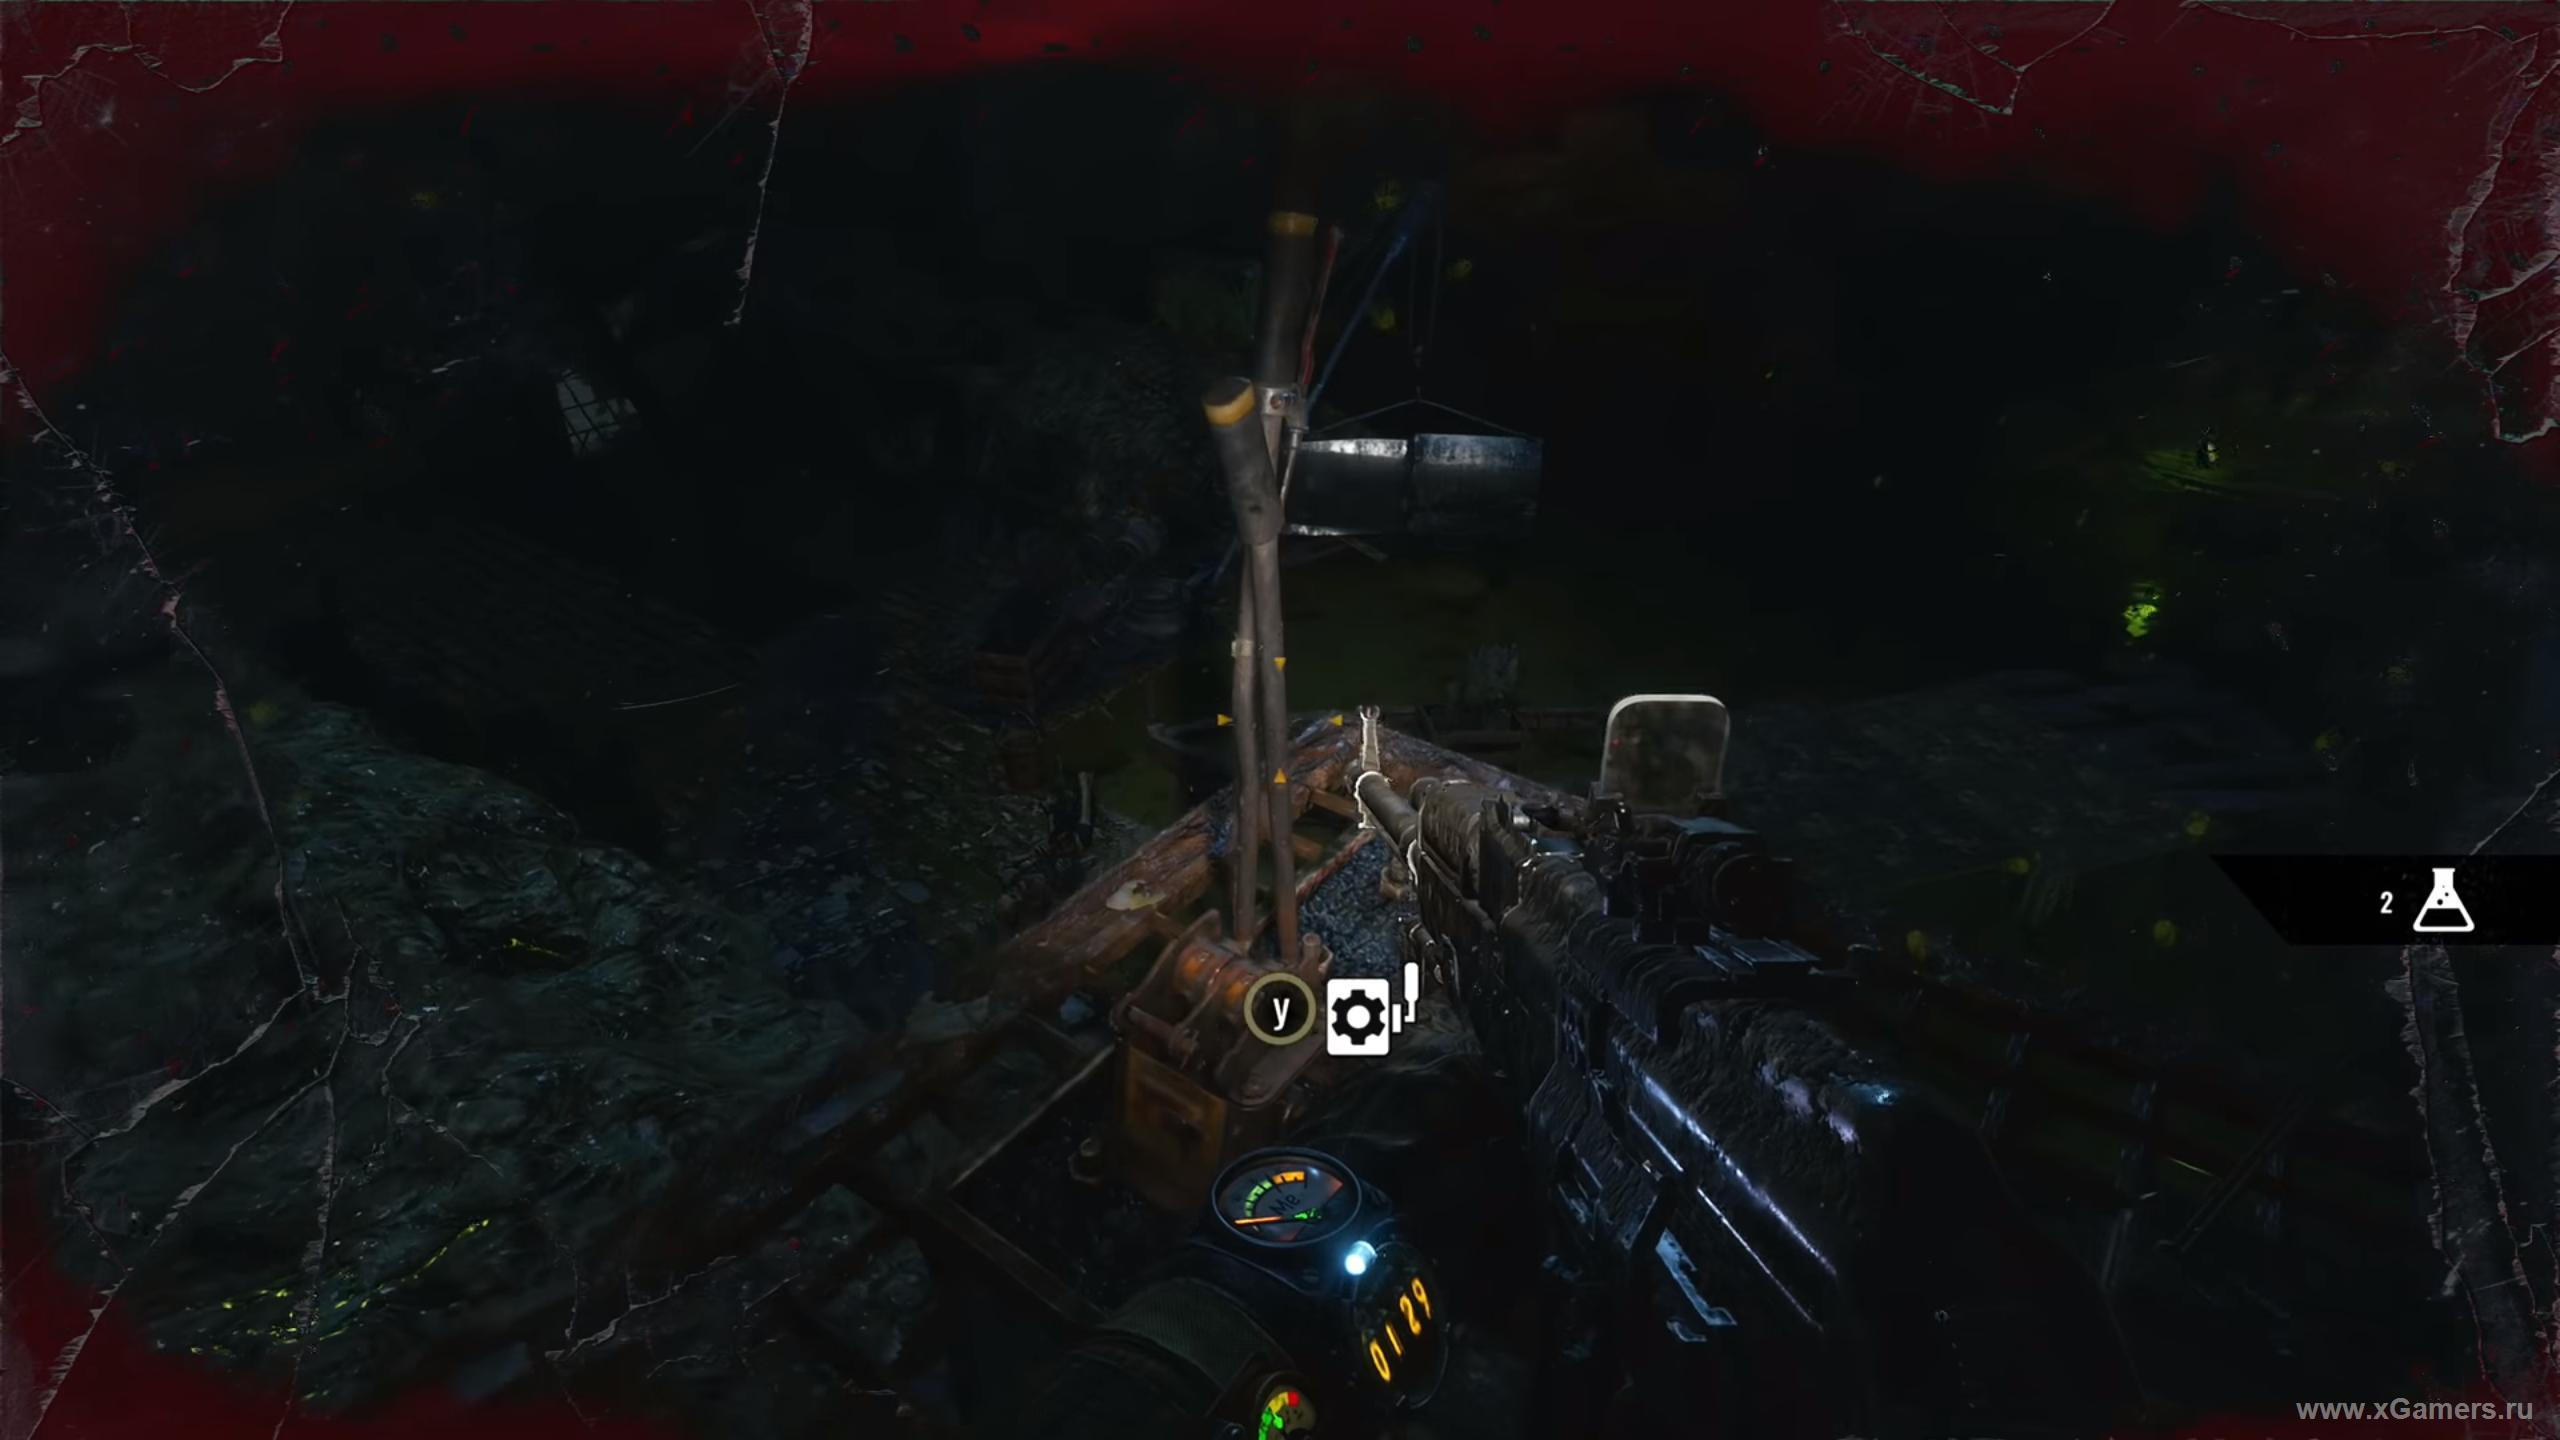
See the passage on the right? Head that way - you'll find ammo crates and, more importantly, a workbench. Repair your gear, craft some ammo, get squared away. Once you're set, go through the passage mentioned above (more leeches waiting there). You'll end up at the crane that controls the boat. Watch out - worms below will spit at you. Take them out, grab everything useful, then operate the crane.
Head straight for the boat. If any worms are still alive, the rest will come after you. Your best bet here is picking them off with a sniper rifle - it'll make the rest of the trip a lot easier.
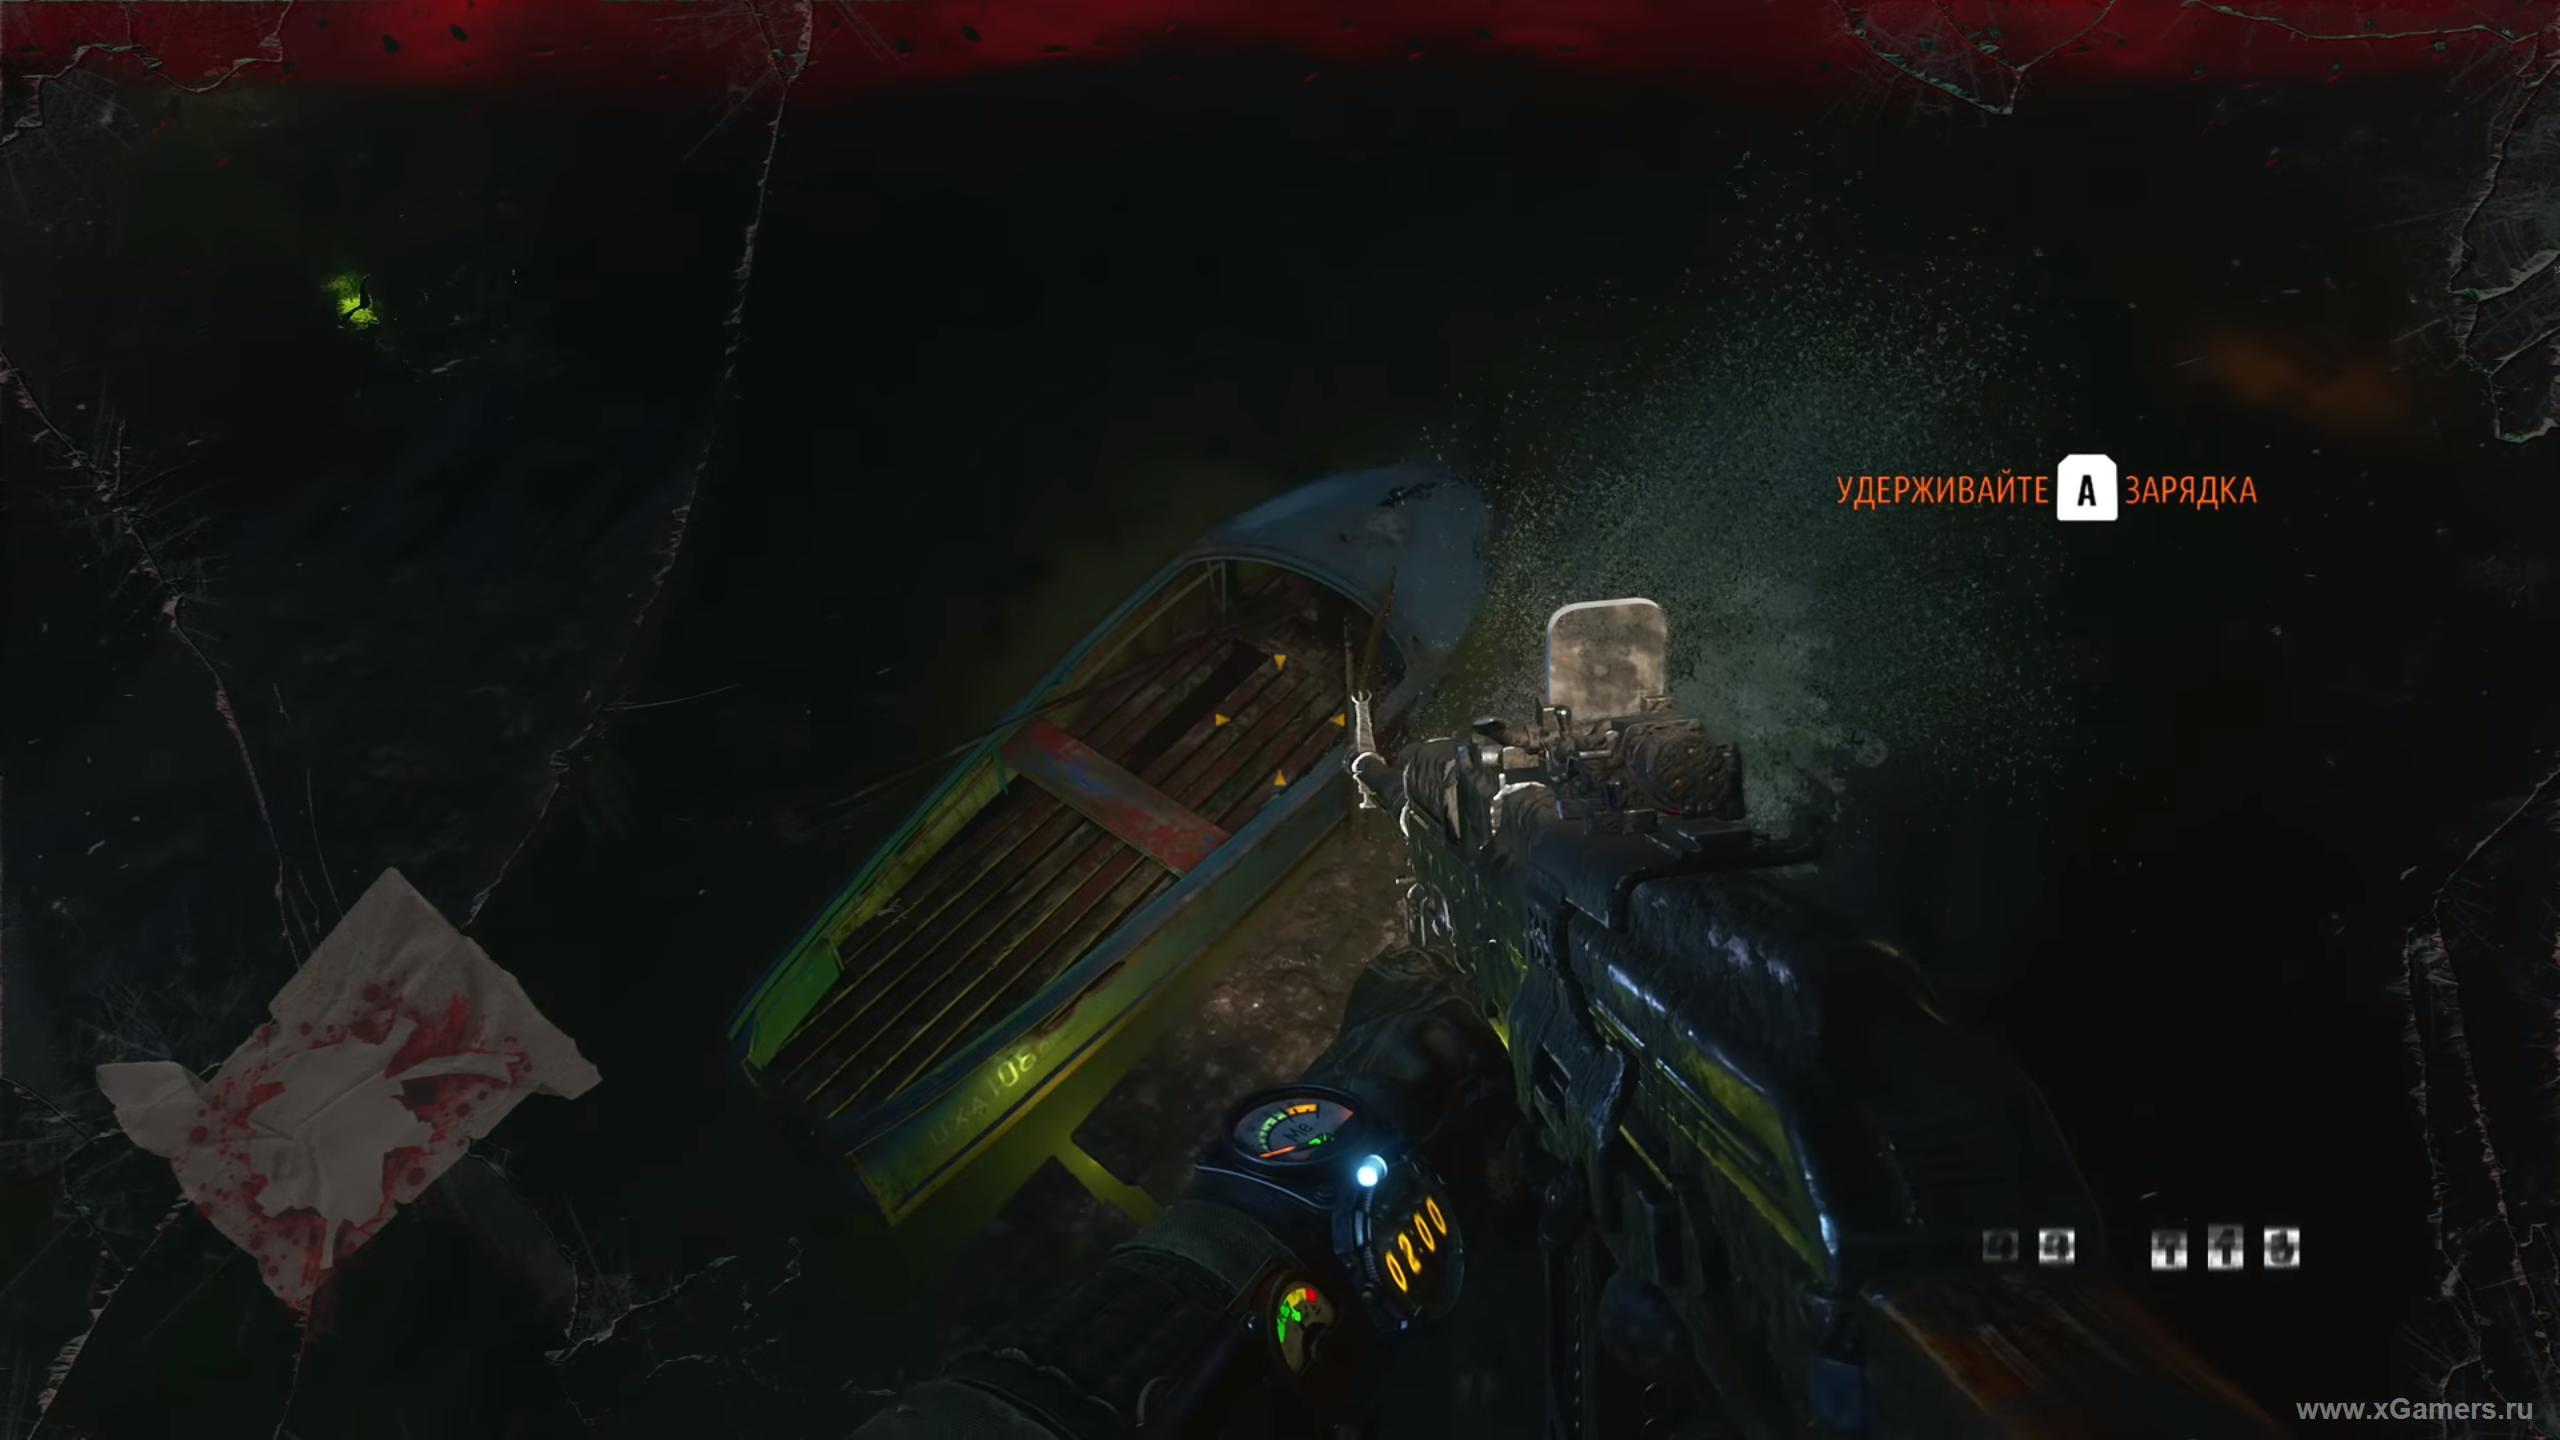
A couple more will attack on your way to the exit, but they're easy to handle.
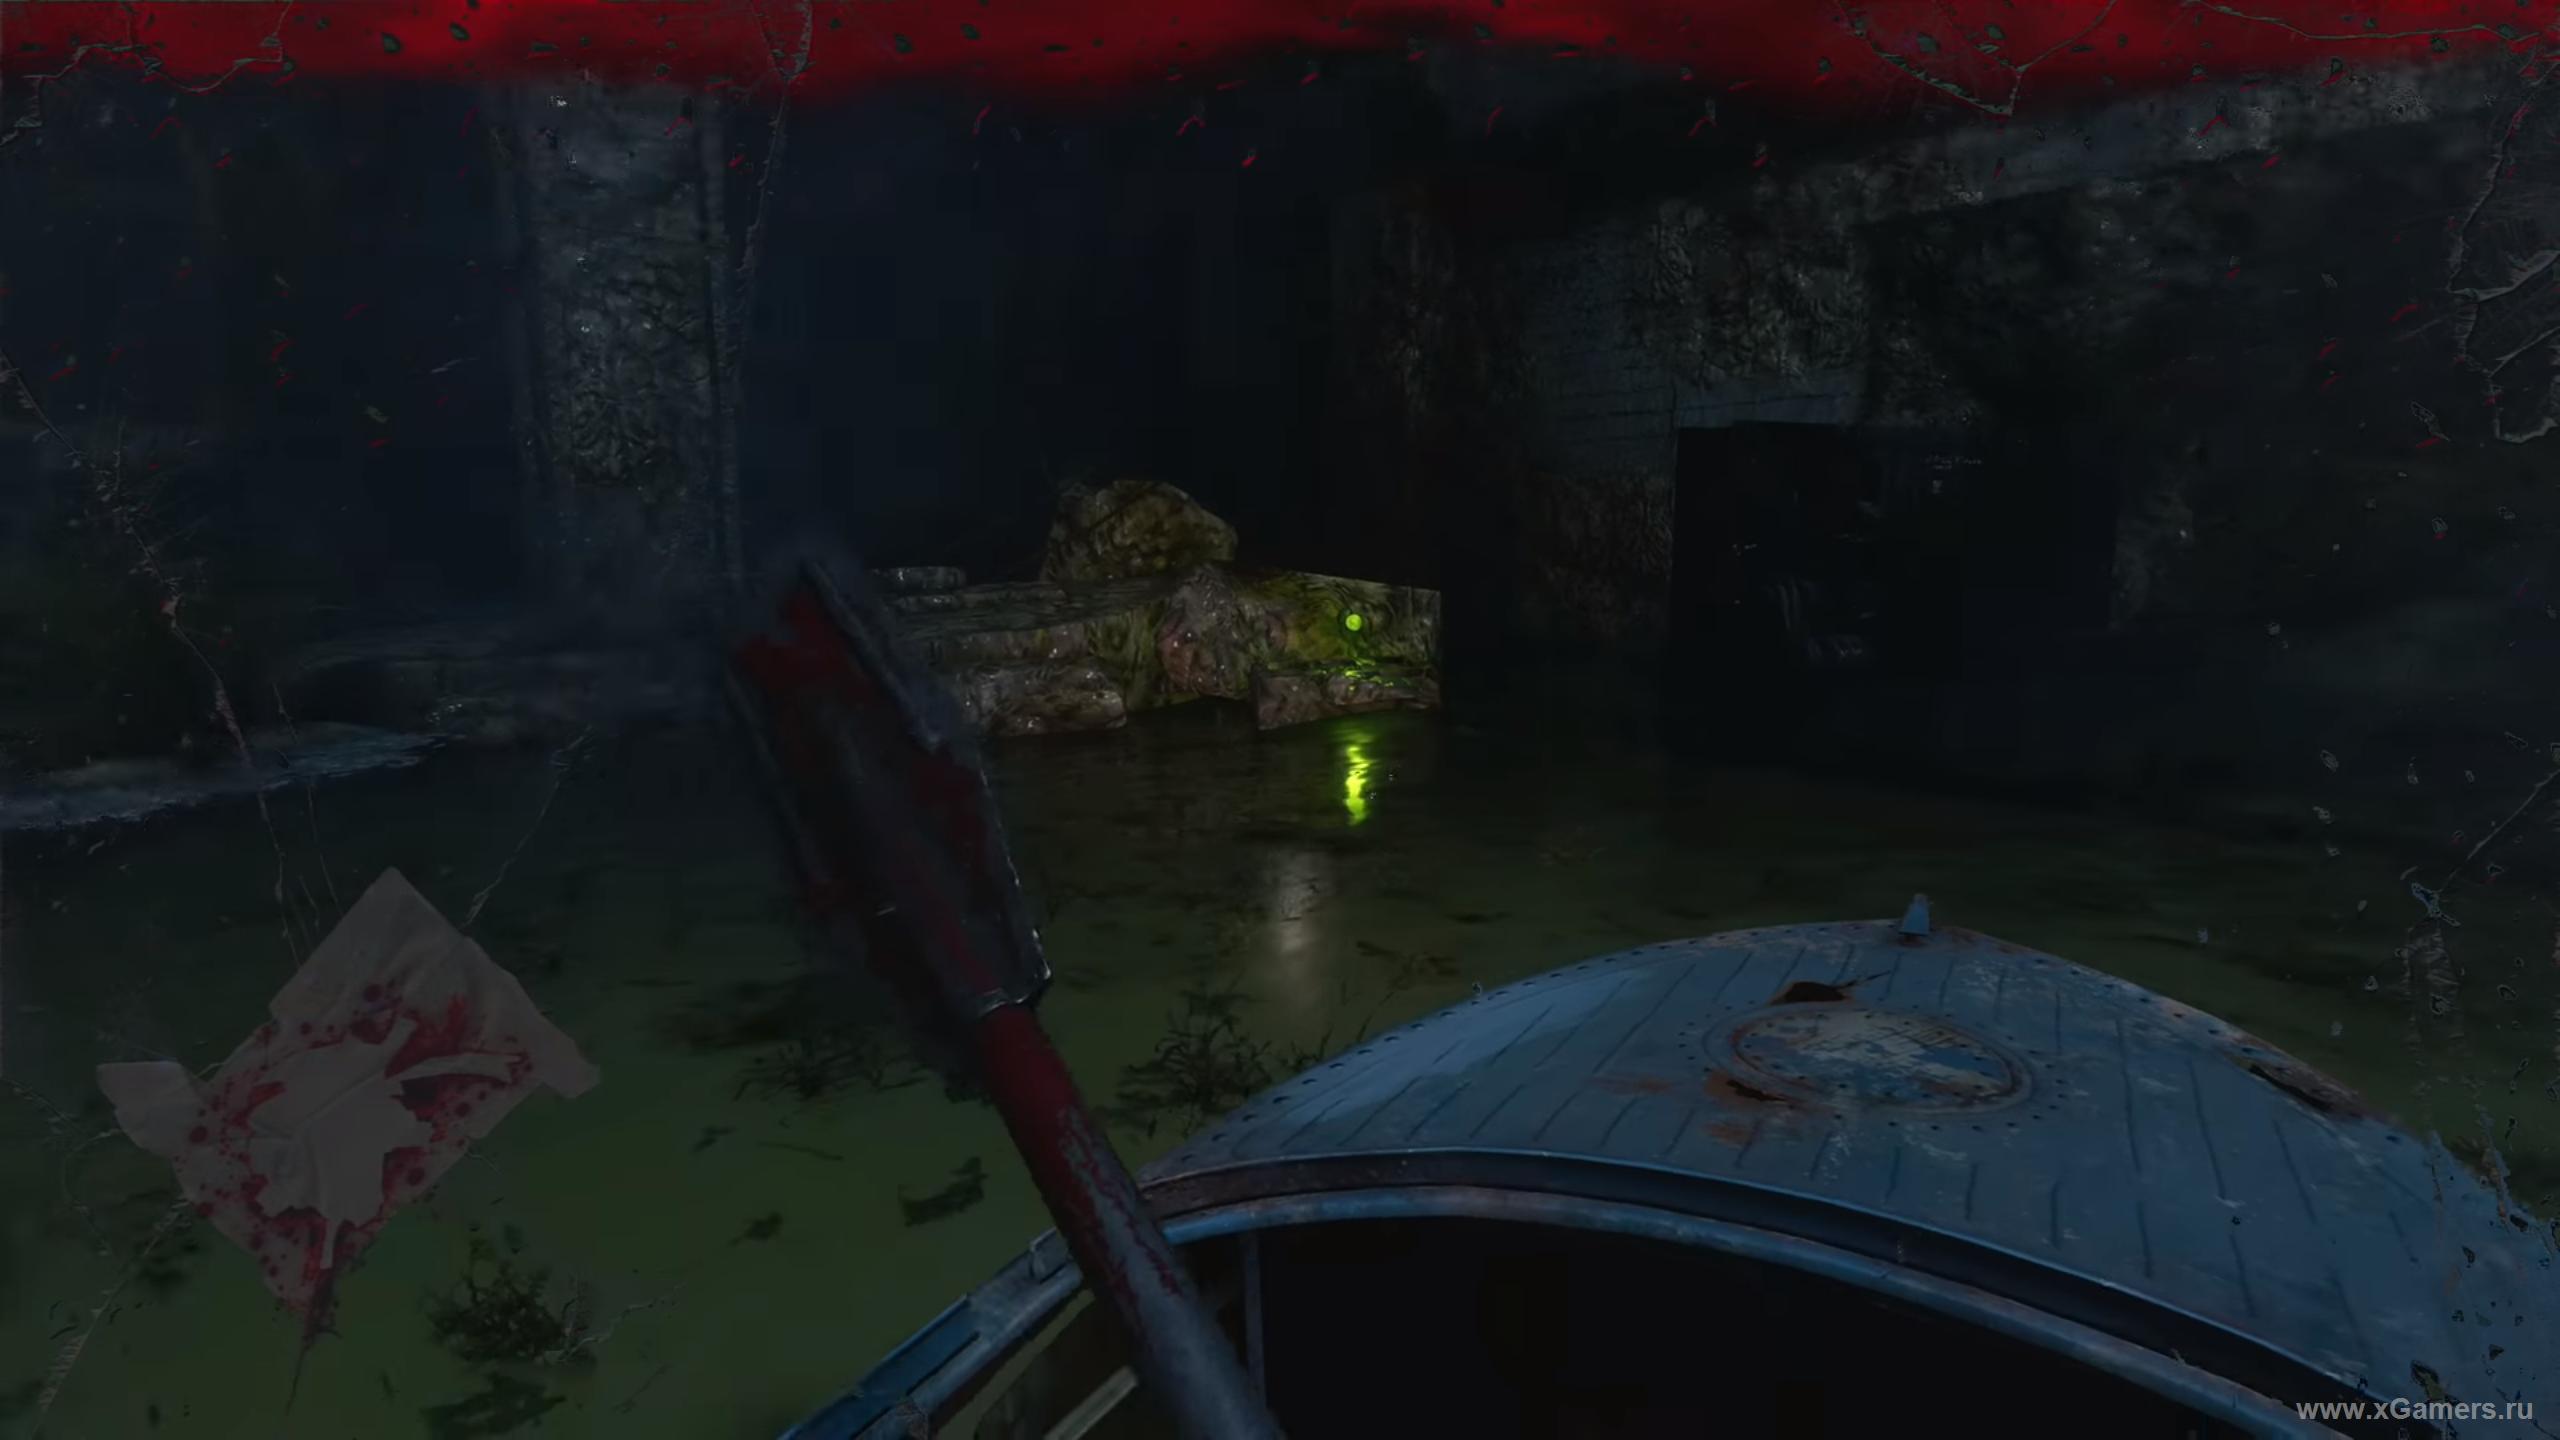
At some point during the trip, your character passes out from radiation exposure - don't worry, it's a scripted moment and nothing is actually threatening you.
The Mysterious Institute
Once the hero wakes up, you'll need to inject antiradin despite the hallucinations kicking in.
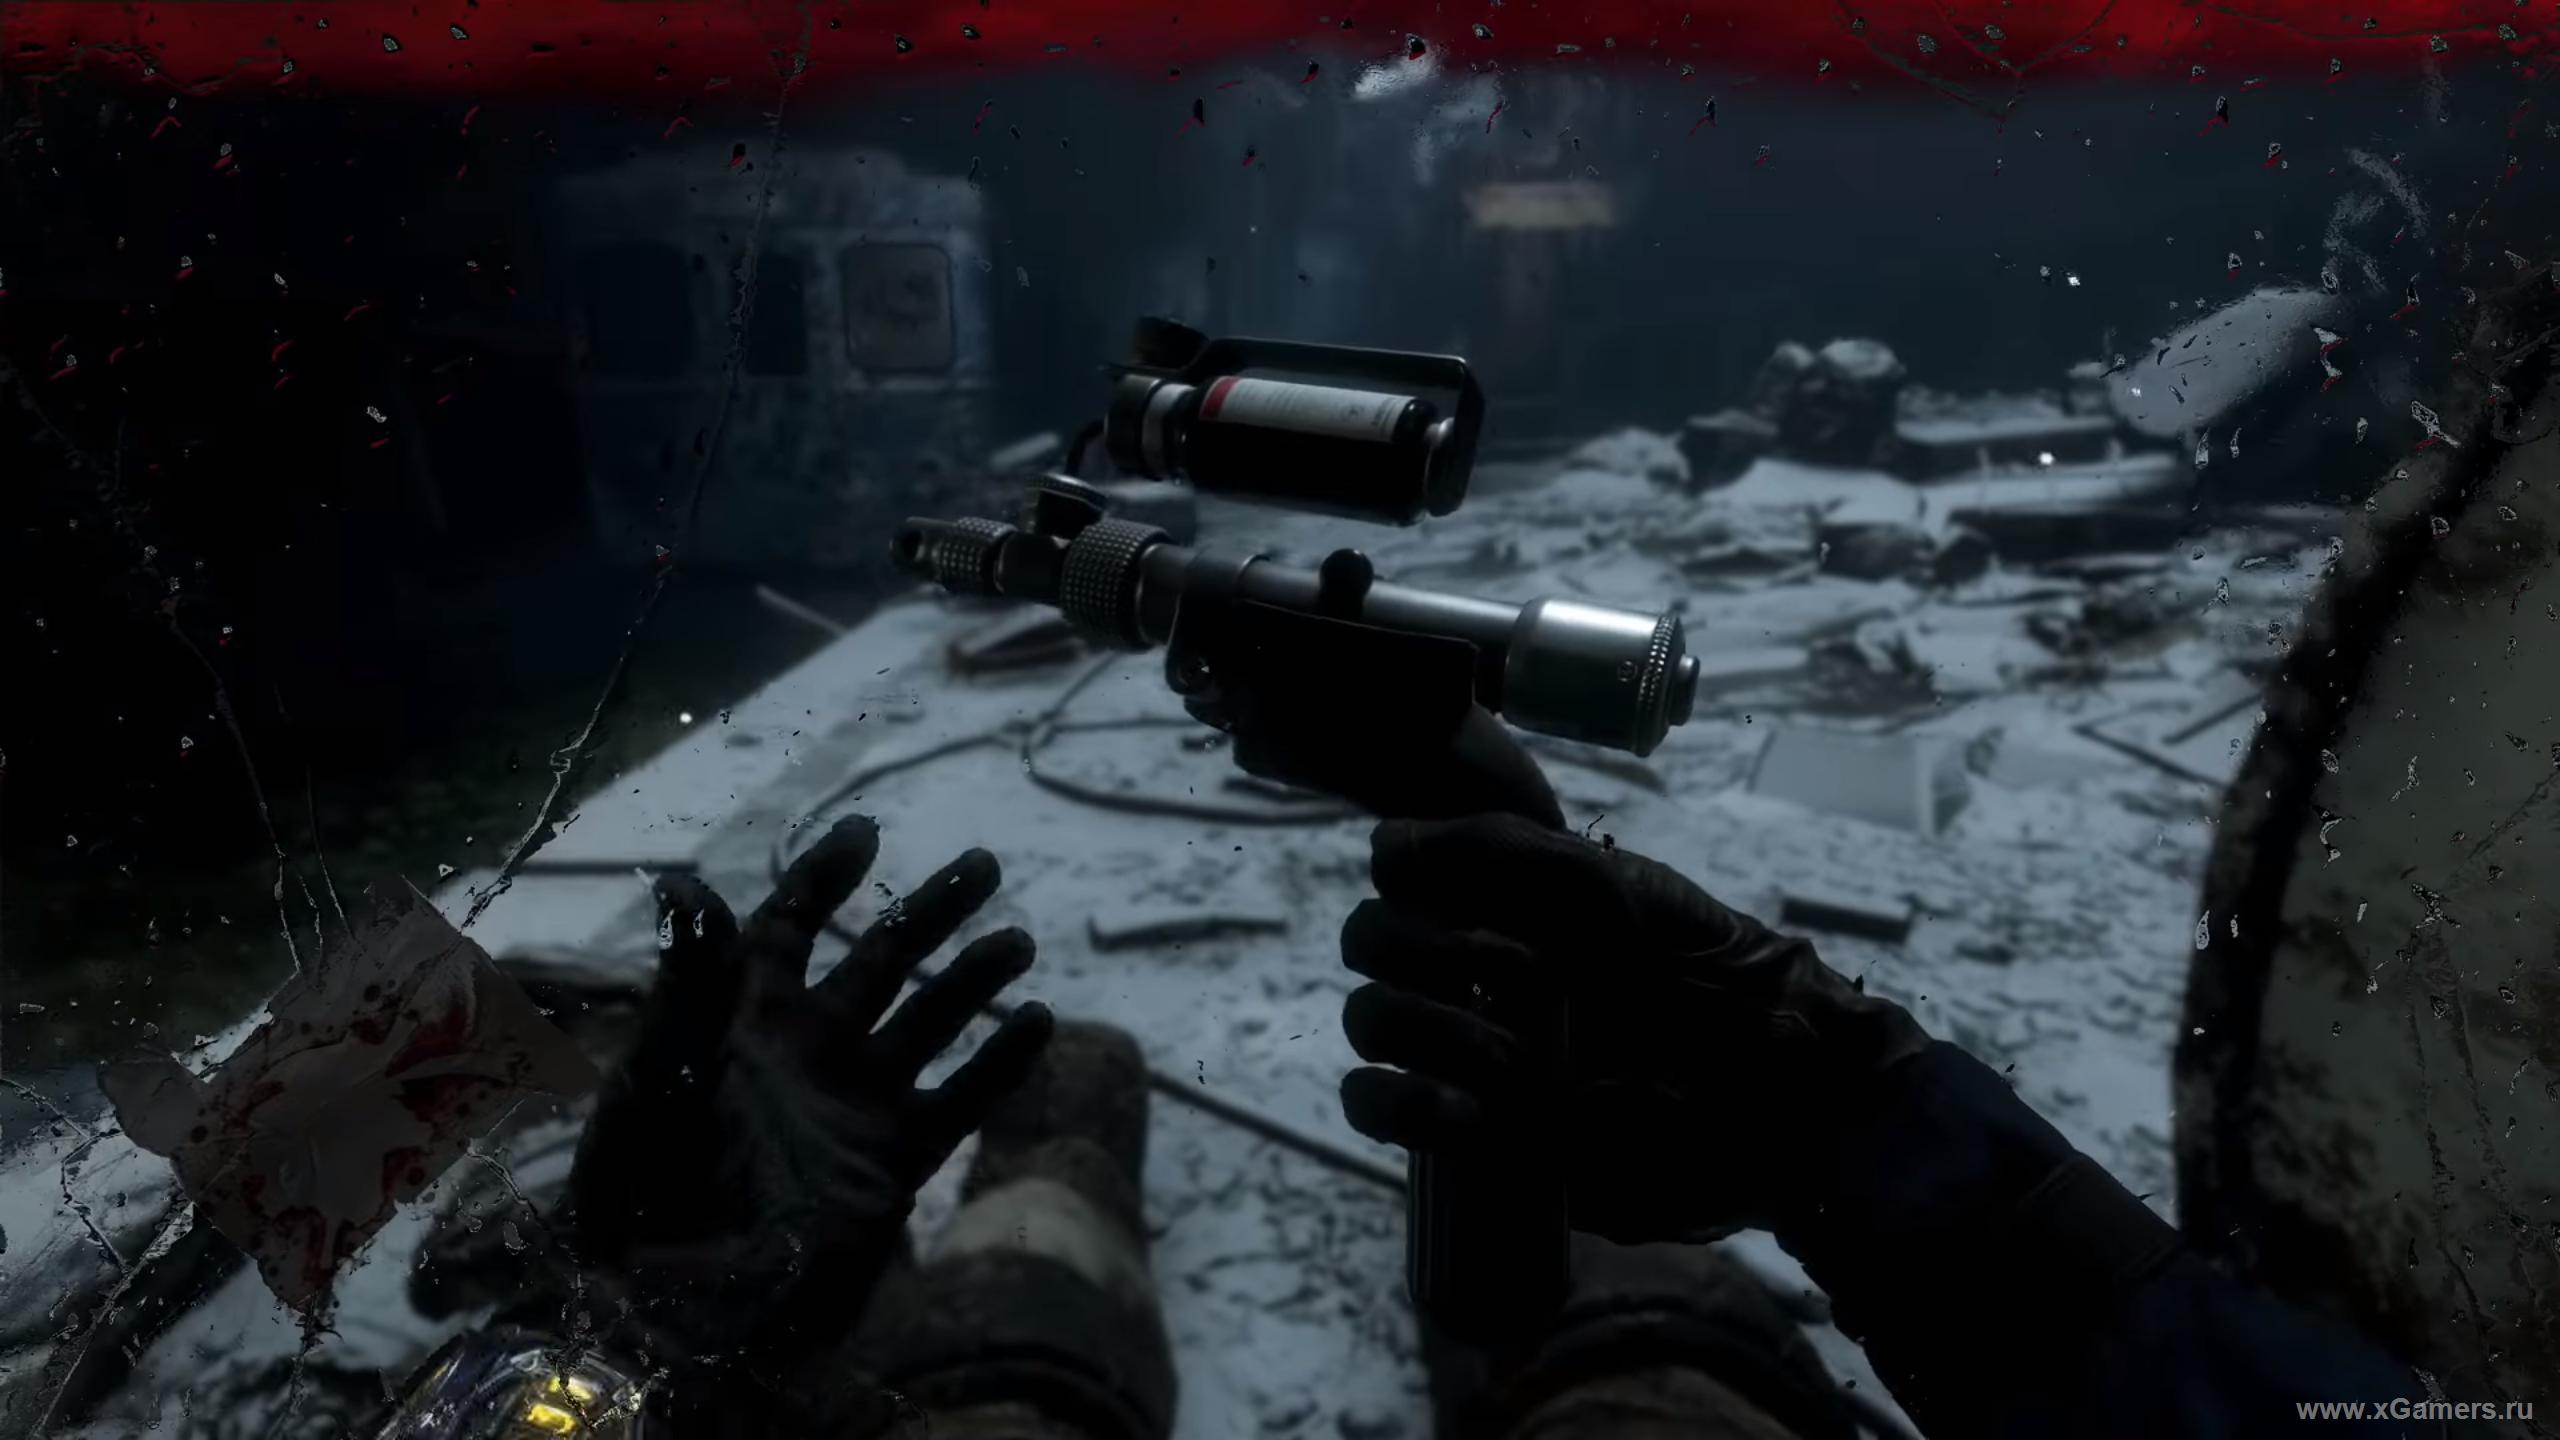
Use the first-aid kit, then head to the far end of the hall toward the escalator. Ride it up to the pumping station. You can ignore the visual effects here too - they're just part of the scripted sequence.
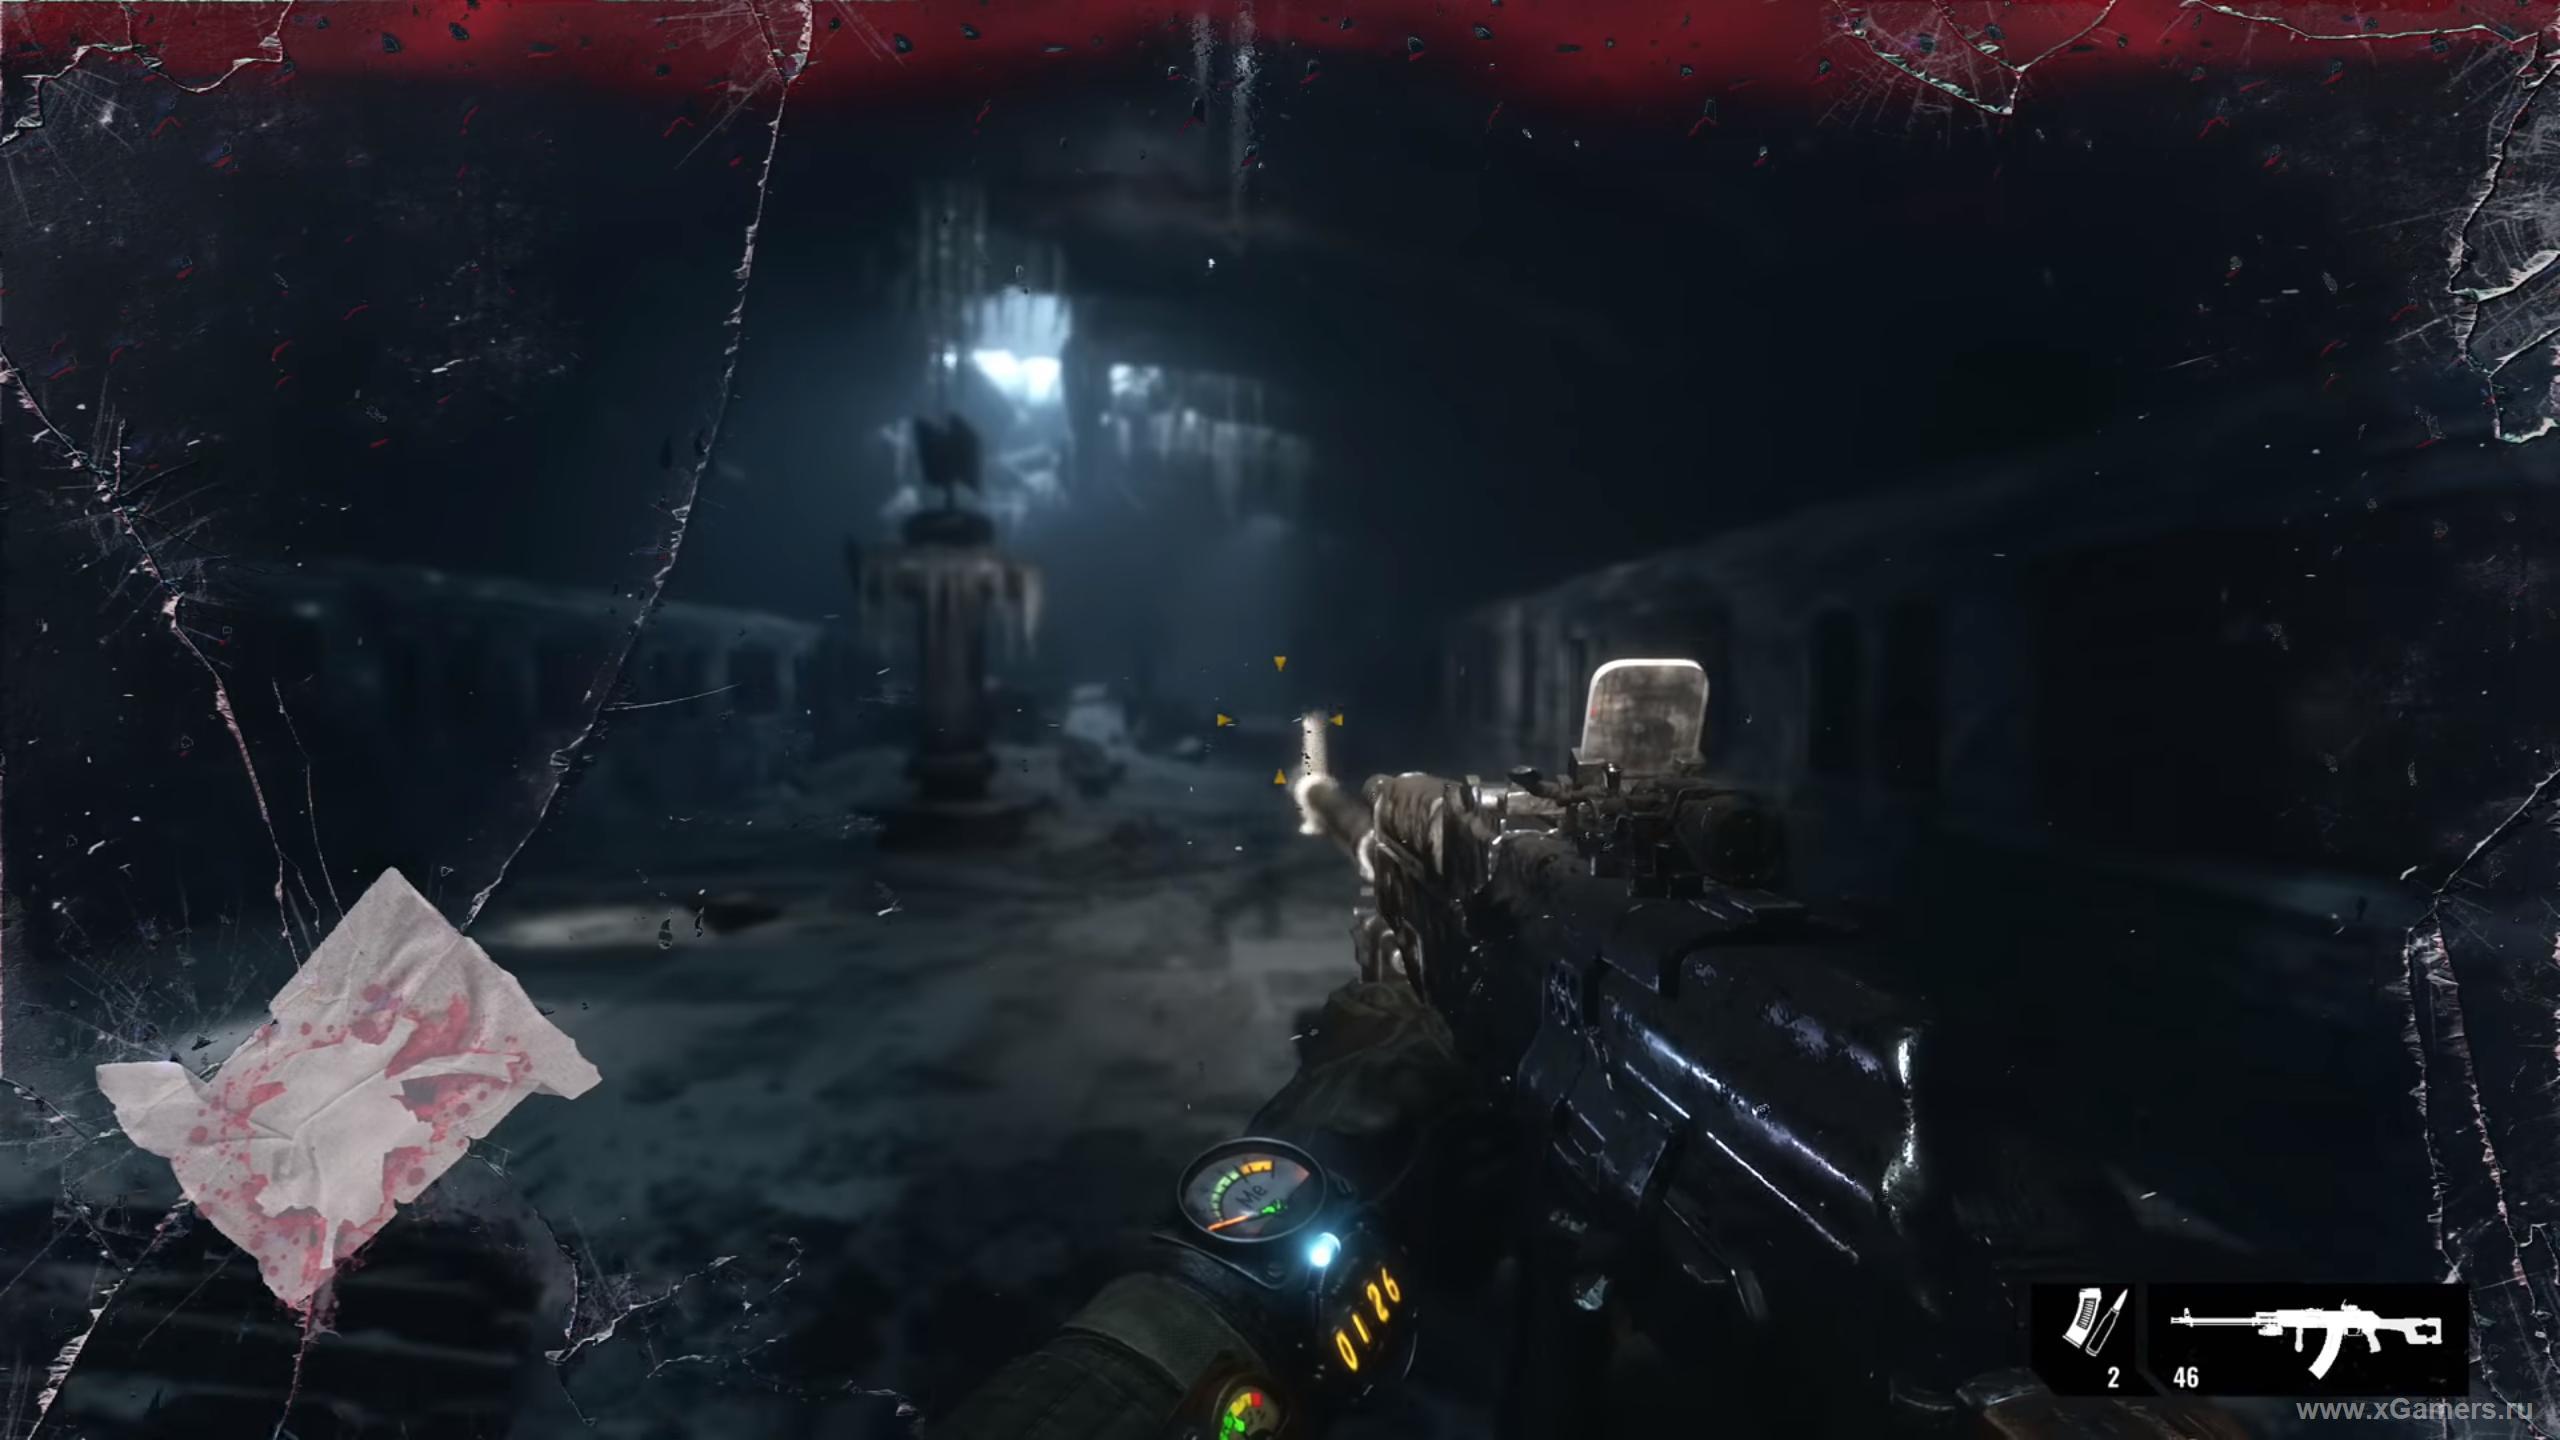
Turn right and step into the room where you hear familiar voices. Melnik's found the map you need! Grab everything useful from the shelf and lockers, and take the note sitting on the TV.

Head to the stairs down to the ground floor. It's worth searching thoroughly along the way - there are plenty of filters here, and you'll need every one of them. Got everything? Knock on the door.

Once you're outside, keep moving forward. A vivid flashback cutscene plays out, and at the end of it Artyom wakes up so you can keep going.
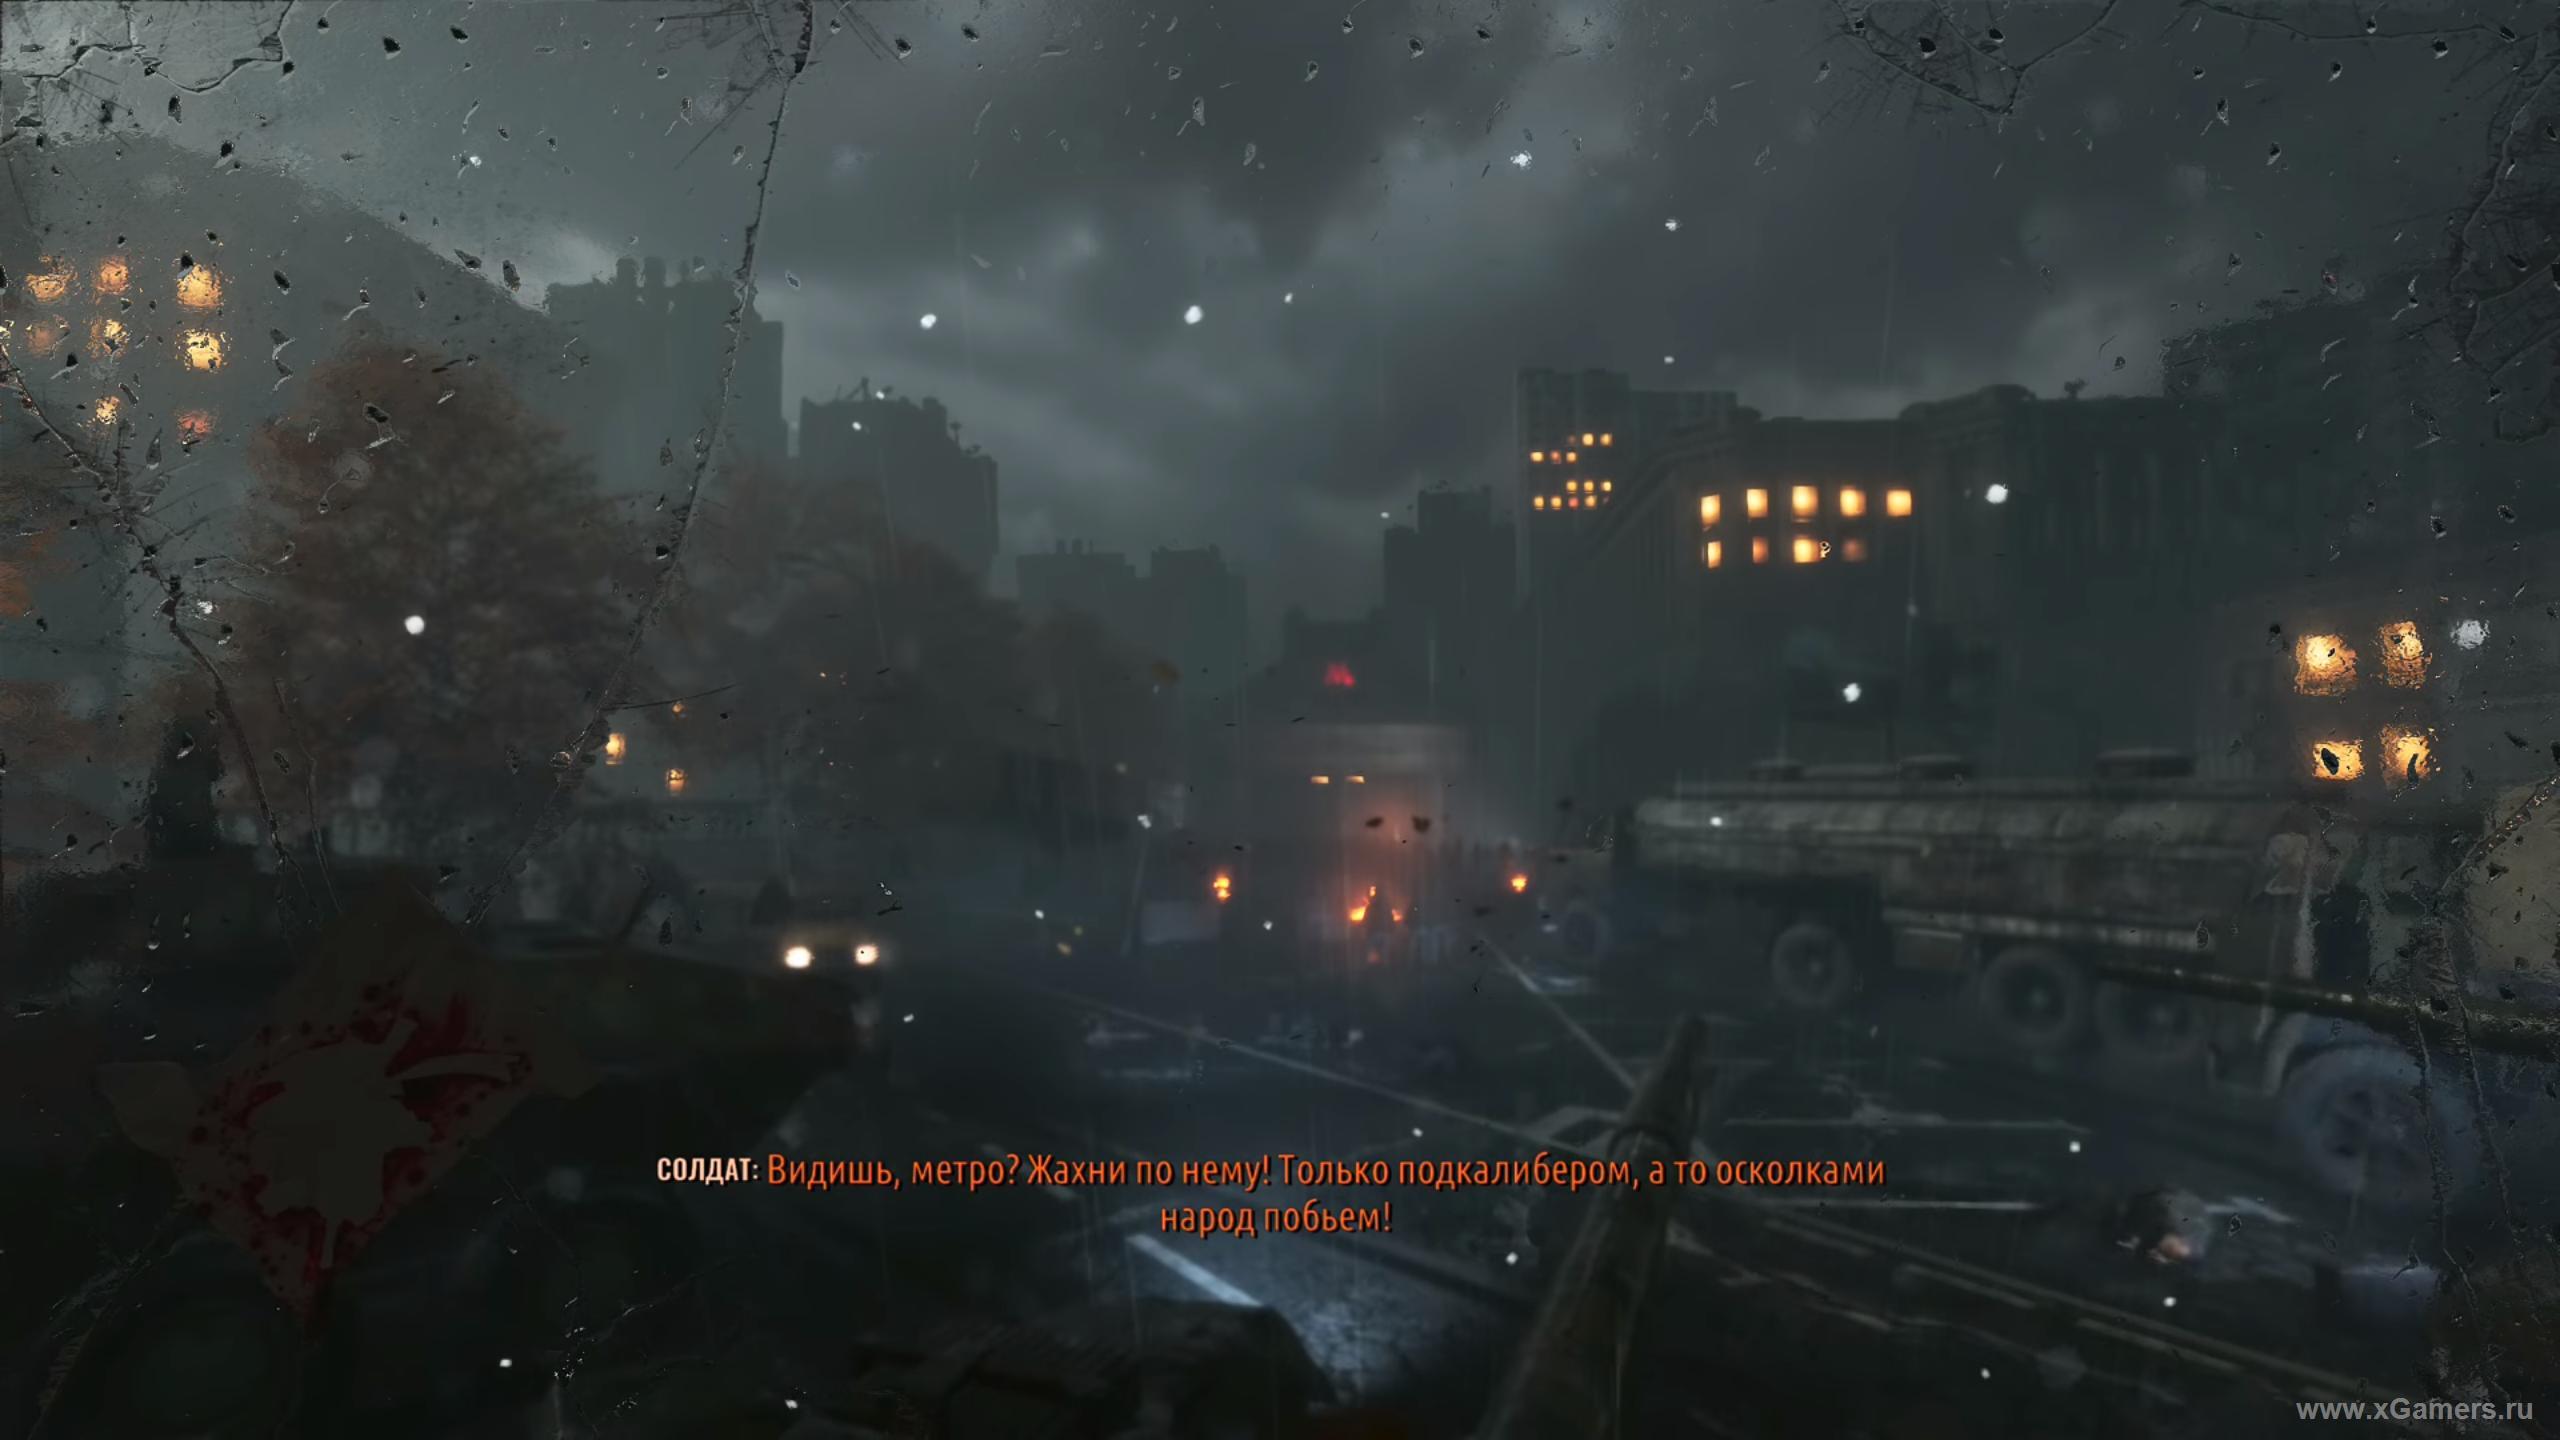
Slide down the BMP. No enemies around here. Turn around, move forward a bit, and grab everything useful from the crates. Pick up the notebook lying next to the corpse.
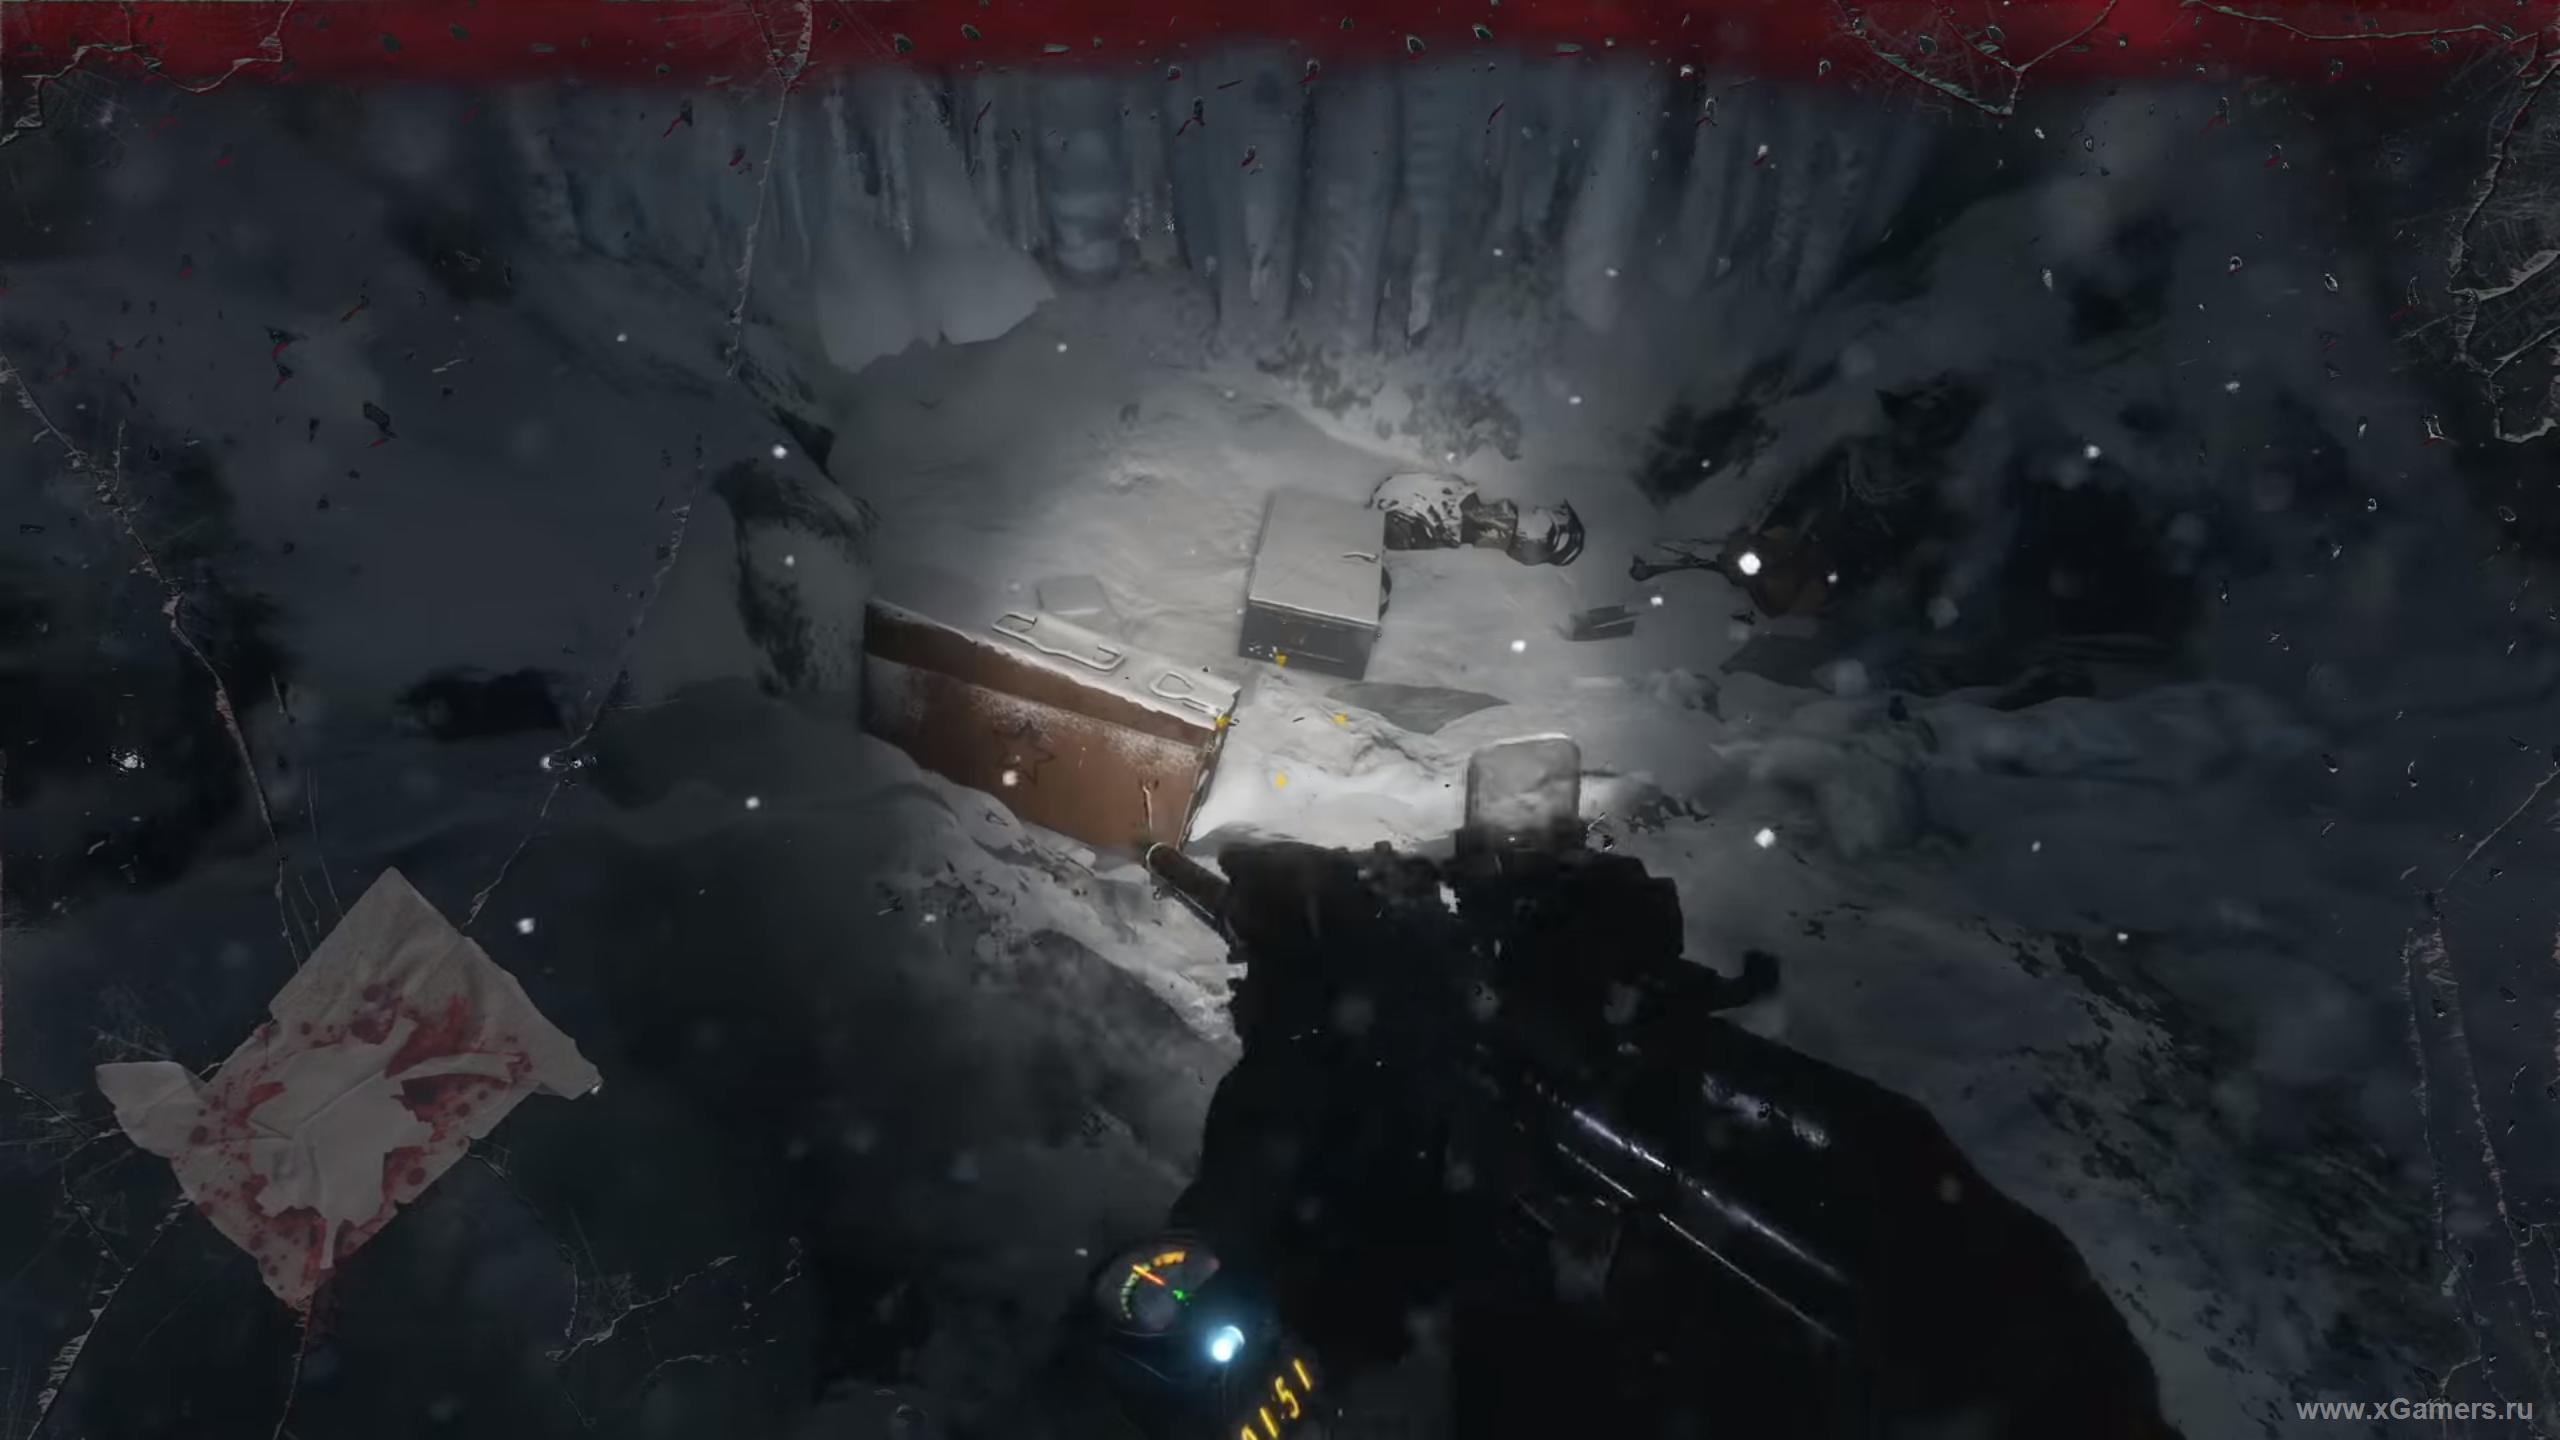
Turn around again and chase after a strange creature. Once you're back on the surface, you'll see the institute right in front of you.
Nobody's inside, so take your time looking around and gathering everything useful. Pass through the room where objects are floating in midair. There's a blockage on the right side near the exit - head there, clear out the metal case, and step onto the roof.
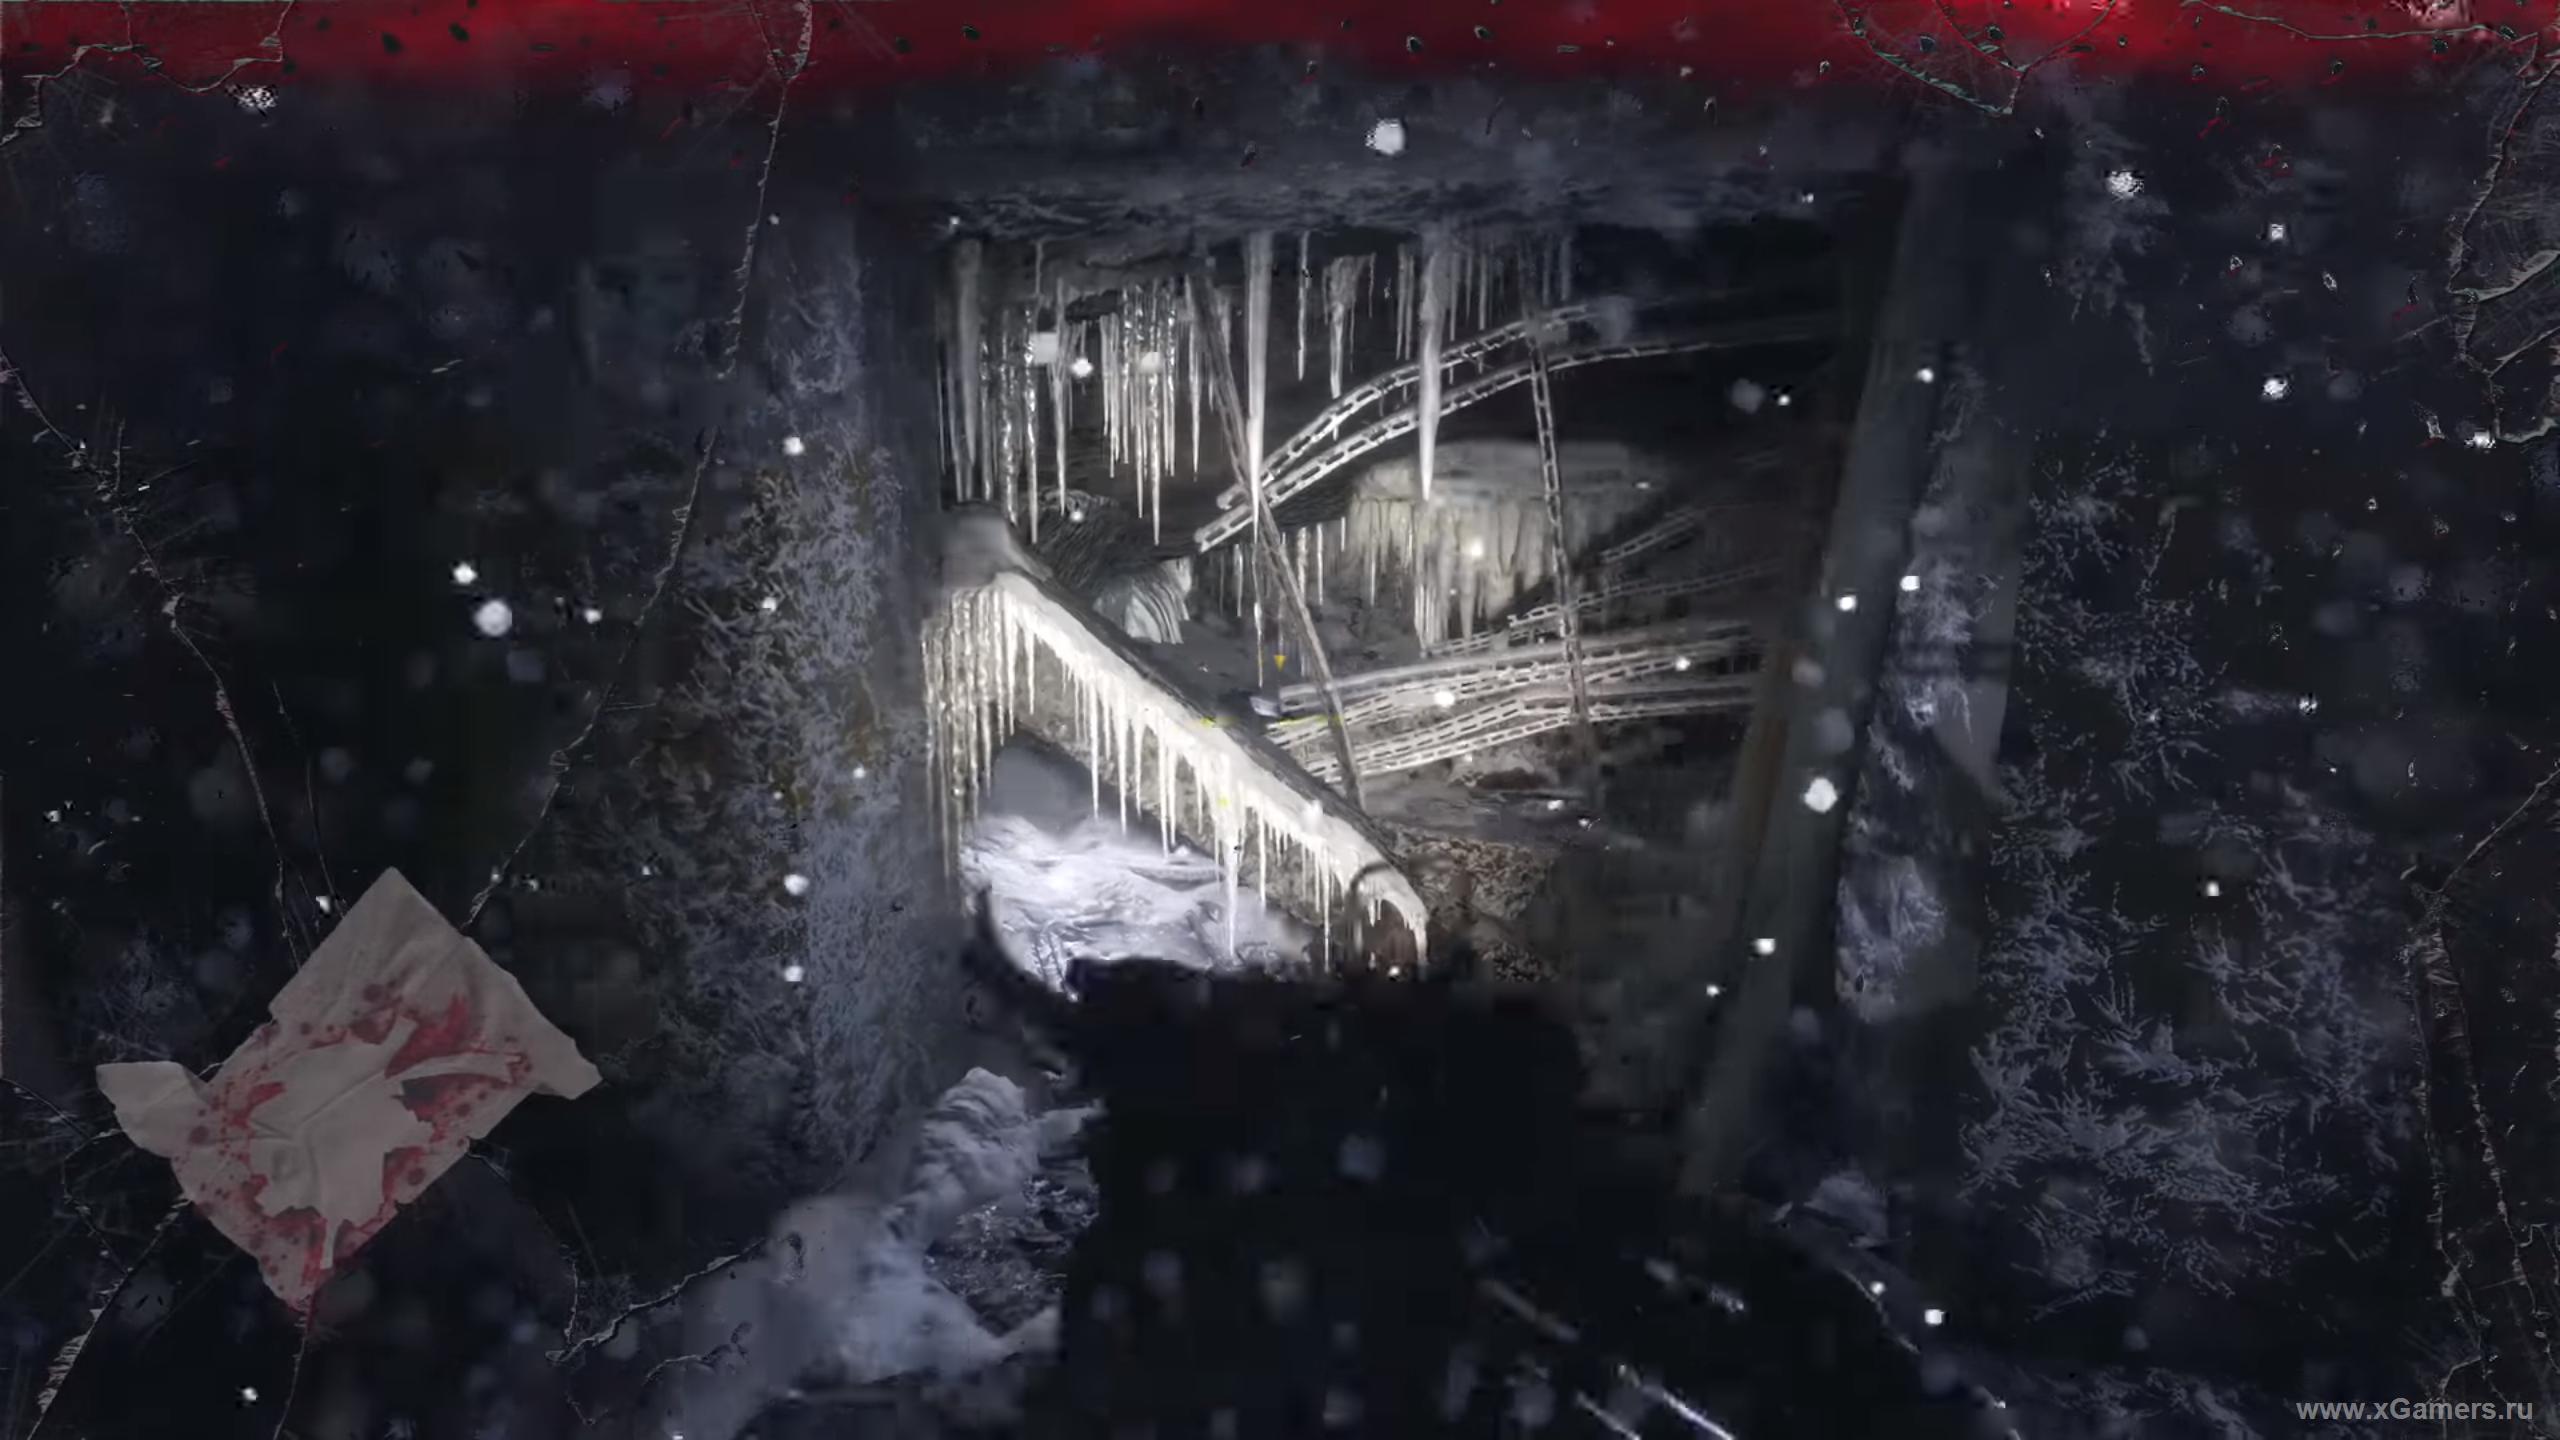
As soon as you get there, a huge blind gorilla attacks. Move slowly and quietly and it won't even notice you. If you'd rather fight, a dozen bursts to the head will reliably put it down for good.
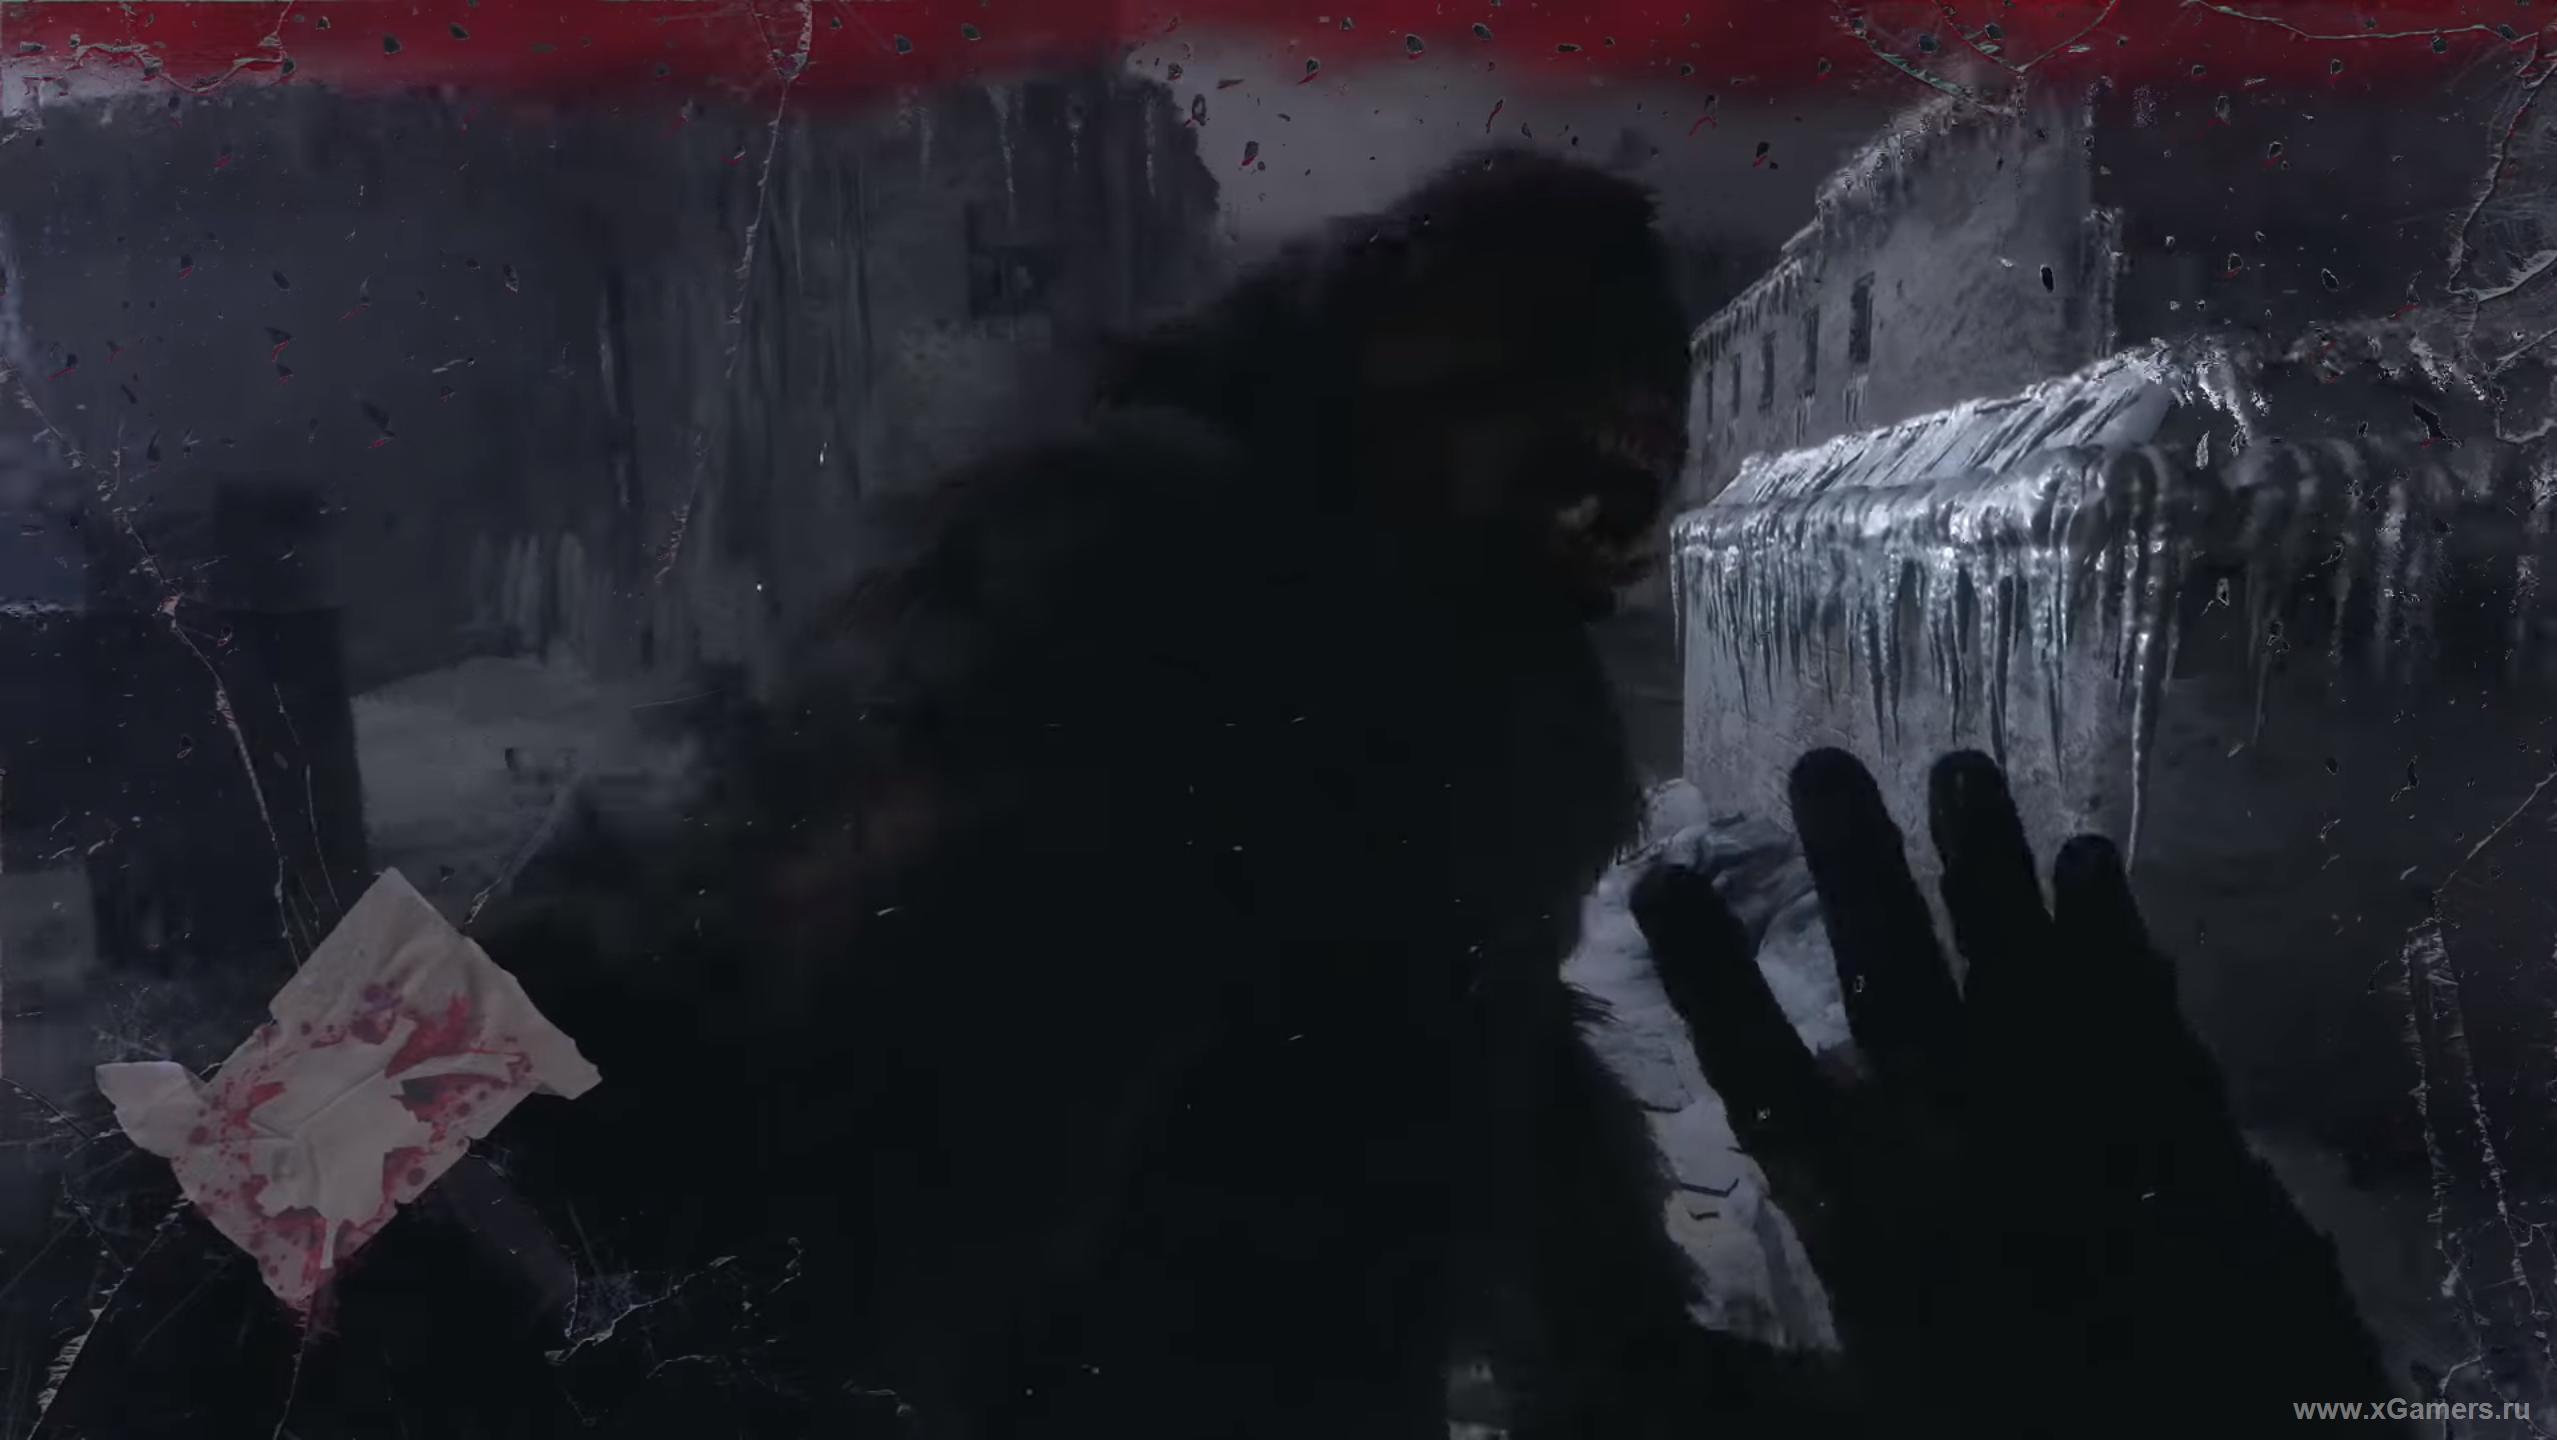
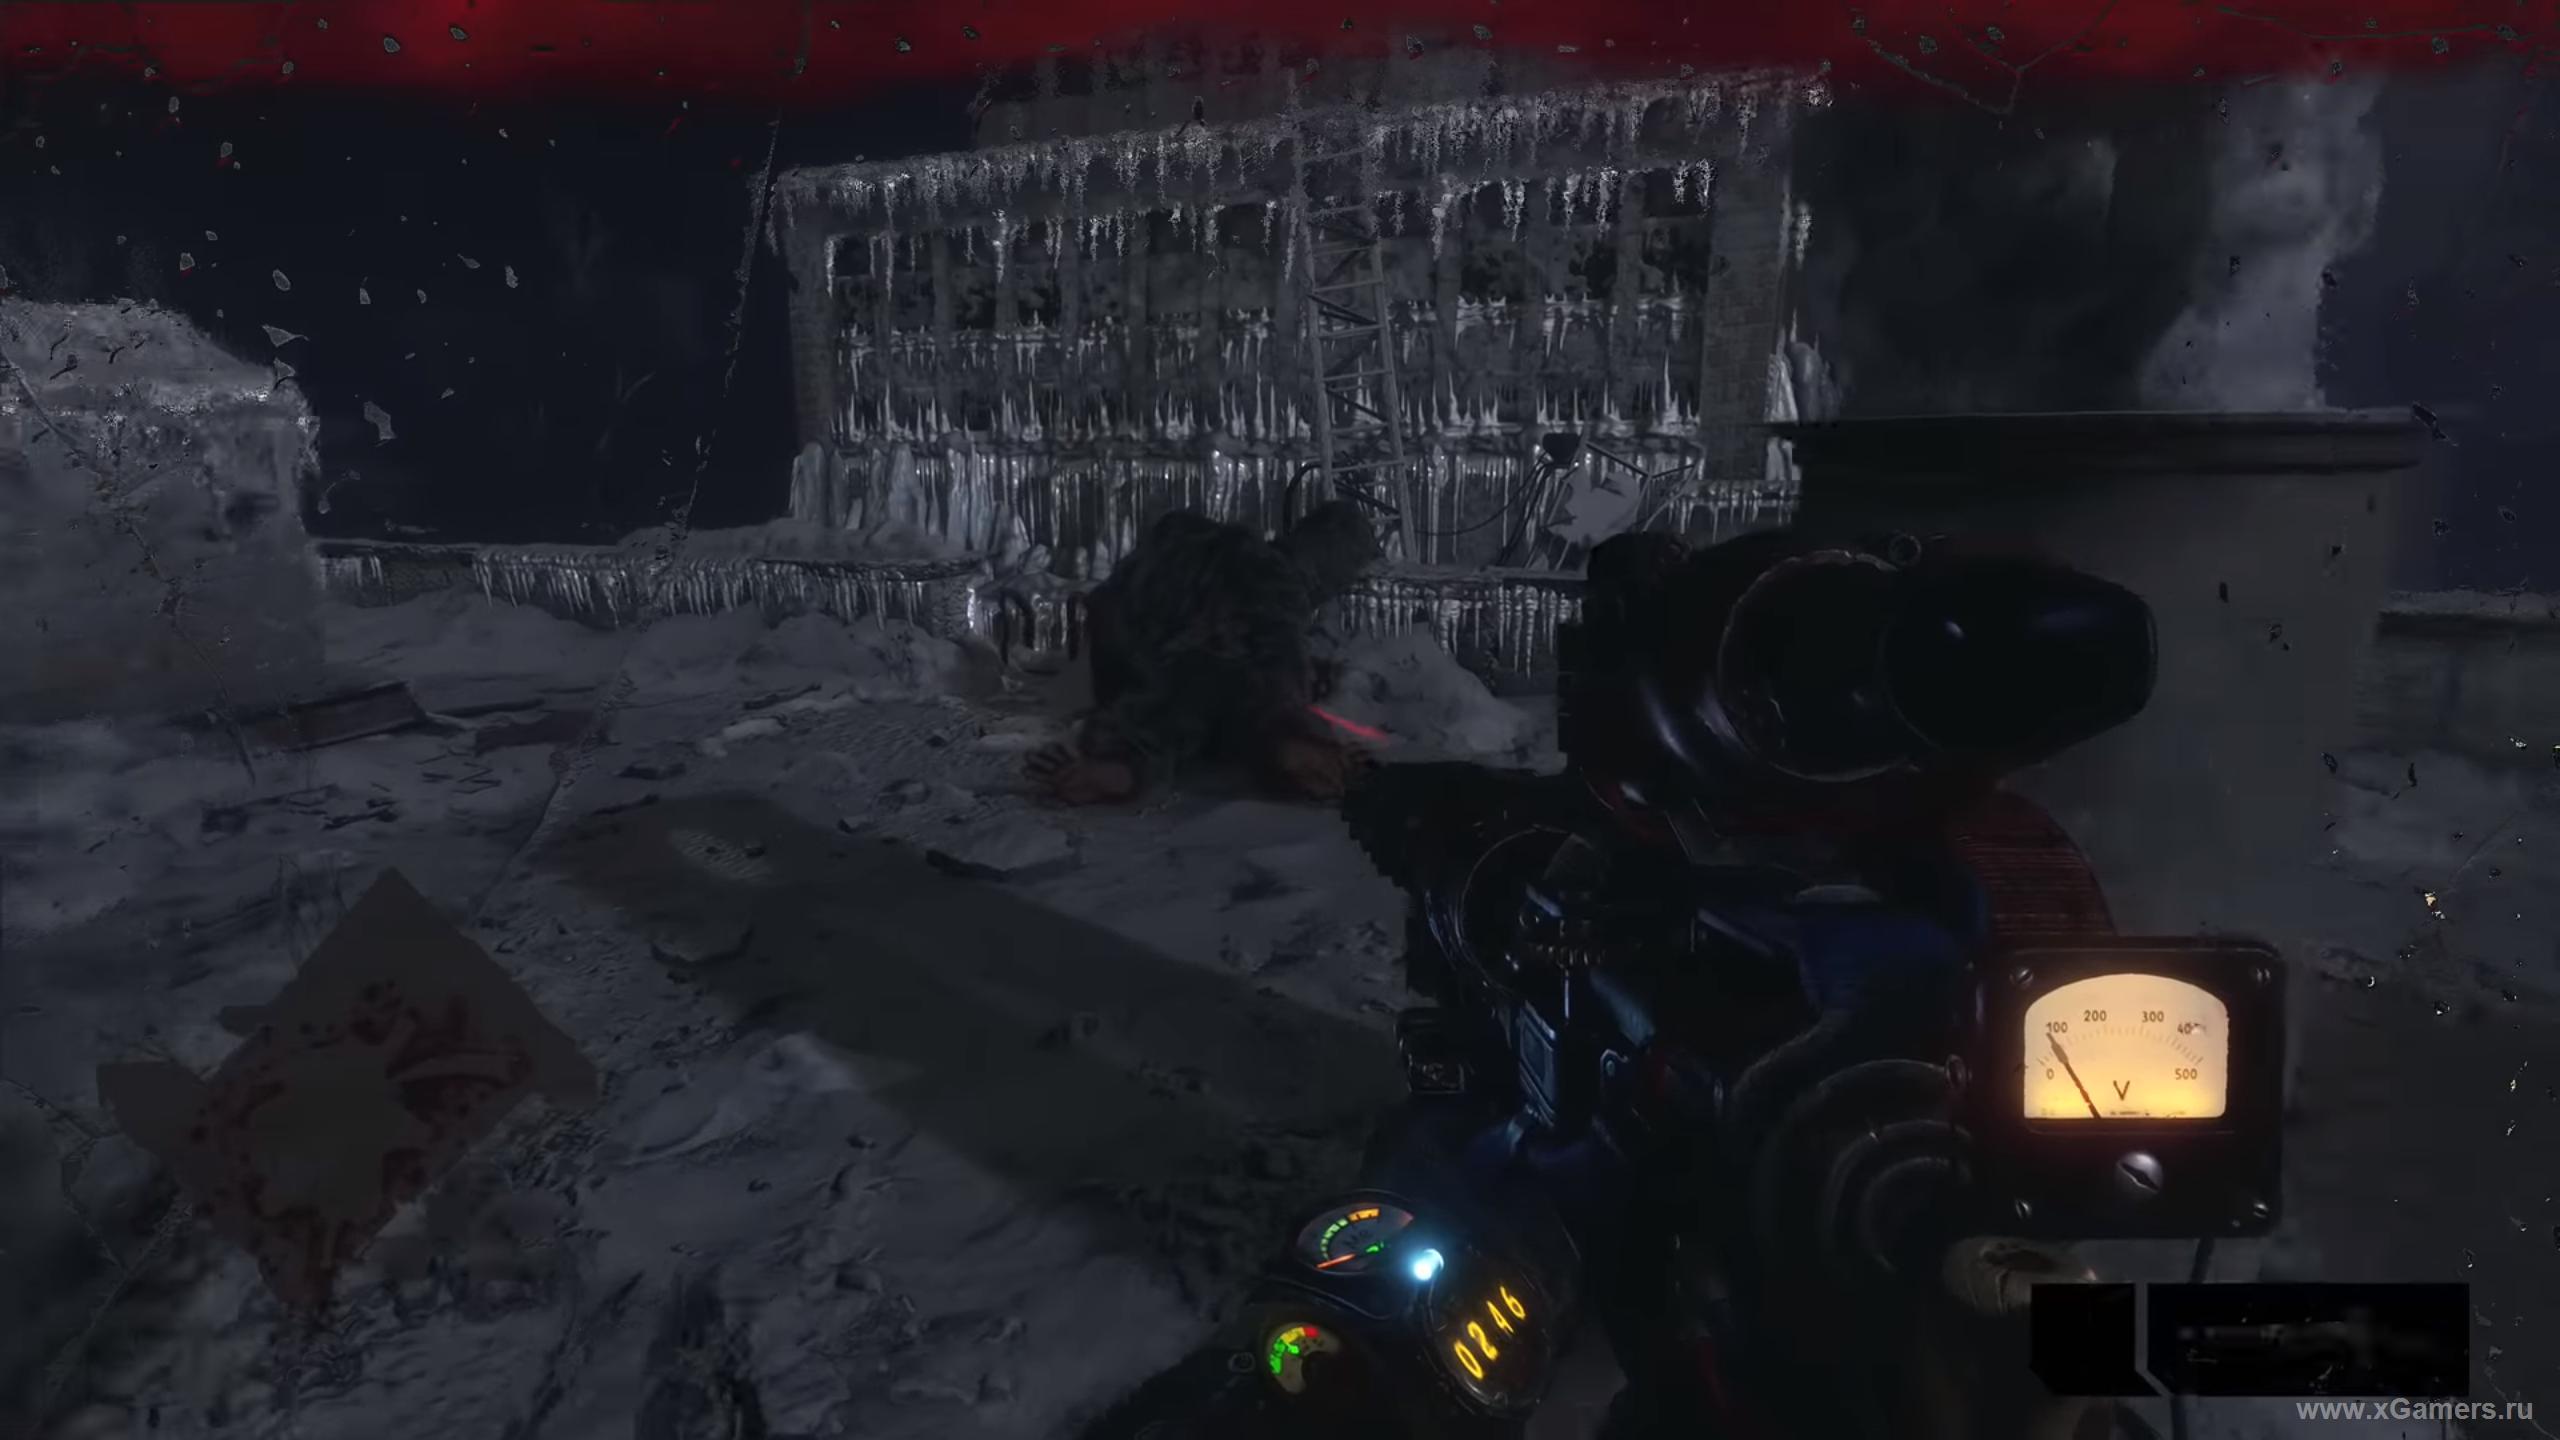
Run past the gorilla through the passage it's blocking - it won't chase you. Then head down to the bottom floor.
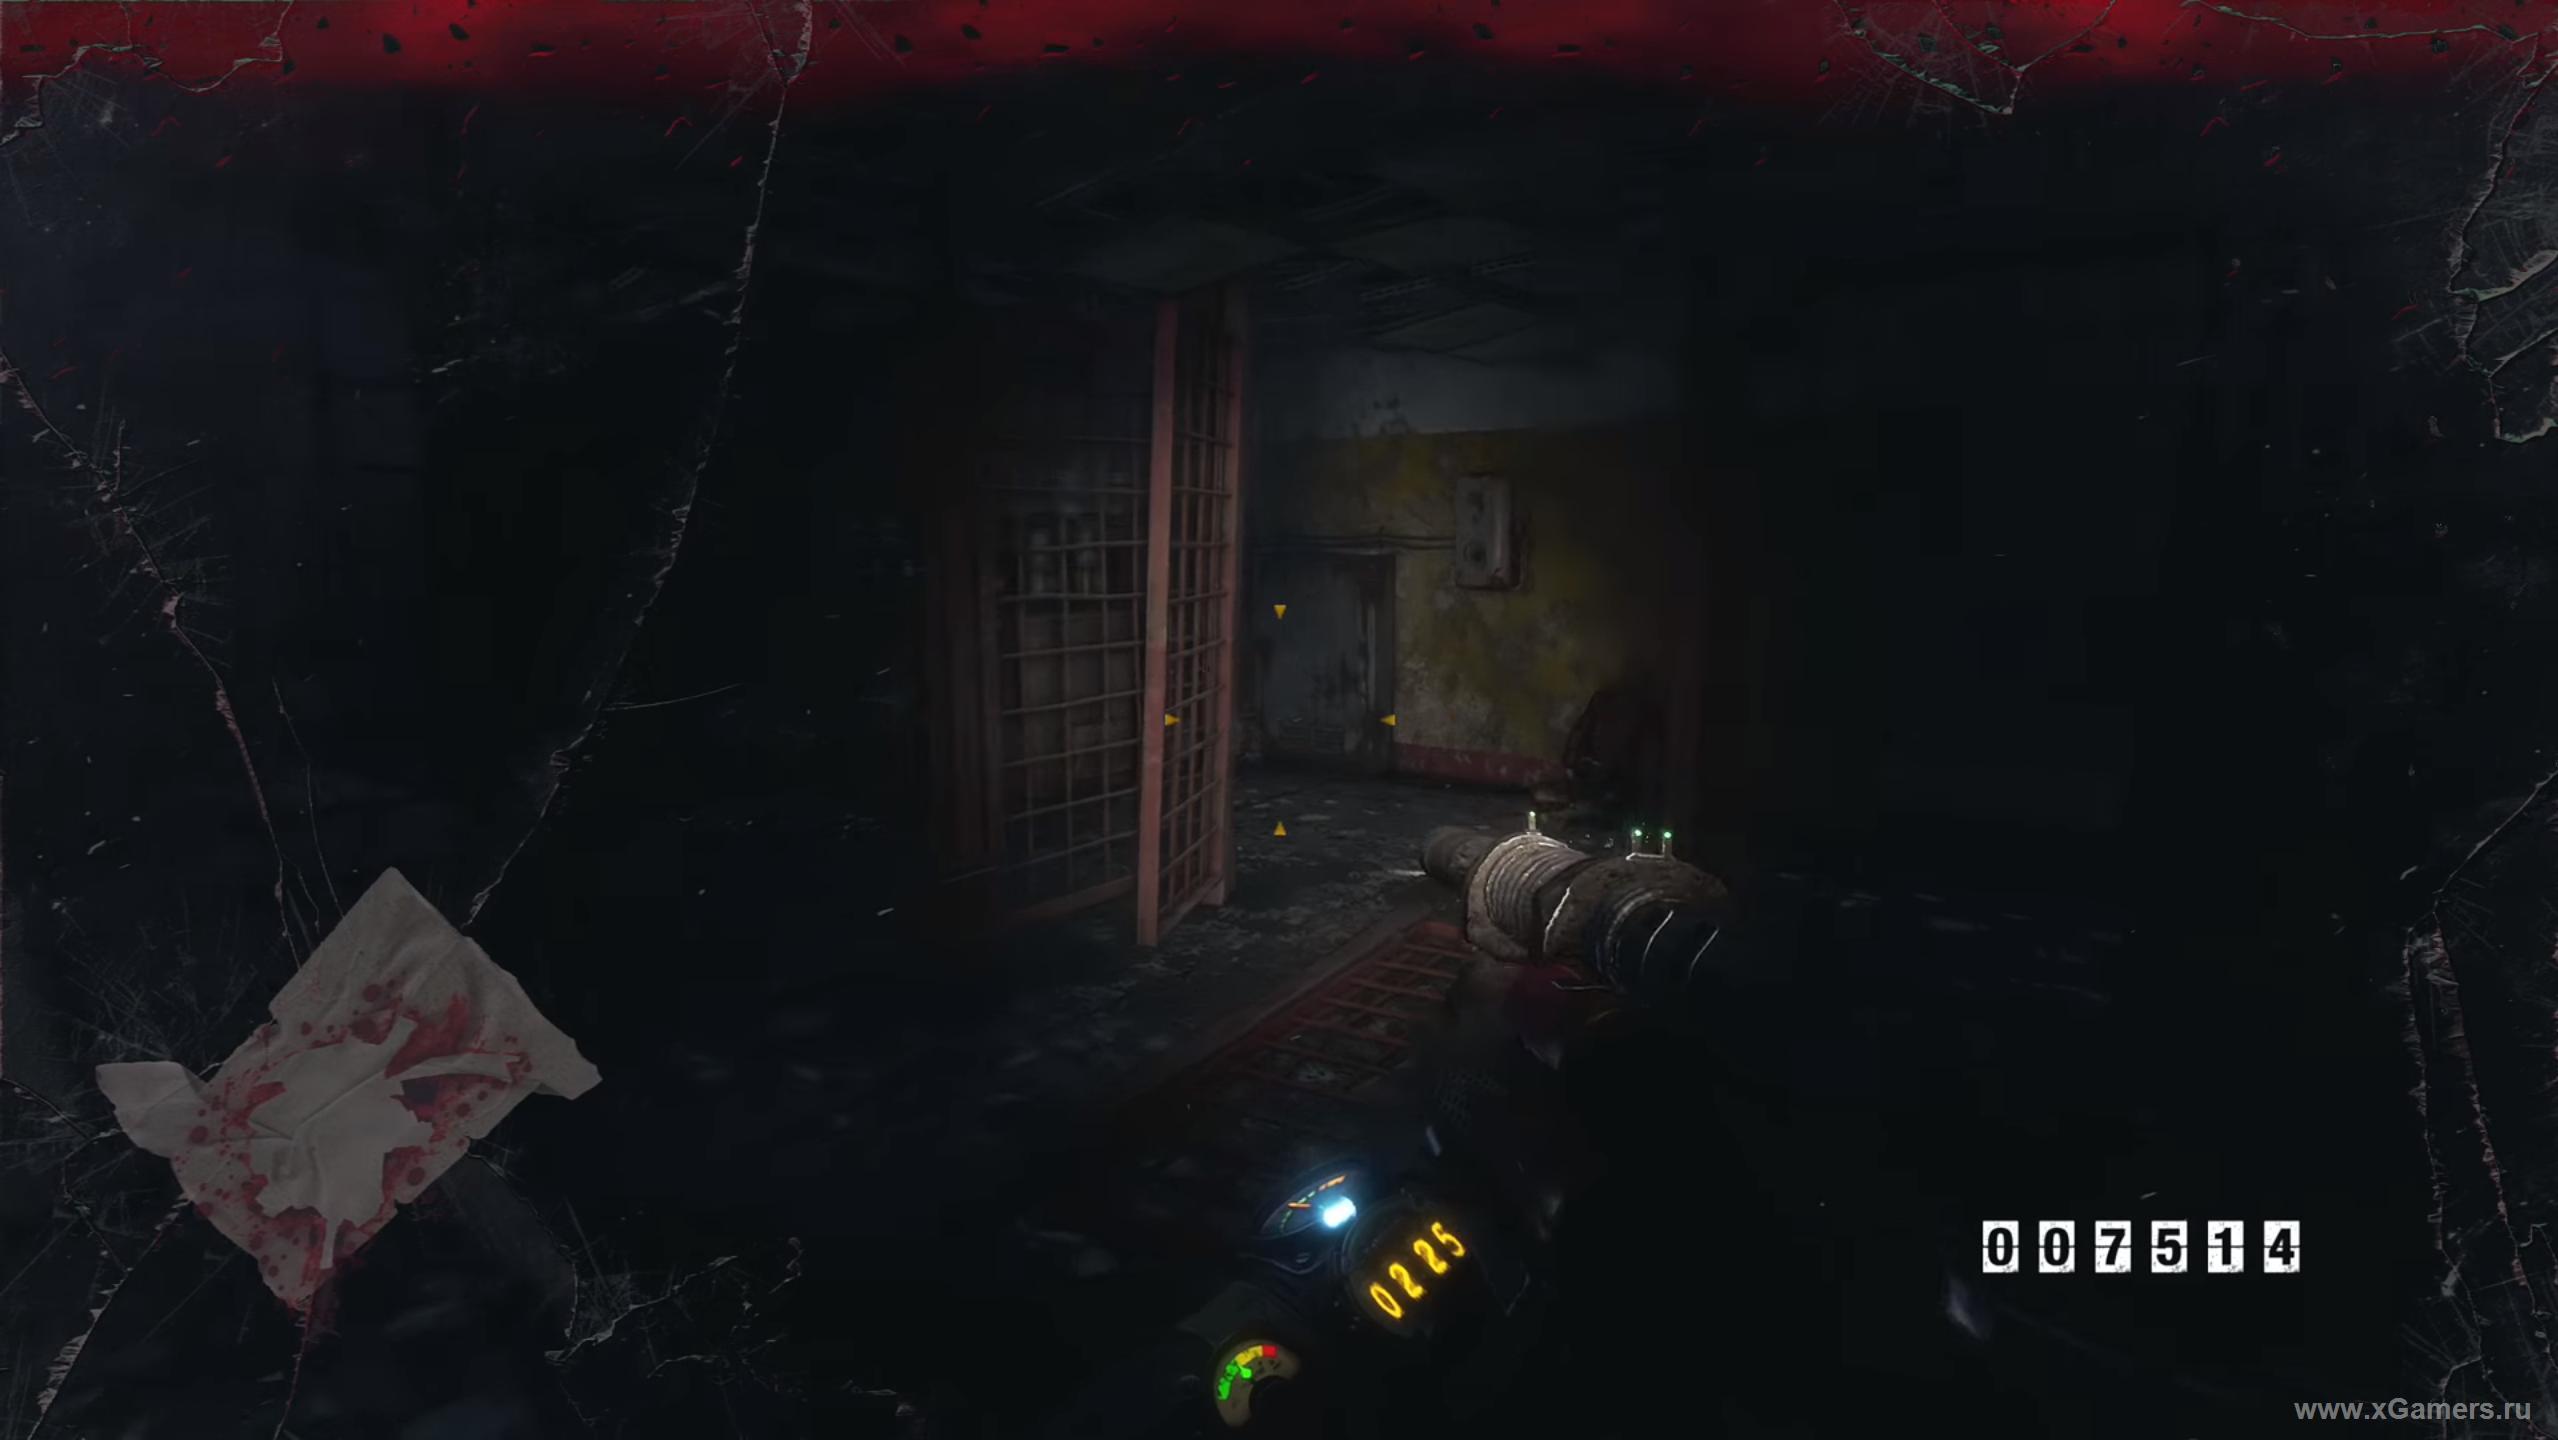
At the far end of the room you'll find a switch. Search everything and turn on the light - another gorilla shows up. You can kill it, but it's easier to just walk around it and continue through the door it came from.
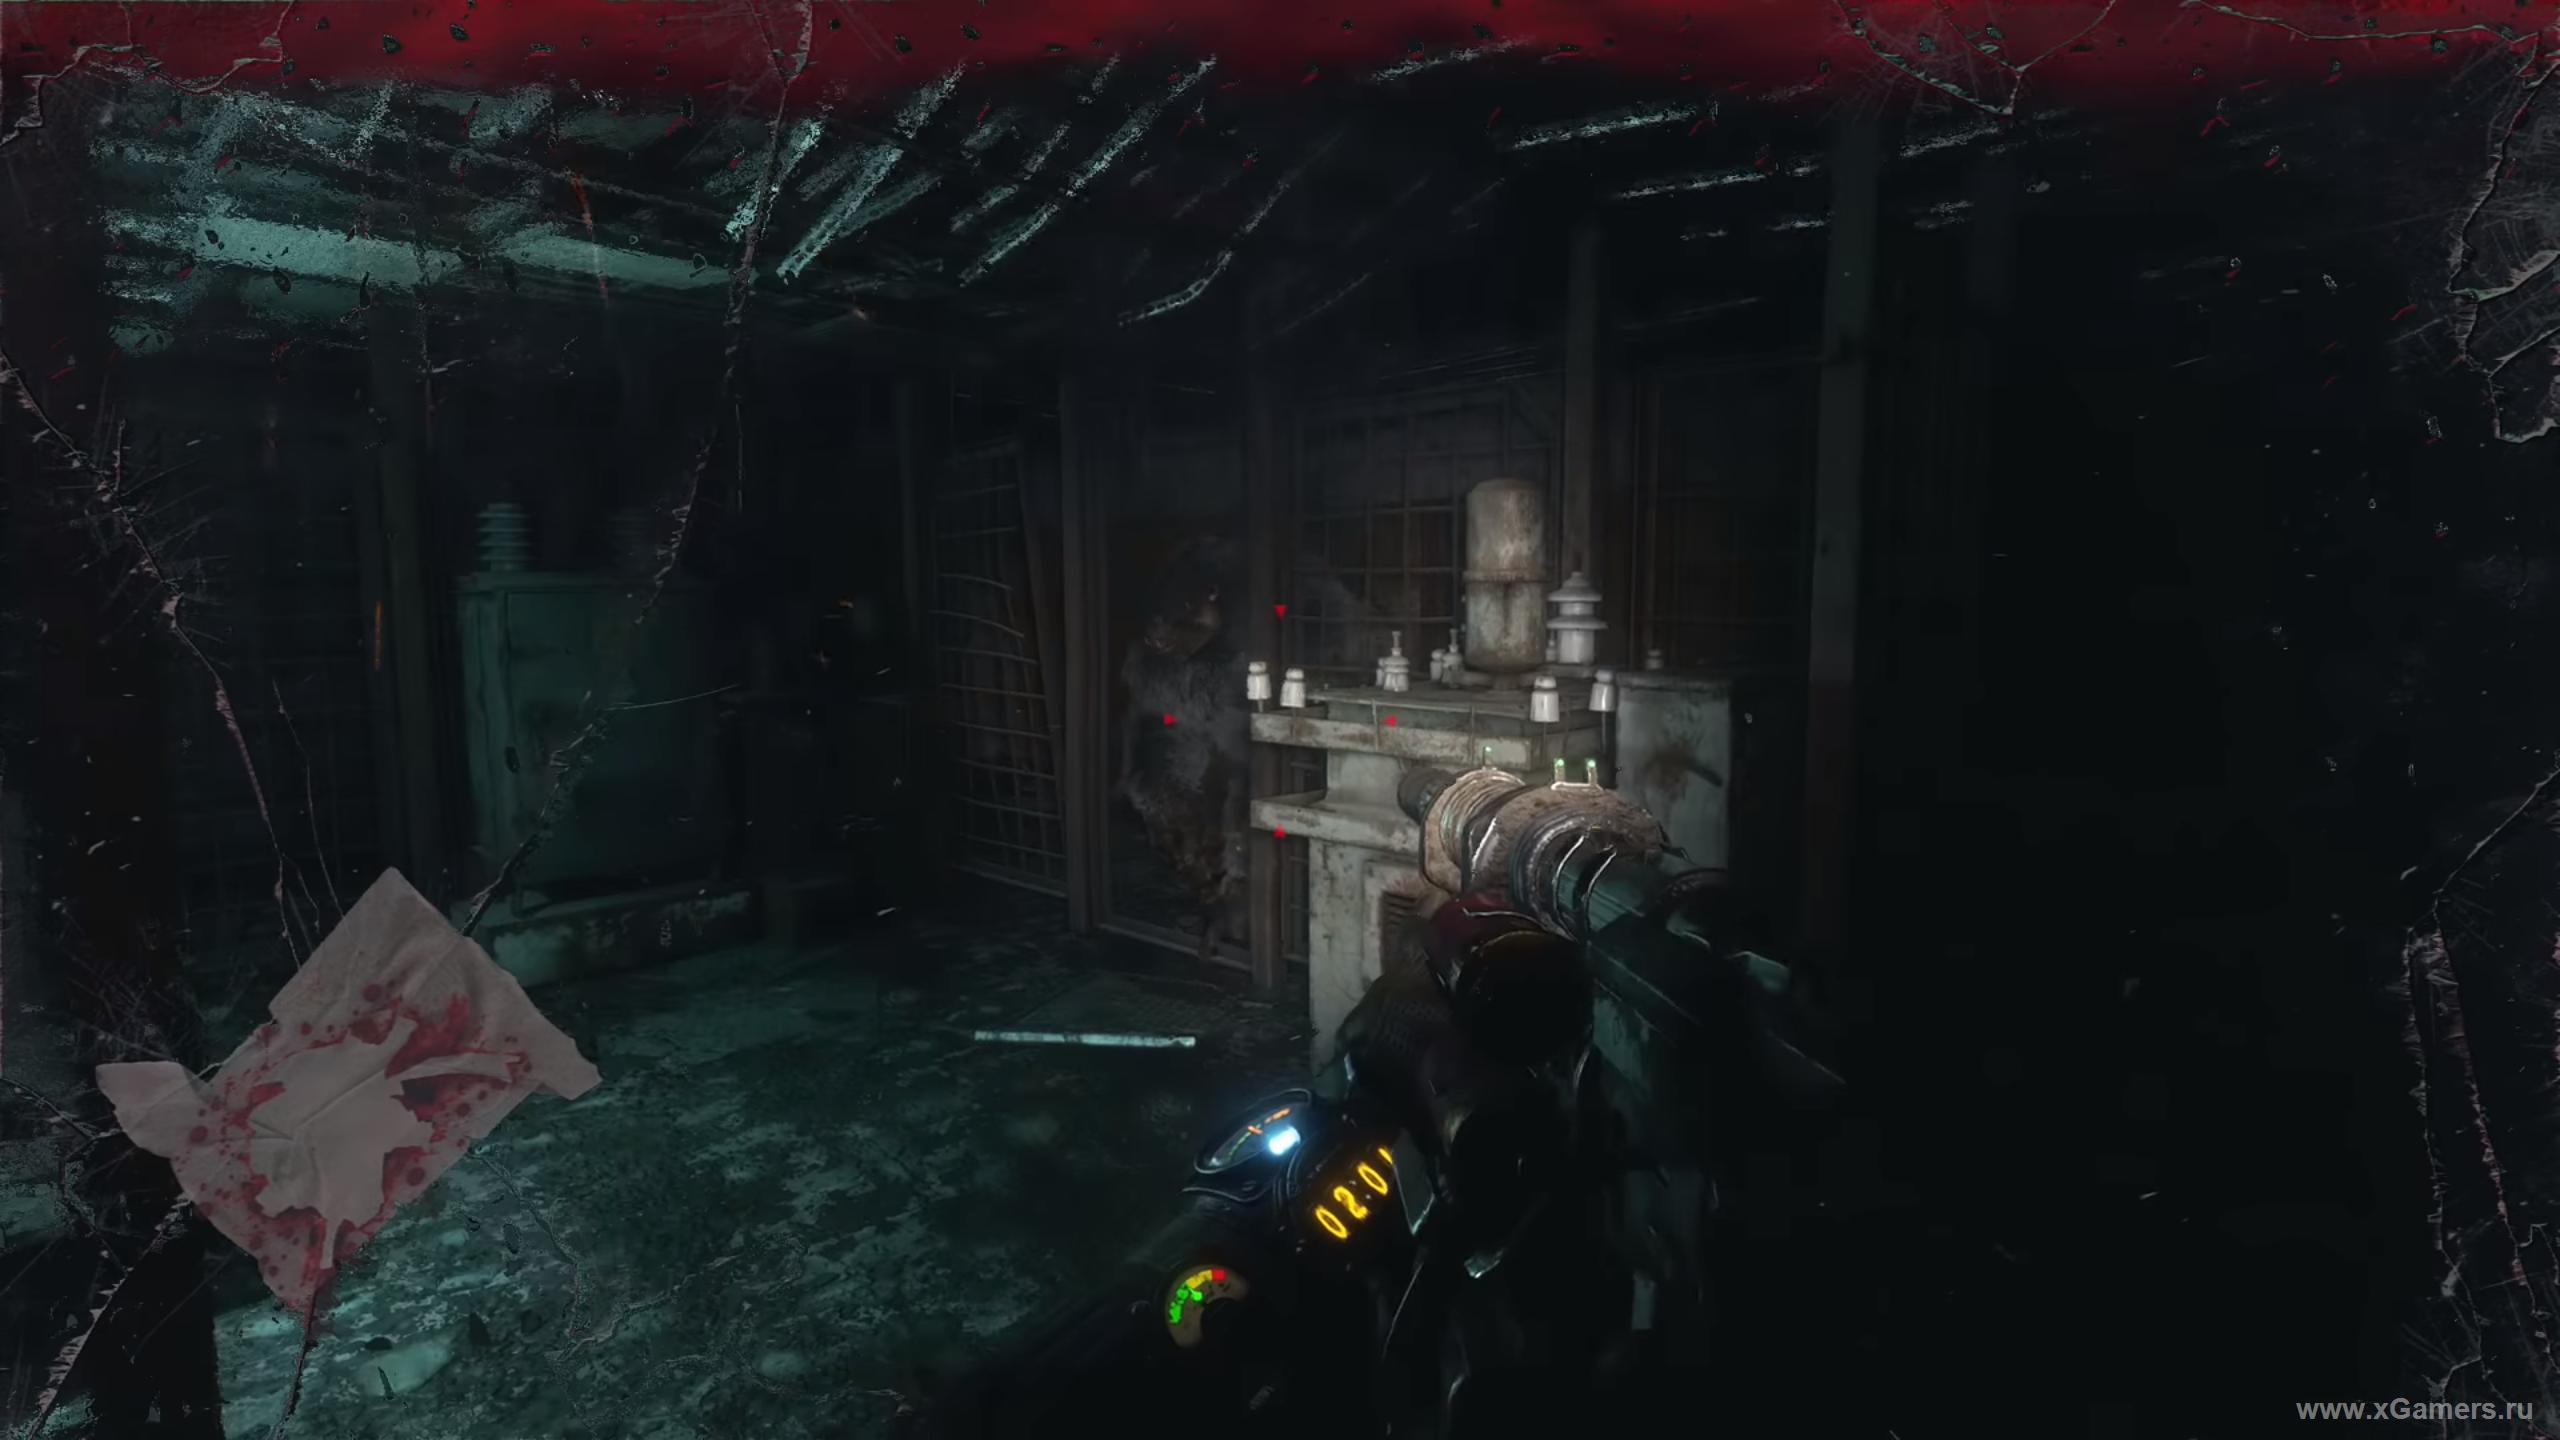
There's another switch near the locked grate on the wall - use it. Another gorilla will be waiting in the next room. Deal with it however you'd like, then head to the elevator.
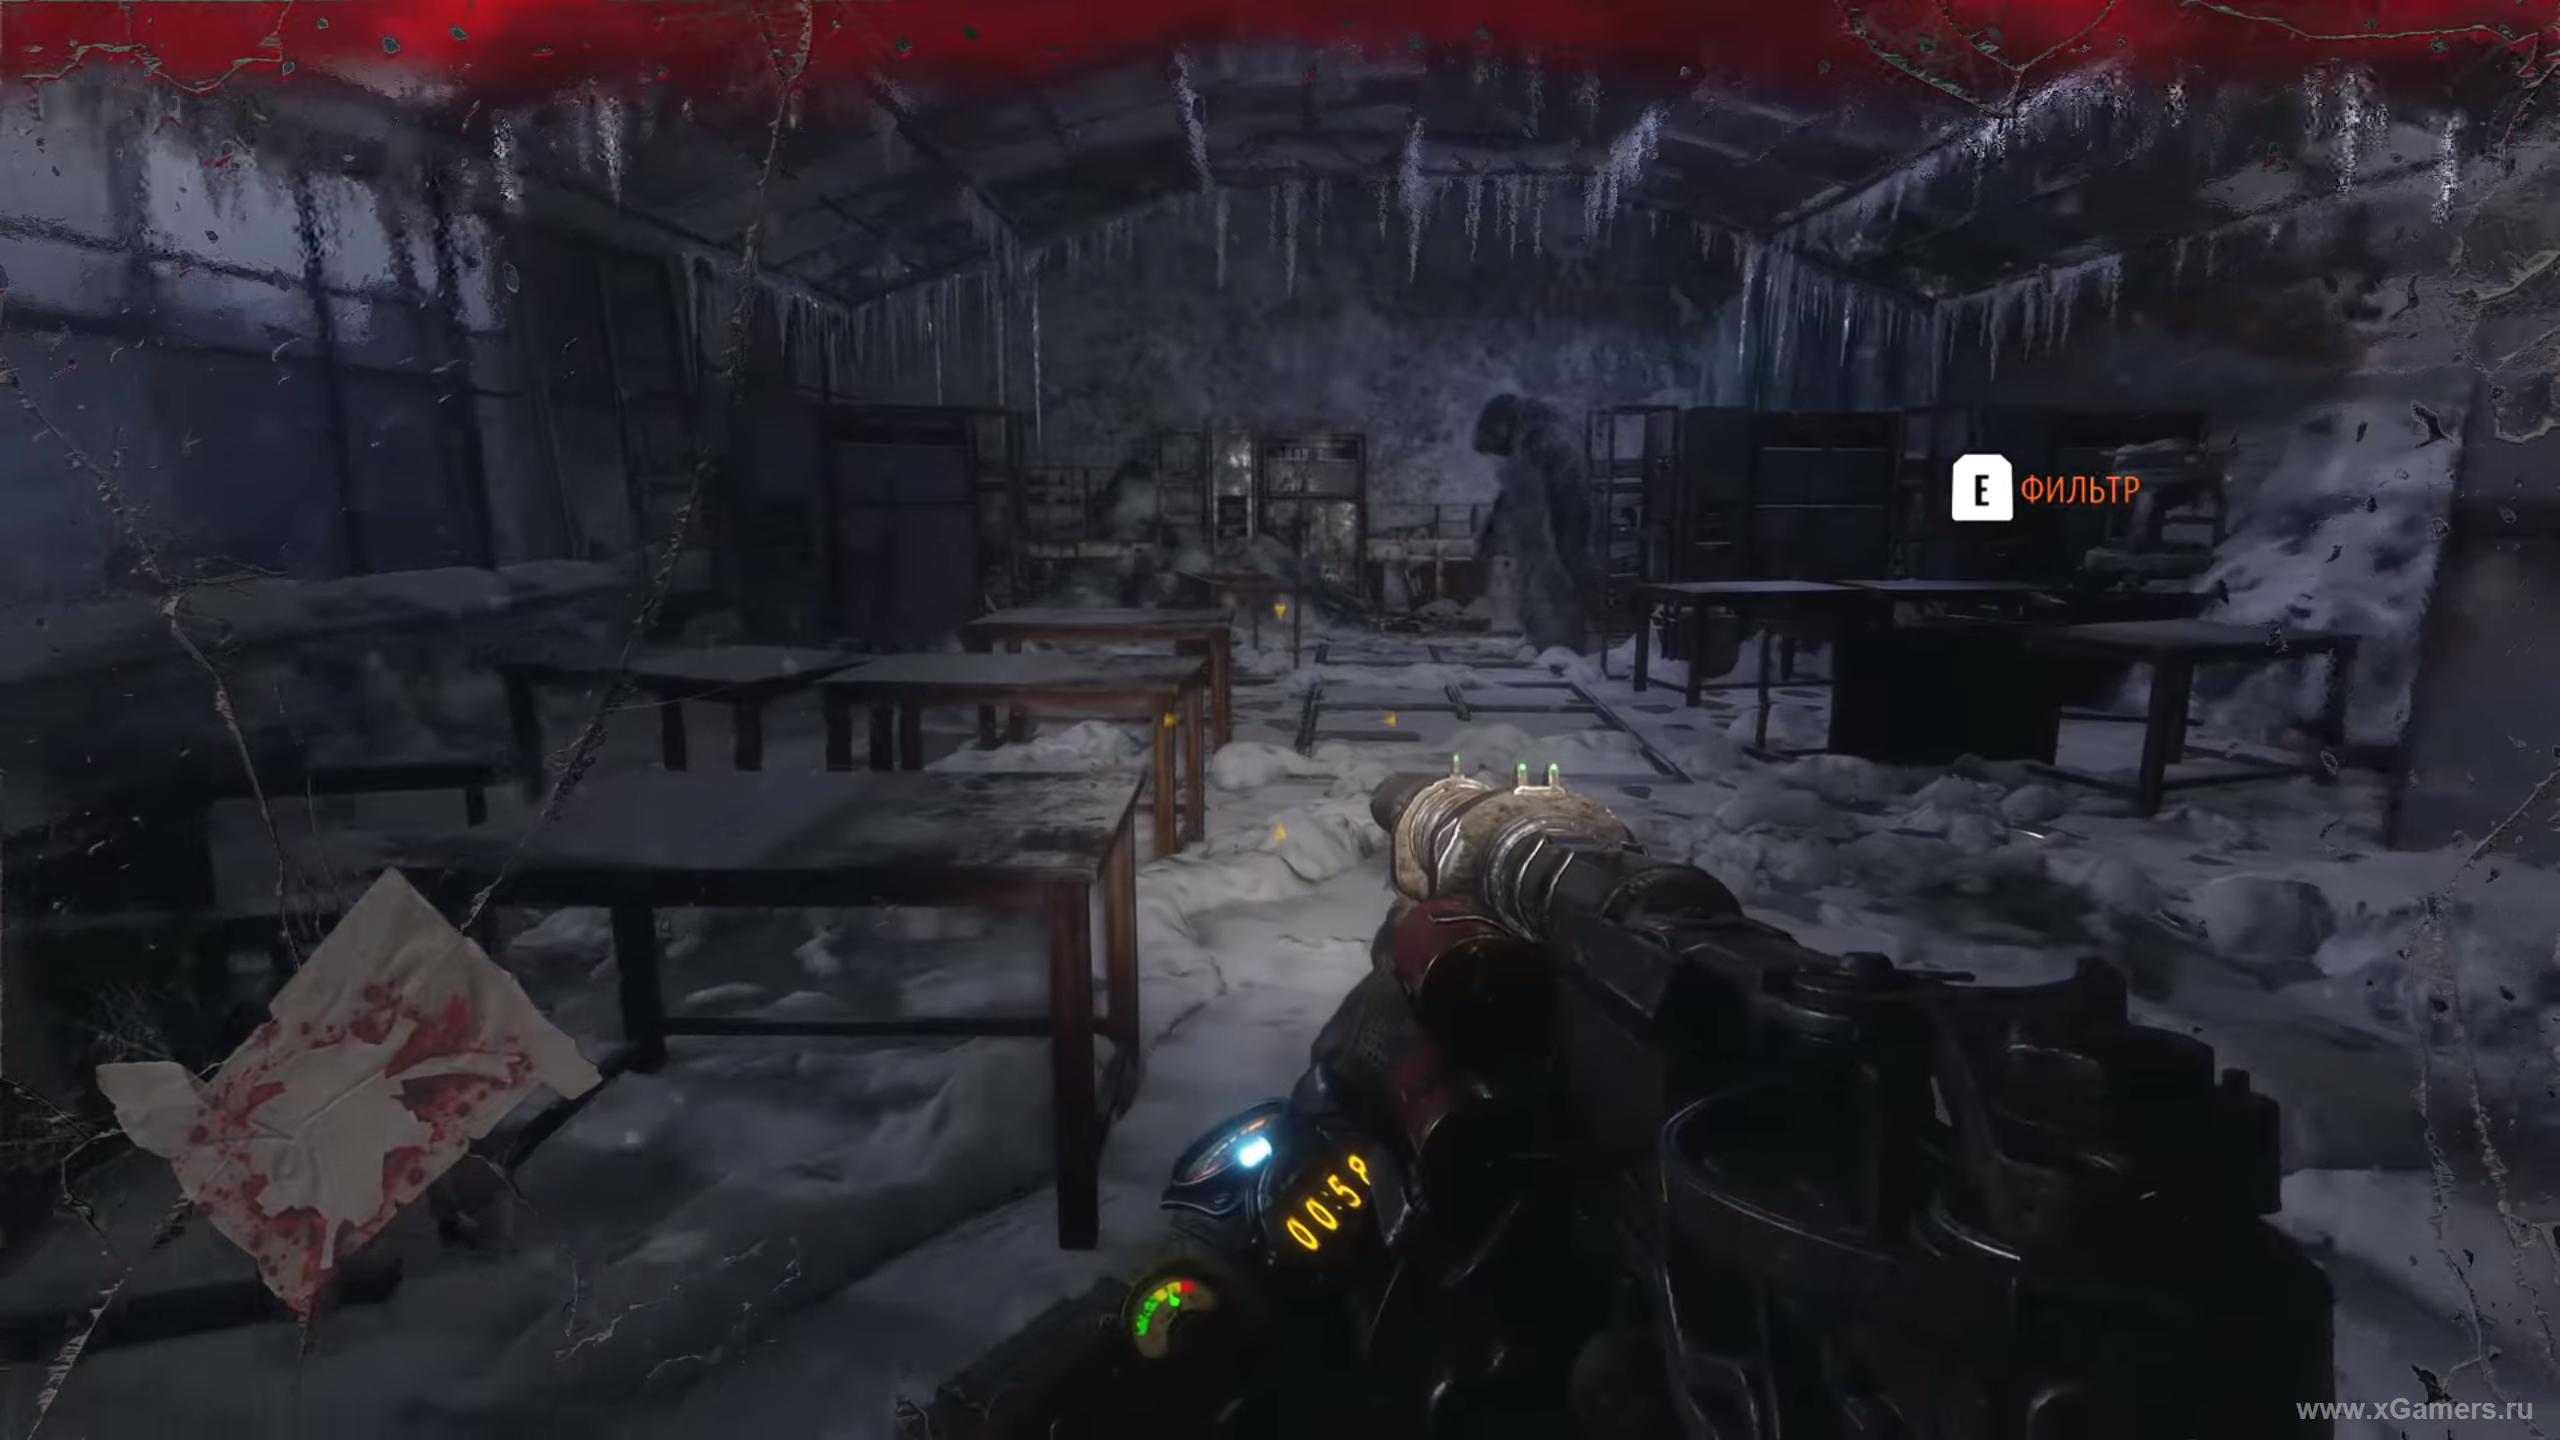
Keep moving and ignore the hallucinations. Once you're on the floor above, grab everything useful off the racks, then pass through the opening in the wall into the corridor connecting to another building in the complex.
After another round of vivid hallucinations, head downstairs - there's another gorilla waiting in the cluttered room. The stairs you need are on the right. Head down a floor and follow the corridor - there's a supply list on the medical cart in front of the passage, so grab it. Push through the ongoing hallucinations and make your way into the large hall. Gorillas occupy both levels of this room, so stay sharp. There's no need to fight them at all - just run around them. Your target is a switch on the right side. Once you've flipped it, climb the central staircase to the room's second level. There's another switch near a pile of bones - use that one too. This unlocks the exit from the hall. Just run without looking back, and eventually the monsters will stop chasing you.
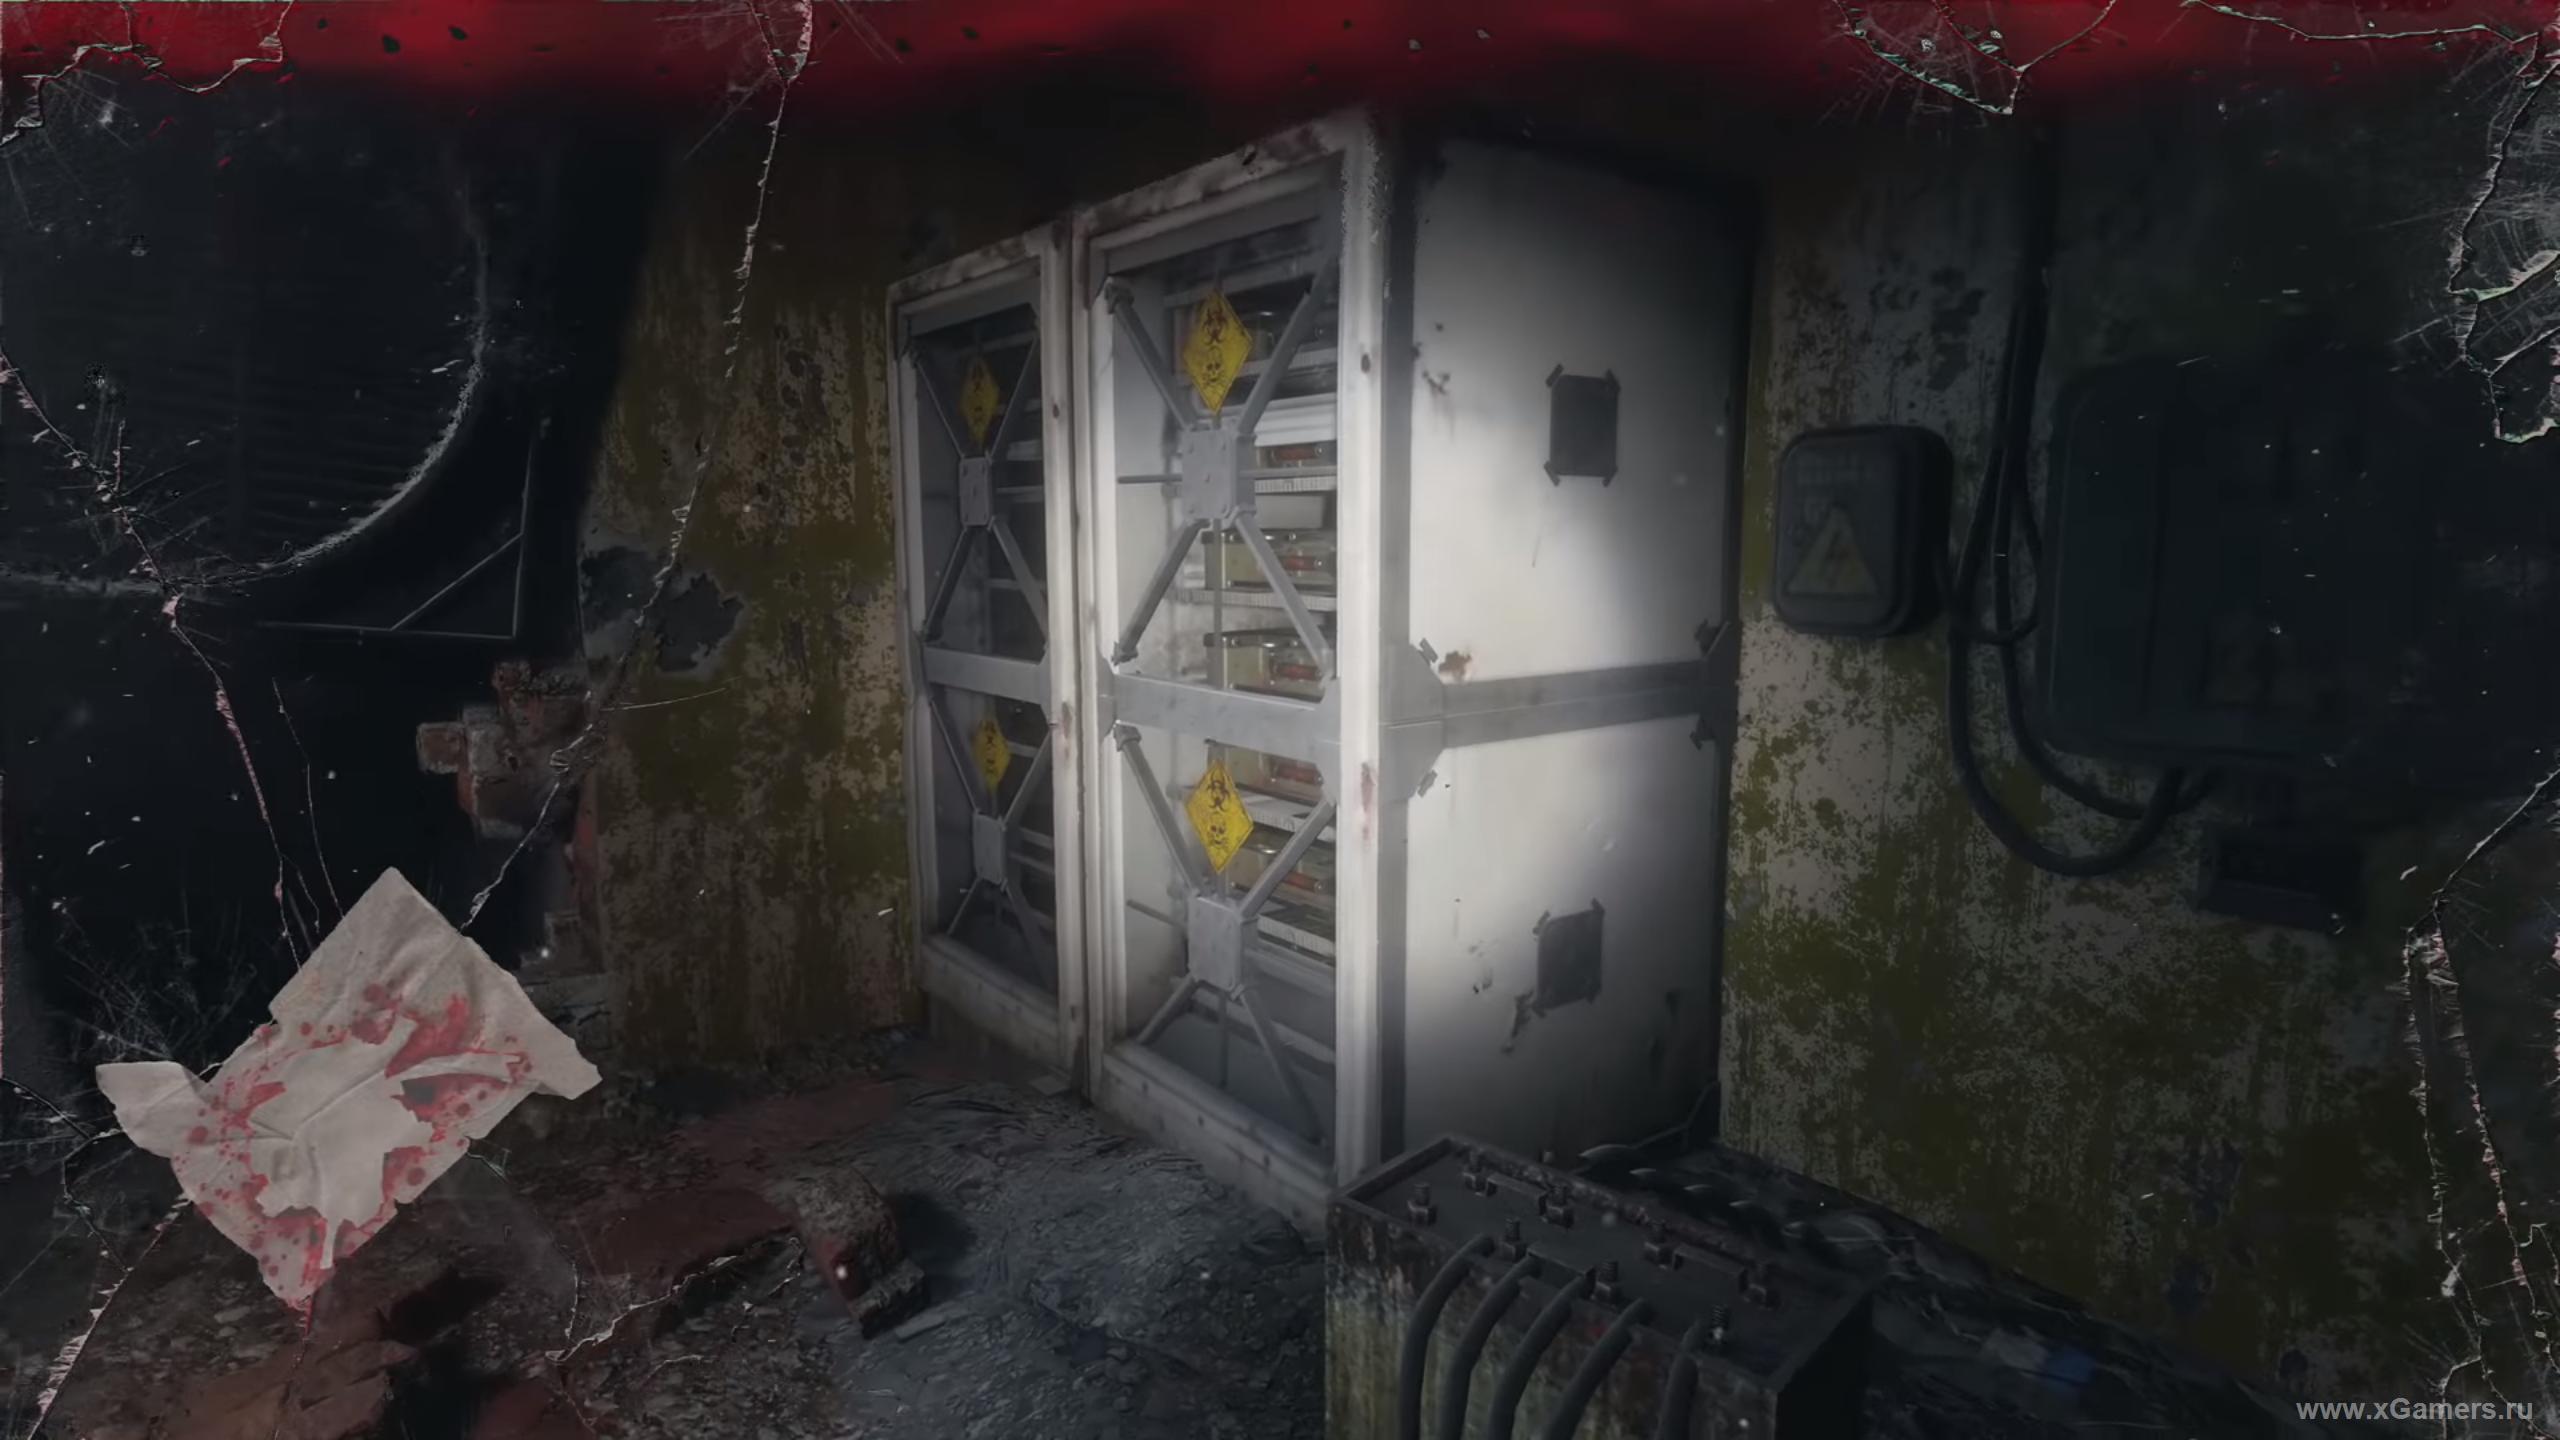
You're almost done. Head to the elevator, then to the floor where the warehouse holding the medicine you need is located. The moment you grab the small green case, the last gorilla attacks - just hit the lit-up buttons and watch Artyom fight through it with everything he's got left.
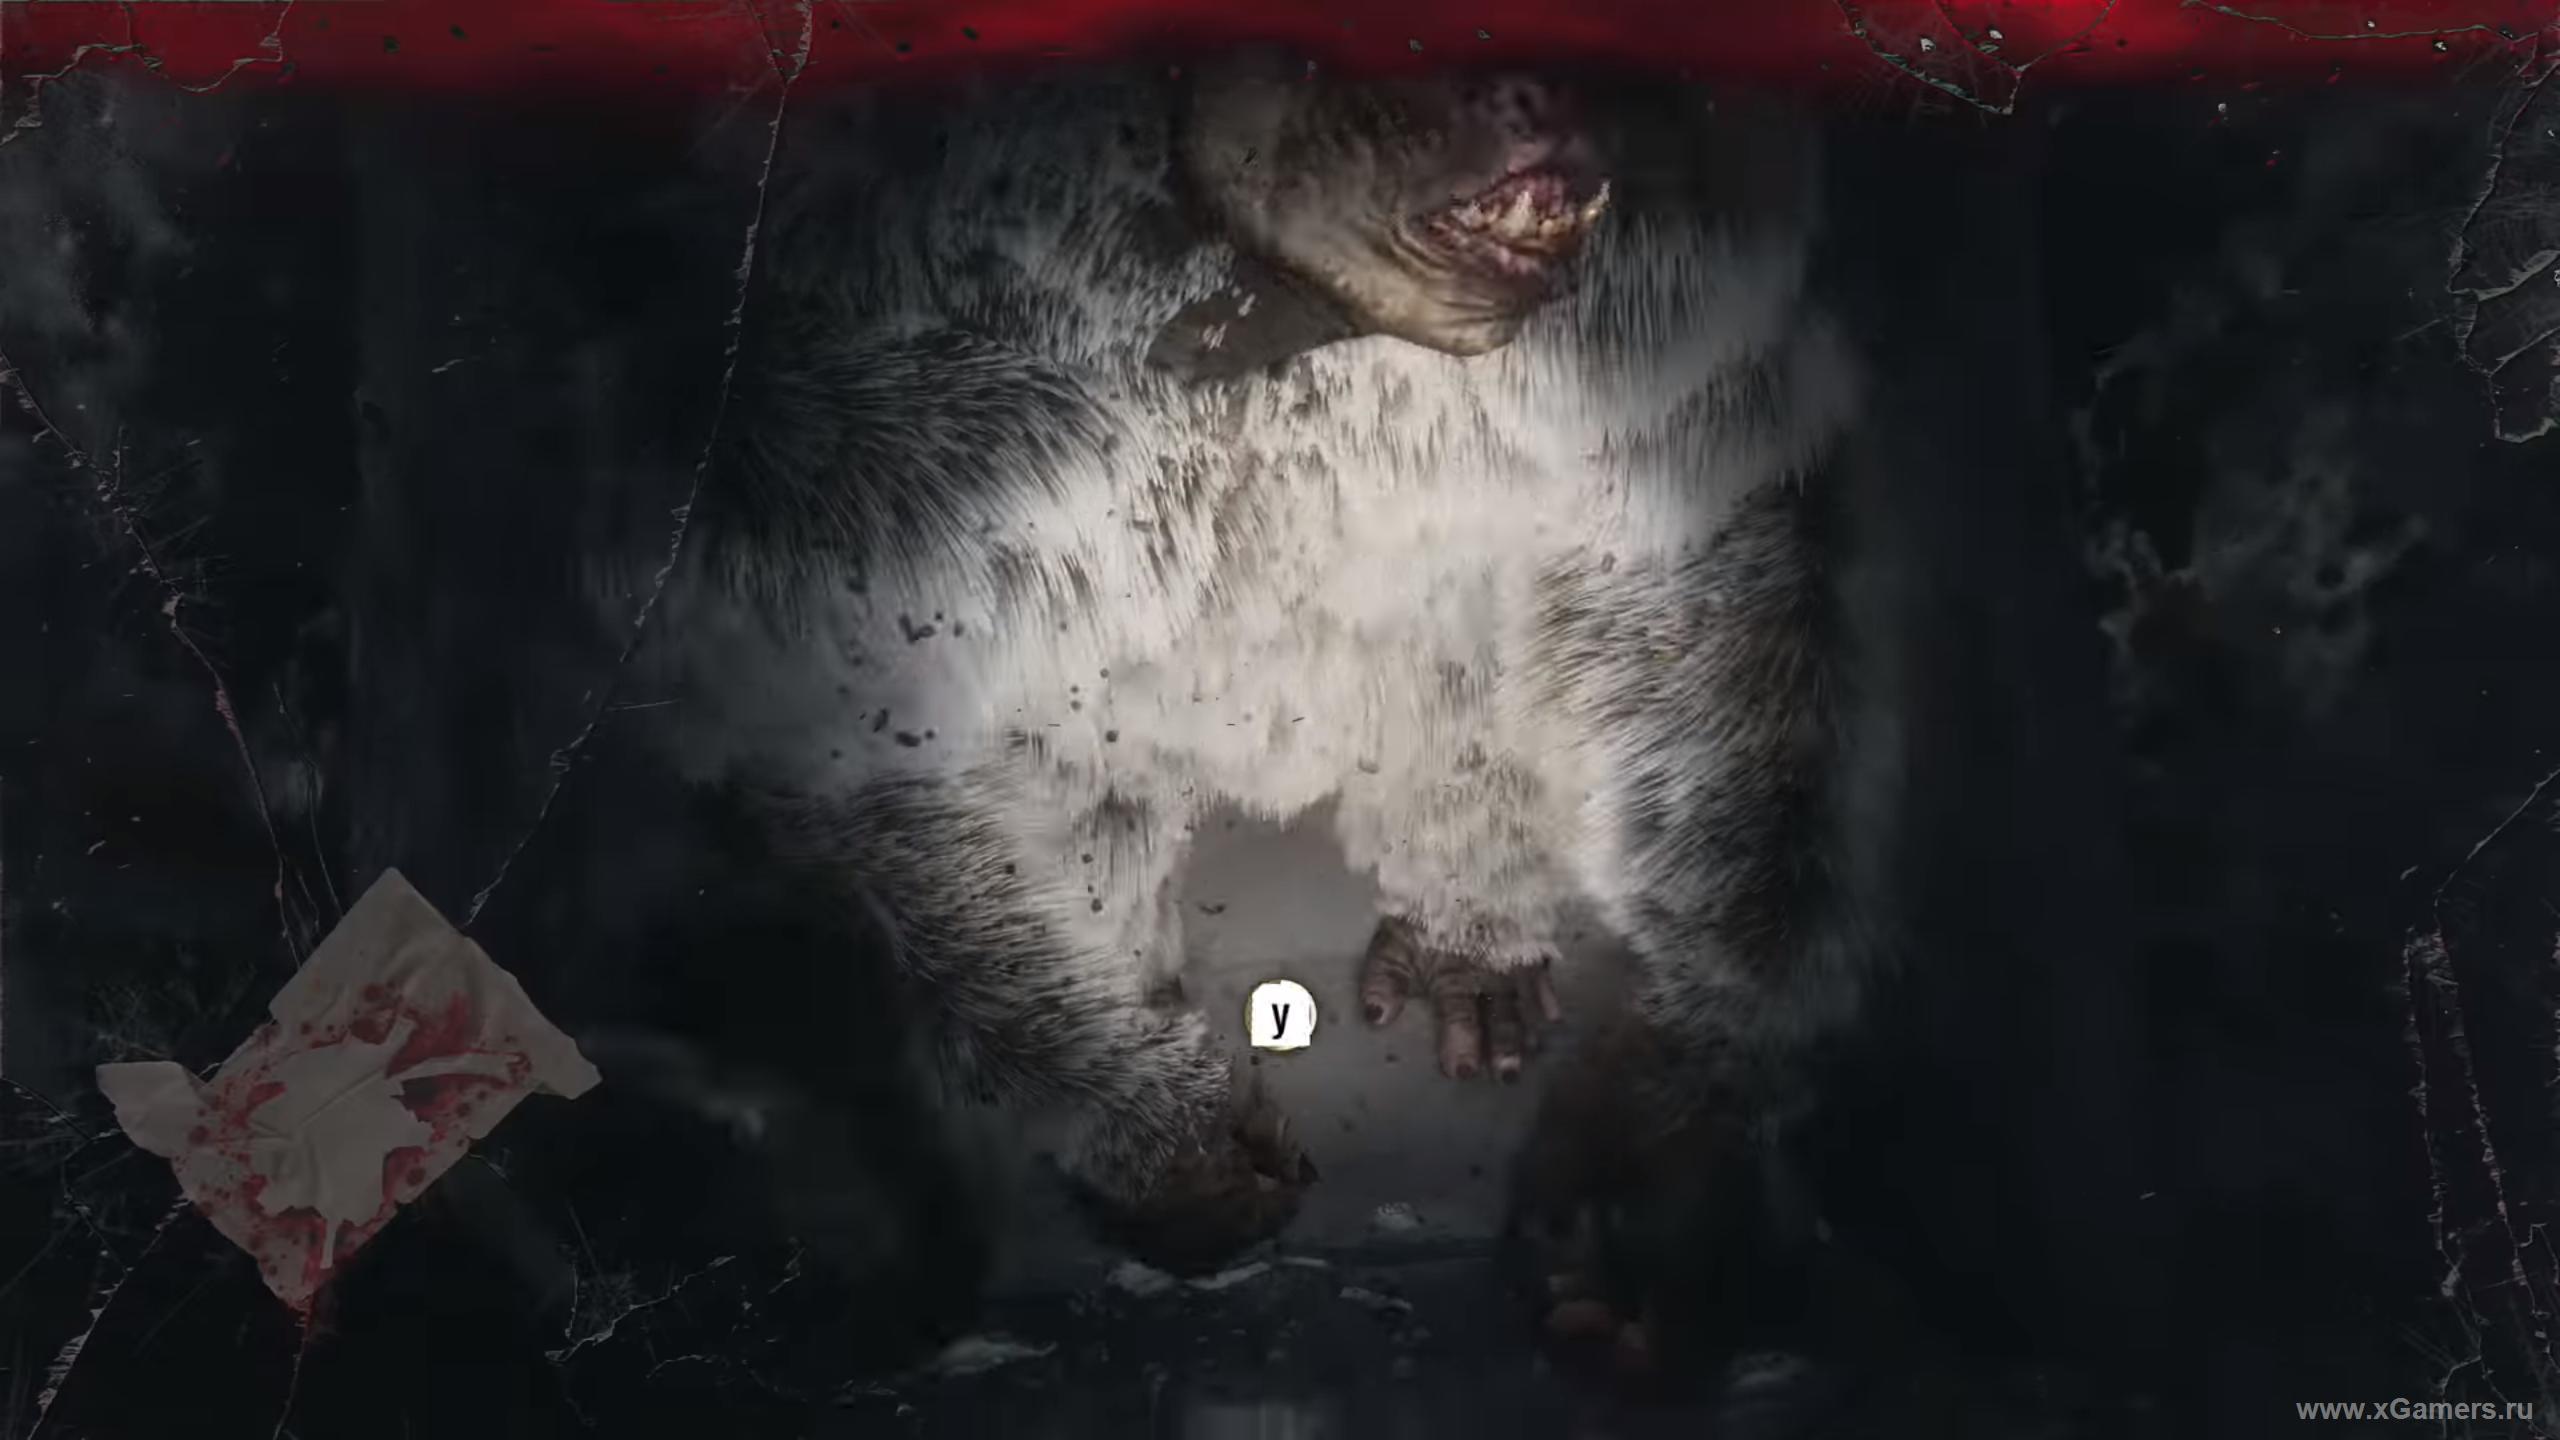
Your adventure's nearly finished now. Watch as Melnik revives Artyom, then you'll find yourself back in the familiar car, heading toward the game's finale.
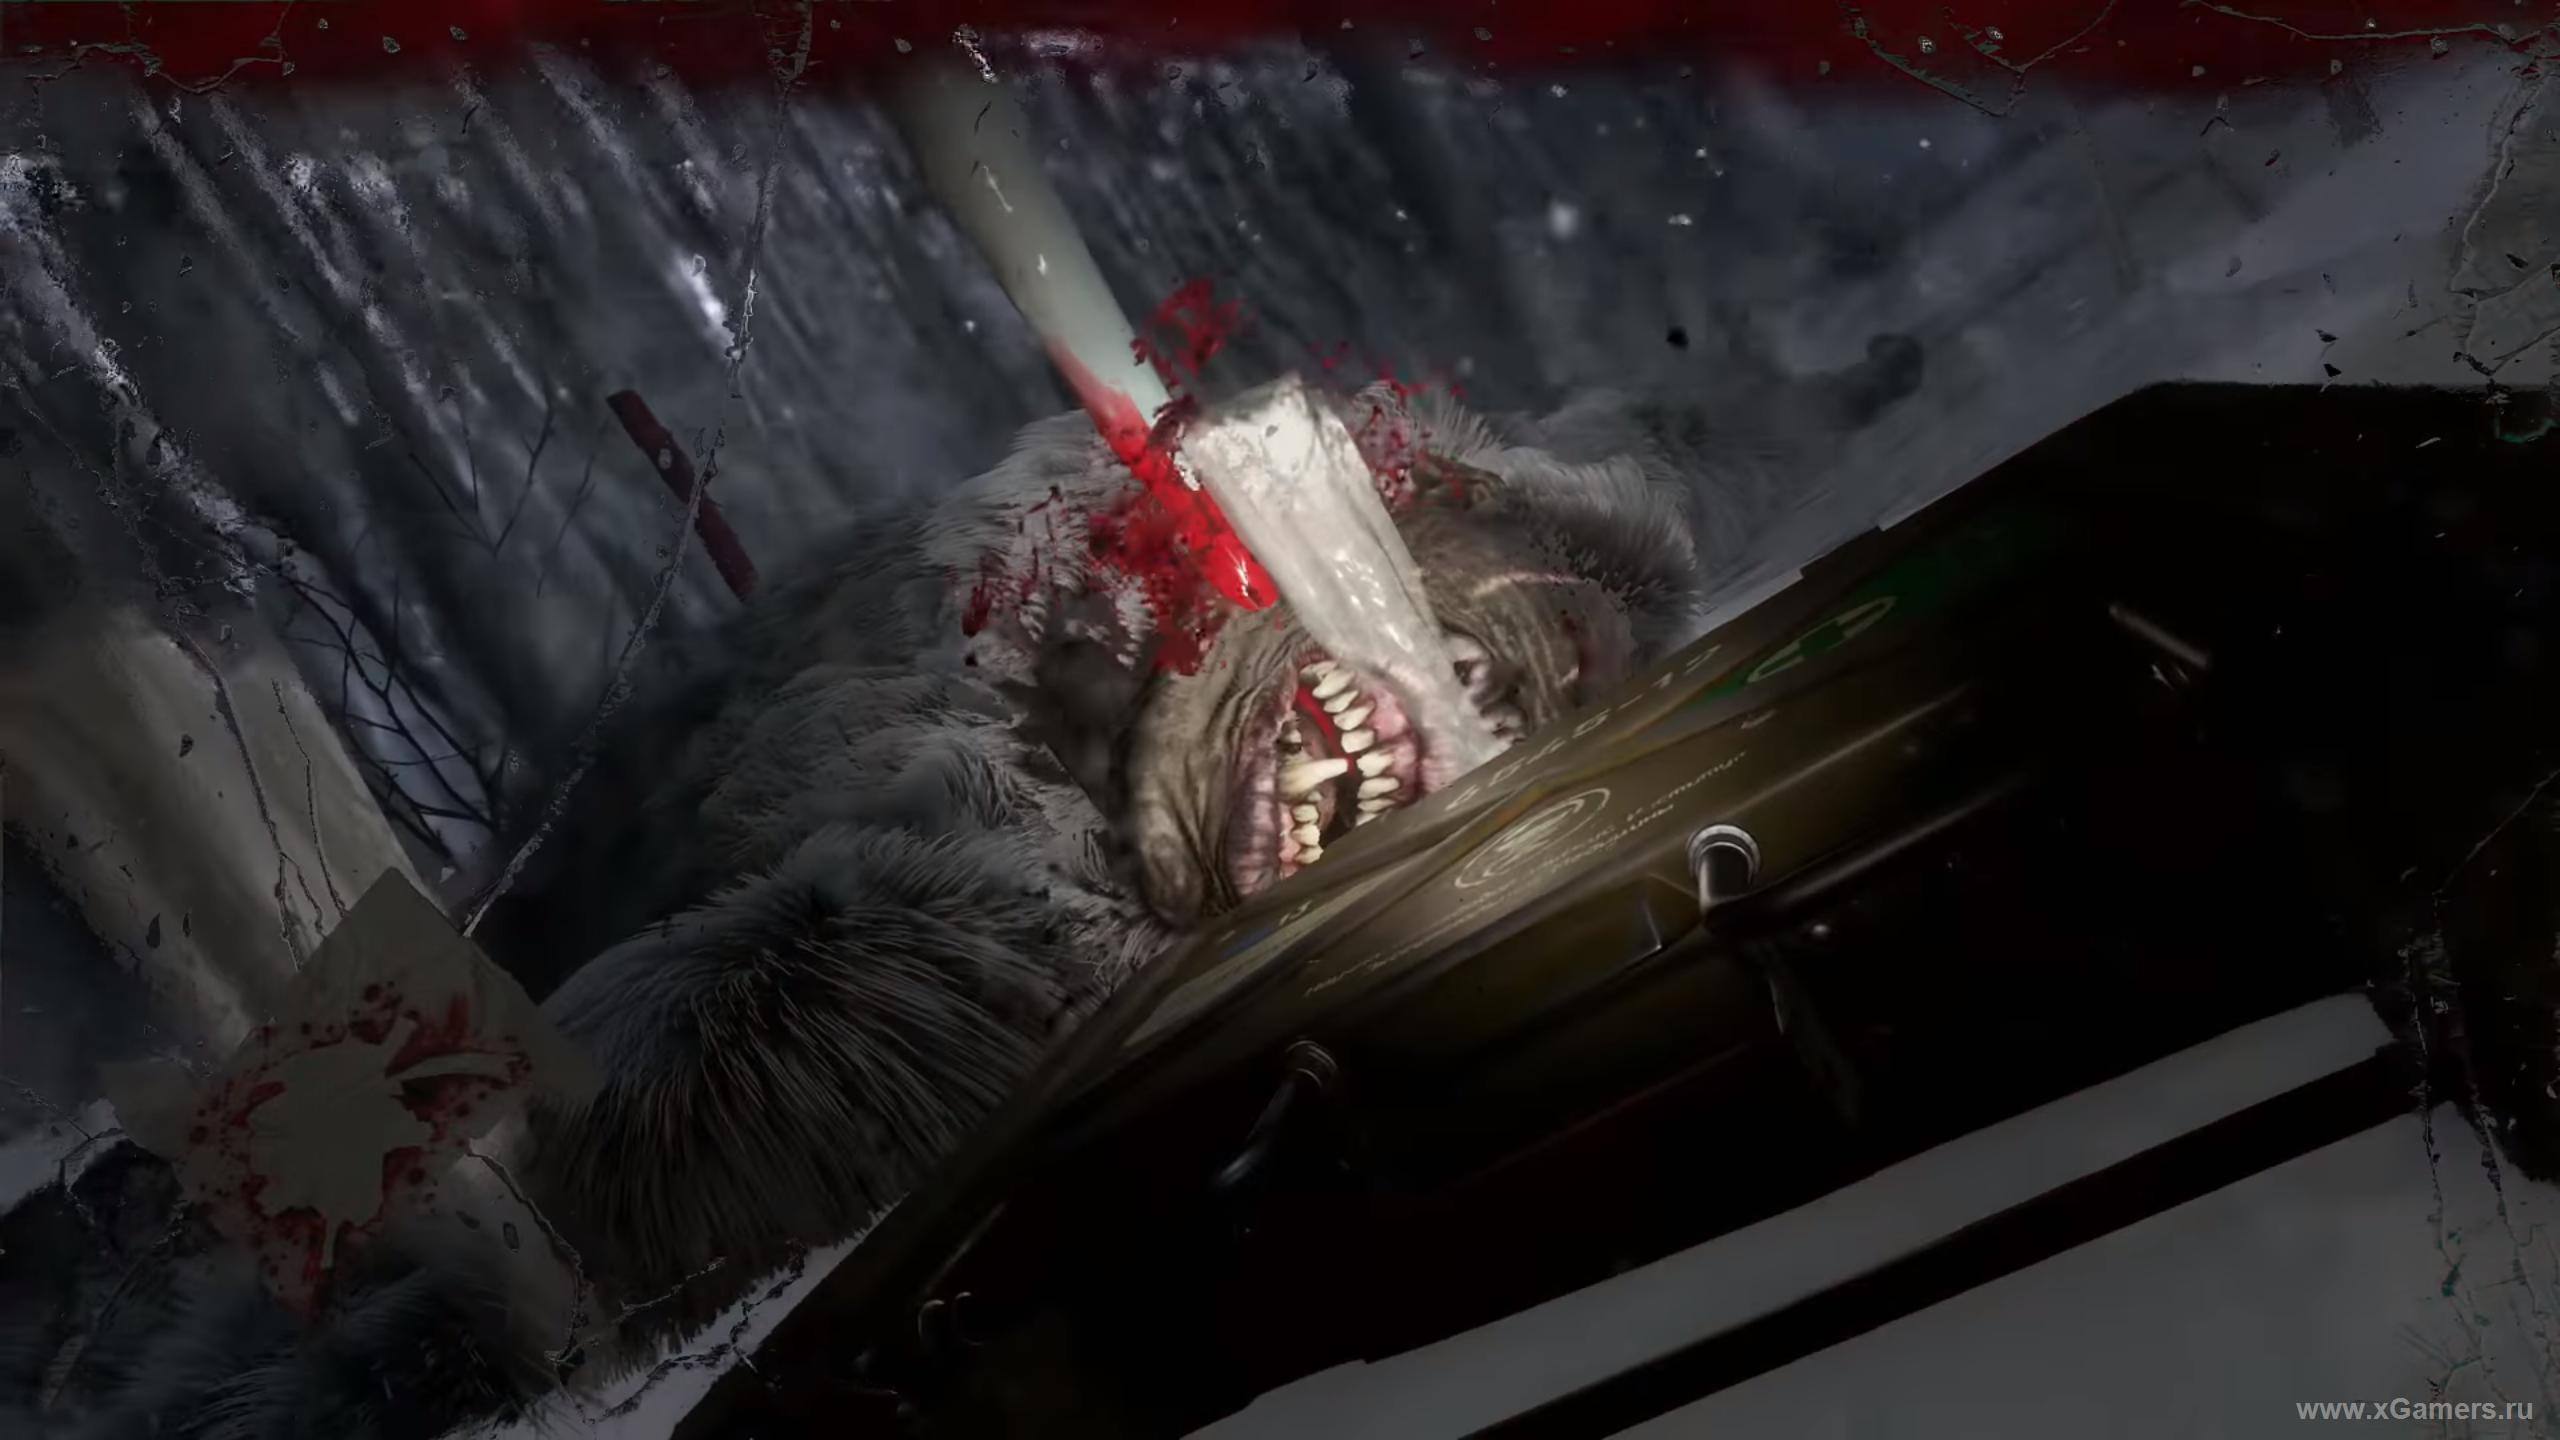
When Artyom wakes up, get behind the wheel and drive to the last stop.
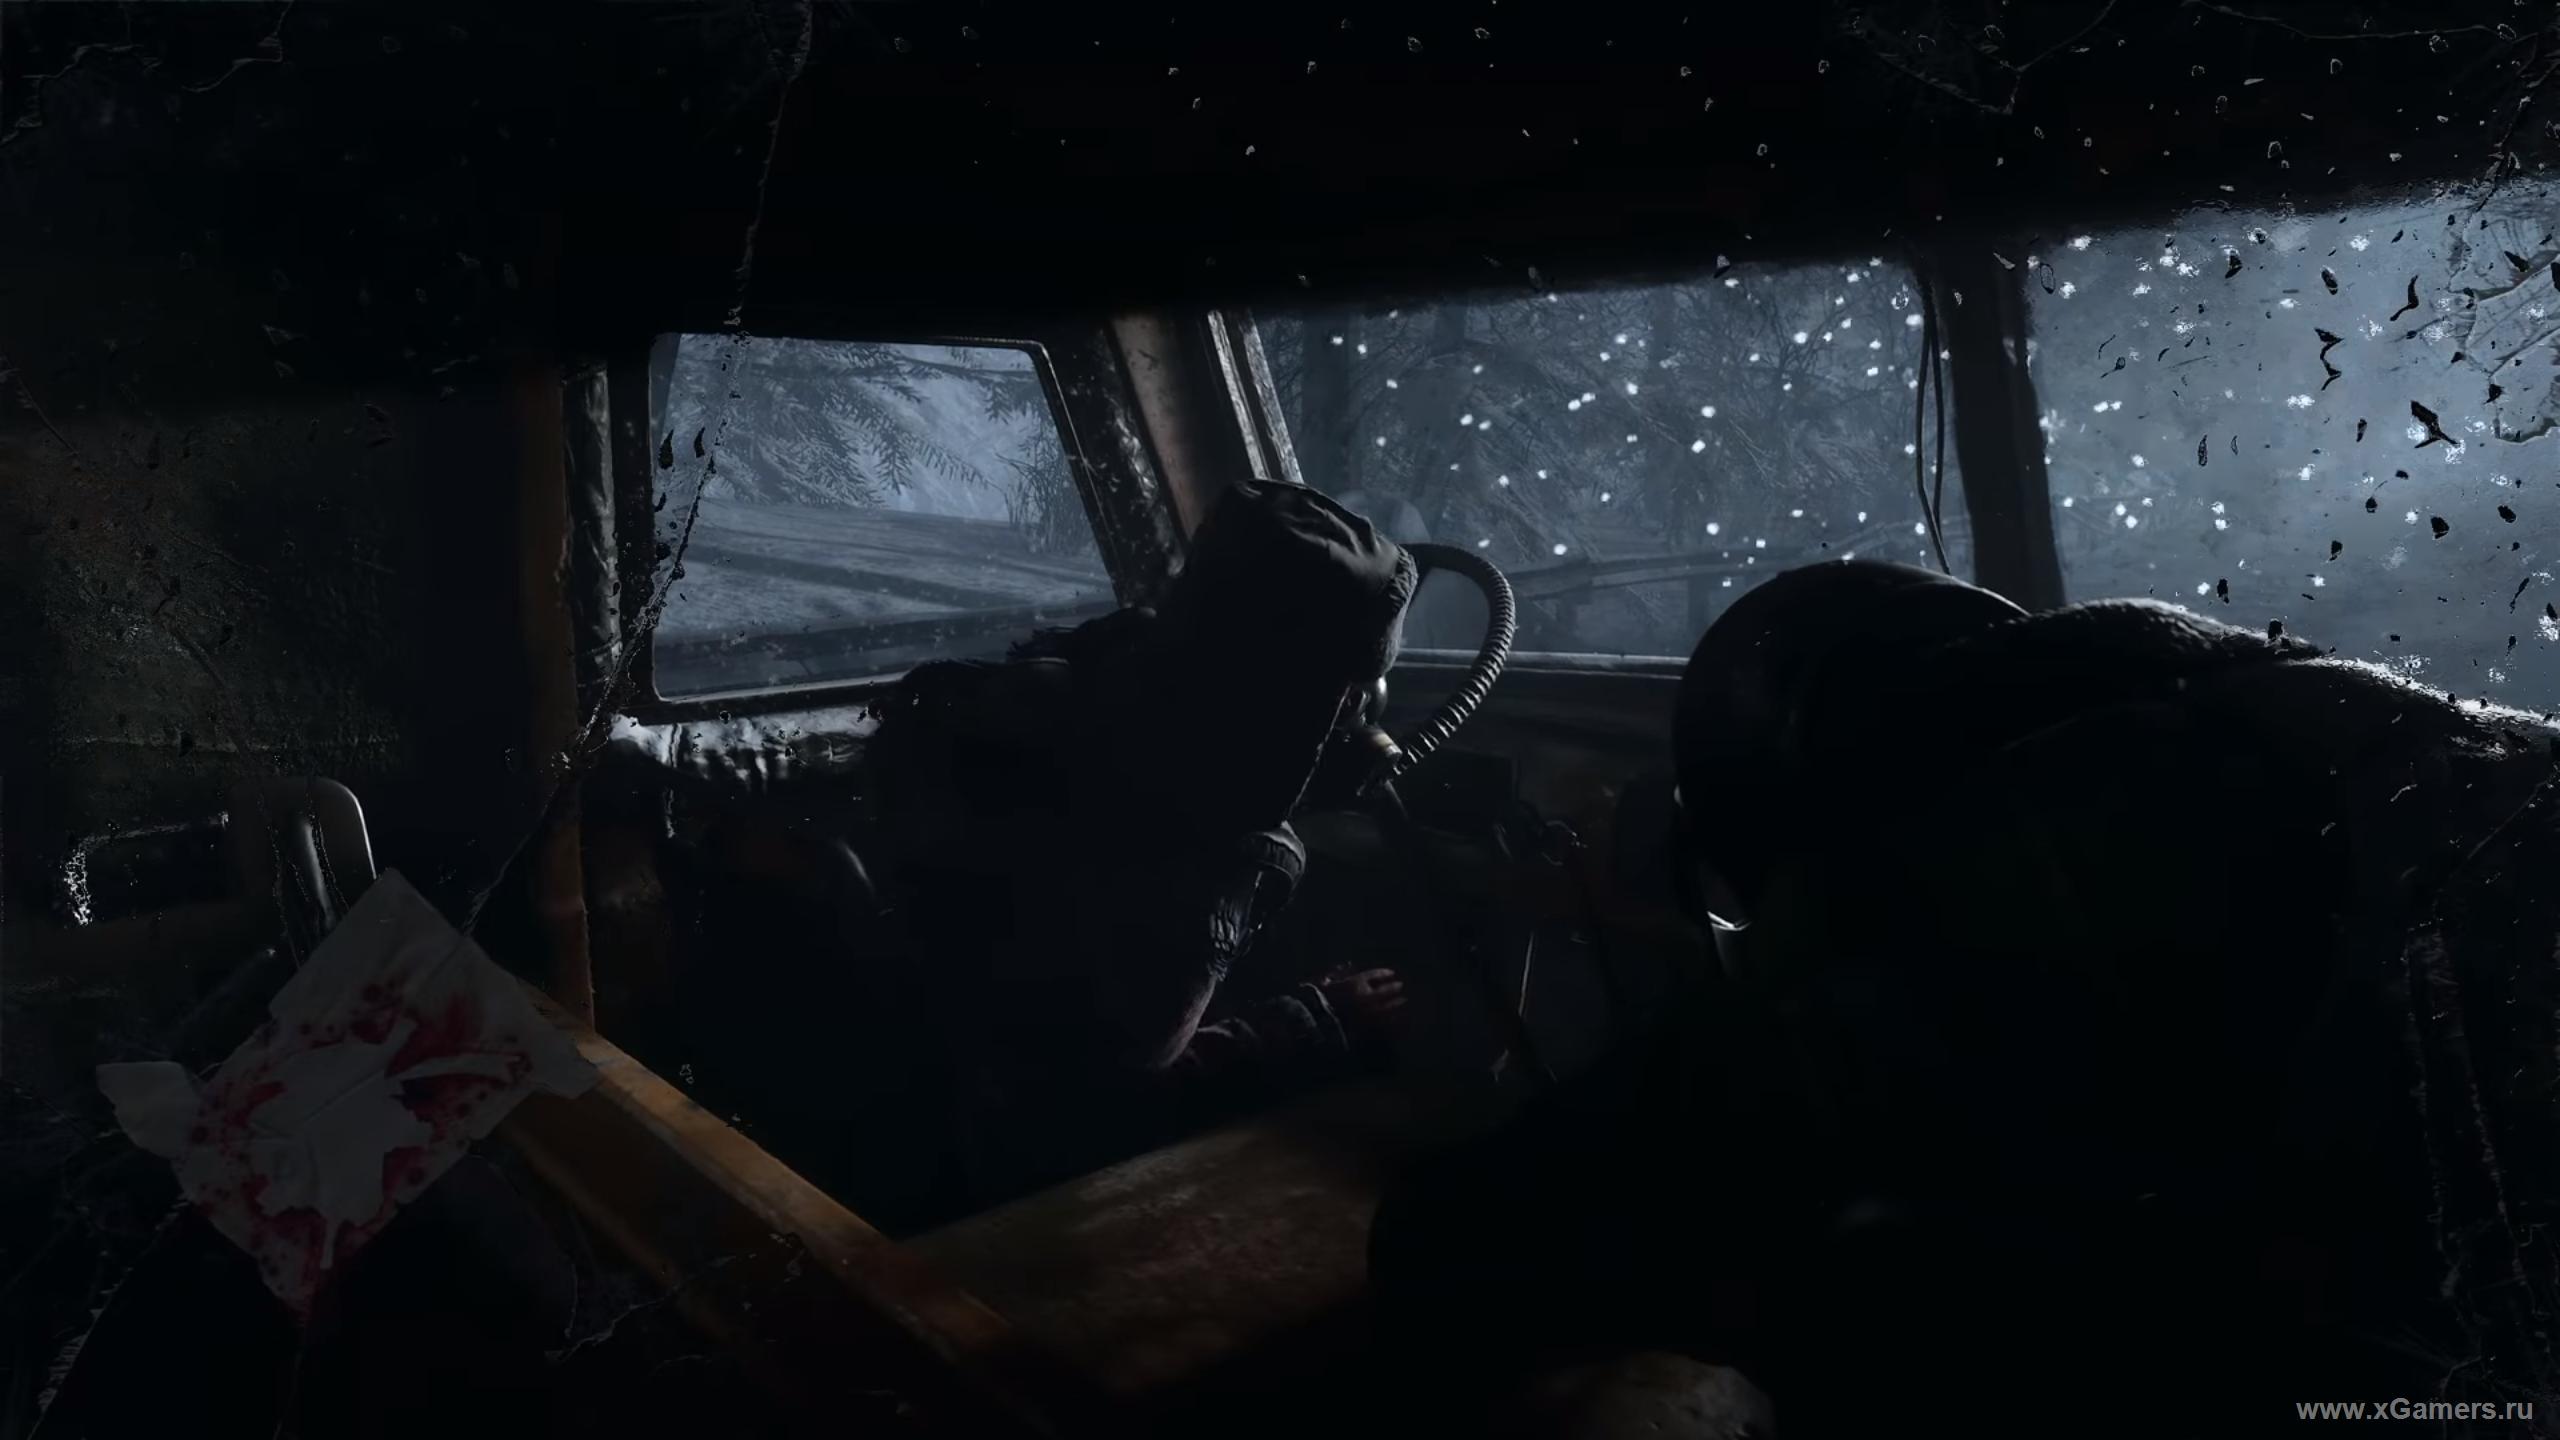
From here on, it's all one long cutscene. Enjoy the ending you've earned - the game is over!


Comments (0)
No comments yet. Be the first!
Sign in or create an account to earn karma — or comment as a guest.